As winter comes, we seek ways to make our homes cozy with handmade decorations. Woodworking projects can bring a rustic charm to your space. This makes your home warm and inviting.
Our guide covers projects like reclaimed candle holders and wooden snowflake wall art. These diy winter wood décor projects will make your home unique. They add beauty and a cozy feel to your space all winter long.
Embracing Winter Warmth Through DIY Wood Projects
Winter brings a cozy feeling to our homes. DIY wood projects can make them even warmer. They add warmth and character, making your home a cozy retreat from the cold.
DIY wood projects let you create rustic accents that show off your style. You can make unique pieces that warm up your space and spark conversations. The options are endless, from handmade winter decor to rustic home decor.

Popular ideas include wooden decorations like snowflakes, candle holders, or vintage sled wall hangings. These add warmth and rustic charm to your home.
DIY wood projects make your winter decor cozy and inviting. They feel personal and welcoming. Whether you sell your crafts or keep them, making something by hand is incredibly rewarding.
Essential Tools and Materials for Winter Wood Crafting
Woodworking in winter can be a fun hobby with the right tools. When starting diy winter wood décor projects, having the right tools and materials is key. This section will guide you through the essentials.

For wood crafts, you’ll need basic hand tools like a tape measure, square, and sandpaper. These tools help with measuring, marking, and smoothing wood for your projects. A good set of chisels is also essential for removing small wood amounts and fitting parts together.
Power tools like a table saw or circular saw are needed for straight cuts in larger wood pieces. A drill press is also valuable for drilling precise holes. For detailed designs, a jigsaw or bandsaw can cut out complex shapes.
When doing diy winter wood décor projects, safety is important. You’ll need safety glasses to protect your eyes from sawdust and debris. A dust mask is also important to prevent inhaling wood particles. With these tools and materials, you’ll be ready for various winter wood crafting projects.
Preparing Your Workspace for Winter DIY Projects
A clean workspace is key for a fun winter DIY wood crafting experience. Start by clearing out any clutter or distractions. This helps you focus on your projects and work efficiently.
Then, set up your workbench with all the tools and materials you need. Organize your supplies, like wood and nails, so they’re easy to find. This makes your crafting process smoother and more enjoyable.
Don’t forget about the lighting in your workspace. Good lighting is important for safety and precision when working with wood. Make sure your area is well-lit, and use task lights where needed.
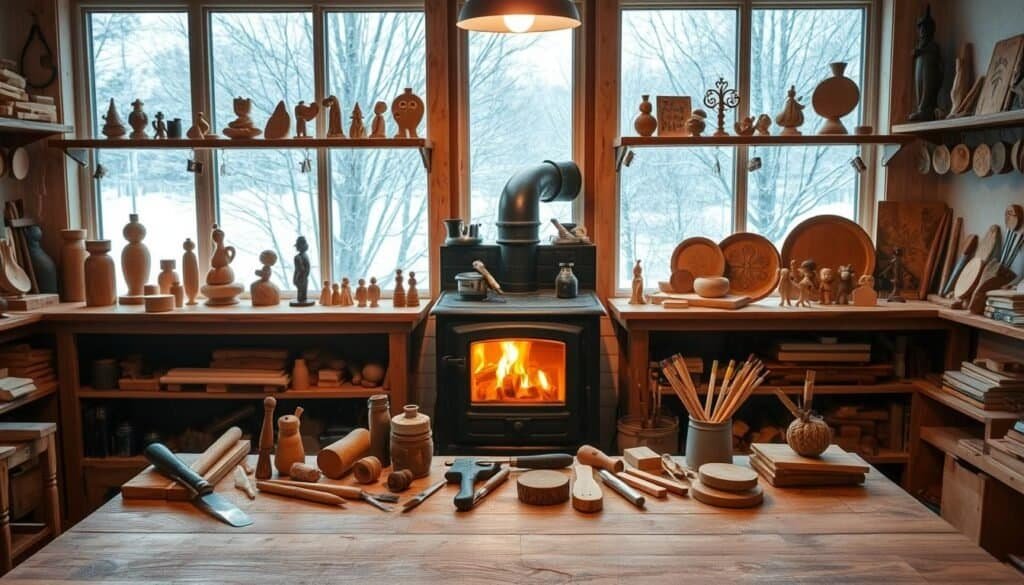
Preparing your workspace lets you dive into your creativity and enjoy making unique decor. Use fall decor inspiration to create a cozy atmosphere. With a well-prepared space, you’ll be ready to start your winter DIY projects with excitement.
Project1: Rustic Wooden Snowflake Wall Art
Start a creative journey to make a beautiful Rustic Wooden Snowflake Wall Art for your home. This project brings winter wonder to your decor. It creates a unique piece that shows the season’s beauty.
You’ll need some key materials: wooden planks or blocks, a jigsaw or coping saw, sandpaper, a drill, and a hanging mechanism. Pick the wood type for the rustic look you want. Reclaimed or pallet wood adds rustic charm to your snowflake.
First, design your snowflake. You can find patterns online or make your own. Transfer your design to the wooden blocks. For detailed designs, use saws and drills to cut out the pattern.
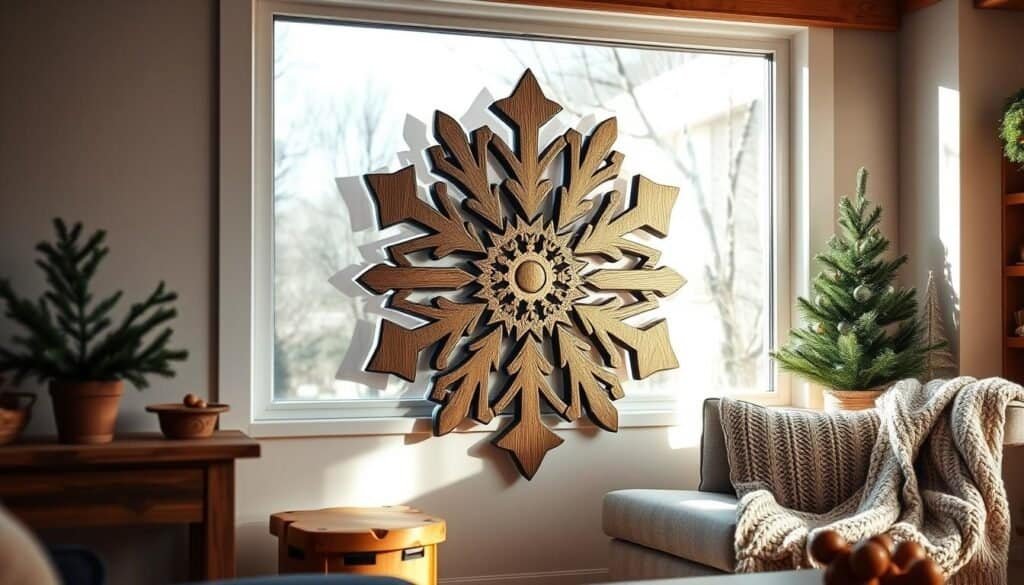
After cutting, sand the edges to smooth them. This step is key for a professional finish. For a distressed look, leave some edges rough.
To put the snowflake together, use strong adhesive or a small nail. Once together, add a finish or stain to protect the wood and enhance its color.
The last step is to attach a hanging mechanism to the back. This could be a nail or a screw eye. Hang your Rustic Wooden Snowflake Wall Art where it can be seen. It will become a stunning part of your winter decor, adding to your handmade and rustic home decor.
Project2: Reclaimed Wood Candle Holders with Pinecone Accents
Bring winter’s essence indoors with candle holders made from reclaimed wood and pinecones. This DIY project adds rustic charm to your home. It also uses materials that might be thrown away.
You’ll need reclaimed wood, pinecones, a hot glue gun, and candles. The wood will be the base and sides. Pinecones add a winter touch.

Start by building the candle holders. Use glue or nails to hold the wood together. This makes a sturdy holder.
After building, decorate with pinecones. Use hot glue to attach them. This creates a rustic winter look.
These holders add warmth and light to your home. They’re perfect for mantels, coffee tables, or dining tables. This project is fun and rewarding.
Using reclaimed wood and pinecones makes your decor eco-friendly and beautiful. So, start crafting. Your home will love the warm glow of these candle holders.
Project3: Vintage-Inspired Wooden Sled Wall Hanging
Add a touch of vintage charm to your home decor with a DIY wooden sled wall hanging. This project is perfect for those who love rustic wood home accents. It’s a unique piece of handmade winter décor.
To start, you’ll need some reclaimed wood. You can find it in old pallets or wooden crates. The rustic texture of the wood will add to the vintage-inspired look of your sled. You’ll also need basic tools like a saw, drill, and sandpaper.
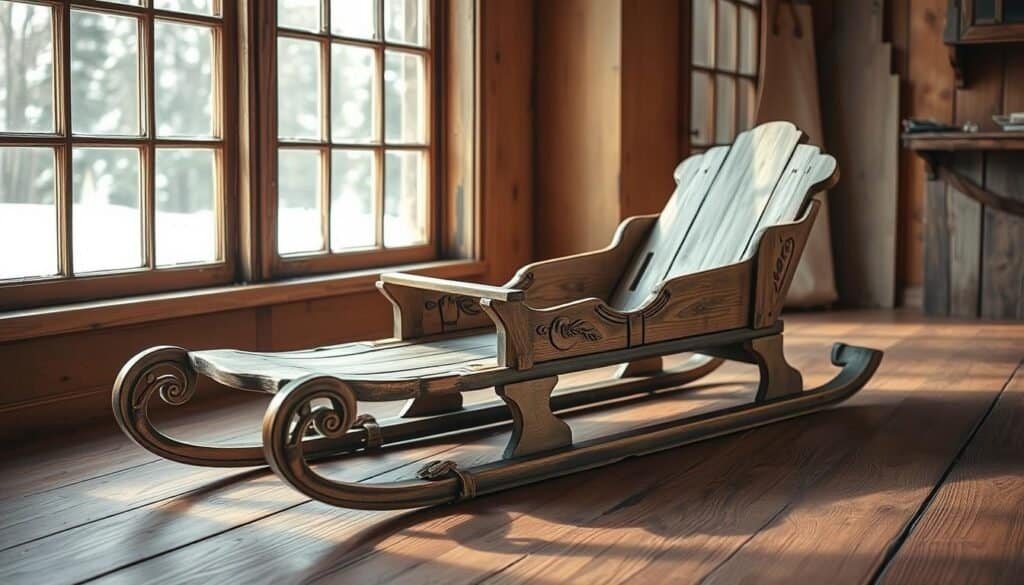
Begin by cutting the wood into the required shapes and sizes for your sled. Assemble the pieces using nails or wooden dowels. Make sure the structure is sturdy enough to be hung on a wall. Sand down any rough edges to give your sled a smooth finish.
To enhance the vintage look, consider adding some distressed finishes or antique-inspired hardware. You can also decorate the sled with evergreen branches, pinecones, or ribbons. This will tie in with your fall decor inspiration.
This vintage-inspired wooden sled wall hanging is not only a fun DIY winter wood décor project. It’s also a great way to add a personal touch to your home. Hang it above your fireplace, on a staircase, or in a cozy reading nook. It will create a warm and inviting atmosphere.
Project4: Log Slice Christmas Tree Display with LED Lights
Bring warmth to your home with a Log Slice Christmas Tree Display. It combines log slices with LED lights for a cozy look. It’s a great centerpiece for your holiday decor.
You’ll need log slices, LED lights, a wooden base, a hot glue gun, and decorations like pinecones. You can find log slices from tree trimming services or craft stores.
Start by arranging log slices into a tree shape on your base. Use hot glue to hold them in place. Then, wrap LED lights around the logs for a warm glow.
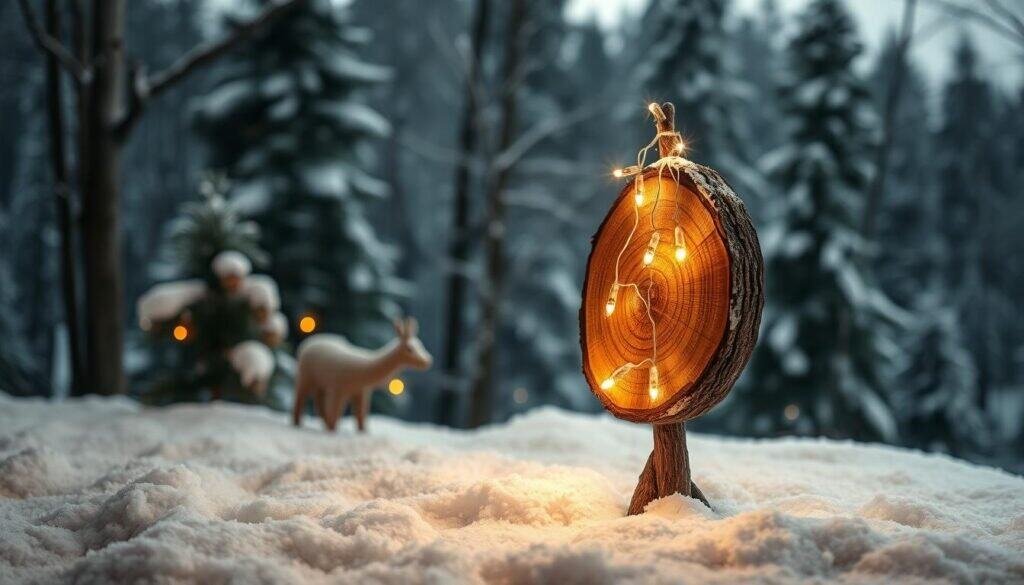
Decorate your tree with pinecones, ornaments, or other items. Try different LED light colors and patterns to match your decor.
The finished display is a beautiful centerpiece for your holiday. It combines natural wood with modern lights, adding warmth and charm to your home. It’s a great DIY project for rustic decor.
Project5: Rustic Wood Frame Winter Wreath with Evergreen Elements
Get ready to make a stunning Rustic Wood Frame Winter Wreath with evergreen elements. This DIY project combines wood’s warmth with evergreen’s freshness. It’s perfect for your front door or wall.
To start, you’ll need a rustic wood frame. You can use reclaimed or distressed wood for character. Or, use a pre-made frame and distress it yourself for a rustic look.

Next, collect your evergreen elements like fir branches, cedar, or holly. These will make your wreath lush and fragrant. You can also add pinecones, berries, or ribbons for extra appeal.
Start by attaching the evergreen elements to the frame with wire or a hot glue gun. Spread them out evenly for a balanced look.
After finishing your wreath, hang it on your front door, wall, or mantel. This handmade piece will add warmth and coziness to your home.
This DIY project lets you create unique winter décor that shows your style. So, get creative and enjoy making your own Rustic Wood Frame Winter Wreath with evergreen elements.
Project6: Wooden Lanterns with Miniature Winter Scenes
Make your home cozy with wooden lanterns and miniature winter scenes. These lanterns light up your space and share a story. They’re a great choice for winter décor.
You’ll need wooden frames, tiny winter scenes, and twine to begin. Find these at craft stores or online. Choose wood like pine or cedar for a rustic look.

First, put together the wooden frame as the instructions say. Then, decorate it with your winter scenes. Use hot glue for snowmen, trees, or sleds.
Wrap twine or ribbons around for a cozy feel. Add evergreen or holly for more festivity. Light a candle or LED inside to highlight your scene.
These lanterns are perfect for a family project. Place them on your table, mantelpiece, or as a dinner party centerpiece.
With these steps, you can make beautiful lanterns for winter. They bring warmth and coziness to your home. So, start crafting your wooden lanterns today!
Project7: Weathered Pallet Wood Winter Sign with Stenciled Designs
Upcycle pallet wood into a cozy winter sign with stenciled designs. It’s perfect for those who love rustic decor and want to add a personal touch to their winter decorations.
To begin, find some weathered pallet wood. You can get it from old pallets or buy it at a craft store. Look for wood with a distressed finish for a rustic look.

After getting your pallet wood, cut it into the shape and size you want for your sign. Use a stencil to make a winter design, like a snowflake or a festive message. Paint or stain the wood to enhance the design and protect it from the weather.
For extra charm, add stenciled designs around the edges or in the corners. This makes your sign more detailed and appealing.
Lastly, hang your weathered pallet wood winter sign on your wall or mantel. It adds winter charm to your home. This DIY project is a great way to be creative and make something unique that shows your style.
Project8: Wooden Snowman Family with Interchangeable Accessories
Add a playful touch to your winter decor with a Wooden Snowman Family. This DIY project is fun and creative. It brings a handmade touch to your home during winter.
The Wooden Snowman Family has three snowmen of different sizes. Each snowman has unique details like coal eyes and a carrot nose. You can change their outfits with interchangeable accessories.

To start, you’ll need materials like wooden dowels and a drill press. Cut the dowels to make the snowmen’s bodies. Add features with painting and crafting.
Creating the Interchangeable Accessories
The interchangeable accessories are a key part of this project. You can make hats, scarves, and more from fabric, felt, and wood. This lets you customize the snowmen to match your style.
After making the snowmen and accessories, display them on a mantel or side table. The Wooden Snowman Family adds charm to any room. It brings rustic wood accents to your winter decor.
This project is a fun way to be creative with DIY winter wood décor. The Wooden Snowman Family is a unique and charming piece. It’s perfect for enjoying all season long.
Project9: Rustic Wood Mantel Garland with Frosted Pine Cones
Make your home look cozy with a handmade Rustic Wood Mantel Garland. It’s filled with frosted pine cones and natural elements. This DIY project brings warmth and charm to your mantel in winter.
First, collect the needed items. You’ll need rustic wood, frosted pine cones, evergreen branches, and twine or ribbon. Use reclaimed wood or wooden dowels for the garland’s base. Spray pine cones white to make them frosted.

Start by placing the rustic wood on your mantel, overlapping them for a neat look. Then, add frosted pine cones between the wood, securing with twine or wire if needed. Finish by adding evergreen branches to fill gaps and create a winter wonderland feel.
This garland is not just a beautiful DIY project. It also brings natural beauty into your home. The rustic wood and frosted pine cones make a cozy winter atmosphere.
To make it even more unique, add natural elements like pine needles, holly, or candles. You can also adjust the garland to fit your mantel’s size and style. Change the length and arrangement of the wood and pine cones.
Project10: Wooden Advent Calendar House with Hidden Compartments
Bring festive cheer to your home with a DIY wooden advent calendar house. It has hidden compartments, great for counting down to Christmas. This project is fun and interactive, adding rustic charm to your home.
You’ll need basic woodworking tools and materials. This includes wooden planks, a saw, a drill, and decorative items like paint or varnish. The design can be simple or detailed, based on your skill and preference.
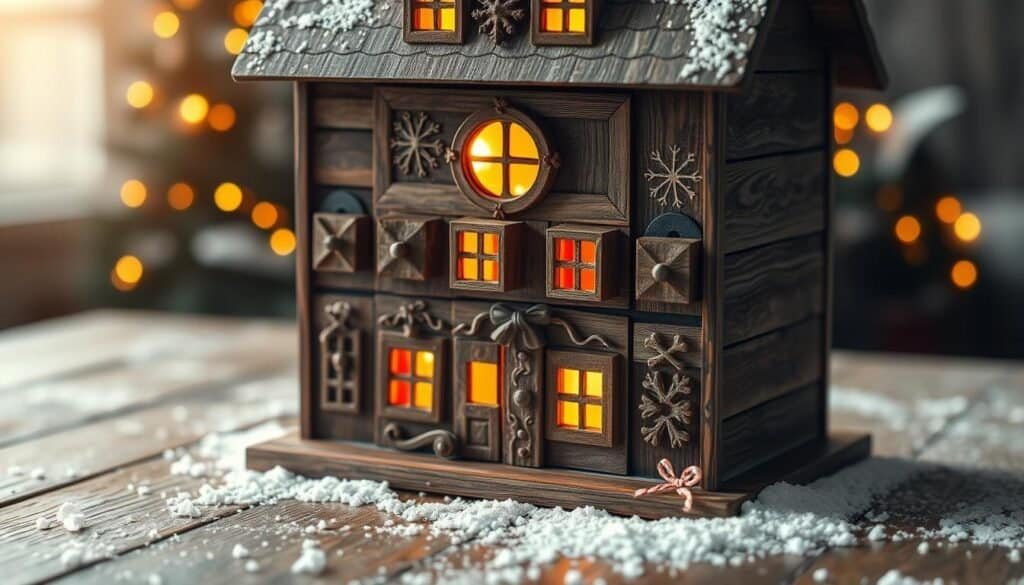
The advent calendar house has 24 hidden spots, one for each Christmas day. Fill these with treats, candies, or notes for a fun surprise for all.
This wooden advent calendar is a unique DIY winter décor project. It adds a personal touch to your home. The rustic wood accents will enhance your winter décor, making your home cozy and welcoming.
Creating a wooden advent calendar with hidden spots is more than just a project. It’s a beautiful piece of handmade winter décor and a meaningful way to count down to Christmas. It combines creativity, woodworking, and holiday joy.
10 DIY Winter Wood Décor Projects for a Warm and Rustic Home: Styling Tips
Now that your DIY winter wood décor projects are done, it’s time to finish them off. Styling your projects makes your home feel cozy and inviting.
Begin by grouping your DIY winter wood décor projects together. For example, place your rustic wooden snowflake wall art near your reclaimed wood candle holders with pinecone accents. This creates a stunning winter display that highlights your handmade items.
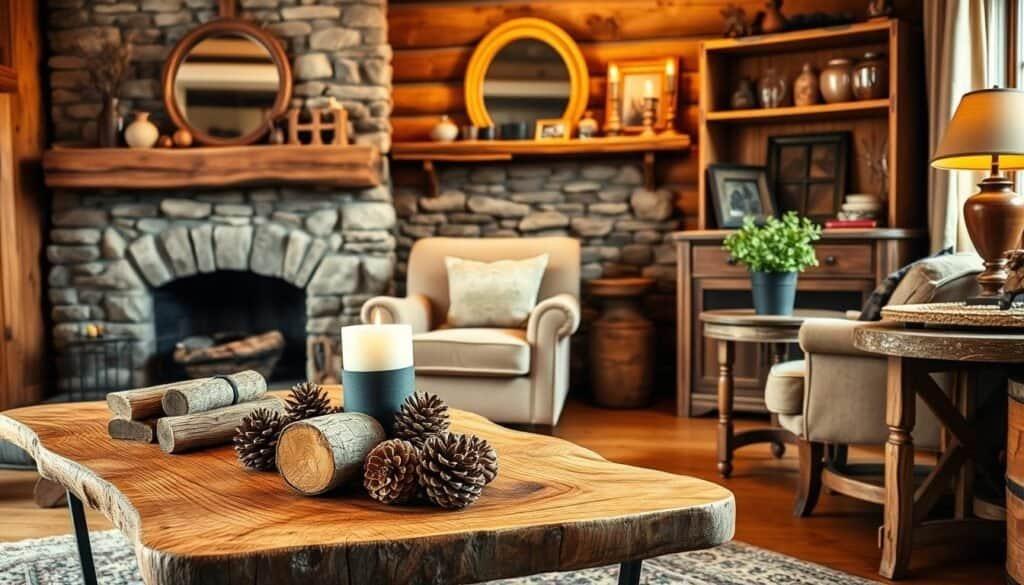
To enhance your winter decor, mix your DIY projects with other seasonal decorations. For instance, surround your log slice Christmas tree display with LED lights, evergreen branches, pinecones, and ribbons. This adds a warm and welcoming feel to your home.
Feel free to try out different styling tips. Place your wooden lanterns with miniature winter scenes on a mantel or side table. Surround them with candles, pinecones, and other winter decorations. This brings a cozy vibe to your home.
By adding your DIY winter wood décor projects to your existing decor, you’ll make your home warm and rustic for winter. With these styling tips, you can show off your handmade creations and enjoy a cozy winter wonderland.
Troubleshooting Common DIY Wood Project Challenges
Even with careful planning, DIY wood projects can face unexpected issues. But, with the right tips, you can overcome these problems. One common issue is uneven or rough wood surfaces. To fix this, make sure to sand your wood well before starting your project.
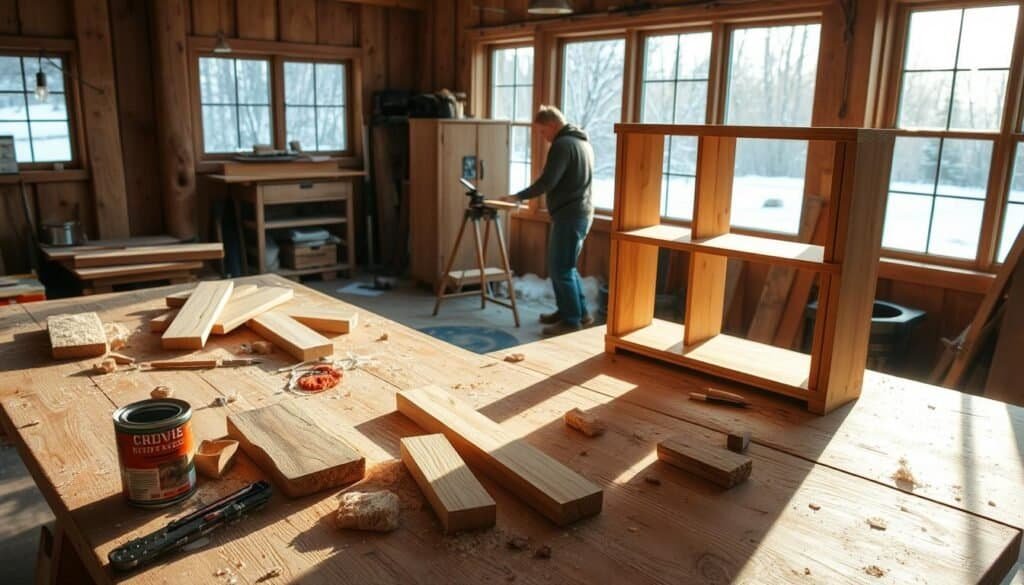
Another problem is getting the stain or paint finish right. This might happen because of the wood type or surface prep. Always test your stain or paint on a small, hidden area first.
Working with reclaimed or rustic wood can also bring challenges like gaps or cracks. You can fill these with wood filler or use decorative elements to hide them.
Knowing these common issues and how to solve them can help your DIY winter wood decor projects succeed. They will add a warm, rustic feel to your home.
Conclusion
Diy winter wood décor projects are a great way to warm up your home. They add character and make your space cozy for winter.
These projects let you express your style and make your home special. You can create unique winter decorations or just add warmth. This article has some great ideas to start with.
By making these projects, you’ll make your home look better and feel warmer. So, grab your materials and start crafting. Enjoy the charm and warmth these decorations bring to your home.

