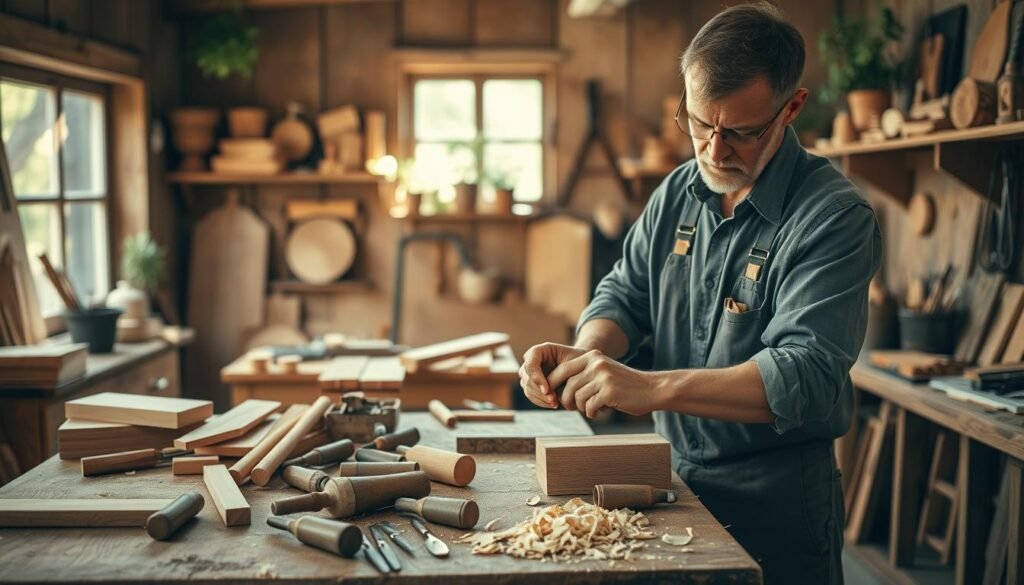
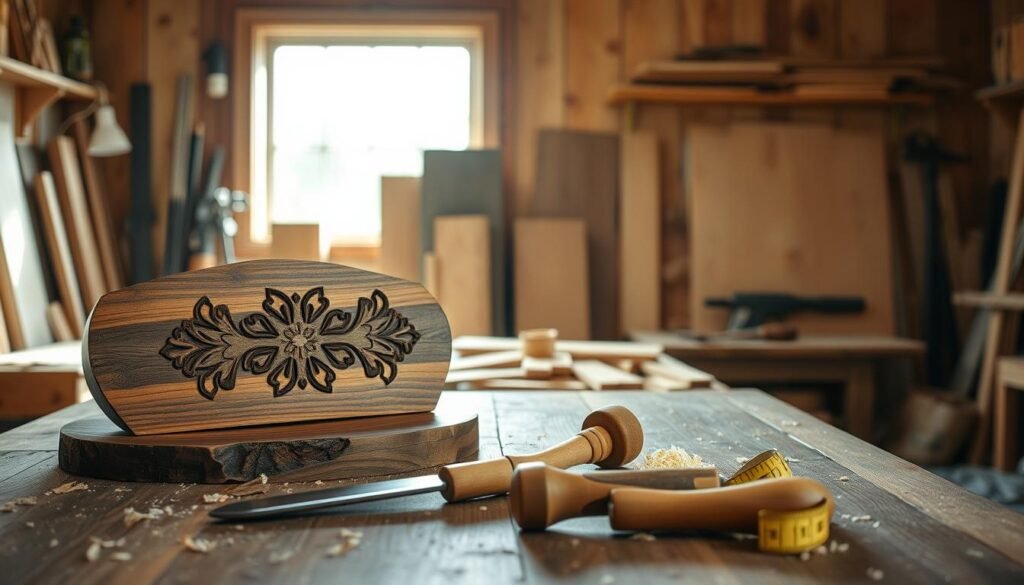
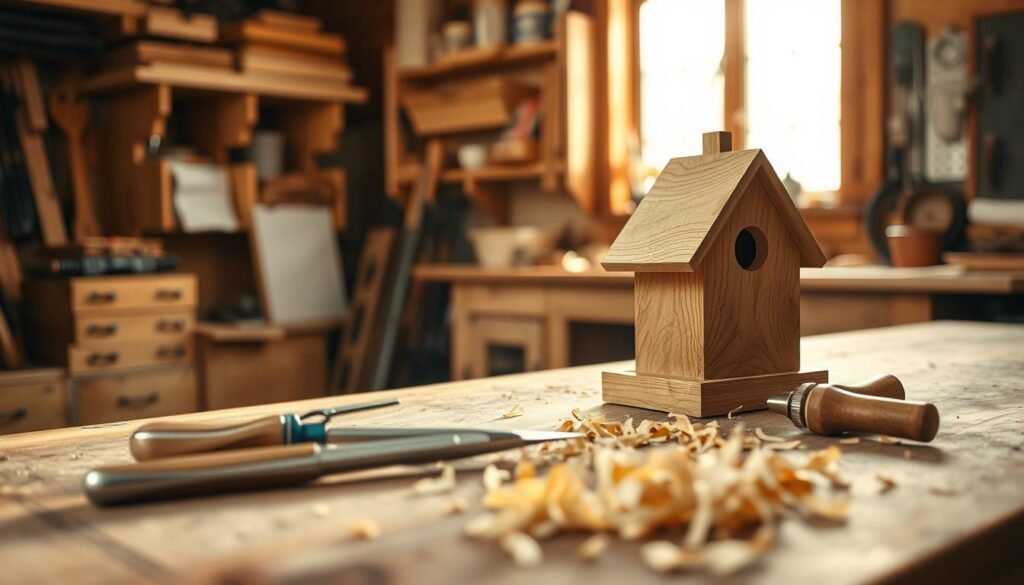
Want to add warmth and charm to your home quickly? Simple woodworking projects can do the trick. With basic tools and creativity, you can make beautiful pieces that improve your home’s feel.
DIY wood projects let you make your home truly yours. They add unique touches that show off your style. You can make everything from decorative items to useful furniture. This article will show you different woodworking projects to help transform your home.
Whether you’re experienced or new to woodworking, these projects will motivate you to start your next home improvement project.
The Power of Wood in Home Transformation
Wood in home projects is more than looks; it’s about feeling at home. It adds a natural warmth and character. This makes a house feel like a real home.
Wood is loved in home decor because it’s so versatile. You can stain, paint, or carve it to match any style. From wooden art to custom furniture, the options are endless.
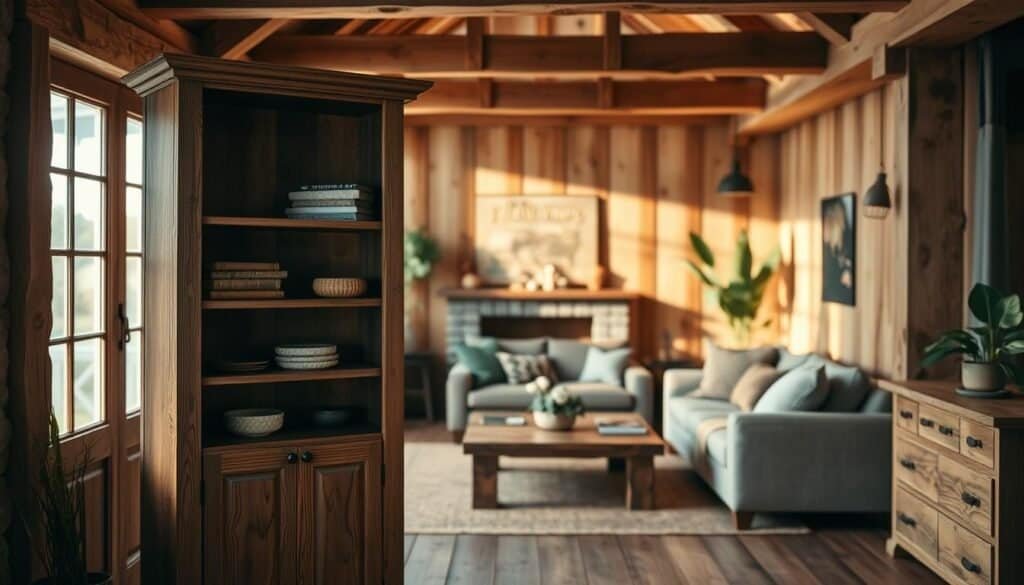
Woodworking projects can be simple or complex. You can make a wooden coat rack or a fancy coffee table. Wood lets you create unique pieces that show your style.
Adding wood to your decor makes your space more interesting and cozy. A wooden art piece or wooden frames can make your home feel welcoming.
Using wood in home projects makes your home beautiful and personal. With creative ideas and imagination, you can change your home in many ways.
Essential Tools and Materials for Beginner Woodworkers
The journey into beginner woodworking projects starts with knowing the essential tools and materials needed.
For new woodworkers, having the right tools is key. You’ll need a tape measure, square, safety glasses, a hammer, and chisels. Power tools like a circular saw, drill press, and router are also important for more complex tasks.
Choosing the right wood is also important. Beginners often start with softwoods like pine or fir. These are softer and easier to work with. Hardwoods like oak or maple are denser and better for more durable projects.
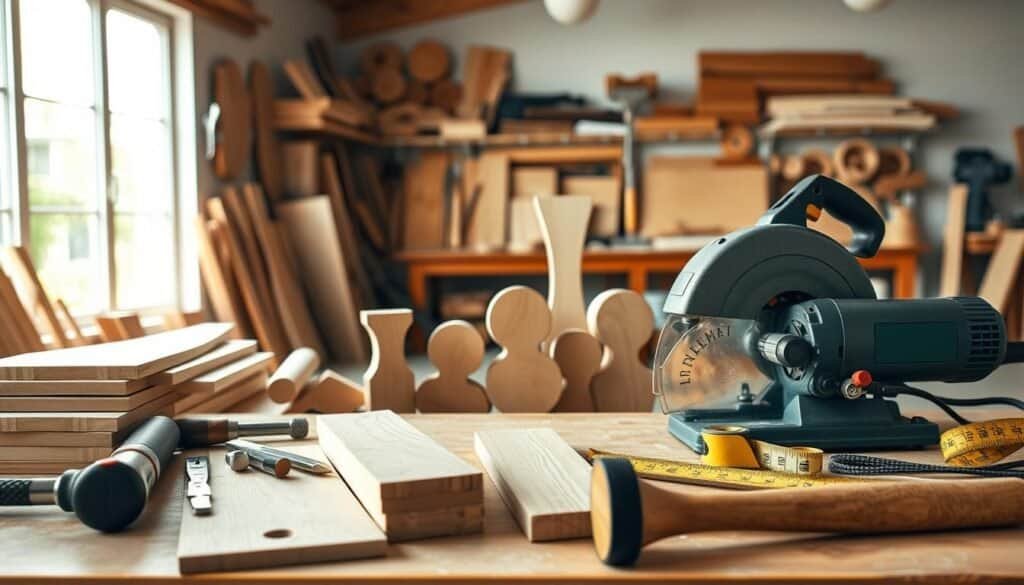
Other materials like wood glue, nails, and sandpaper are also necessary. The quality of these materials can impact your project’s outcome. So, it’s wise to invest in good-quality supplies.
By focusing on the essential tools and materials, beginners can set themselves up for success. They can enjoy the process of creating something with their own hands.
Safety First: Precautions for DIY Woodworking
Safety is key for a fun and safe DIY woodworking hobby. Making sure your workshop is safe and tidy is the first step. This way, you can enjoy woodworking without worrying about risks.
Protective gear is a must in any woodworking shop. You’ll need safety glasses, hearing protection, and a dust mask. Safety glasses keep your eyes safe from debris. Hearing protection helps you avoid hearing damage from loud tools. A dust mask stops you from breathing in wood dust and particles.
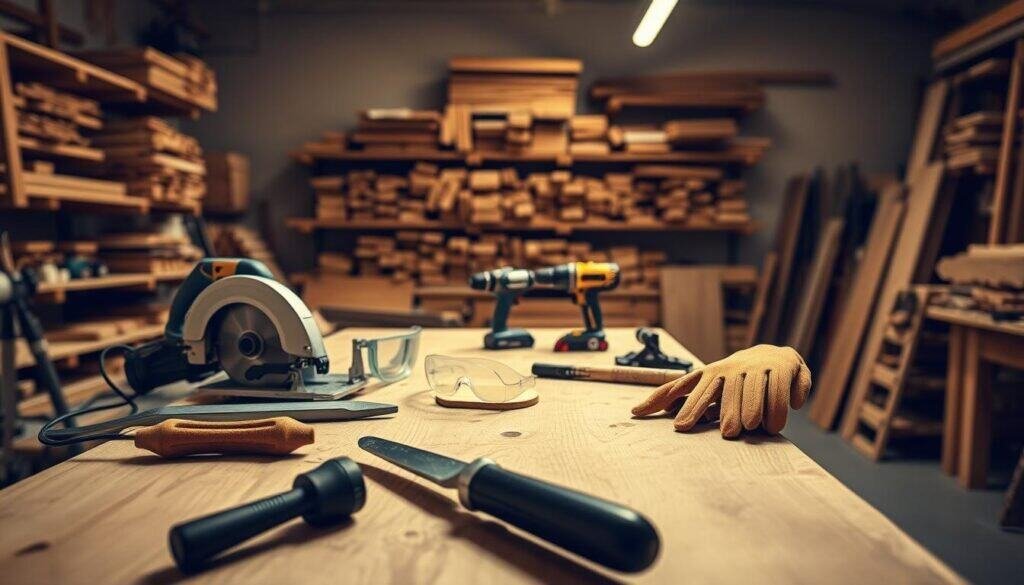
It’s also important to handle tools safely. Always use tools as the maker says, and keep them in good shape. Keeping tools in good condition helps them work right and prevents accidents.
Keeping your workspace clean and organized is also key. Clutter can cause trips and make it hard to work safely. Cleaning and organizing your tools and materials often helps avoid accidents.
Putting safety first means you’re not just protecting yourself. You’re also making your woodworking hobby more fun and productive. Adding safety habits to your routine makes your hobby safer and more rewarding.
1. Rustic Floating Shelves: Elegant Storage Solutions
Building rustic floating shelves is easy and can make your home look better. These shelves are great for storing things in many rooms, like the living room or kitchen.

Start by measuring the spot where you want to put the shelves. It’s important to get the measurements right so they fit perfectly. Use a tape measure to find out how wide and long the shelves should be.
After you have your measurements, cut the wood to size. For a rustic feel, use old or weathered wood. Always wear safety gear and use the right saw for your wood type.
Assembly Techniques
To put your shelves together, attach the shelf board to the brackets. First, build the brackets as you planned. Use screws or nails that fit your wood’s thickness.
Next, attach the brackets to the wall. Make sure they’re level and hold tight to the wall studs. Then, put the shelf board on the brackets. For a clean look, the brackets should be hidden, so align them well and check the shelf is level.
Mounting Methods
It’s key to mount your shelves right to keep them stable and last long. Use wall anchors or screws for the brackets. If your wall is plaster or drywall, use anchors to stop the screws from coming out.
For longer shelves, use more than two brackets. This spreads the weight and stops the shelf from sagging. Make sure the shelves are level when mounting to avoid tilting.
By following these steps, you can make beautiful and useful rustic floating shelves. They add charm and storage to your home. This project is doable, whether you’re experienced or new to DIY.
2. Farmhouse Coffee Table: The Living Room Centerpiece
Building a farmhouse coffee table is a fun DIY project. It can become the heart of your living room. This coffee table is not just useful but also a stunning, handmade wood decoration. It can bring your living room’s décor together.
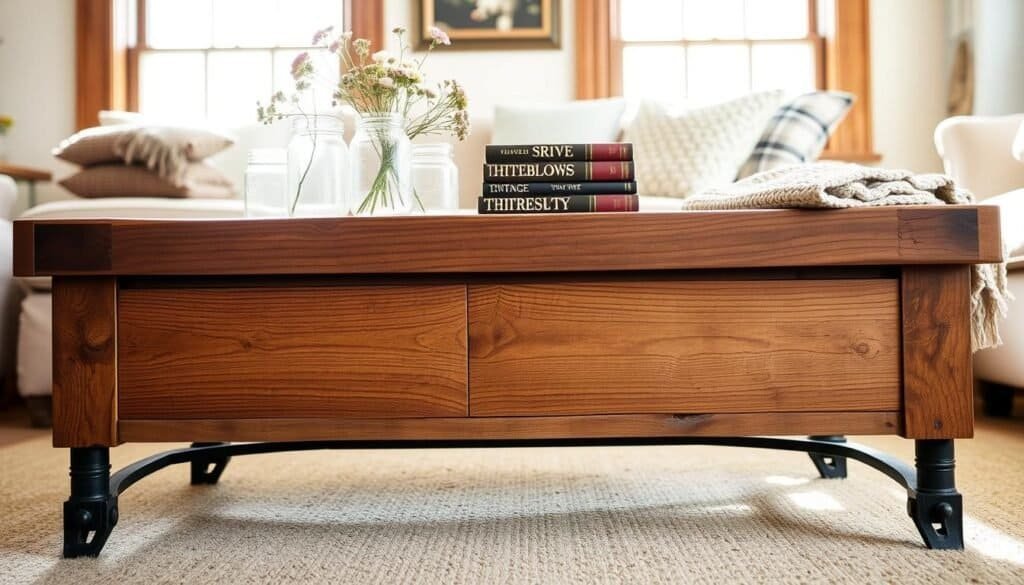
The first step is to build the table top. Choose the right wood that matches your style and needs. Solid hardwoods like oak or maple are great for a strong and lasting table top.
Measure and cut your wood as per your design. For a rustic look, use reclaimed wood or add distressed details to your table top.
Creating the Base
The base of your coffee table is key. It supports the table and affects its style. For a farmhouse look, choose a simple, sturdy base that matches the table top’s rustic charm.
Use strong, durable wood for the base. Add decorative elements like turned legs or a lower shelf for extra storage.
Assembly and Finishing
Now, assemble your coffee table. Make sure the pieces fit well before securing them. Use the right fasteners and follow safety tips to avoid accidents.
After assembling, apply a finish to protect the wood and improve its look. You can use stains, paints, or clear coats, depending on your style.
Your farmhouse coffee table is now complete. It’s a beautiful, handmade piece that will be the living room’s centerpiece. It’s perfect for family and friends gatherings.
3. Wooden Wall Art: Personalized Décor Statements
Turn your living space into a cozy, personalized haven with wooden wall art. It’s a unique way to make your space special, perfect for DIY projects.
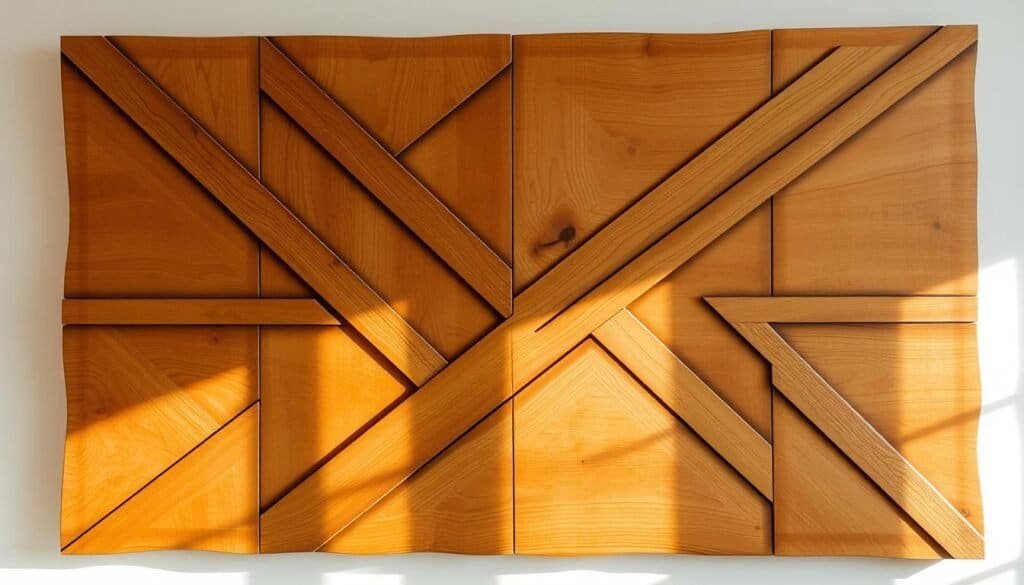
Creating wooden wall art starts with transferring your pattern onto the wood. You can use pattern transfer techniques like stenciling or a projector. This makes it easy to get your design right.
Pattern Transfer Techniques
Stenciling lets you control your design precisely. Or, use a projector to project your image onto the wood. This makes tracing it out simpler.
Cutting and Shaping
After transferring your pattern, it’s time to cut and shape the wood. This needs patience and precision. Use the right tools, like a jigsaw or scroll saw, to get the shape right.
Finishing and Sealing
Next, finish and seal your wooden wall art. Sand the wood to smooth out edges and apply a sealant. This protects the wood and makes it look great. The right finishing and sealing techniques are key to a professional look.
By following these steps, you can make beautiful, personalized decor for your home. Doing wood art DIY projects is rewarding. It lets you show your creativity and make your space truly yours.
4. DIY Wooden Headboard: Bedroom Transformation
A DIY wooden headboard can be the centerpiece of your bedroom. It offers elegance and personal expression. By making your own, you can choose the design, material, and details that match your style.
Panel Construction
The foundation of your headboard is the panel. You can use different woods based on your style and budget. First, measure your bed to decide on the headboard’s size.
Think about the height and width you want. It should match your bed and bedroom walls.
After measuring, cut your wood. For a simple design, use plywood or solid wood. For something more complex, mix different woods or add a frame.
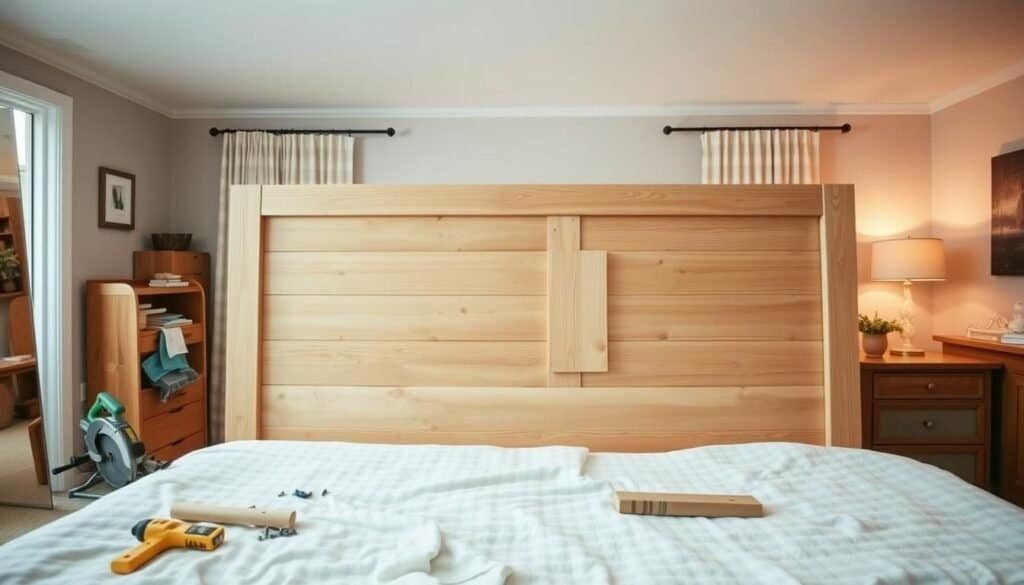
The details and decorative elements can make your headboard special. Add carvings, moldings, or upholstery for a personal touch. You can also include lighting or unique features.
Choose your decorative elements based on your bedroom’s style. For a modern look, go for clean lines and simple designs. For a traditional or rustic feel, add carvings or distressed finishes.
Finishing Techniques
The finish you choose affects your headboard’s look and durability. You can stain, paint, or varnish it. Prepare your surface by sanding it smooth before applying the finish.
After applying the finish, let it dry as instructed. Then, attach hardware or mounting brackets to secure it to your bed or wall.
By following these steps and focusing on details, you can make a DIY wooden headboard. It will not only change your bedroom but also show off your craftsmanship and style.
5. Reclaimed Wood Planter Boxes: Indoor Greenery
Reclaimed wood planter boxes are a mix of eco-friendly and stylish for indoor gardens. They use old wood, cutting down on waste and adding history to your home. These boxes can be a centerpiece, bringing warmth and a natural look that fits many styles.
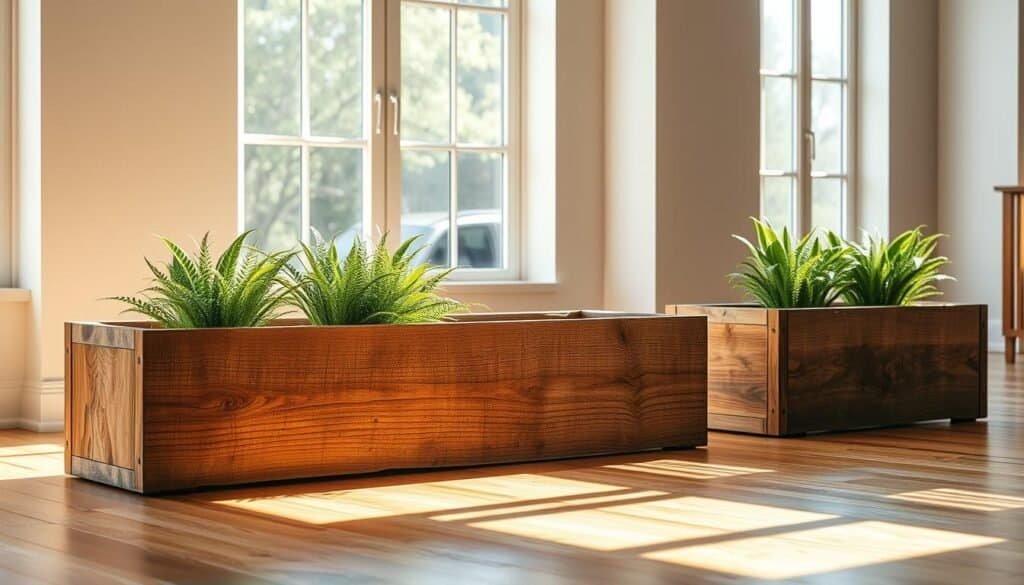
Building a reclaimed wood planter box needs careful planning and detail. First, pick sturdy reclaimed wood that can hold soil and plants. Make sure it’s free from rot and pests. Cut it to size and use rust-resistant nails or screws to put it together. Reinforce the corners for extra stability.
The box’s size depends on the space and the plants you want to grow. Leave enough room for roots and drainage. Sand the box to make it smooth, improving its look and safety.
Waterproofing Methods
It’s key to waterproof your planter box to protect it from moisture. Use a non-toxic, water-based sealant or varnish that’s safe for plants. Apply several coats, letting each dry before adding the next. This keeps the wood safe and looks better.
Check the box often for wear or damage to the waterproof layer. Reapply the sealant as needed to keep the wood strong.
Drainage Solutions
Good drainage stops waterlogged soil, which can harm plants. Drill holes at the bottom of the box for drainage. Adding gravel or broken pottery at the bottom helps too.
Put a tray or saucer under the box to catch extra water. This protects your surfaces from damage. Check the drainage holes often to make sure they’re clear.
By following these steps, you can make beautiful, useful reclaimed wood planter boxes. They add nature and elegance to your indoor spaces.
6. Wooden Coat Rack: Functional Entryway Addition
Make your home’s entrance warm and organized with a wooden coat rack. This easy DIY project adds both style and function. It keeps your coats, hats, and bags tidy.
A wooden coat rack is both useful and fashionable. It involves several steps: cutting and shaping the wood, installing hooks, and adding the finishing touches.
Cutting and Shaping
Start by cutting and shaping the wood for your coat rack. Pick a strong piece that matches your design. Use a saw to cut it to size, then sand it to smooth out any rough spots.
For a rustic vibe, use reclaimed wood or add a distressed finish. This will make your coat rack stand out and fit your home’s style.
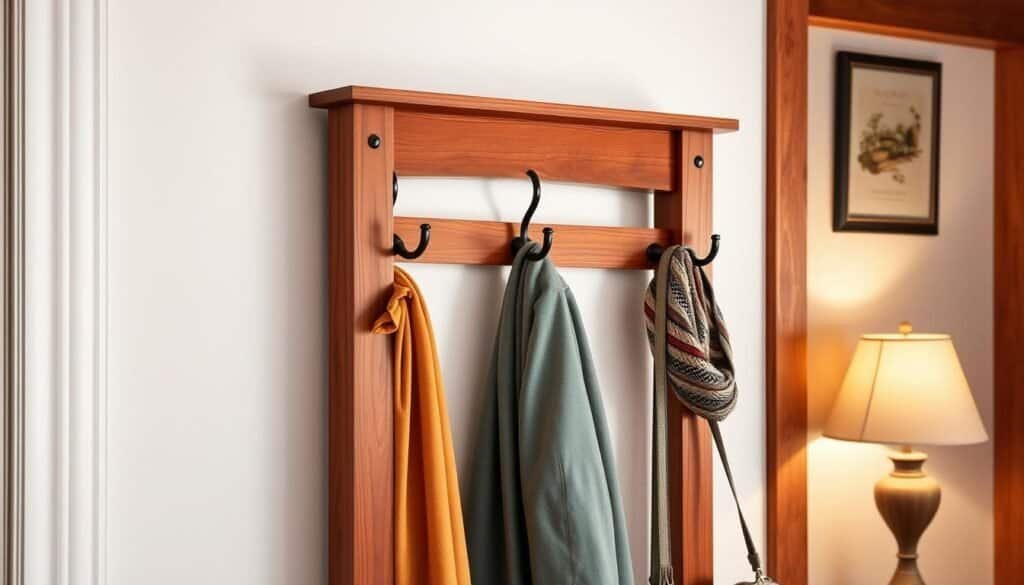
After shaping your rack, install the hooks. Choose hooks that fit your style, like modern, rustic, or vintage. Measure and mark where you want the hooks, making sure they’re evenly spaced.
Drill holes for the hooks, then screw them in. Make sure they can hold the weight of your coats and bags.
Finishing Touches
Now, add the final touches to your coat rack. Apply varnish or stain to protect the wood and make it look better. You can also add metal straps or engraved designs for a personal touch.
With these steps, you can make a useful and stylish wooden coat rack. It’s a great DIY project for beginners. The result is a beautiful piece that enhances your entryway.
7. Kitchen Cutting Board: Practical and Beautiful
Making a kitchen cutting board is a fun DIY project. It’s both useful and adds beauty to your kitchen. A well-made cutting board shows off your style and care.

First, pick the right wood for your cutting board. Maple, walnut, or cherry are good choices. They’re tough and won’t scratch easily.
After picking your wood, cut and join the pieces. You need to be precise for an even board with tight joints. Use a table saw or circular saw for cuts, then a planer to smooth the wood.
Sanding Techniques
Sanding is key to getting your cutting board ready for finishing. Start with coarse-grit sandpaper (80-100 grit) to remove any marks.
Then, switch to finer grits (120-220) for a smooth finish. Always sand with the wood grain to avoid scratches.
Food-Safe Finishing
Choosing a food-safe finish is important. It keeps your cutting board safe from moisture and food. Mineral oil, beeswax, and some varnishes are good options.
Follow the finish’s instructions for application. Reapply as needed to keep your board in good shape. A kitchen cutting board is both useful and a beautiful kitchen decor piece.
8. Wooden Bath Caddy: Spa-Like Luxury at Home
Turn your bathroom into a spa with a wooden bath caddy. It makes bathing more relaxing and adds elegance. This piece is both useful and stylish.

To start, cut and shape the wood. Pick durable, moisture-resistant types like cedar or teak. Use a saw to cut it, then sand for smooth edges.
Adding Features
Make your caddy more useful by adding features. Think about a wine glass holder or a book rest. These features can make your bath time better. Use screws or nails to attach them securely.
Waterproof Sealing
Protect your caddy from water with a waterproof seal. Apply a sealant or varnish to the wood. Focus on cut edges and joints to keep water out.
With these steps, you’ll have a beautiful, useful wooden bath caddy. It’s perfect for relaxing with a book or enjoying wine. Your bathroom will feel like a spa.
9. Bookshelf Ladder: Versatile Storage Solution
Turn your home into a stylish space with a bookshelf ladder. It’s a smart way to save room in small places. You can store books, decorations, and more on its shelves.

Start by making the ladder’s frame. Measure and cut the wood to fit. Choose strong wood that can hold the shelves and what you’ll put on them. A sturdy frame is key for stability.
To make the frame, put the sides and base together with screws or nails. Ensure the corners are tight and the ladder is straight. This base is where your shelves will sit.
Shelf Installation
After the frame is ready, add the shelves. Use brackets or screws to attach them. Make sure the shelves are evenly spaced and strong.
Think about the shelf height and depth you need. Adjustable shelves are great for holding different sizes of items. This makes your ladder more useful.
Stability and Safety Features
Keeping your ladder stable and safe is important. Use anti-tip brackets to keep it from falling. Also, place it on a solid, flat surface.
Check the ladder and shelves often for damage. Tighten loose screws and keep the finish in good shape. This will make your ladder last longer.
A bookshelf ladder is more than just storage. It’s also a beautiful addition to your home. With some planning and effort, you can make a piece that shows off your style.
10 DIY Wood Projects That Instantly Transform Your Home
With just a few tools and some creativity, you can make beautiful pieces from scrap wood. A wooden wine rack is a great project. It adds elegance and serves as a useful storage spot.
To start your wine rack, build the frame. Cut four pieces of wood to the right length. Then, use wood glue and nails to put them together into a rectangular shape. Make sure the corners are tight and the frame is strong.
Bottle Holder Construction
After the frame, make the bottle holders. Cut more wood to fit inside the frame, leaving space for your wine bottles. Use wood screws to attach these pieces, ensuring they can hold the bottles’ weight.
Assembly and Finishing
Now, put the wine rack together. Place the bottle holders inside the frame and secure them. Sand the whole thing to smooth out any rough spots. Then, apply a finish like stain or polyurethane to protect the wood and make it look better.
By following these steps, you’ll have a beautiful, functional wine rack. It brings warmth and style to your home. This DIY project shows how scrap wood can be turned into something amazing, changing your home for the better.
Troubleshooting Common DIY Woodworking Challenges
Troubleshooting is key in DIY woodworking. It helps you spot and fix mistakes early. One big challenge is dealing with uneven or rough cuts.
To solve this, make sure your saw blade is sharp and straight. Also, check your wood before starting. Use jointing or planing to straighten warped wood.
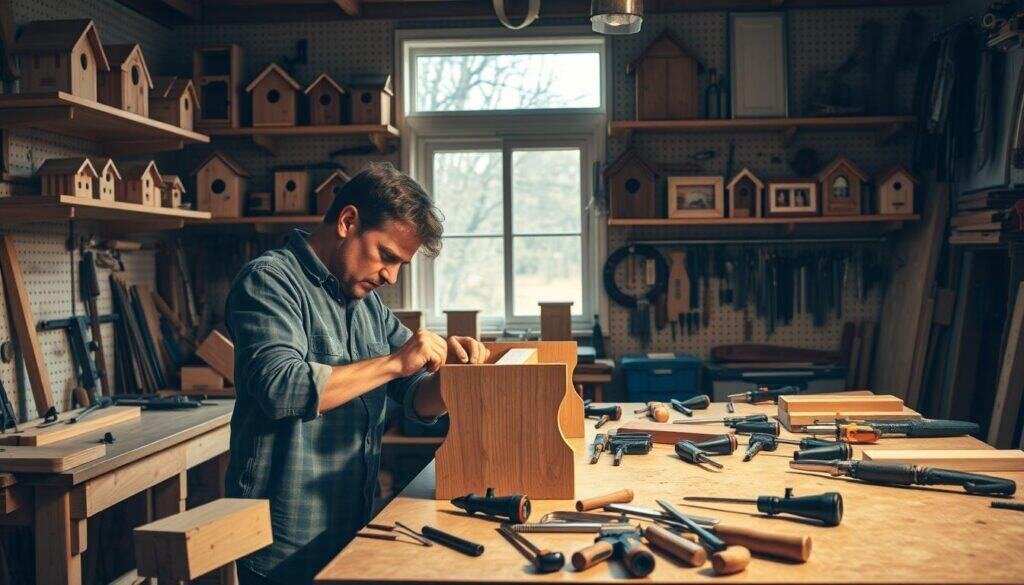
Keep your workspace clean and organized. This helps avoid accidents and mistakes. Knowing these common challenges and tips can make your projects successful.
Even simple projects can be tricky. But with time and practice, you’ll get better at solving problems and avoiding mistakes.
Maintenance Tips for Your DIY Wood Projects
Keeping your DIY wood projects in good shape is key. Regular care helps them stay looking great for a long time.
Start by dusting them often with a soft cloth. Stay away from harsh chemicals or abrasive cleaners. They can harm the wood finish.
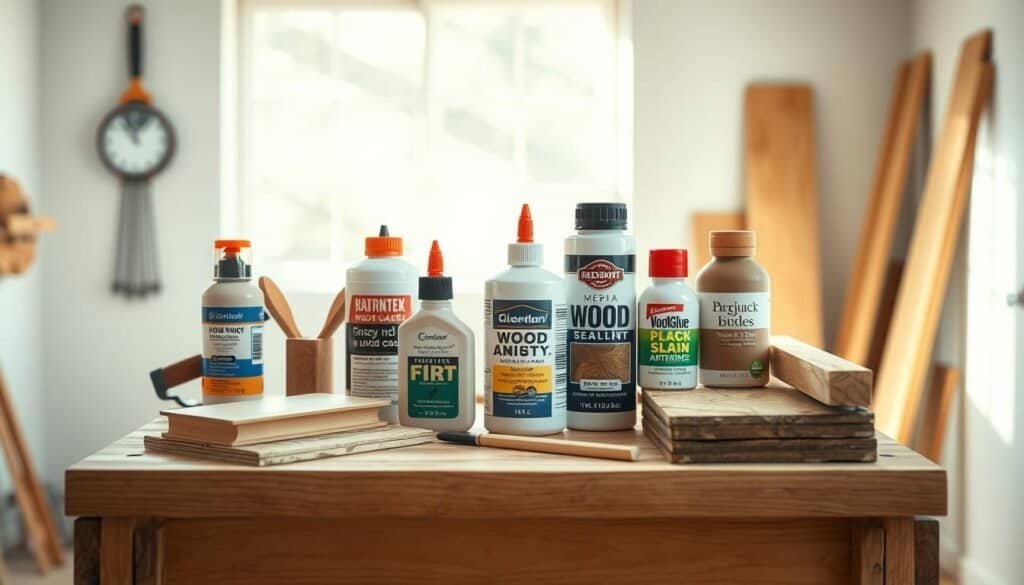
If your wood projects get wet, like kitchen cutting boards or bathroom items, use a protective finish. Mineral oil or beeswax works well. They prevent water damage and warping.
Also, watch for any signs of wear or damage. Fix these problems quickly. By following these easy tips, your DIY wood projects will last for many years. They’ll stay beautiful and useful.
Eco-Friendly Approaches to DIY Woodworking
DIY woodworking is moving towards being more eco-friendly. This change is not just about helping the environment. It’s also about making wood projects that are unique and full of character.
Using reclaimed wood is a big part of eco-friendly DIY woodworking. Reclaimed wood comes from old buildings and fences, giving it a new life. It reduces waste and makes each piece special.
Choosing the right materials is also key. Using wood that’s been certified by the FSC helps support good forestry practices. Plus, picking eco-friendly finishes and adhesives can lessen your project’s environmental impact.
Another way to be eco-friendly is to plan your projects well. This way, you use every piece of wood. It saves materials and makes you think creatively.
By following these eco-friendly steps, DIY woodworkers can help the planet. They also get to make beautiful, useful items for their homes.
Conclusion
Starting a woodworking journey can be very rewarding. It lets you make unique items that show off your style. The DIY wood projects in this article show how wood can change your home.
Projects like rustic floating shelves and wooden wall art can add character and function to your space. Working with wood lets you make pieces that are both beautiful and useful, improving your home’s feel.
We hope you’ll begin your woodworking adventure, exploring the many DIY wood projects out there. With time and effort, you can make your home truly special and meaningful to you.

