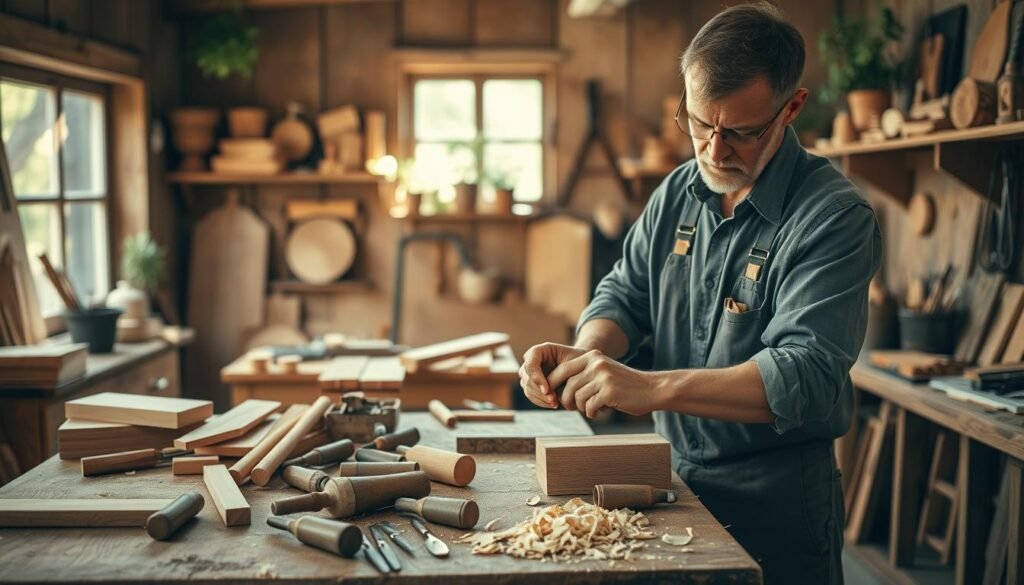
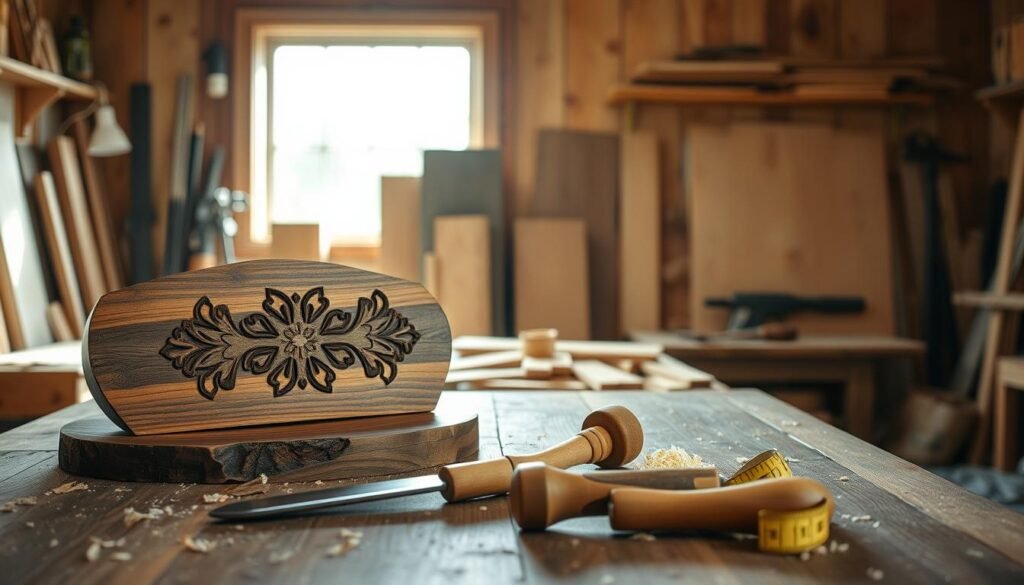
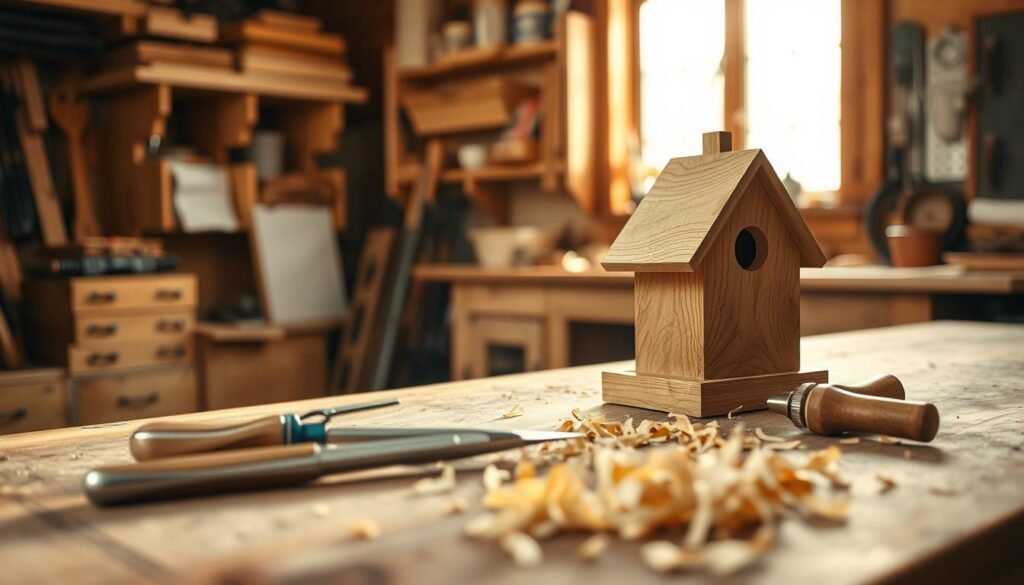
Discover the joy of creating something with your own hands through woodworking. Whether you’re a seasoned craftsman or just starting out, woodworking can be rewarding. It fosters creativity and patience.
For beginners, woodworking is a chance to develop new skills and build confidence. Starting with simple projects can lead to more complex tasks. This makes it a hobby that grows with you.
Exploring woodworking projects can be a fun and creative outlet. From decorative items to functional pieces, the possibilities are endless. It’s an exciting hobby for anyone looking to bring their ideas to life.
Getting Started with Woodworking: Tools and Materials
Starting your woodworking journey means knowing the basics of tools and materials. It doesn’t matter if you’re experienced or just starting out. Understanding the fundamentals is key to doing well on your projects.
Essential Tools for Beginners
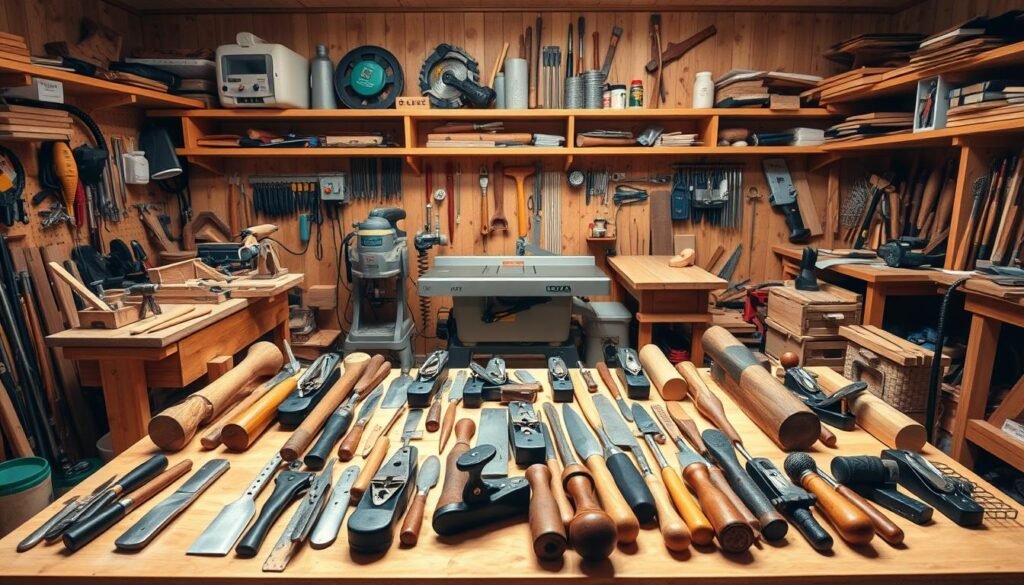
For beginners, getting the right tools is the first step. You’ll need a tape measure, square, safety glasses, a hammer, and chisels. Also, a table saw or circular saw is vital for straight cuts. These tools will help you with many DIY wood projects and ideas.
Basic Materials for Your First Projects
After getting your tools, think about the materials. Start with basic lumber like pine or cedar. These are soft, easy to work with, and great for beginners. You can find them at most hardware stores or home improvement centers.
Safety First: Precautions to Take
Always put safety first when working with wood. Wear protective gear like safety glasses and a dust mask. Keep your clothes tight and avoid jewelry that could get caught in tools. These simple steps will make your woodworking safe and fun.
Simple Wooden Floating Shelf
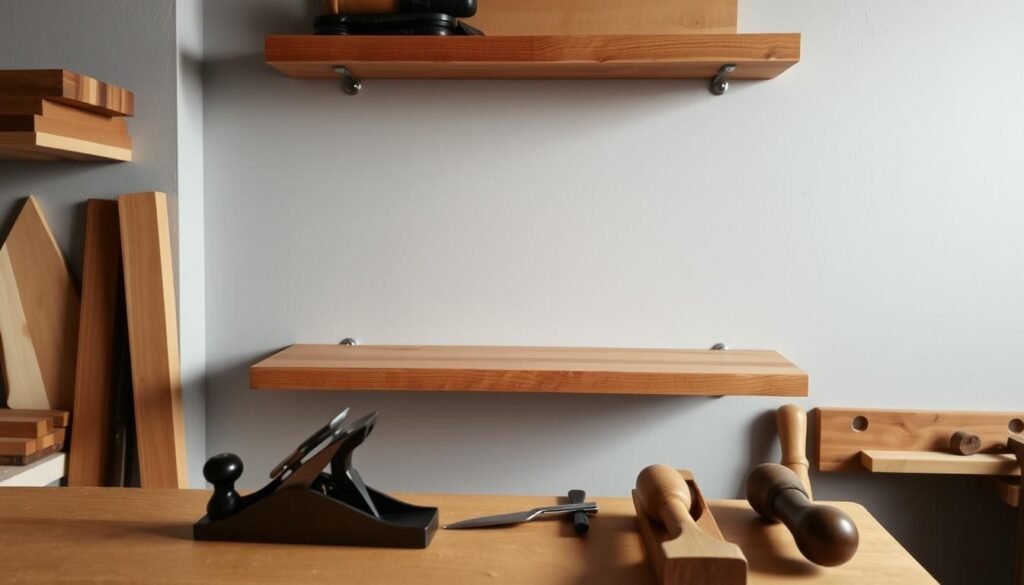
Starting with a wooden floating shelf is a great idea for beginners. It’s easy to make and teaches you the basics of woodworking. You’ll need just a few tools and materials.
Materials and Tools Required
You’ll need a wooden plank, 3/4 inch thick and 8-10 inches wide. The plank’s length depends on where you’ll put it. You’ll also need wall anchors, screws, a drill, a level, and sandpaper. For a nice finish, think about adding a wood finish or stain.
Having the right tools is key. Make sure your drill has the right bits for screw holes. Sandpaper will help make the wood smooth, removing splinters or rough spots.
Step-by-Step Building Process
Start by cutting your plank to the right length. Sand the edges to make them smooth. Then, sand the whole plank to get it ready for staining or finishing.
If you’re using a finish, follow the instructions and let it dry. After it’s dry, attach wall anchors to the wall. Use a level to make sure they’re straight. Then, screw the shelf into the anchors. Check it’s level before tightening the screws.
Mounting and Display Ideas
A floating shelf is great for many decor styles. You can put it above a desk, in a living room, or kitchen. Display decorative items, books, or kitchenware to make it your own.
Try different lengths and widths for a unique look. You can even add LED lights underneath for a modern feel.
Rustic Picture Frames from Reclaimed Wood
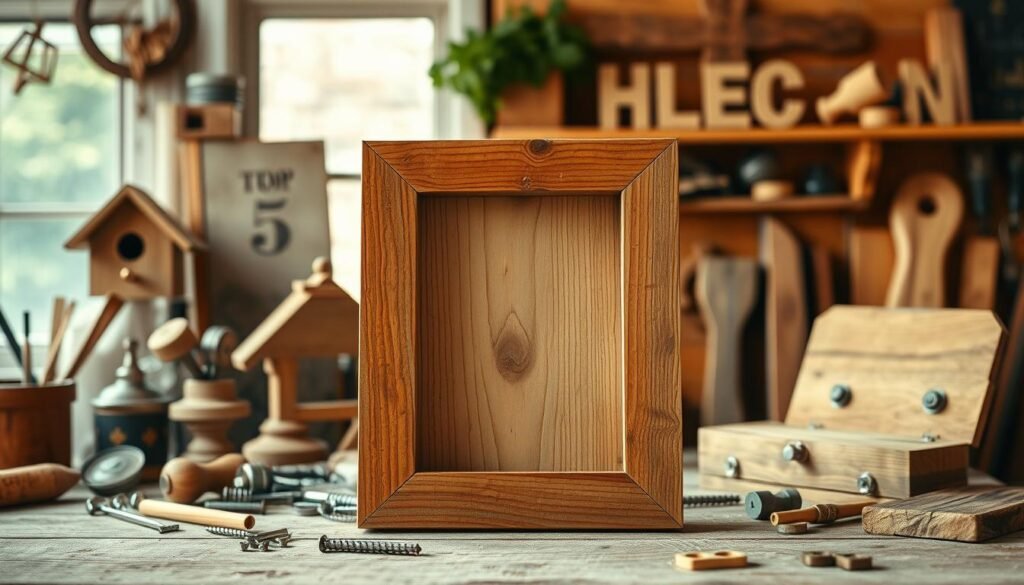
Making rustic picture frames from reclaimed wood is a fun DIY project. It lets you create something beautiful and gives old materials a new life.
Selecting and Preparing Reclaimed Wood
Start by picking the right reclaimed wood. Look for pieces with cool textures and stories, like old barn wood or pallet wood. Clean it well to get rid of dirt or debris.
Cutting and Assembly Guide
Measure and cut your wood for your frame design. Simple designs are good for beginners. Use a miter saw for accurate cuts and wood glue or nails to put it together.
Distressing and Finishing Techniques
To make it look more rustic, distress your frame with sandpaper or a wire brush. Then, apply a finish that protects the wood and keeps its rustic charm. A clear wax or oil finish is great, highlighting the wood’s natural beauty.
Creating rustic picture frames from reclaimed wood is a rewarding DIY project. It combines creativity with sustainability. By following these steps, you can make beautiful, unique pieces that enhance any room.
DIY Wooden Coasters: Small Wood Projects to Sell
Starting with DIY wooden coasters is a great way to get into woodworking. They’re useful and can be sold. With the right materials and creativity, you can make a profit.
Wood Selection and Preparation
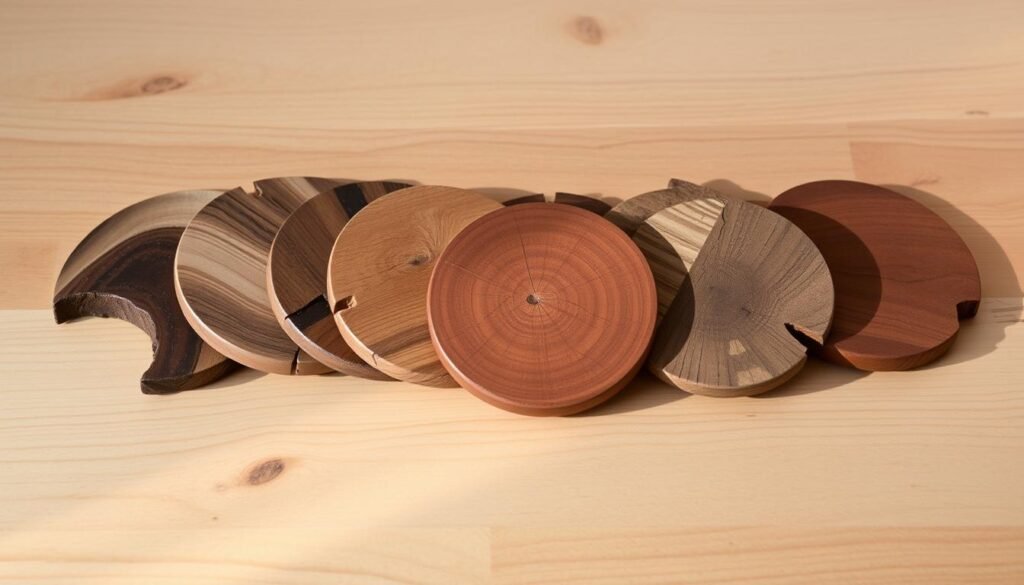
Choosing the right wood is the first step. You can pick from oak, maple, or cherry. Cut the wood into thin slices, about 1/4 inch thick. Sand the slices to make them smooth.
Cutting and Sanding Process
Use a precision saw or laser cutter for coaster shapes. Sand the coasters well to remove splinters. This makes them smooth and even.
Sealing and Marketing Your Creations
Apply varnish or polyurethane to protect the coasters. Once sealed, you can sell them. Try Etsy or local fairs. Add a personal touch, like engraving, to make them unique.
Beginner-Friendly Wooden Planter Box
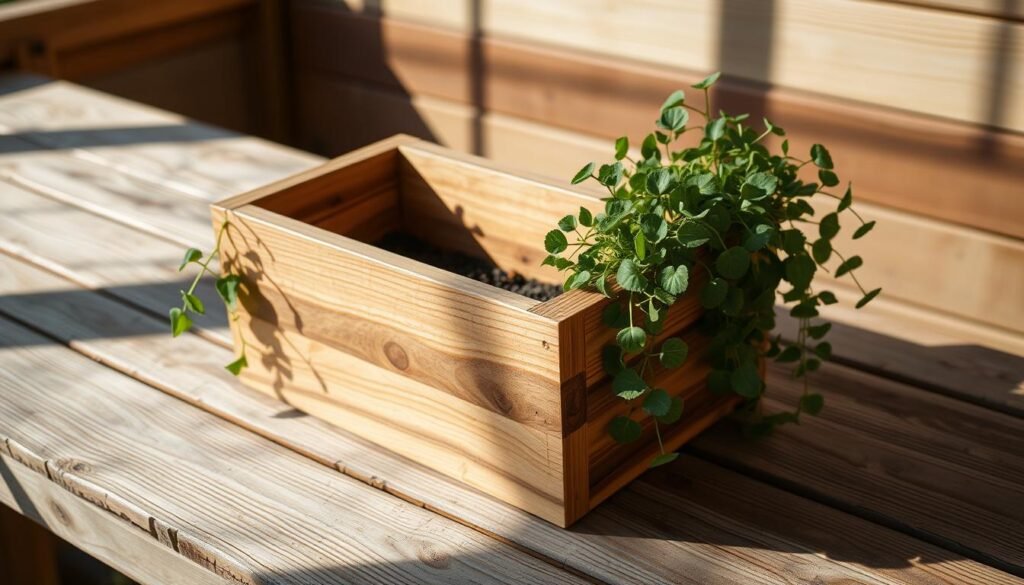
Woodworking beginners can start with a simple wooden planter box project. It’s a great choice for those new to woodworking. It’s both fun and useful.
Materials List and Cutting Diagram
You’ll need 2 x 4 lumber for the frame and 1 x 6 lumber for the bottom and sides. Don’t forget wood screws and waterproof glue. A cutting diagram will guide you through the project.
Assembly Instructions
Start by building the frame with 2 x 4 lumber. Use wood screws to hold the corners together. Then, add the bottom and sides with 1 x 6 lumber. Remember to use waterproof glue to keep it dry.
After building the base, you can add a finish. This will protect the wood and make it look better.
Weatherproofing Your Planter
To keep your planter box dry, apply a weatherproof sealant. This step will help it last longer.
By following these steps, you can make a beautiful planter box. It’s great for both inside and outside your home.
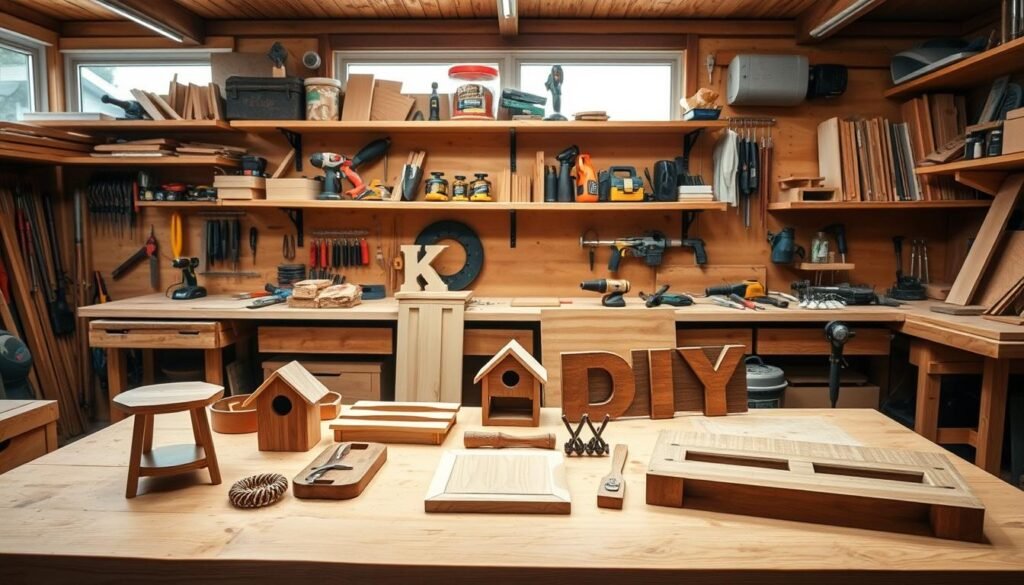
10 Easy Woodworking Projects That Build Essential Skills
Woodworking projects are more than a hobby. They help you master many skills. Starting with simple projects builds confidence and sharpens your skills.
Skill-Building Benefits of These Projects
These projects are made to improve your woodworking skills. You’ll learn new techniques, get better at hand-eye coordination, and solve problems. These skills help with all kinds of woodworking projects.
Tools and Techniques You’ll Master
These projects teach you to use many tools and techniques. You’ll learn to use hand tools and power tools safely. You’ll get good at measuring, cutting, and putting things together.
Progression Path for Woodworking Enthuasiasts
As you finish these projects, you’ll get better at more complex tasks. This path helps you grow your skills. You’ll be ready to take on harder projects with confidence.
These 10 easy woodworking projects do more than just create something. They help you build a strong set of skills. They’re great for beginners or anyone looking to improve their skills.
End-Grain Wooden Cutting Board
Making an end-grain wooden cutting board is a fun woodworking project. It’s perfect for those who love creating things with wood. This project is both useful and beautiful, making it a great choice for wood crafts.
Selecting Food-Safe Woods
Choosing the right wood for a cutting board is key. Hardwoods like maple, walnut, and cherry are great. They’re tough, look good, and are safe for food.
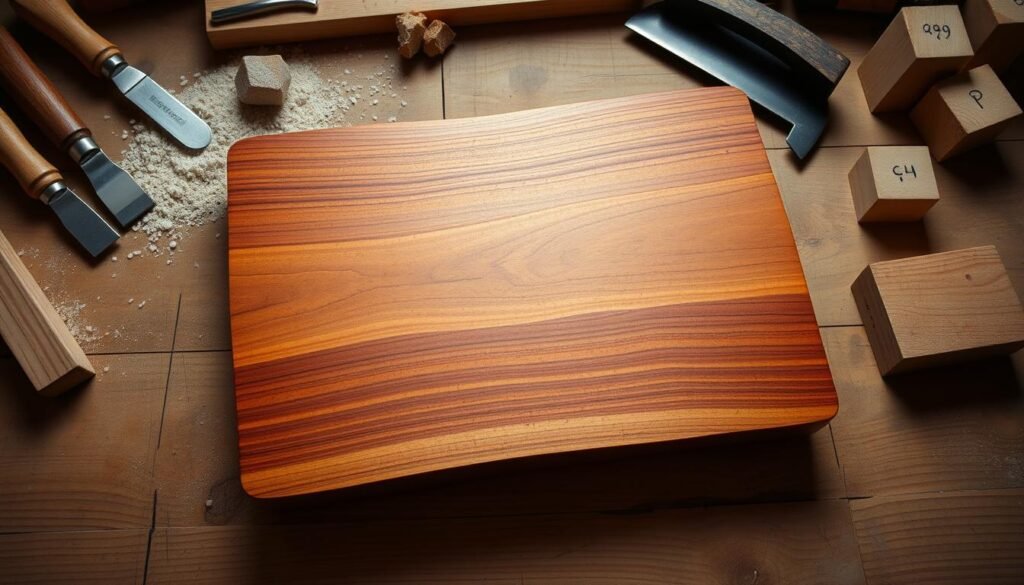
Design and Construction Steps
To make a cutting board, you cut wood into small blocks. Then, you arrange and glue them together. This needs patience and precision to get the pattern right. The end result is a strong and pretty cutting board.
Proper Maintenance for Longevity
Keeping your cutting board in good shape is important. You should oil it often to stop cracks and keep it clean to avoid germs. Taking care of it will make it last longer, showing off your woodworking skills.
Scrap Wood Ideas: Decorative Wall Art
Turning scrap wood into wall art is a creative outlet. You can make unique pieces that bring your home to life. It’s a way to add a personal touch with imagination.
Organizing and Selecting Scrap Pieces
Start by sorting your scrap wood. Group it by size, texture, and color. This makes planning easier. Pick pieces that match your desired look for a cohesive feel.
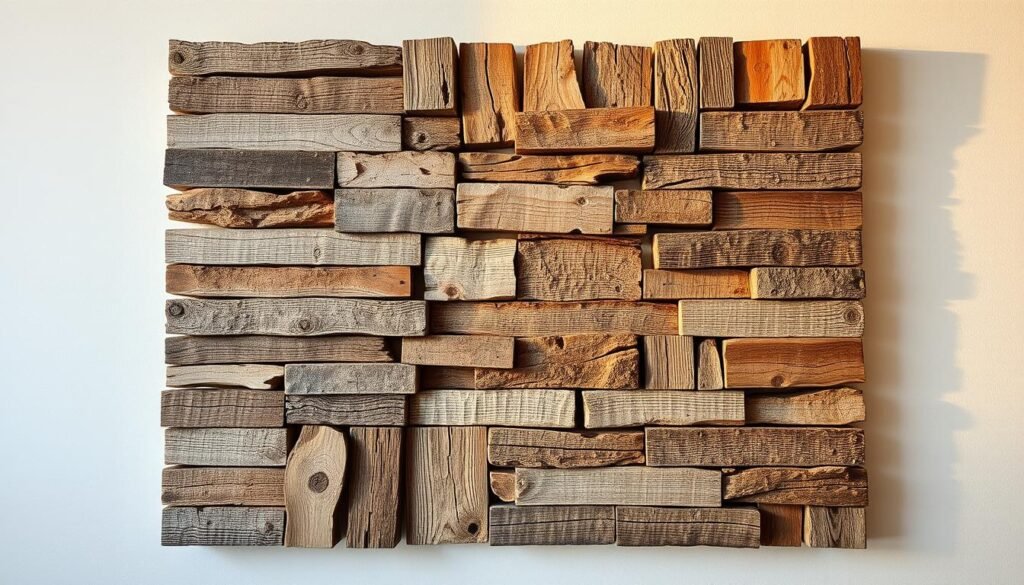
Design and Layout Techniques
Designing your wall art means choosing a layout. You can go for a pattern, random arrangement, or mosaic. Think about the space and decor around it for a perfect fit. Use staining, painting, or natural wood to add interest.
Mounting and Display Options
After making your art, it’s time to mount it. You can attach a backing board or use strong adhesive. Choose a method that holds it securely. Try different displays, like grouping pieces or making a focal point.
2×4 Projects DIY: Simple Wooden Bench
Starting with a simple wooden bench is a great way to get into 2×4 projects DIY. It’s perfect for beginners because it needs only basic tools and materials. Building a bench with 2×4 lumber helps you improve your DIY skills.
Materials and Tools Needed
You’ll need 2×4 lumber, wood screws, and a drill to begin. A saw and measuring tape are also necessary for cutting and measuring. Don’t forget a square and a hammer. For this project, keep your tools and materials simple.
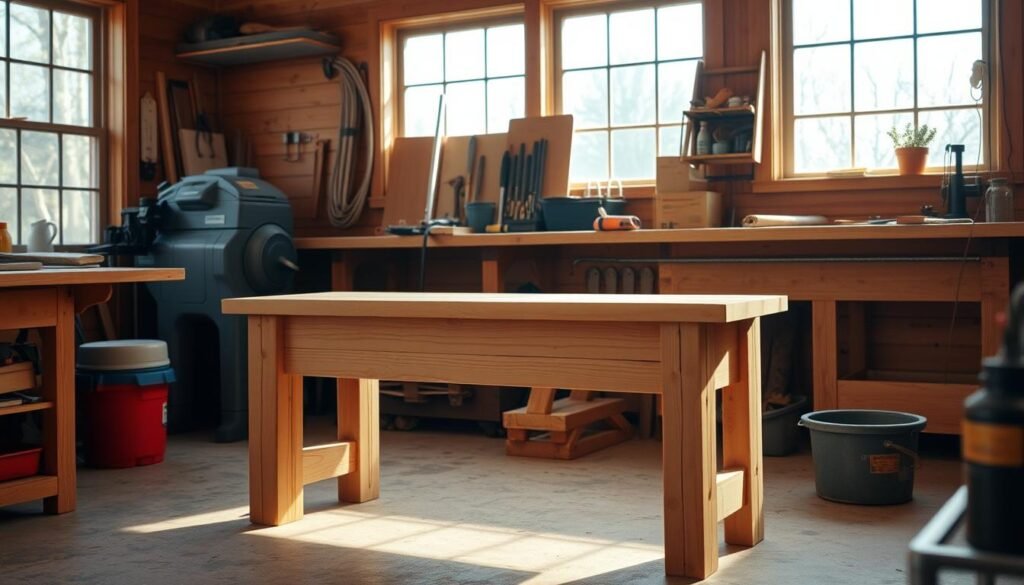
Construction Process Breakdown
First, cut the 2×4 lumber into the right lengths for the frame. Cut four legs and two frame pieces. Use wood screws to hold the frame together, making sure it’s square and strong.
Then, add the seat slats, spacing them out evenly. Sand the whole bench to make it smooth. This project helps you practice measuring and cutting, key skills for beginners.
Customization and Finishing Options
After building your bench, you can make it your own. Try adding a wood finish or stain to protect and beautify the wood. You could also add armrests or a backrest for more comfort. For a rustic look, leave the wood as is, enjoying its natural beauty.
Wooden Bookshelf: Woodworking for Beginners
A wooden bookshelf is both useful and a great project for beginners. It helps you practice skills like measuring, cutting, and putting things together. Plus, you get to make something useful for your home.
Designing Your First Bookshelf
Think about where your bookshelf will go and how big it should be. Also, pick a style and material that fits your home. A simple design with adjustable shelves is good for beginners. You can find free plans online to help you.
Assembly and Joinery Techniques
Building your bookshelf needs basic joinery skills. First, prepare all the parts as your plan says. Then, use screws or nails to put the frame together. For a nicer look, try dowels or mortise and tenon joints. These skills are key for many beginner projects.
Finishing and Installation
After building, sand your bookshelf to make it smooth. Then, add a finish to protect the wood and make it look better. Lastly, put your bookshelf in place, making sure it’s level and stable. You’ll have a beautiful piece to show off your books and decorations.
Conclusion: Your Journey in Woodworking
Starting your woodworking journey can be very rewarding. The 10 easy woodworking projects in this article will help you build important skills. They will also boost your confidence in your craft.
These projects range from simple wooden floating shelves to rustic picture frames. You’ll also find DIY wooden coasters and wooden planter boxes. Each project offers a chance to start your woodworking adventure.
Remember, the more you practice, the better you’ll get. Don’t hesitate to try new techniques and materials. Woodworking offers endless possibilities, and these 10 projects are just the beginning of your journey.

