Think DIY woodworking is only for pros with a garage full of tools? Think again. These projects are for anyone, even if you’ve never built anything before.
With just a few basic tools and some creativity, you can make something useful and stylish. You’ll want to grab some scrap wood and start right away.
Key Takeaways
- Discover beginner-friendly woodworking projects that can be completed quickly.
- Learn how to create functional DIY wood furniture for your home.
- Understand the basic tools required for DIY woodworking.
- Explore creative ideas for repurposing wood into unique pieces.
- Get started with woodworking without needing a fully equipped workshop.
Why DIY Wood Projects Are Perfect for Beginners
DIY wood projects are great for beginners. They help you learn new skills and make something beautiful and useful. Working with wood combines creativity and practicality, perfect for those who want to try crafting.
Benefits of Working with Wood
Wood is easy to find and not expensive, making it perfect for beginners. It adds warmth and beauty to any space. Plus, you can customize it to fit your style and needs.
Accessibility and Affordability
Working with wood is great because it’s accessible and affordable. You can find wood at hardware stores and home improvement centers. It’s also cheap, which is great for beginners starting to get creative.
Versatility and Customization
Wood is very versatile and customizable. You can cut, shape, and finish it in many ways. This lets beginners make everything from simple decorations to complex furniture.
Essential Tools for Beginner Woodworkers
To start with DIY wood projects, you’ll need some basic tools. These include a tape measure, safety glasses, a hammer, a saw, and sandpaper. Having these tools will help you complete many woodworking projects.
Safety Tips for DIY Wood Projects
When working with wood, safety is key. Beginners should always wear safety gear like safety glasses and a dust mask. It’s also important to use power tools and equipment correctly.
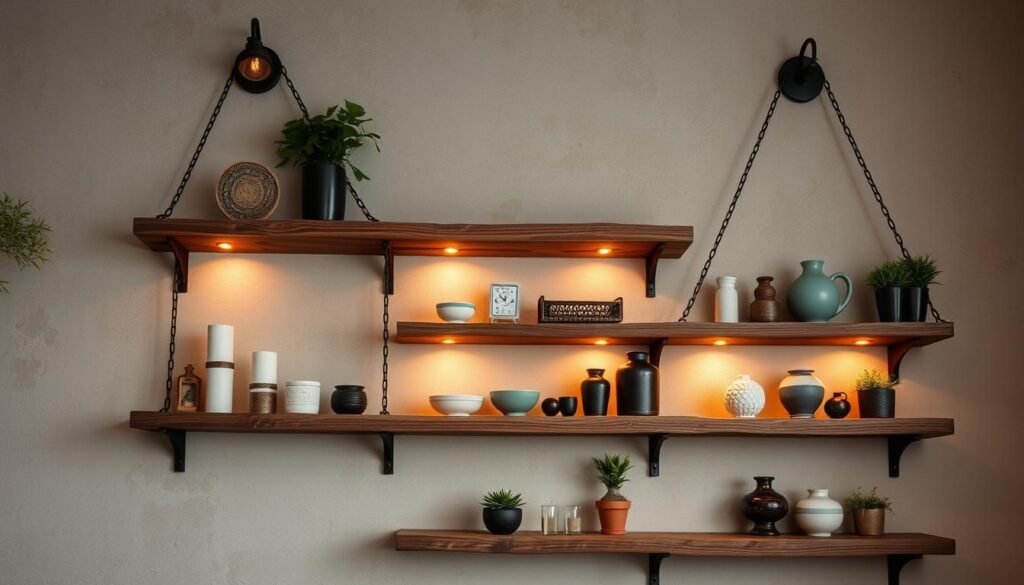
Rustic Floating Shelves
Making rustic floating shelves is a fun DIY project. It adds warmth to any room. It’s great for those who love working with wood and want to make their home unique.
Materials and Tools Needed
You’ll need some basic stuff to start. You’ll need reclaimed or rustic wood, a drill, a saw, sandpaper, and wall anchors. A level, pencil, and measuring tape are also handy.
Step-by-Step Instructions
Here’s how to make your rustic floating shelves:
Cutting and Sanding
First, cut your wood to the right length for your shelves. Sand the edges to smooth them out and get rid of splinters. This step is key for a professional finish.
Assembly and Mounting
Then, put the shelves together by attaching the brackets or supports. Make sure they’re straight with a level. Mount them to the wall using wall anchors for a secure hold.
Styling and Display Tips
After installing your shelves, decorate them with items like vases, books, or homemade wood crafts. Try out different setups to match your home’s style.
By following these step-by-step wood tutorials, you can make stunning and useful rustic floating shelves. They’ll add a personal touch to your home.
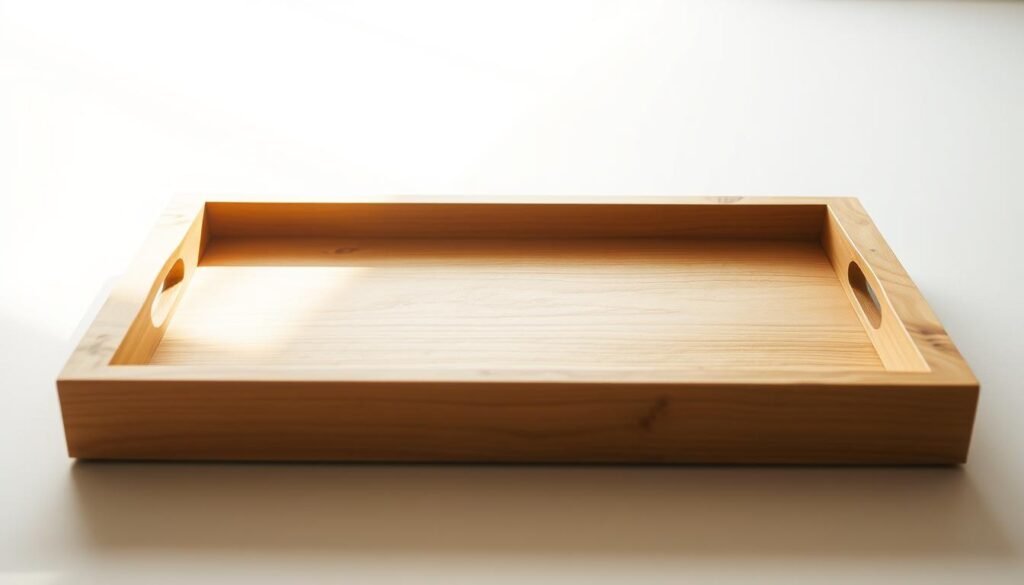
Simple Wooden Serving Tray
Wooden serving trays are both useful and stylish. They bring warmth and elegance to any space. Making a simple wooden serving tray is a great DIY project. It’s perfect for improving your home decor or creating a special gift.
Materials and Tools Needed
You’ll need a few basic things to start. These include a wooden plank, sandpaper, a drill, and handles. Pick a wood type that fits your style, like oak or pine. Make sure you have all the tools you need.
Step-by-step Instructions
First, cut your wooden plank to the size you want for your tray.
Creating the Base
Then, sand the cut wood to make it smooth. This ensures the tray is easy to hold.
Adding Handles
Drill holes for the handles and attach them firmly. This makes the tray easier to carry.
Customization Options
After finishing your tray, think about adding a personal touch. You can use stains, paints, or engravings. This makes your handmade wooden gift unique and adds a personal touch to your home. Look into different customization options to make your tray special.
DIY Wooden Picture Frames
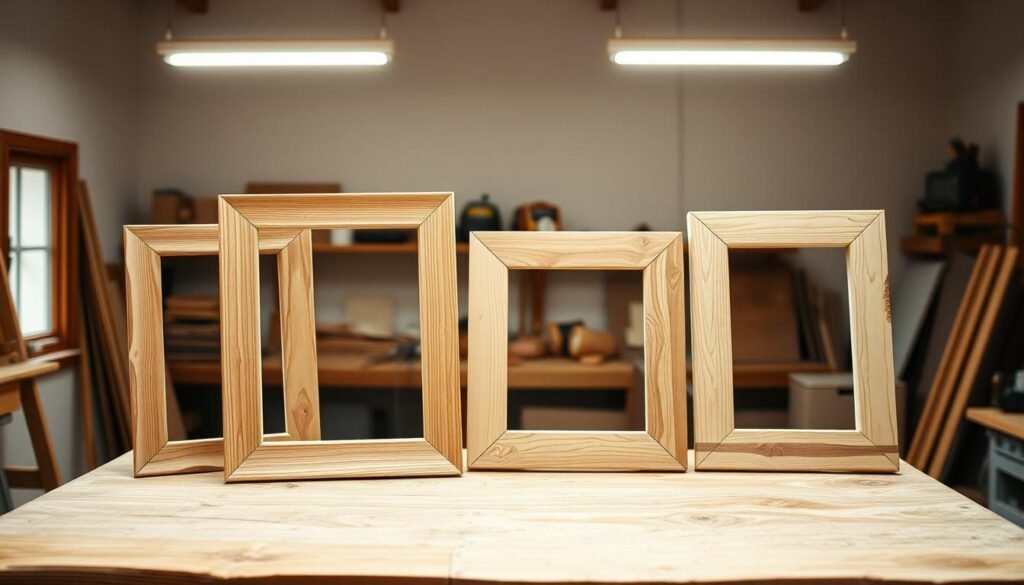
DIY wooden picture frames can make your home decor more personal. With basic tools and materials, you can craft frames that fit any room’s style.
Materials and Tools Needed
You’ll need wooden strips and a miter saw for precise cuts. Wood glue and clamps help with assembly. Sandpaper and a wood finish are key for a polished look.
Step-by-Step Instructions
Measuring and Cutting
First, measure your photo or artwork to find the right frame size. Cut the wooden strips at 45-degree angles with a miter saw for a smooth joint.
Assembly and Finishing
Use wood glue and clamps to put the frame together. After it dries, sand it to remove any rough spots.
Creative Finishing Techniques
Protect and beautify your frame with a wood finish. Try wood cutout patterns or engravings for a special touch. Use different stains or paints to match your decor.
Easy Wooden Plant Stand
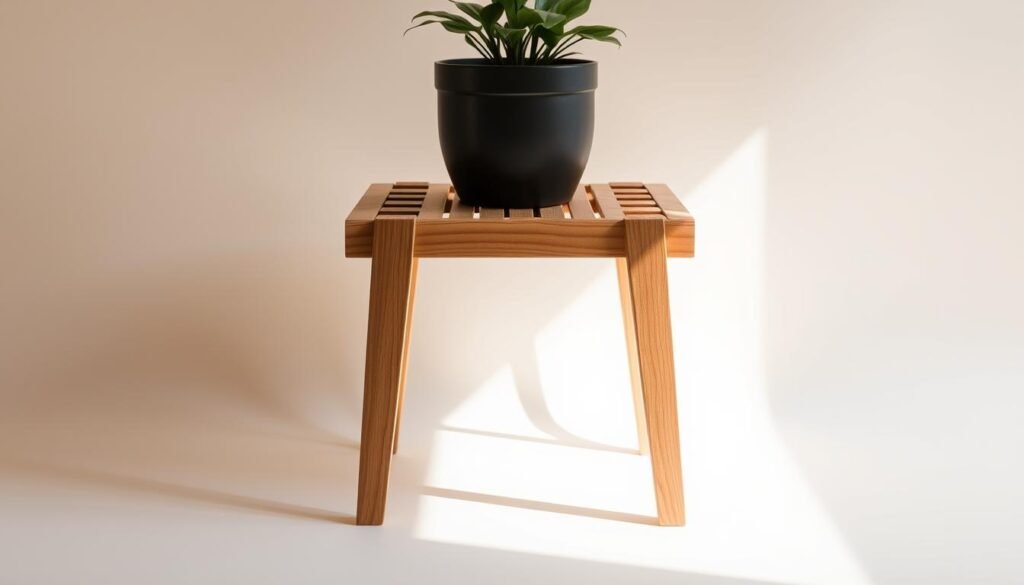
Looking for a simple wood project? An easy wooden plant stand is a great start. It’s perfect for beginners and can be tailored for any plant size.
Materials and Tools Needed
You’ll need basic materials and tools to begin. This includes wooden planks, a saw, a drill, screws, and a hammer. Don’t forget sandpaper and wood finish to smooth and protect the wood.
Step-by-Step Instructions
Building your plant stand has two main parts: making the base and the plant support.
Building the Base
Start by cutting wooden planks to the right length for the base. Use a saw for precise cuts. Then, use screws and a drill to put the base together. Make sure it can hold the plant and soil.
Creating the Plant Support
Now, make the plant support. It can be simple or fancy, based on what you like. Securely attach the platform to the base with screws or nails. Make sure it’s even and stable.
Design Variations for Different Plant Sizes
One great thing about making your own plant stand is you can customize it. For small plants, make a compact stand. For bigger plants, you’ll need something sturdier. Think about your plant’s size and weight when designing. You can even add drawers or shelves for more storage.
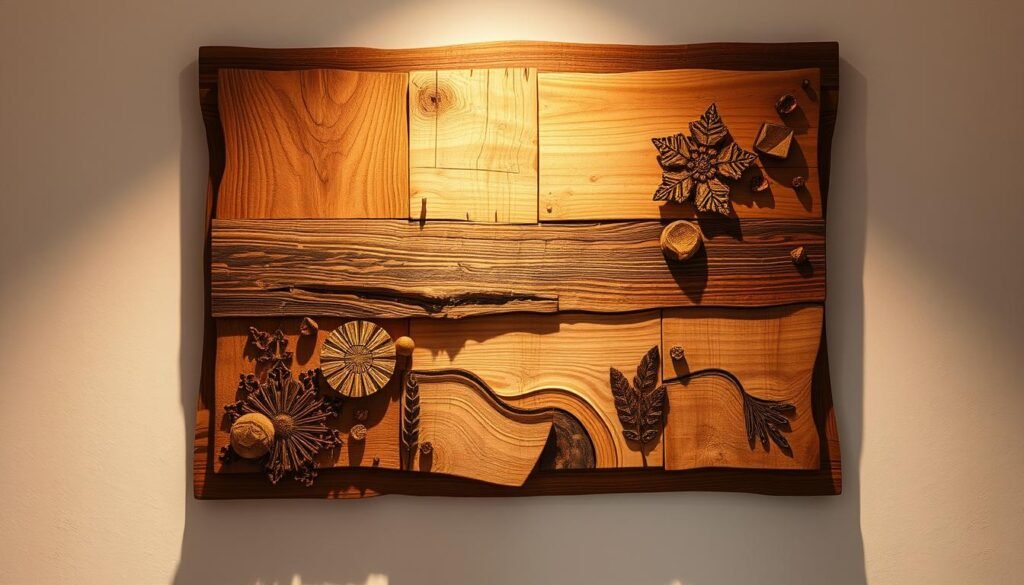
Wooden Wall Art
Making wooden wall art is a great way to make your home unique. You can use simple materials and your creativity to create something beautiful. It will show off your personal style.
Materials and Tools Needed
To begin, you’ll need some basic stuff. You’ll need reclaimed wood or planks, a saw, sandpaper, a drill, and a hammer. You might also want wood stain or paint, a sealant, and a geometric pattern template.
Step-by-Step Instructions
First, cut your wood into the shapes and sizes you want. Sand the edges to smooth them out and get rid of splinters. Then, draw your design or pattern on the wood.
Creating a Geometric Pattern
To make a geometric pattern, arrange your wood pieces as you like. You can use a template or draw it freehand for a rustic look. When you’re happy with it, use a drill and nails to hold it together.
Staining and Finishing
Use wood stain or paint to make your art look better. After it dries, put on a sealant to protect it and make it shiny.
Pattern Ideas and Inspiration
For ideas, think about making a geometric pattern with scrapwood. Or, try a nature-inspired piece with leaves or branches. You can also play with different stains and finishes to make your art more interesting.
10 Simple DIY Wood Projects Anyone Can Make at Home
Creating something from wood at home is a great way to explore your creativity. It’s perfect for both seasoned woodworkers and beginners. DIY wood projects can enhance your home’s decor and help you learn new skills.
Choosing the Right Project for Your Skill Level
When picking a DIY wood project, think about your skill level. Beginners should start with simple projects that need few tools and materials. As you get better, you can tackle more complex projects.
Common Mistakes to Avoid in Woodworking
One big mistake in woodworking is not measuring right. Always double-check your measurements before cutting. Also, don’t forget to use safety gear like safety glasses and a dust mask. Avoiding these mistakes will help you succeed.
Where to Find Affordable Materials
Finding cheap materials is key for DIY wood projects. You can find reclaimed wood sources at local salvage yards or online. For budget-friendly lumber options, check your local hardware store or online retailers.
Reclaimed Wood Sources
Reclaimed wood gives your projects a unique touch. You can find it at:
- Local salvage yards
- Online marketplaces like Craigslist or Facebook Marketplace
- Habitat for Humanity ReStores
Budget-Friendly Lumber Options
For affordable lumber, try:
- Pine or spruce from local hardware stores
- Discounted lumber at online retailers
- Local classifieds for free lumber
By choosing the right project, avoiding mistakes, and finding cheap materials, you can enjoy making something with your hands. Whether you’re into quick woodworking projects or more detailed ones, there’s a DIY wood project for you.
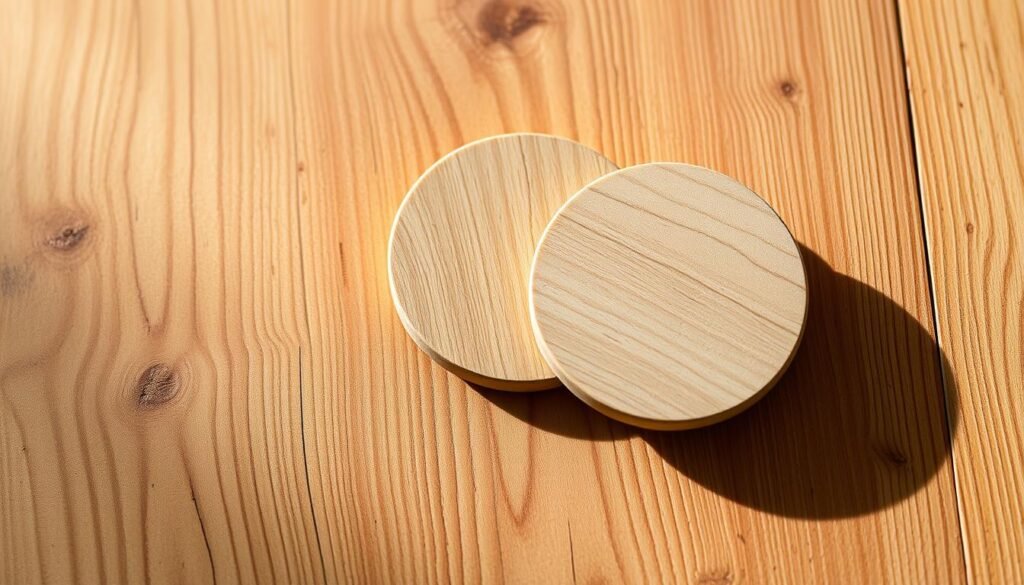
Wooden Coasters Set
Keep your furniture safe from water marks and spills with a wooden coasters set. It’s a perfect DIY for beginners. This project adds a personal touch to your home and shows off your woodworking skills.
Materials and Tools Needed
To begin, gather a few basic items and tools. You’ll need:
Wood (like oak, maple, or cherry), a saw, sandpaper, a drill (for decorations), and a sealant or finish.
Step-by-Step Instructions
First, cut your wood into coaster sizes. Then, sand the pieces to make them smooth.
Cutting and Sanding
Cutting needs to be precise for uniform coasters. Use a saw to cut the wood to the right thickness and size. Sanding removes splinters and rough spots, giving a smooth finish.
Decorating Techniques
Make your coasters unique with decorating techniques like engraving, staining, or a wood finish. You can also drill decorative holes or patterns.
Finishing and Sealing for Durability
Apply a sealant or finish to protect your coasters from moisture and wear. This step is key for your wooden coasters set‘s durability. Pick a finish that matches your home decor and highlights the wood’s beauty.
DIY Wooden Bookends
Make your home look better with DIY wooden bookends. They are both useful and stylish. This project is great for those who like woodworking and want to make their bookshelves special.
Materials and Tools Needed
You’ll need basic woodworking tools and materials like wood (e.g., pine or oak), a saw, sandpaper, and a drill. Choosing the right type of wood is key for both durability and looks.
Step-by-Step Instructions
Cutting the Basic Shape
First, cut your wood into the shape you want for your bookends. You can use a template or draw the shape on the wood.
Adding Weight and Stability
To make your bookends stable, add weight to the base. You can fill a cavity with sand or use metal weights.
Creative Design Ideas
Make your bookends stand out with creative design ideas. Try engraving, painting, or staining. You can also play with different shapes and sizes to fit your decor.

Simple Wooden Bench
You can make a simple wooden bench with basic woodworking skills. It adds warmth and character to your living space. This project is great for beginners who want to improve their home decor with handmade wooden art.
Materials and Tools Needed
To begin, gather these materials: 2×4 lumber for the frame, 3/4 inch plywood for the seat, wood screws, wood glue, and sandpaper. You’ll also need a circular saw, drill, tape measure, square, and clamps.
Choosing the right lumber is key for your bench’s durability and look. Opt for sustainably sourced wood for an eco-friendly choice.
Step-by-Step Instructions
Building the Frame
First, cut the 2×4 lumber into the needed lengths for the frame. Use wood screws and glue to assemble it, making sure it’s square and strong.
Creating the Seat
Cut the plywood to size and sand the edges. Attach the seat to the frame with wood screws, ensuring it’s securely attached.
Reinforcement Tips for Durability
To make your bench last longer, add reinforcement tips. Use support slats between the legs and metal brackets for extra stability.
Finishing Options for Indoor and Outdoor Use
For indoor use, stain or paint your bench to match your decor. For outdoor use, apply a waterproof sealant to protect it. Regular care will keep your bench looking good for years.
By following these steps and tips, you can make a beautiful and useful simple wooden bench. It will enhance your home.
Conclusion
Working with wood can be very rewarding and creative. You can make things like rustic floating shelves and simple wooden benches. Each project shows how wood can be used in many ways to create useful and beautiful items.
If you’re new to woodworking or already skilled, there’s always something new to try. You can use different techniques and materials to make your ideas come to life. This way, you can add a personal touch to your home.
Keep sharing your DIY wood projects with others. This can help build a community of woodworking fans. It also encourages others to try making something special.

