Do you have a pile of leftover wood scraps? It’s time to get creative and turn them into something special. DIY scrap wood projects are not only budget-friendly but also add a unique touch to your home.
With a bit of imagination, you can make these scraps into stunning and useful items. You can create everything from decorative pieces to furniture. This article will show you many creative woodworking projects using scrap wood, giving you ideas and tips to start.
Whether you’re experienced with woodworking or just starting, working with scrap wood is both fun and rewarding. So, let’s explore the joy of making something beautiful from what’s often seen as waste.
Why Repurpose Your Scrap Wood?
Scrap wood projects are a cheap way to get creative and help the planet. You can make unique items for your home without spending a lot. This is a win-win for your wallet and the environment.
Repurposing scrap wood also helps cut down on waste. The Environmental Protection Agency (EPA) says wood waste is a big part of trash. By upcycling, you help make our planet greener.
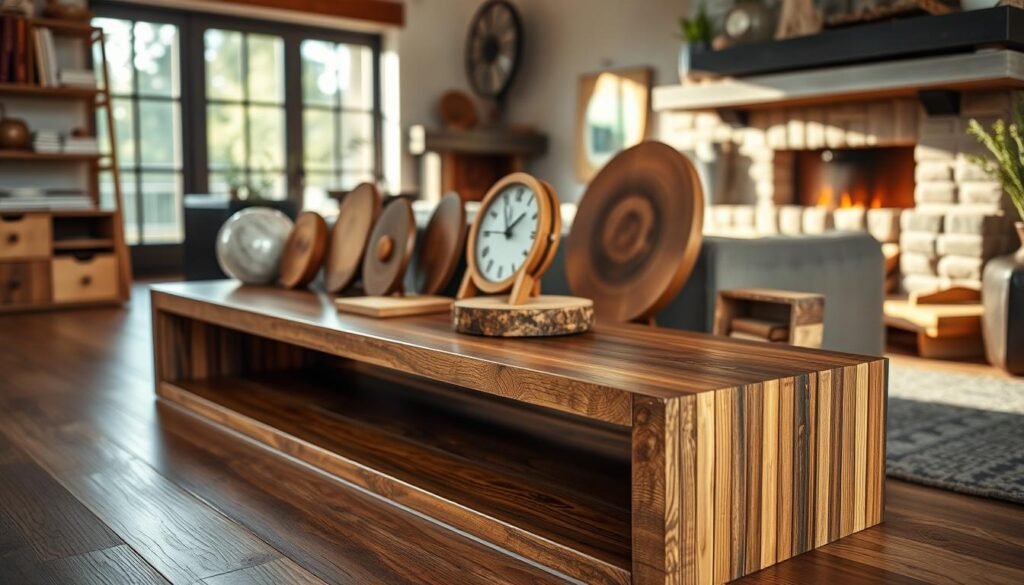
Working with scrap wood can be both enjoyable and fulfilling. You can make things like a coat rack, a planter, or shelves. These projects are not only affordable but also help you improve your woodworking skills.
Also, using scrap wood to decorate or furnish your home is smart and cheap. You can find scrap wood at hardware stores, online, or even in your yard. With some creativity, you can make old wood into something beautiful and useful.
In short, using scrap wood is a smart move for saving money, reducing waste, and making something special. It’s a great activity for both experienced woodworkers and beginners. It’s a fun way to create something unique and useful.
Essential Tools and Materials for Scrap Wood Projects
Starting scrap wood projects requires the right tools and materials. Whether it’s simple woodworking or complex projects, preparation is key. It sets the stage for a successful outcome.
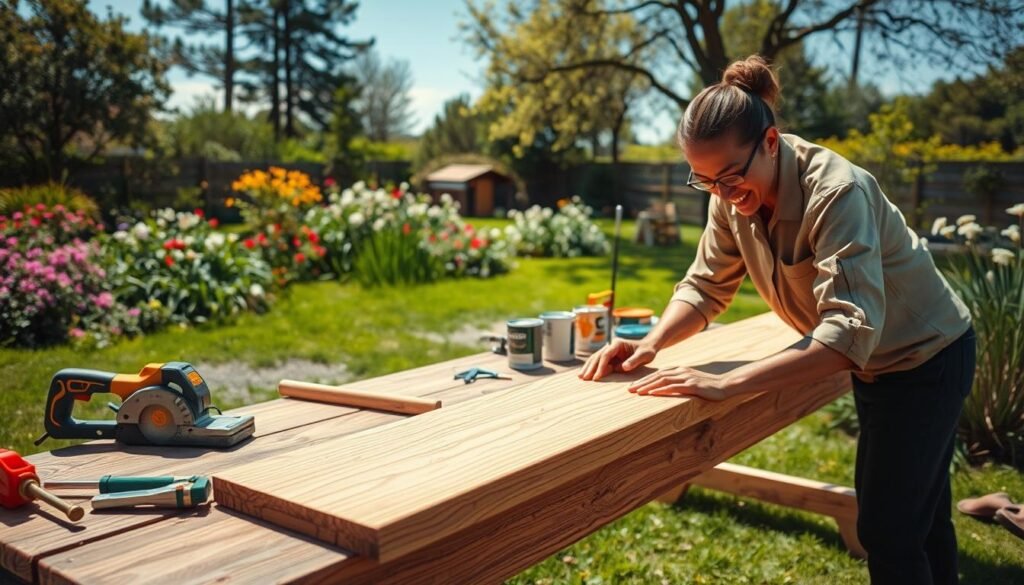
First, safety is a top priority. You’ll need safety glasses, a dust mask, and gloves. These protect you from sawdust and sharp edges. For crafting, basic tools like a saw, drill, sandpaper, and hammer are essential. A circular saw or jigsaw is a good starting point for most projects.
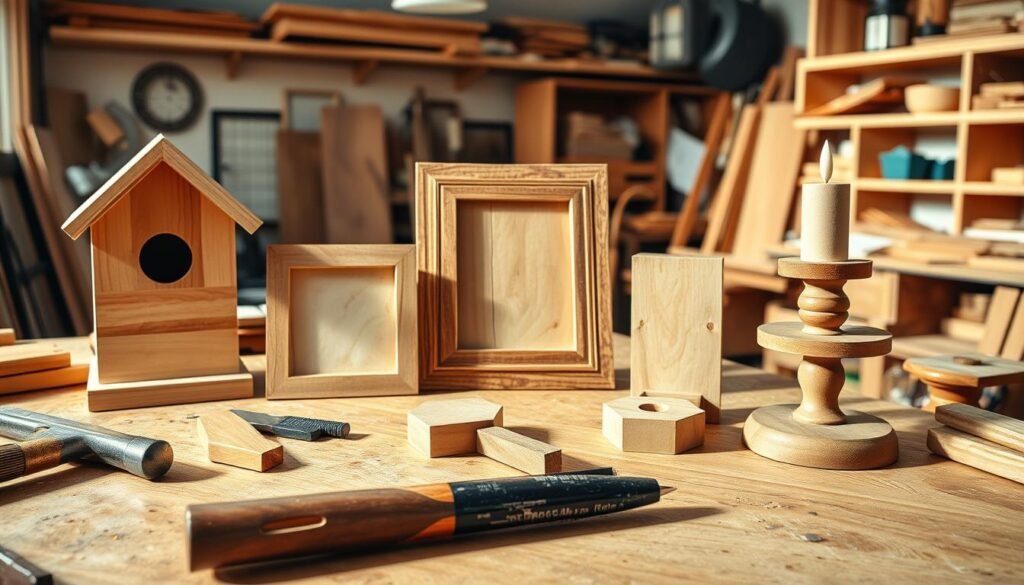
The materials you use are just as vital as the tools. Scrap wood can be softwoods like pine or hardwoods like oak. The right wood choice depends on the project’s needs, like durability and look.
Beginners should start with simple projects. This could be a small decorative item or a basic shelving unit. As you get more skilled, you can tackle more complex projects with different woods.
In summary, the right tools and materials are essential for scrap wood projects. Quality equipment and the right wood ensure your projects look great.
Quick and Easy Scrap Wood Projects for Beginners
Starting your DIY journey can be both exciting and intimidating. But with scrap wood projects, beginners can create something amazing. Simple wood projects are perfect for learning the basics and building confidence.
Here are two small wooden projects that are ideal for those just starting out. These leftover wood projects not only help reduce waste but also result in functional and decorative pieces for your home.
Project 1: Materials Needed
For the first project, a simple wooden coat rack, you will need the following materials:
- Scrap wood planks (e.g., old pallets or leftover from other projects)
- Hooks
- Screws
- Sandpaper
- Wood finish (optional)
Project 1: Step-by-Step Instructions
1. Cut the scrap wood into the required dimensions for the coat rack.
2. Sand the cut wood to smooth out any rough edges.
3. Assemble the coat rack by attaching the hooks and mounting it on a wall or a stand.
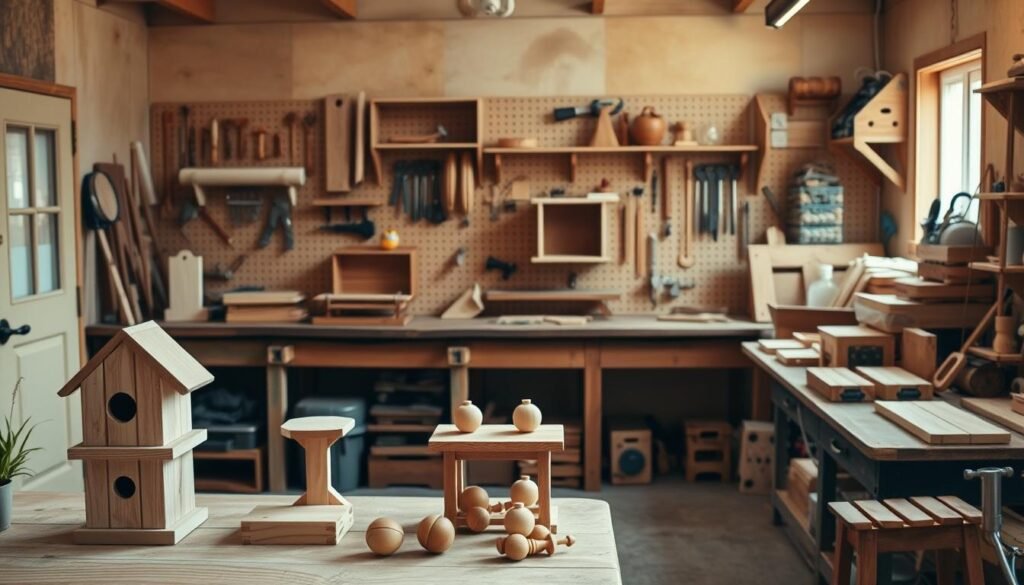
- Leftover wood pieces
- Nails
- Hammer
- Soil and plants
- Waterproof glue (optional)
Project 2: Step-by-Step Instructions
1. Cut the leftover wood into the desired shape and size for the planter.
2. Assemble the planter by nailing the pieces together.
3. Fill the planter with soil and your chosen plants.
These small wooden projects are not only fun and easy but also provide a great way to reuse leftover wood. They reduce waste and add a personal touch to your home decor.
Decorative Wall Art from Leftover Wood
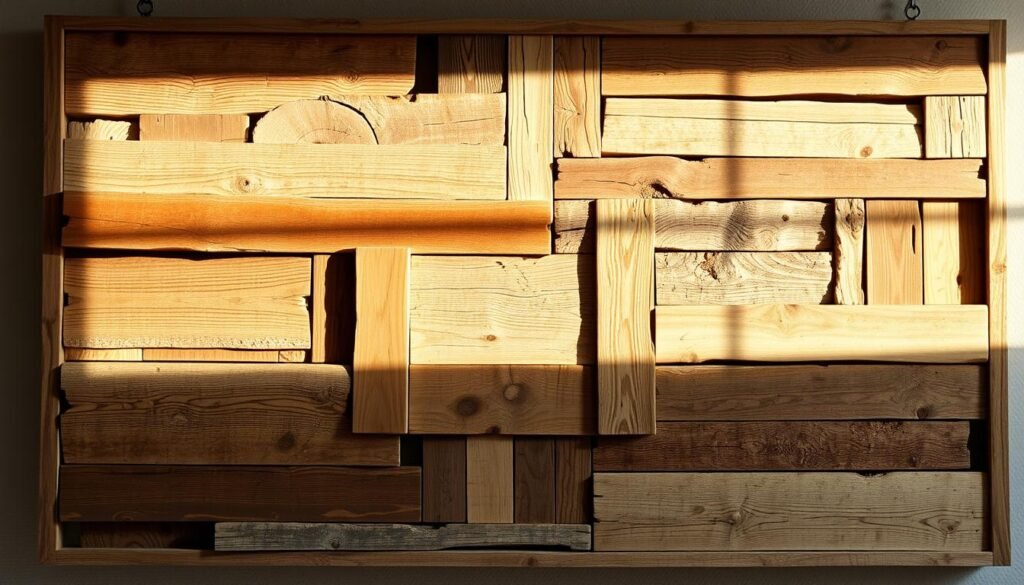
With a little creativity, you can turn scrap wood into stunning wall art. This project not only beautifies your home but also helps reduce waste by using leftover wood.
- Leftover wood pieces (various sizes and shapes)
- Wood glue
- Nails or a nail gun
- Sandpaper
- Paint or stain (optional)
- A hammer
- A saw (for cutting wood to desired sizes)
Step-by-Step Instructions
Here’s a simple guide to creating your decorative wall art:
- Plan your design: Sketch out a rough design for your wall art, considering the size and shape of your leftover wood pieces.
- Cut the wood: Use a saw to cut the wood into the required sizes and shapes according to your design.
- Assemble the pieces: Use wood glue and nails to assemble the wood pieces into your desired pattern or design.
- Sand the surface: Smooth out the surface by sanding it to remove any rough edges or splinters.
- Finish with paint or stain (optional): If desired, apply paint or stain to enhance the appearance of your wall art.
- Attach a hanging mechanism: Ensure your wall art is securely attached to a sturdy backing and has a suitable hanging mechanism.
By following these steps, you can create beautiful and unique decorative wall art from scrap wood. This adds a personal touch to your home and showcases your creativity through scrap wood ideas and 2×4 projects diy.
Alternative Project: Geometric Pattern Wall Art
For a more detailed design, try creating a geometric pattern wall art using smaller pieces of scrap wood. This project involves arranging the wood pieces into a geometric pattern and securing them onto a wooden backing board.
Materials Needed
The materials needed are similar to the previous project, with the addition of a wooden backing board and possibly more detailed cutting tools for precise geometric shapes.
Step-by-Step Instructions
The process involves planning your geometric pattern, cutting the wood into precise shapes, arranging them onto the backing board, and securing them in place. You can then finish the piece with a coat of stain or paint to enhance its visual appeal.
Creating decorative wall art from leftover wood is a fun and rewarding DIY project. It allows you to express your creativity while contributing to a more sustainable lifestyle through scrap wood crafts.
Functional Kitchen Projects Using Scrap Wood
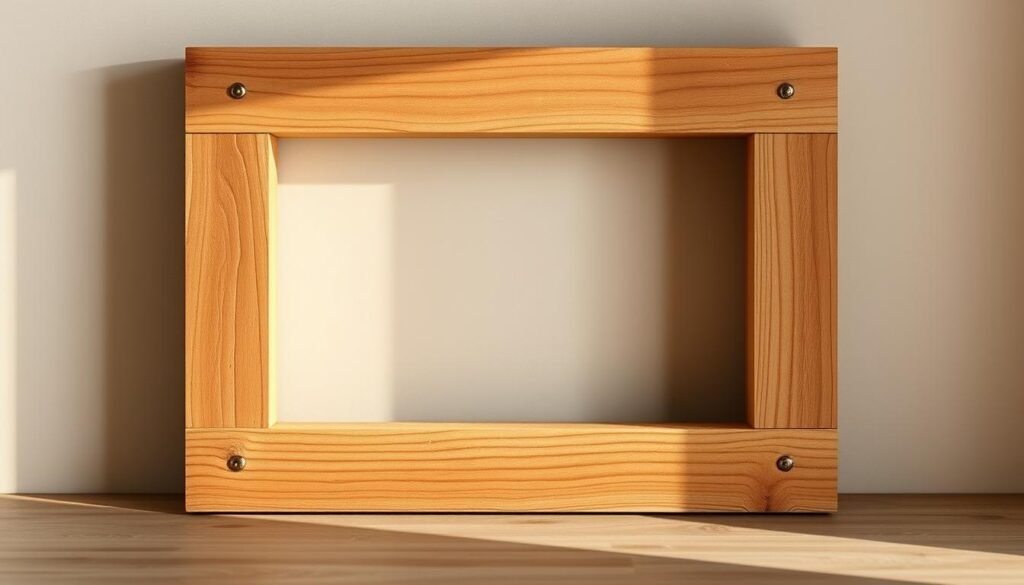
Scrap wood can be turned into many useful kitchen items. These items are good for the planet and look great. Using scrap wood in your kitchen is a creative way to reduce waste and add a personal touch.
– Scrap wood planks
– Wood glue
– Sandpaper
– Mineral oil or beeswax for finishing
Step-by-Step Instructions for a Wooden Cutting Board
1. Cut the scrap wood planks into uniform strips.
2. Arrange the strips to form the desired pattern and glue them together.
3. Sand the surface to smooth out any rough edges.
4. Apply mineral oil or beeswax to protect the wood.
Materials Needed for Wooden Utensils
For making wooden utensils, like spoons or spatulas, you’ll need:
– Small pieces of scrap wood
– A carving knife or a woodworking lathe
– Sandpaper
– Mineral oil for finishing
Step-by-Step Instructions for Wooden Utensils
1. Choose a piece of scrap wood and start carving it into the shape you want.
2. Use a carving knife or a woodworking lathe to refine the shape.
3. Sand the utensil to remove any rough spots.
4. Apply mineral oil to protect the wood and make it look better.
Materials Needed for a Scrap Wood Shelving Unit
To build a shelving unit, you’ll need:
– Larger pieces of scrap wood for the shelves and frame
– Wood screws
– A drill
– Sandpaper
– Wood stain or paint (optional)
Step-by-Step Instructions for a Scrap Wood Shelving Unit
1. Cut the scrap wood into the sizes you need for the shelves and frame.
2. Assemble the frame using wood screws.
3. Attach the shelves to the frame, making sure they’re evenly spaced.
4. Sand the entire unit to smooth out any rough edges.
5. Optionally, apply wood stain or paint to match your kitchen decor.
These projects not only reduce waste but also add a unique touch to your kitchen. Whether you’re making something simple like wooden utensils or a big shelving unit, scrap wood is full of possibilities. You can sell these projects or keep them for yourself.
20 Creative Scrap Wood Projects That Look Amazing
Scrap wood can be transformed into stunning decor items. It adds character to any room. You can make both functional and decorative items with it.
Materials Needed
For a rustic wooden coat rack, you need reclaimed wood planks, wooden dowels, screws, a drill, and a hammer. This project is a great example of a “barn wood project” that adds rustic charm to your entryway.
Step-by-Step Instructions
1. Cut the reclaimed wood planks to the desired length for your coat rack.
2. Assemble the frame using the wooden dowels and screws.
3. Attach the hooks to the frame, ensuring they are evenly spaced.
4. Hang your coat rack on the wall, and enjoy the rustic decor it brings to your home.
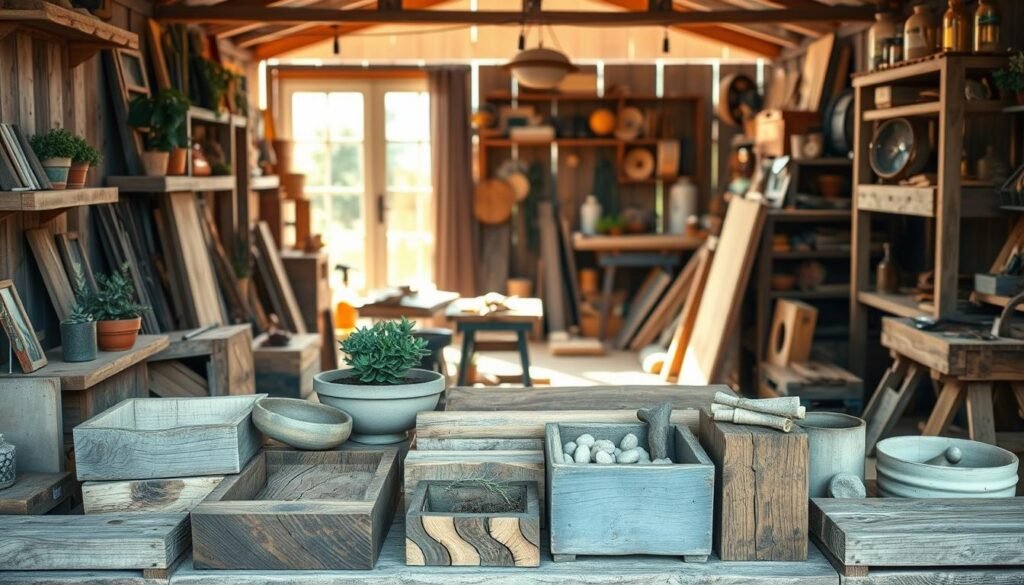
For a decorative wooden candle holder, you’ll need: wooden discs, a hot glue gun, a candle holder base, and decorative twine. This “diy wooden project” is perfect for creating a cozy ambiance in your living room.
Step-by-Step Instructions
1. Stack the wooden discs, gluing them together with the hot glue gun.
2. Attach the candle holder base to the top disc.
3. Wrap decorative twine around the discs for a rustic look.
4. Place a candle on the holder, and enjoy the warm glow.
Materials Needed
To create a wooden shelving unit, you’ll need: wooden planks, brackets, screws, a drill, and a level. This project is an excellent example of a “decor rustic” piece that can be used in any room.
Step-by-Step Instructions
1. Cut the wooden planks to the desired length for your shelves.
2. Assemble the brackets, attaching them to the wall.
3. Place the shelves on the brackets, ensuring they are level.
4. Add your favorite decorative items to the shelves, and enjoy the rustic charm they bring.
These “diy wooden projects” show the beauty of scrap wood. They can make your home beautiful and functional. Whether you’re experienced or new to DIY, there’s a project for you.
Outdoor Scrap Wood Projects
Using scrap wood for outdoor projects is great for the environment. It also makes your outdoor areas more interesting. You can make useful items or beautiful decorations from scrap wood.
Materials Needed
For a wooden planter, you’ll need scrap wood planks, wood screws, and weather-resistant glue. Don’t forget the soil and plants you want to use.
Step-by-Step Instructions
1. Cut the scrap wood planks into the right sizes for your planter.
2. Use wood screws and weather-resistant glue to put the planks together.
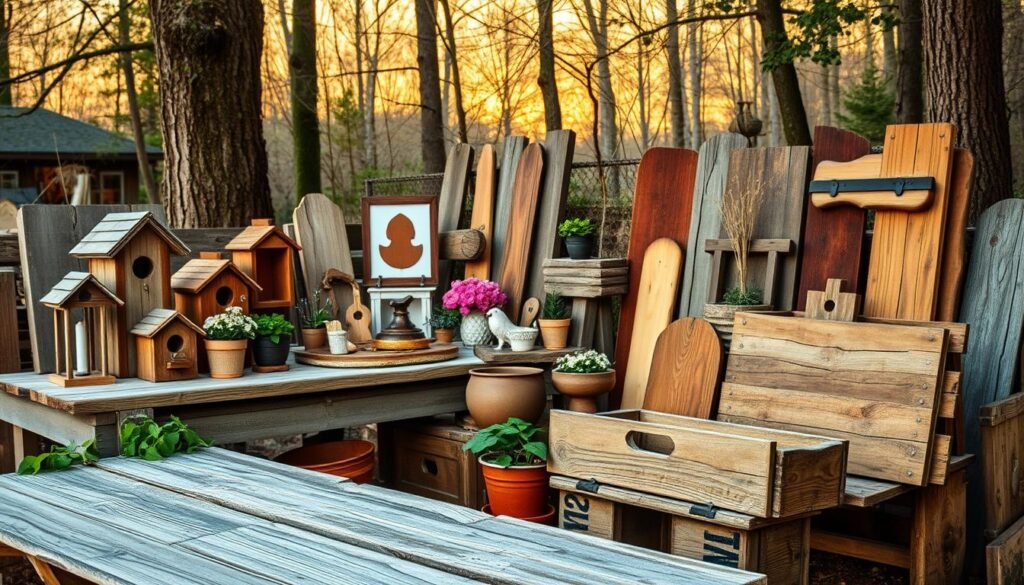
To make a birdhouse, you’ll need scrap wood, nails, waterproof glue, a saw, and a drill.
Step-by-Step Instructions
1. Cut the wood into pieces for the birdhouse’s back, front, floor, sides, and roof.
2. Use nails and waterproof glue to build the birdhouse.
3. Add a roof and hang the birdhouse where it’s safe.
Materials Needed
To make an outdoor sign, you’ll need a scrap wood plank, paint or stain, paintbrushes, and a saw.
Step-by-Step Instructions
1. Cut the plank to the size you want for your sign.
2. Paint or stain it with your design or message.
3. Wait for the paint or stain to dry before hanging your sign.
These outdoor projects are not just fun. They also help the environment. You can make everything from planters and birdhouses to decorative signs. They make your outdoor spaces unique and personal.
Furniture Projects from Reclaimed Wood
Turning old wood into furniture is a great DIY project. It’s good for the planet and lets you show off your skills. You get to make unique items that make your home special.
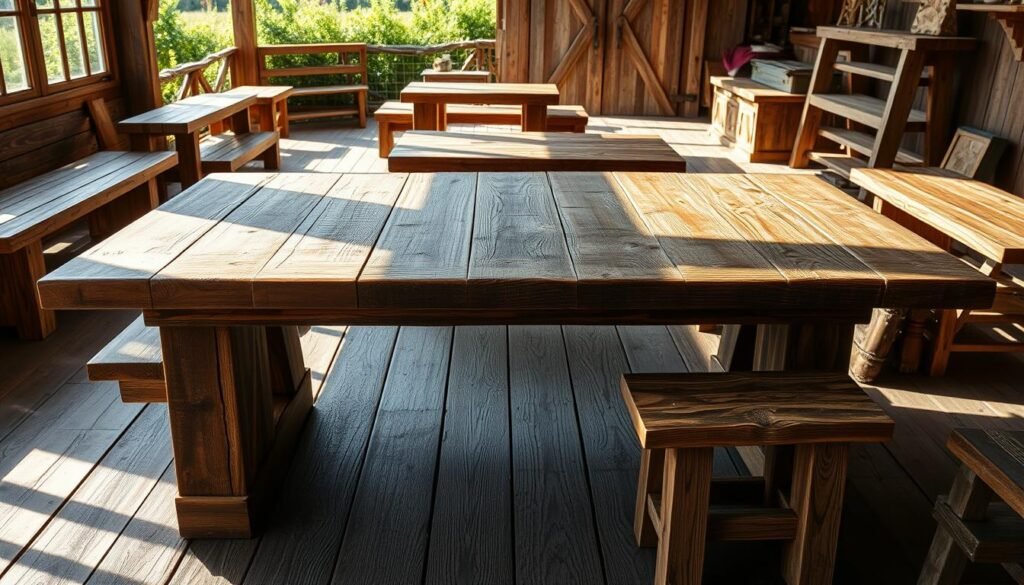
To make a simple coffee table, you’ll need some things. You’ll need reclaimed wood, legs, glue, sandpaper, and a finish like varnish or wax. Make sure the wood is clean and dry before you start.
Step-by-Step Instructions
First, cut the wood planks to the right size for your table top. Use glue and clamps to hold them together until they dry. Then, attach the legs to the top, making sure it’s stable.
Sand the whole thing to make it smooth. Last, put on your chosen finish to protect and beautify the wood.
Materials Needed for a Reclaimed Wood Chair
To make a chair, you’ll need some wood for the seat and back, dowels, screws, a drill, sandpaper, and a finish. You might also need stuff for upholstery if you want to add cushions.
Step-by-Step Instructions for a Reclaimed Wood Chair
First, plan out your chair’s design. Think about its size and style. Cut the wood for the seat and back according to your plan.
Use dowels and screws to build the frame. Then, attach the seat and back to the frame. Make sure they fit well. Sand the chair to get rid of any splinters or rough spots.
Put on a finish to protect the wood and make it look good. If you want, add upholstery for comfort.
Doing projects with reclaimed wood is good for your home and the planet. It’s a fun way to be creative and help the environment, whether you’re experienced or just starting out.
Home Office Scrap Wood Creations
Scrap wood can turn into amazing home office decor and tools with a bit of creativity. Simple woodworking projects can make your workspace more efficient and personal.
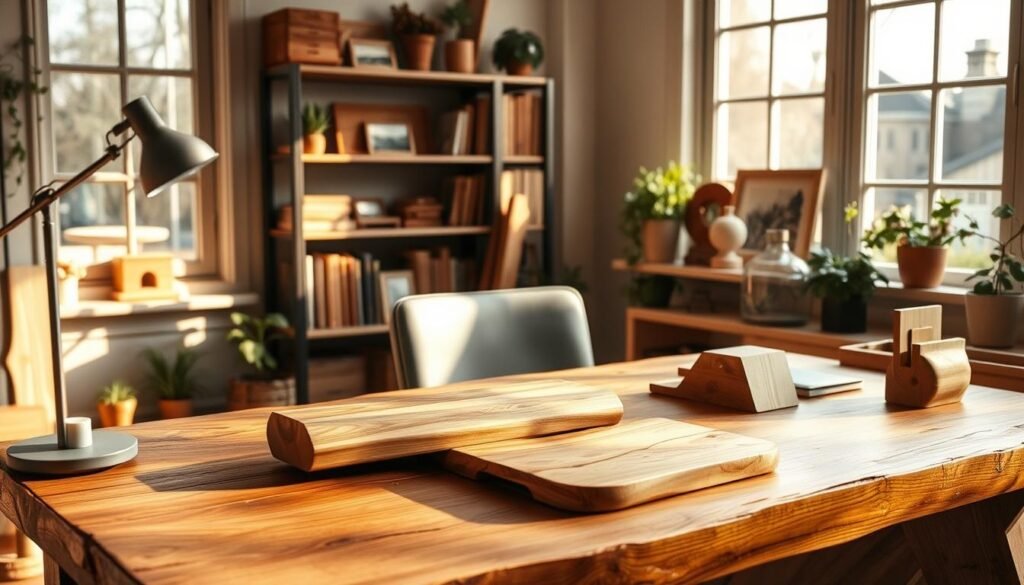
– Scrap wood pieces (various sizes)
– Wood glue
– Nails or a nail gun
– Sandpaper
– Wood finish (optional)
Step-by-Step Instructions for a Desk Organizer
1. Measure and cut the scrap wood into the sizes you need for your organizer.
2. Use wood glue and nails to put the pieces together.
3. Sand the edges to make them smooth.
4. If you want, apply a wood finish to protect the wood and make it look better.
Materials Needed for a Pen Holder
For a pen holder, you’ll need:
– A small piece of scrap wood
– A drill
– Sandpaper
– A small container or a wooden dowel
Step-by-Step Instructions for a Pen Holder
1. Cut the scrap wood into a size that fits your pen holder base.
2. Drill holes in the base for your pens or pencils.
3. Sand the surface to get rid of any splinters.
4. Add a small container or a wooden dowel to the holes for pen compartments.
These small projects not only tidy up your home office but also show off your creativity. They’re made from scrap wood, which is good for the environment and unique.
Working on simple woodworking projects is rewarding. It lets you make useful items and enjoy the act of creating something with your own hands.
Small Wood Projects to Sell
Woodworking hobbyists can make money by selling small wood projects. With creativity and basic skills, you can make decorative and functional items. These items are often in demand.
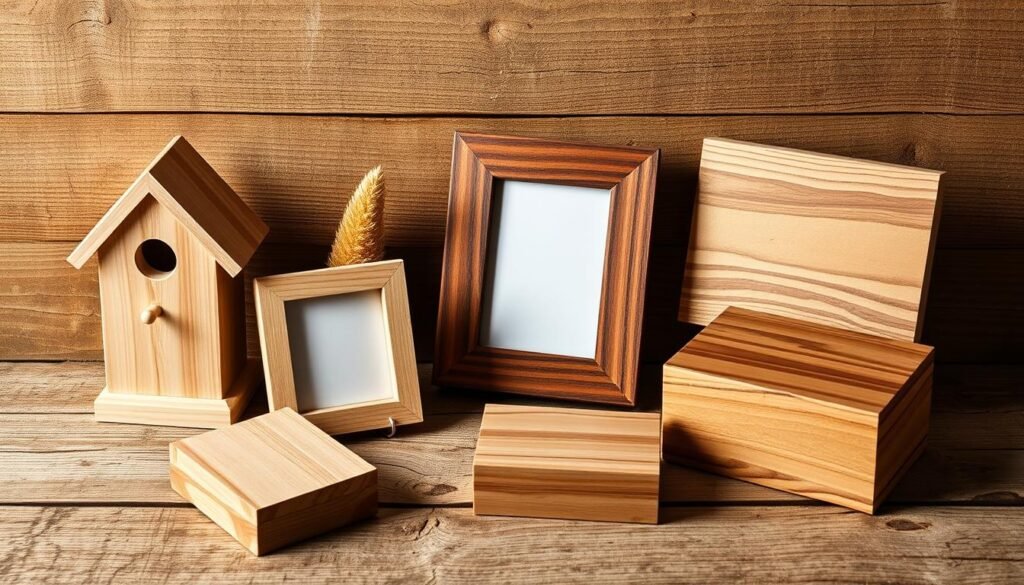
You’ll need basic materials like wood, sandpaper, a saw, and a drill. You’ll also need a finish like stain or varnish. For some projects, you might need extra items like hinges or nails.
For wooden jewelry, you’ll need small wood pieces, a jeweler’s saw, and a sealant. This is to protect and enhance the wood.
Step-by-Step Instructions
Let’s look at making wooden coasters. Cut the wood into shape and size. Sand the edges to smooth them out. Then, apply a finish to protect and enhance the wood. Add felt pads to the bottom to prevent scratching.
For a more complex project, like a wooden picture frame, you’ll need to cut and assemble the pieces. Use a miter joint and attach a back and hanging hardware.
Materials Needed for Wooden Jewelry
For wooden jewelry, you’ll need small, thin wood pieces. You’ll also need a jeweler’s saw or laser cutter, sandpaper, and a finish. You might add metal findings or beads for embellishment.
Step-by-Step Instructions for Wooden Jewelry
To make a wooden pendant, cut out the shape from wood. Sand it smooth and apply a finish. Once dry, add a jump ring and chain to make it wearable.
These small wood projects can help you earn money. Focus on quality and use attractive, durable materials. This way, you can appeal to many customers.
Advanced Scrap Wood Project
Looking to push your DIY limits? An advanced scrap wood project is a great challenge. Try making a wooden chair or table. It’s a fantastic way to show off your creativity and skills in woodworking.
Materials Needed
To begin your advanced scrap wood project, gather these materials:
- Scrap wood pieces (various sizes)
- Wood glue
- Sandpaper
- Wood finish (optional)
- Safety gear (gloves, goggles)
Make sure you have all the tools and materials ready before starting your woodworking project.
Step-by-Step Instructions
First, plan your project. Measure and cut your scrap wood to fit your design. Use wood glue to put the pieces together, then sand them to remove any rough spots.
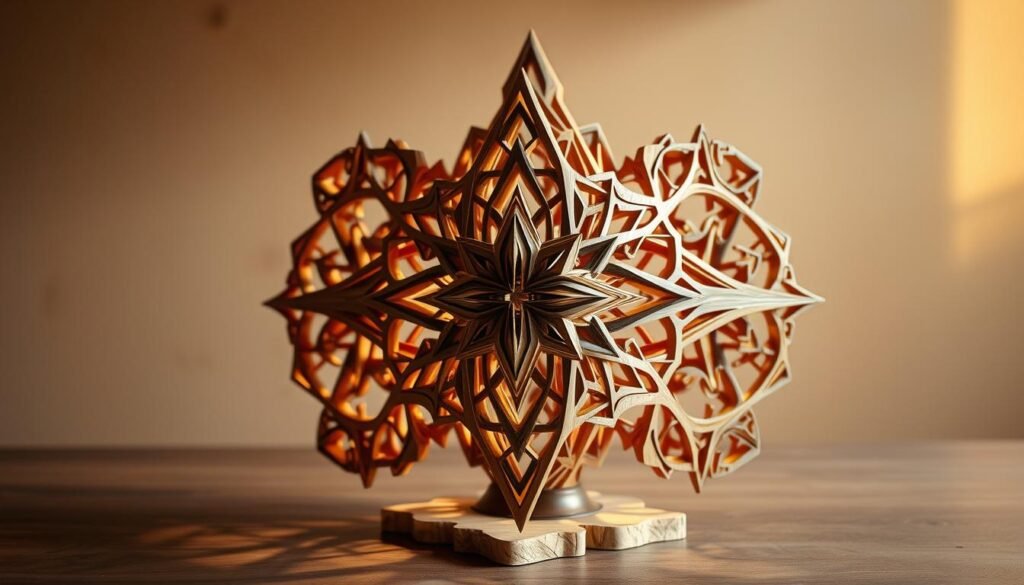
After assembling, apply a wood finish to protect and beautify your project. This step is key for adding a professional look to your creative woodworking project.
Lastly, check your work and make any needed changes. With patience and careful attention, your advanced scrap wood project will showcase your woodworking prowess.
Tips for Finishing Your Scrap Wood Projects
To make your easy woodworking projects shine, you need the right finishing techniques. Finishing not only makes them look better but also keeps them strong. This way, they last longer.
The first thing to do is sanding. Sanding makes the wood surface smooth, getting rid of any rough spots. Start with a coarse-grit sandpaper and then switch to finer grits for a better finish.
Once you’ve sanded, it’s time to stain your homemade wood crafts. Staining brings out the wood’s natural beauty and adds color. Pick a stain that matches the wood’s natural look and follow the instructions on the bottle.
Sealing is the last step. It keeps your projects safe from moisture and UV damage. For outdoor projects, use a waterproof sealant to protect against the weather.
By using these tips, you can make your scrap wood projects look and last better. Whether it’s simple or complex, the right finishing touches can really make a difference.
Conclusion
Exploring 20 creative scrap wood projects can spark your creativity and help reduce waste. You can make useful and beautiful items for your home. This includes wall art and furniture.
DIY scrap wood projects let you add a personal touch to your space in an eco-friendly way. They are fun and rewarding, whether you’re new or experienced at woodworking.
With the right tools and materials, you can make your ideas come to life. You can make simple birdhouses or complex furniture. The possibilities are endless. So, start your quick scrap wood projects today and enjoy creating something amazing from waste.
By doing DIY scrap wood projects, you create something beautiful and help the environment. So, collect your scrap wood and begin crafting your next masterpiece. Explore the 20 creative scrap wood projects that look amazing.

