Turning your outdoor area into a beautiful oasis is easy. Just use simple materials and a bit of creativity. You can make stunning garden planters that boost your home’s look.
These DIY projects are great for both seasoned gardeners and beginners. They add a personal touch to your garden. In this article, we’ll show you some cool garden planter ideas. You can make them in just a weekend, so you can enjoy your new decor fast.
We’ll cover making everything from rustic wooden planters to modern terracotta designs. Follow our guide to create beautiful planters that will make your garden pop.
Why DIY Garden Planters Are Perfect Weekend Projects
Looking for a fulfilling weekend project? Try making your own DIY garden planters. They’re a great way to spend your free time and let your creativity shine. Plus, they can make your outdoor space look amazing.
DIY garden planters can turn any part of your garden or backyard into a stunning oasis. You can pick from many materials and designs. This way, you can make planters that match your style and garden decor.
Working on simple garden planter projects can be very calming and fulfilling. It helps you step away from daily stress and connect with nature.
Garden planter ideas vary from easy to more complex. This means anyone can find a project that fits their skills and interests. Whether you’re an experienced gardener or just starting, there’s something for you.
By doing a DIY garden planter project, you’re not just making your outdoor space look better. You’re also feeling a sense of pride and accomplishment. It’s a wonderful way to spend your weekend, being productive and enjoying what you’ve made.
Essential Tools and Materials for DIY Garden Planters
Before starting your DIY garden planter project, make sure you have all the tools and materials. Having everything ready will save you time and help your project succeed.
You’ll need a trowel or shovel for digging, a drill or screwdriver for putting parts together, and a measuring tape for precise measurements. You might also need a saw for cutting and a hammer for tapping pieces into place.
The materials you need depend on the planter type. You can use wood, concrete, metal, or even recycled items like old pallets. Don’t forget soil and your chosen plants or seeds. If using a container, add gravel or broken pottery for better drainage.
For a cheap DIY planter, think about using items you already have. Old boots, wooden crates, or plastic containers can become unique planters with some creativity.
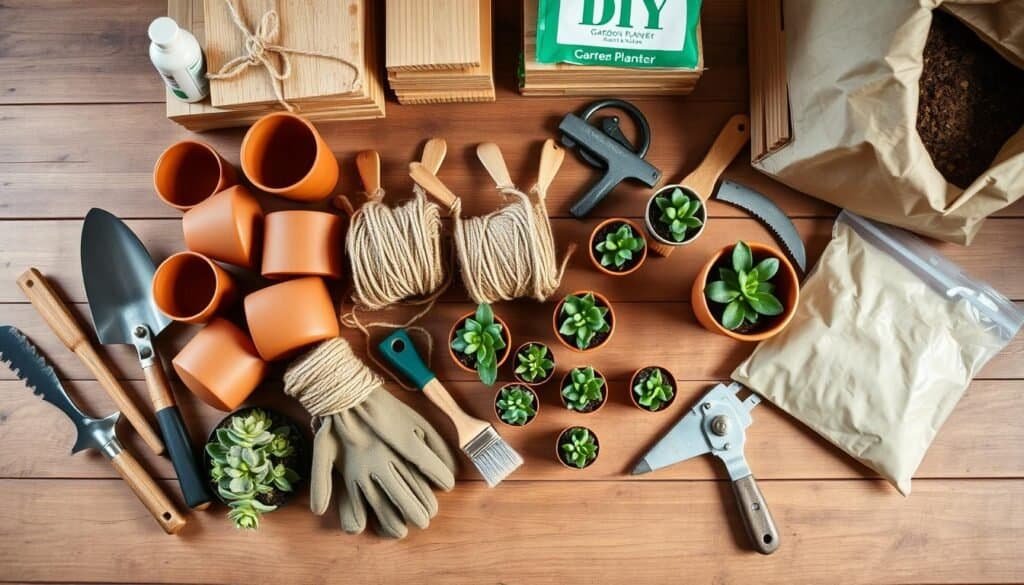
With the right tools and materials, you’re ready to make a beautiful DIY garden planter. It will add charm to your outdoor space.
Planning Your DIY Planter Project: Tips for Success
Starting a DIY planter project can be both exciting and intimidating. But with the right planning, you can achieve success. The first step is to choose the right plants for your planter. Think about the sunlight your planter will get and pick plants that love that light.
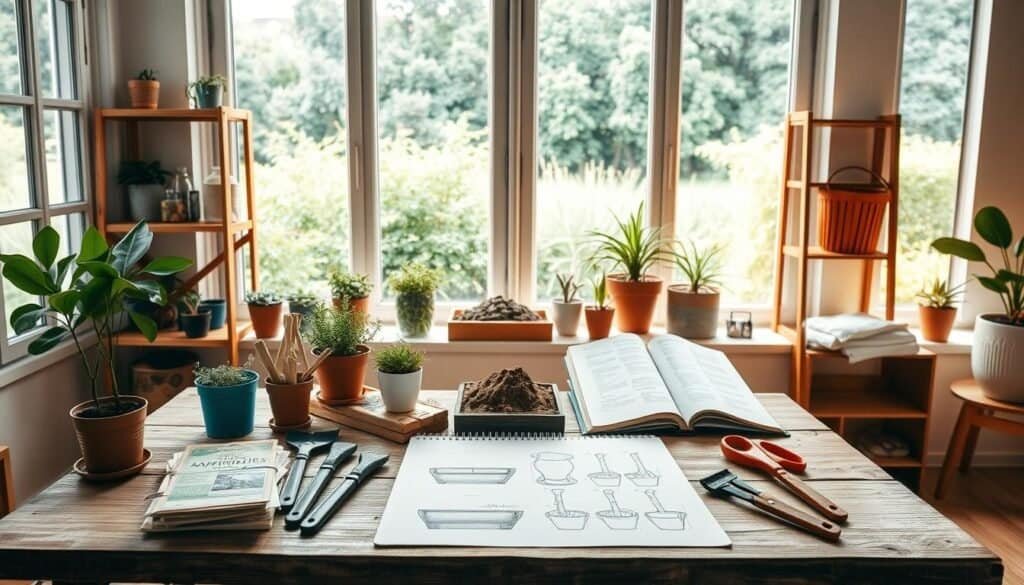
Next, decide on your planter’s design. Will it be simple or elaborate? Consider what materials you have and your skill level. Beginners should start with simple designs and get more complex as they gain experience.
Preparing your materials is also key. Make a list of everything you need, from the container to the soil and plants. Having everything ready before you start makes the project smoother and more fun.
By following these tips, you’ll be well on your way to creating a beautiful DIY planter. Whether you’re a seasoned gardener or just starting, success comes from careful planning and attention to detail.
5 Easy DIY Garden Planters Anyone Can Make This Weekend
Discover the joy of gardening with these five easy DIY garden planters perfect for a weekend project. Whether you’re a seasoned gardener or just starting out, these projects are simple and fun.
The first project is an upcycled wooden crate planter. It’s a great way to reuse old crates and add a rustic touch to your garden. You’ll need wooden crates, soil, and your choice of plants.
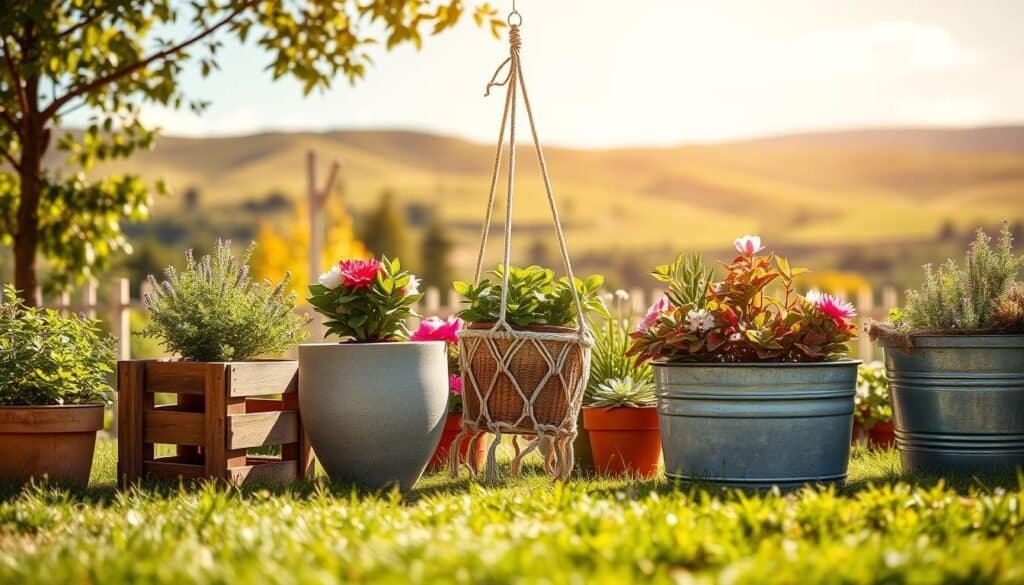
Next, consider a concrete block herb garden. This project is perfect for those who love cooking with fresh herbs. You’ll need concrete blocks, soil, and herb seeds.
Another idea is to create a galvanized metal tub planter. These planters are durable and can add a modern touch to your garden. You’ll need galvanized metal tubs, soil, and plants of your choice.
A vertical pallet planter is also a great option. It’s a space-saving solution for small gardens and can be made using an old pallet, soil, and plants.
Lastly, you can make hanging rope basket planters. These are perfect for adding a bohemian touch to your garden. You’ll need rope, a basket, soil, and plants.
These five easy DIY garden planters are perfect for anyone looking to enhance their outdoor space over the weekend. With simple materials and straightforward instructions, you’ll be enjoying your new garden planters in no time.
Project1: Upcycled Wooden Crate Planters
Turn an old wooden crate into a beautiful planter with this easy DIY project. Upcycled wooden crate planters bring a rustic touch to your garden or yard. They’re perfect for container gardening. With a few simple steps, you can make an old crate into a stunning planter for your favorite plants.
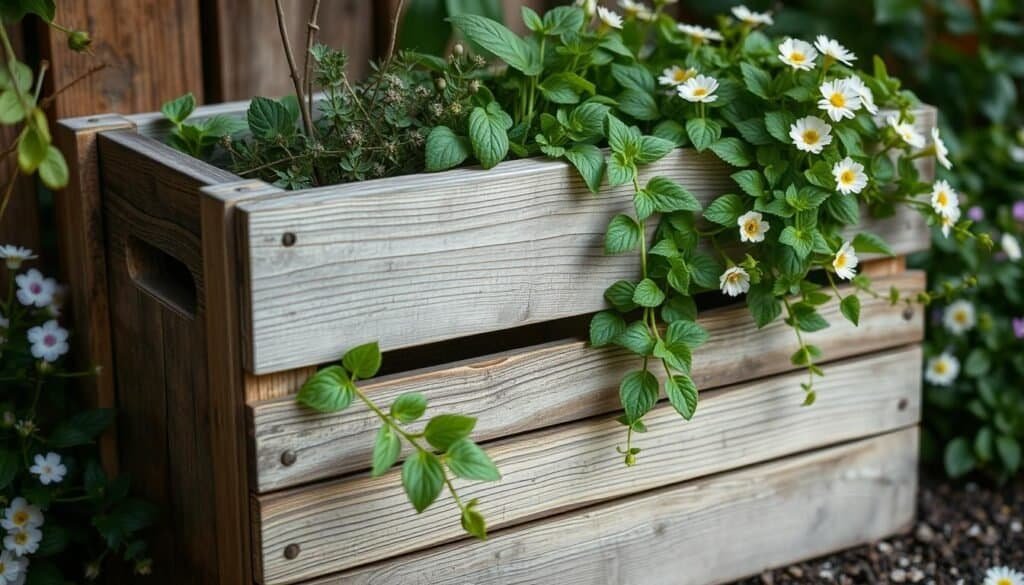
First, pick a sturdy wooden crate. Make sure it’s clean and dry. If the crate has damaged or rotten wood, fix or replace it for durability. Sand the crate to smooth out any rough edges or splinters, making it safe to handle.
Adding Drainage
Drill several holes in the bottom of the crate for drainage. This is key to prevent waterlogged soil, which can harm your plants. The number of holes depends on the crate’s size.
Finishing and Waterproofing
Apply a wood finish or sealant to protect the crate from the elements. This step enhances the appearance and extends the planter’s life. For extra protection, line the inside with a waterproof membrane or plastic sheet.
Planting Your Creation
Fill your upcycled wooden crate planter with soil and your chosen plants. Think about the sunlight and watering needs of the plants when picking varieties. Arrange them attractively, and your planter is ready for your garden or patio.
By following these steps, you can make a unique and functional planter. Upcycled wooden crate planters are eco-friendly and creative ways to display plants. Whether you want a focal point or just some greenery, this project is a great start for container gardening.
Project2: Concrete Block Herb Garden
Looking to upgrade your garden? A concrete block herb garden is stylish and practical. It’s great for adding a modern look to your backyard or patio. Plus, you get to grow your own herbs.
Setting Up Your Foundation
Start by picking a flat spot for your garden. Remove any debris and level the ground. This ensures your blocks sit right.
If your garden is on a patio or deck, check if it can hold the blocks and soil.
Arranging the Blocks
With your foundation set, start placing your blocks. You can go for a simple shape or get creative. Think about how big your herbs will get and leave space for easy care.
Concrete blocks are strong and can make many designs, from simple to complex.
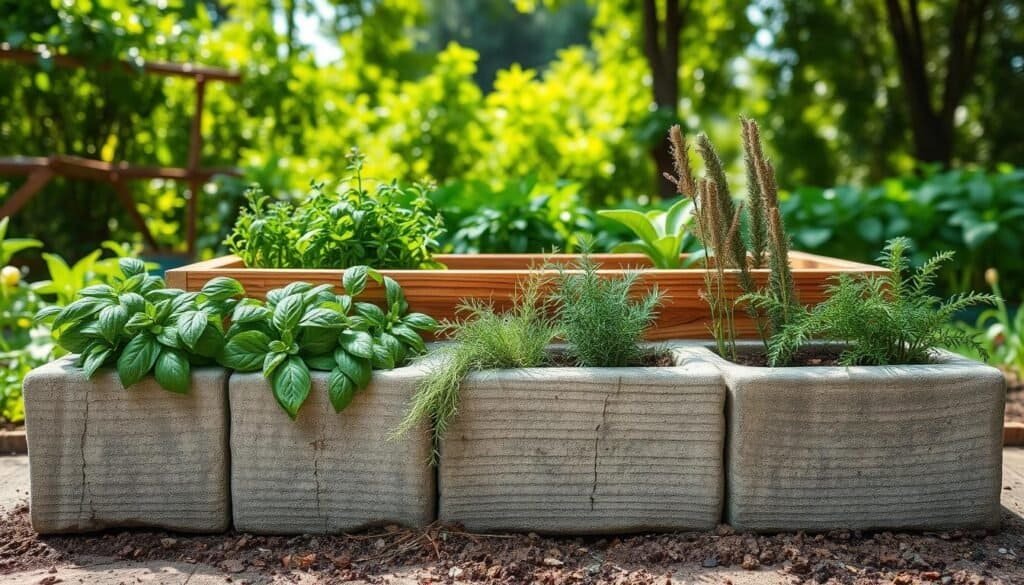
After setting up the blocks, get them ready for plants. Fill them with a mix that drains well, leaving room for roots. You can add compost or fertilizer for growth. Make sure the soil is moist but not too wet.
Adding Your Herbs
Now, add your herbs to the garden. Choose from culinary herbs like basil, rosemary, and thyme, or medicinal herbs. Plant them at the same depth as in their pots and water gently.
With the right care, your garden will flourish. It will become a beautiful part of your outdoor space.
Building a concrete block herb garden is a fun DIY project. It can make your outdoor area better. Follow these steps to enjoy fresh herbs right outside your door, adding flavor and fragrance to your cooking and surroundings.
Project3: Galvanized Metal Tub Planters
Creating a galvanized metal tub planter is a fun DIY project. It adds a unique touch to your garden or outdoor space.
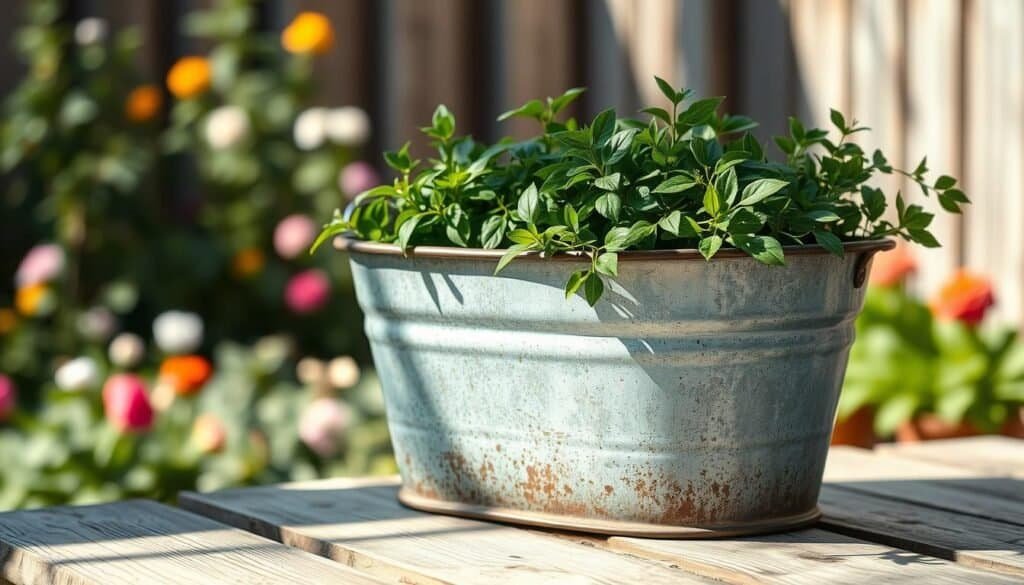
First, pick a galvanized metal tub that matches your size and style. Clean it well with soap and water to get rid of dirt. If it has a protective coating, you might need to remove it or sand it down. This helps the treatments or decorations stick better.
Creating Drainage Holes
Drainage is key for your plants’ health. Use a drill with a metal bit to make holes in the tub’s bottom. The holes’ number and size depend on the tub’s size and your plants. Make sure they’re big enough to avoid waterlogging.
Adding Layers of Growing Medium
Start with a layer of small rocks or broken pottery at the bottom for better drainage. Then, add a layer of potting mix, leaving space for your plants. You can also add compost or fertilizer to improve the soil. The layers’ depth depends on your plants’ roots and your design.
Planting and Arranging
Pick plants that fit your climate and the planter’s sunlight. Arrange them for a nice look, thinking about height, color, and texture. Plant them right, water well after, and finish with mulch to keep moisture in and weeds out.
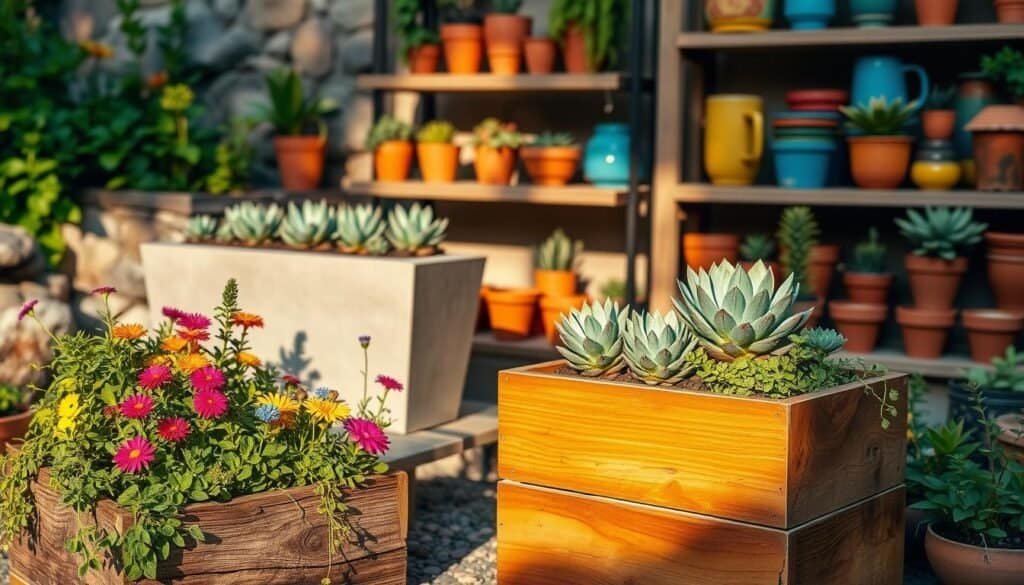
Galvanized metal tub planters are great for many plants, like flowers or herbs. They can sit on creative stands or be the centerpiece of your garden. Try grouping several tubs on a plant rack for a beautiful display.
Project4: Vertical Pallet Planter
Turn your outdoor area into a green oasis with a vertical pallet planter. It’s a smart, eco-friendly way to show off your plants. It’s ideal for those with little space, as it uses vertical space well and brings life to your home.
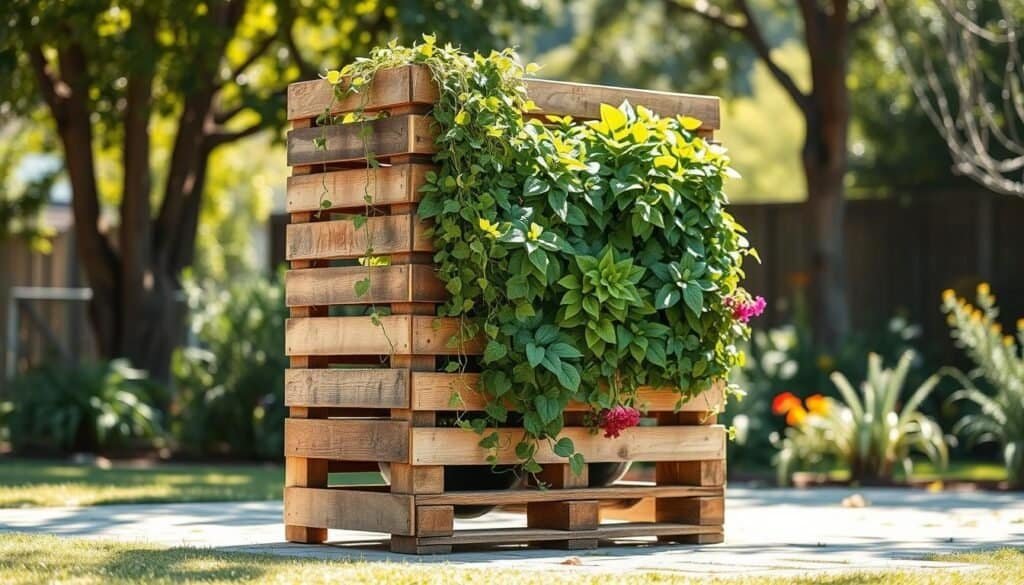
Start by picking a sturdy, clean pallet. Make sure it’s free from chemicals that could harm your plants. Clean it well and take it apart if needed to shape it as you want.
Creating Planting Pockets
To make planting pockets, attach wooden slats or containers to the pallet. This lets your plants grow. You can use wood, plastic, or even old boots for the pockets. Make sure they’re well attached to the pallet.
Mounting and Securing
After building your planter, hang it on a wall or fence. Use strong brackets or screws to hold it up. Make sure it’s straight and can hold the weight of soil and plants. Adding a drip tray or waterproof layer can stop water from dripping.
Adding Soil and Plants
Put good potting soil in the pockets, then add your plants. Mix herbs, succulents, and flowers for a nice look. Water well after planting and keep the soil moist.
A vertical pallet planter is a beautiful garden feature and a smart way to reuse materials. With care, it can last for years, showing off your greenery and flowers. Pair it with other garden items like flower boxes or planter boxes for a welcoming outdoor space.
Project5: Hanging Rope Basket Planters
Take your plants to new heights with DIY hanging rope basket planters. This project is great for adding greenery to your porch, patio, or garden. Use hanging rope baskets to show off plants like petunias or vegetables.
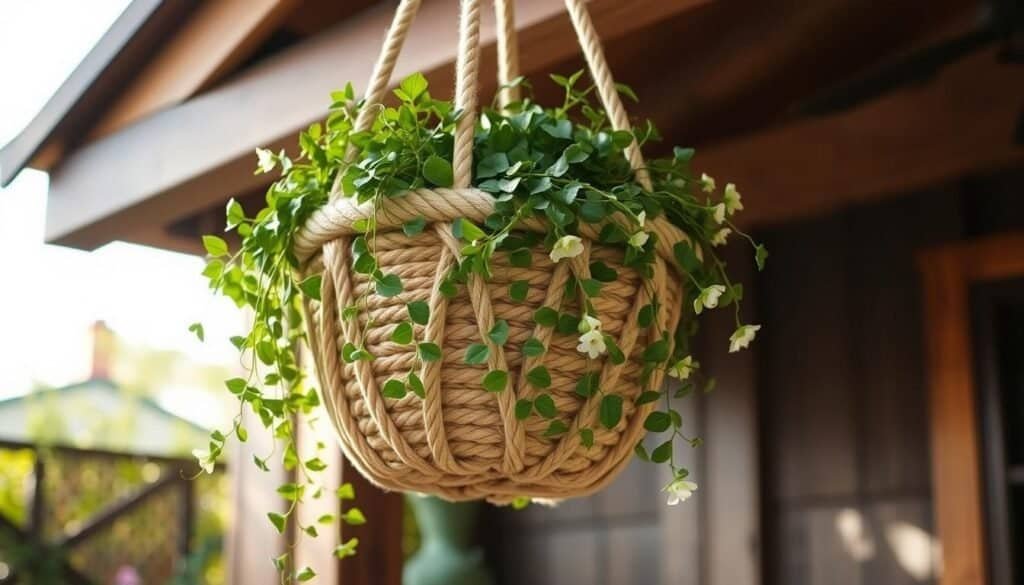
First, pick a sturdy basket that can hold soil and plants. You can choose a natural fiber or synthetic basket. Make sure it has drainage holes to avoid waterlogged soil.
Creating the Rope Hanger
Cut four equal rope lengths. Thread them through the basket’s handles or attach them to the sides. Tie a knot at the top to join the ropes, making a hanger. Adjust the rope length for your hanging spot.
Lining and Filling the Basket
Line your basket with a breathable cloth or a plastic liner with holes. Fill it with a potting mix that drains well. Plant your flowers or vegetables. For vegetables, think about tomatoes or cucumbers that do well in hanging baskets.
Hanging and Positioning
Hang your basket in a spot with the right sunlight for your plants. For bean trellises, position it for support as beans grow. Move it as needed to keep plants healthy.
Hanging rope basket planters are both functional and decorative. They can display flowers beautifully or grow vegetables in a unique way.
Caring for Your DIY Garden Planters
To keep your DIY garden planters thriving, it’s essential to understand the basics of caring for them. Proper care involves several key practices that are easy to implement. These practices will keep your plants healthy and flourishing.
First and foremost, watering is key. Overwatering can harm your plants, so it’s vital to check the soil moisture regularly. The frequency of watering depends on the type of plants and the climate. For example, plants in hotter climates may need more water.
Fertilizing is another important aspect. Using the right fertilizer can provide your plants with the necessary nutrients. Consider using organic fertilizers to avoid chemicals in your garden.
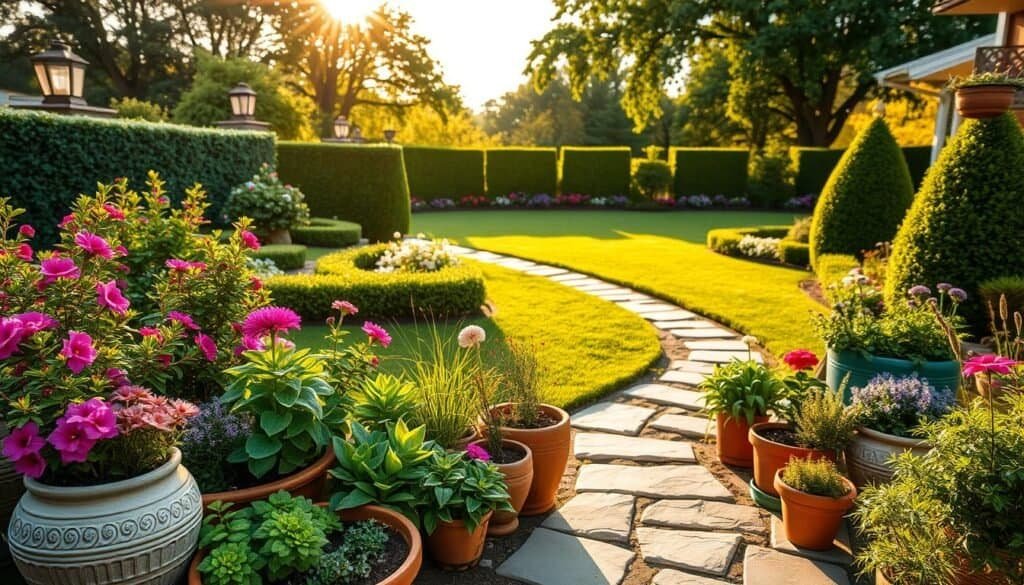
Protecting your plants from pests and diseases is also vital. Regularly inspect your plants for signs of pests or disease. Take action promptly if you notice any issues. Using natural pest control methods can help maintain your garden’s health without harming the environment.
By following these simple care tips, you can enjoy a beautiful and thriving garden. Whether you’re designing a corner garden or an entire outdoor gardens design, proper care will ensure your DIY garden planters remain a lovely addition. They will give you inspiration for years to come.
Also, consider the design of your planters and how they fit into your outdoor decor. A well-designed planter can enhance your garden’s aesthetic. Just like a well-organized desain pantry can improve your kitchen’s functionality.
Creative Ways to Customize Your DIY Planters
With a few simple tweaks, you can make your DIY planters unique. They can show off your style. Adding a personal touch to your backyard garden design is easy.
One way to customize is by painting them. Pick colors that match your veggie garden and the area around it. You can also add patterns or designs for a more personal look.
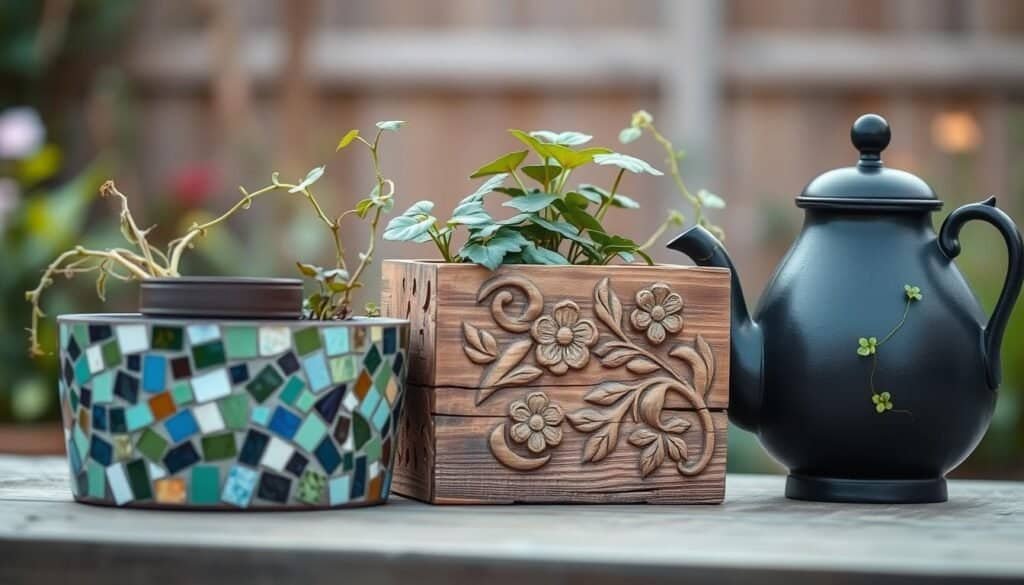
Adding materials like seashells, pebbles, or mosaic tiles is another idea. This adds texture and interest to your garden. For a rustic feel, try adding distressed wood or burlap around your planters.
If your garden has a theme, match your planters to it. For a coastal look, use shells, driftwood, and ocean colors. A modern garden might have sleek designs and bold colors.
Customizing your DIY planters makes your garden look cohesive. It shows off your personality and style. Whether you want to add color or create a themed garden, you have endless options.
Seasonal Adaptations for Your DIY Garden Planters
As the seasons change, your DIY garden planters can too, with a few simple adaptations.
One way to adapt your planters is by changing the plants themselves. For example, in the spring, you can fill your DIY pots for plants with vibrant flowers like tulips or daffodils. In the summer, you can switch to heat-tolerant plants like succulents or herbs.
In the fall, consider adding plants with autumnal colors, such as mums or asters. In the winter, evergreen branches or holly can add a festive touch to your diy tall planters outdoor.
Another way to adapt your planters is by changing their appearance. You can add seasonal decorations, such as pinecones, holly, or ribbons, to give your planters a festive look.
For a more dramatic change, consider creating a dish garden with small plants and decorative rocks. This can be a beautiful and low-maintenance option for your DIY garden planters.
By making a few simple changes, you can keep your DIY garden planters looking fresh and exciting throughout the year.
Conclusion
Making your own diy planters is a fun and rewarding hobby. It adds a personal touch to your garden or indoor space. This article has given you flower pots ideas and diy plant holder projects to try.
Whether you want a bottle garden or other planter ideas, there’s a lot to explore. Making your own planters lets you customize your space to match your style. It’s a great way to make your outdoor or indoor area unique.
So, why not start today? Get your materials ready and pick a project that excites you. Enjoy the process of creating something beautiful. With a bit of creativity, you can make your garden or home a stunning oasis with your diy planters.

