Creating an efficient small workshop design can be tough. Limited space can slow you down and make it hard to keep tools and equipment organized.
But, there are many space-efficient workshop layouts and workshop organization tips to help. With the right strategies, you can turn your small space into a functional and organized workshop that suits your needs.
This article will show you five ways to improve your workshop’s layout. These ideas will help you work more efficiently and effectively.
The Small Workshop Challenge: Making Every Inch Count
For small workshop owners, making every inch count is key. They face the challenge of creating a functional space despite being small. It’s all about optimizing every inch.
Small workshop owners often deal with clutter and disorganization. These issues can slow down productivity and make projects hard to finish. A well-planned small workshop layout helps by keeping tools and materials in their place.

To design an efficient workshop space, consider your workshop’s needs. Think about the projects you’ll do, the tools you’ll use, and how to use the space well. A DIY workshop setup guide offers great tips for a functional layout.
Some common problems in small workshops include:
- Limited storage space
- Insufficient work surface area
- Poor workflow due to clutter or disorganization
By tackling these challenges with compact workshop design solutions, small workshop owners can create a space that works well. This allows them to be more productive and enjoy their DIY projects.
Measuring and Analyzing Your Workshop Space
Before you start designing your workshop, it’s key to measure and analyze your space. This step is vital for creating a woodworking shop layout plan that meets your needs.
To get accurate measurements, start by noting the room’s dimensions. Include the location of doors, windows, and any obstacles. This info helps you plan your tools and workstations well.

When analyzing your workshop layout, think about your workflow and moving between stations. Consider the essential woodworking techniques you’ll use and how they affect tool placement.
A good workshop room design uses space wisely. It should let you work comfortably and safely. By measuring and analyzing your space, you can make a layout that boosts your productivity.
Workshop Workflow Fundamentals for Tight Spaces
Creating an efficient woodworking shop starts with understanding workflow in tight spaces. A well-planned workflow is key to getting the most out of small workshops.
Key Considerations for Workflow Optimization include tool placement, work flow, and space use. Tools should be placed for easy access and to reduce movement. For more tips on optimizing your workshop, check out simple workshop tricks.
- Analyze your workflow to find bottlenecks.
- Optimize tool placement for minimal movement.
- Use vertical space for storage.
In tight spaces, a functional and efficient layout is essential. This might mean using mobile workstations or fold-away tools to save space.

By focusing on these workflow basics, woodworkers can make the most of their space. Even in the smallest areas, they can boost productivity.
5 Workshop Layout Ideas That Maximize Small Spaces
Getting the most out of a small workshop space starts with the layout. A good layout boosts productivity, safety, and efficiency.
Here are five workshop layout ideas to help you use your small space wisely:
- Wall-Centric Workshop: Use wall space for tool storage and workbenches.
- Mobile Workshop Station: Use mobile carts and stations for flexibility.
- Perimeter Optimization Layout: Focus on the perimeter for storage and work areas.
- Fold-Away Workshop: Add foldable workbenches and tools for compactness.
- Overhead Utilization System: Use overhead space for storage and equipment.
These layout ideas tackle the challenges of small workshop spaces. By using them, you can greatly improve your workshop’s functionality.

Applying these workshop layout ideas can make your workspace more efficient and safe. Whether your space is tiny or you’re looking to improve an existing workshop, these ideas are a great starting point.
Layout #1: The Wall-Centric Workshop
A wall-centric workshop layout is a smart choice for small spaces. It lets you use wall-mounted tools and storage to make the most of your space. This way, your floor stays clear, and you use your workshop’s height better.
Key Benefits of a Wall-Centric Workshop:
- Increased floor space for easier movement
- Improved organization through wall-mounted storage
- Enhanced accessibility to frequently used tools

Planning how to reach your tools is key in a wall-centric workshop. By placing tools at good spots on the walls, you can work more efficiently. Think about how you use your tools and where they should be.
Tips for Effective Accessibility Planning:
- Identify your most frequently used tools and place them within easy reach.
- Use wall-mounted storage solutions that allow for easy access.
- Organize your tools in a way that minimizes the need to move around the workshop.
By choosing a wall-centric workshop layout and planning well, you can make a small space work better. It becomes a more efficient and productive place to work.
Layout #2: The Mobile Workshop Station
The mobile workshop station is a smart way to use small spaces. It has workstations on wheels or casters. This lets you move and change your setup easily.
Key benefits of mobile workshop stations include:
- Flexibility in workspace arrangement
- Efficient use of floor space
- Ease of reconfiguration for different tasks or projects
Quick-Connect Systems for Power and Dust Collection
A key part of a mobile workshop station is a quick-connect system. It lets you quickly switch tools and keep your area tidy.
Advantages of quick-connect systems include:
- Reduced downtime when moving tools
- Improved safety by minimizing cord and hose clutter
- Enhanced flexibility in tool placement

Quick-connect systems make your mobile workshop better. They help you work more efficiently and safely. This is very helpful in small workshops where space is limited.
Layout #3: The Perimeter Optimization Layout
For small workshops, using the perimeter for workstations and storage is smart. The perimeter optimization layout makes every inch count. This ensures your workspace is both efficient and organized.
By focusing on the perimeter, you can create a workflow that minimizes congestion. This layout places workstations and storage units along the walls. The central area stays open for movement and larger projects.

When workstations are along the perimeter, task lighting is key. Proper lighting ensures each workstation is well-lit. This reduces eye strain and improves safety.
- Under-cabinet lighting can be used to illuminate work surfaces.
- Flexible arm lamps provide directed lighting where needed.
- LED strip lighting can be installed under shelves or along walls for ambient lighting.
Effective task lighting boosts productivity and safety. By choosing the right lighting for your workstations, you make your workspace more efficient and comfortable.
In conclusion, the perimeter optimization layout is a smart choice for small workshops. It uses the perimeter for workstations and storage. Adding effective task lighting solutions makes your workspace highly functional and efficient.
Layout #4: The Fold-Away Workshop
The fold-away workshop layout is perfect for those needing a flexible workspace. It lets you set up a full workshop in a small area. This can be done quickly and easily.
Key Benefits of a fold-away workshop include working on projects in a dedicated space. Then, you can fold away the tools when done, freeing up the area for other activities.

Quick setup and breakdown are key to a fold-away workshop. Here are a few ways to achieve this:
- Use wall-mounted tool holders that can be swung into place or folded against the wall.
- Choose mobile workstations with casters for easy movement.
- Opt for foldable workbenches that can be set up or taken down in minutes.
With these elements, your workshop can be ready in under 15 minutes. This makes it an efficient and practical choice for small spaces. The fold-away workshop is not just about saving space. It’s about creating a flexible workspace that meets your needs.
If you’re planning a DIY workshop setup guide, consider the fold-away concept. It’s a big step towards using your space wisely while keeping it functional.
Layout #5: The Overhead Utilization System
For small workshops, using the overhead space can change everything. This setup focuses on the often-unused area above to store tools and equipment. This frees up important floor space.
An effective overhead system includes sturdy shelving or storage units attached to the ceiling. It keeps the workshop tidy and safe from clutter.
Key Components of an Overhead Utilization System:
- Sturdy shelving units designed for overhead installation
- Secure attachment mechanisms to prevent accidents
- Easy access systems for retrieving stored items

When setting up an overhead system, it’s key to think about the weight it can hold. Make sure the storage units are installed safely. Too much weight can be dangerous.
- Calculate the total weight of items to be stored
- Choose storage solutions that meet or exceed this weight capacity
- Regularly inspect the installation for signs of wear or damage
By planning well and setting up an overhead system, workshop owners can make their space more efficient. They also keep their work area safe.
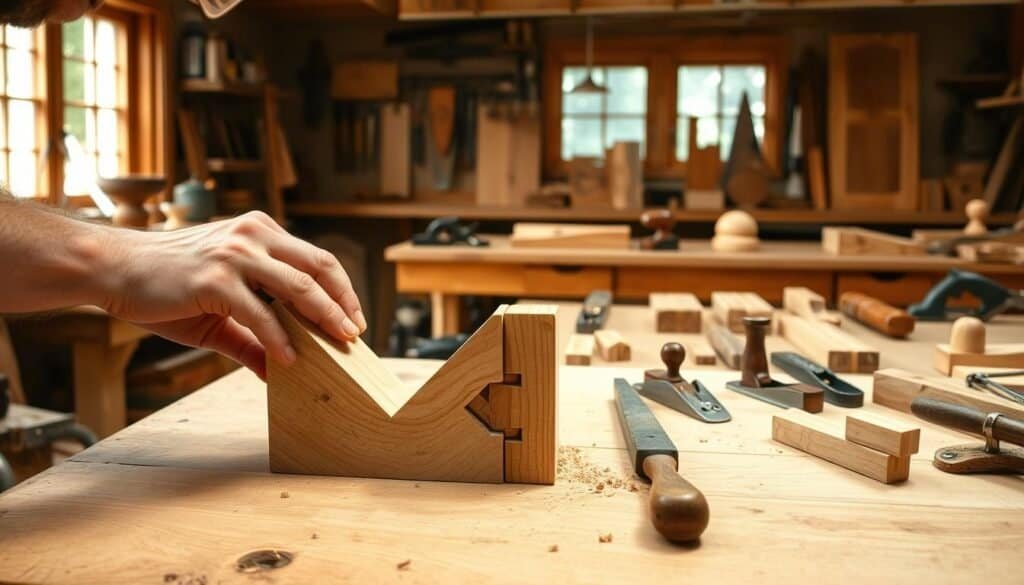
Space-Saving Tool Selection for Compact Workshops
Choosing the right tools is key for a functional compact workshop. You need tools that save space but don’t lose functionality. When space is tight, pick tools that do more than one thing or are small in size.
Here are some space-saving tool options to consider for your compact workshop:
- Compact table saws that can be mounted on walls or have foldable designs
- Multi-tool devices that combine functions like drilling, sawing, and sanding
- Portable workbenches that can be easily moved or stored
- Wall-mounted tool holders and organizers to keep tools off the floor
Think about the woodworking shop layout when picking tools. A good layout makes your workshop more efficient.

Other small workshop design ideas include using vertical space with shelves and storage. Also, choose tools with compact or modular designs. By picking the right tools and designing smartly, you can make even the smallest space work well.
Digital Planning Resources for Workshop Layout Design
Creating an optimal workshop layout is now easier with the right digital planning resources. These tools help you visualize and optimize your workshop space.
Many digital tools are available for designing a workshop layout design. Software like SketchUp and Autodesk let you create detailed 2D and 3D models. Online resources and templates can also help you start your woodworking shop layout plan.

With these resources, you can try out different layouts and configurations. This helps you find the most efficient use of space. Your workshop will be both functional and comfortable.
By using digital planning resources, you can make a well-designed workshop. This boosts your productivity and efficiency.
Conclusion: Implementing Your Small Workshop Transformation
Turning your small workshop into a top-notch space is possible with the right planning and design. Use the 5 workshop layout ideas for small spaces to make your workshop more efficient. This article has all the details you need.
Begin by measuring and analyzing your workshop. Then, pick a layout that fits your needs. You can choose from a wall-centric, mobile, perimeter, fold-away, or overhead layout. Each has its own advantages for small spaces.
When setting up your layout, focus on keeping things organized. Choose tools that save space and use digital planning tools. This will help you avoid clutter and stay productive.
By following these steps, you can transform your small workshop. It will become more productive and make the best use of your space. Start making your dream workshop a reality today.