Are you tired of cluttered workspaces? Creating a functional and organized desk area can boost productivity and reduce stress. Wooden desk organizers are a great way to achieve this.
DIY desk organizers made from wood can add warmth and personality to your workspace. They keep essential items within easy reach. There are many projects for all skill levels and needs.
In this article, we’ll explore 7 creative wooden desk organizer projects. These projects can help you declutter and customize your workspace. Whether you’re a seasoned DIY enthusiast or a beginner, these ideas will inspire you to create a more organized and efficient work area.
Why Wooden Desk Organizers Transform Your Workspace
Adding a wooden desk organizer can make your workspace better and less stressful. A messy desk can slow you down and make it hard to focus. A wooden desk organizer helps keep things tidy and makes your work area more efficient.
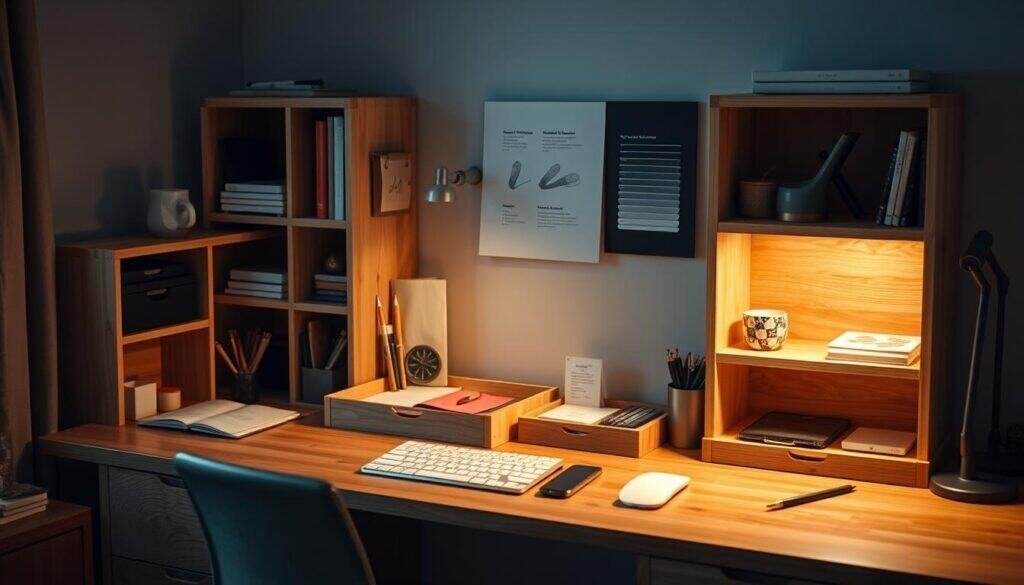
Having a tidy workspace is good for your mind. Studies say a clean space helps you concentrate better and feel less stressed. Wooden desk organizers also add a cozy feel to your workspace.
To get a clean desk, first figure out what you need to organize. Think about what you use often, like pens and papers. Then pick a desk organizer that meets your needs. You might want a simple pen holder or a desk caddy with lots of compartments. Tutorials can help you make a desk organizer that’s just right for you.
Looking at creative desk organizer ideas can spark your imagination. You could turn an old crate into a desk organizer or use a dowel for a paper tray. These projects not only help you stay organized but also make your desk more personal.
Adding a wooden desk organizer is a simple way to improve your work area. By picking a design that suits your needs and taste, you can make your workspace more organized, efficient, and nice to look at.
Essential Tools and Materials for DIY Desk Organizers
Starting a DIY desk organizer project means picking the right tools and materials. You’ll need a few key items to make a wooden desk organizer that looks good and works well.
The wood you pick depends on your project. Pine or cedar works well for simple organizers. You’ll also need sandpaper, wood glue, and a saw to shape the wood.
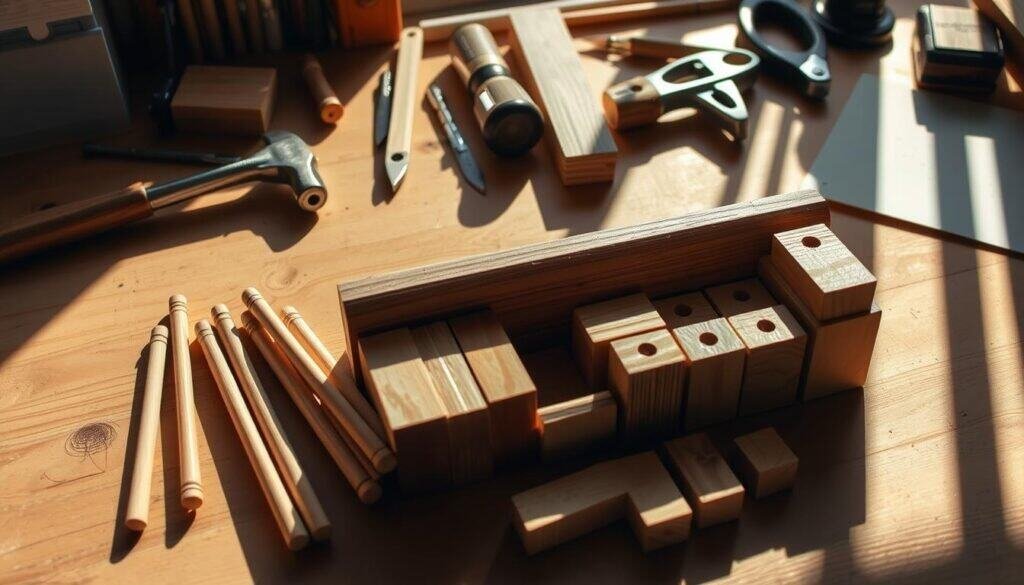
You’ll also need basic tools like a drill, hammer, and measuring tape. Having these tools ready makes your project easier and ensures it turns out right.
Safety Precautions
Working with power tools and wood requires safety steps to avoid injuries. Always wear protective eyewear and keep loose clothes tied back. Also, make sure your workspace is well-ventilated and clear of clutter.
By getting the right tools and materials and following safety tips, you’re ready to make a beautiful and useful wooden desk organizer at home.
Setting Up Your Workspace for Success
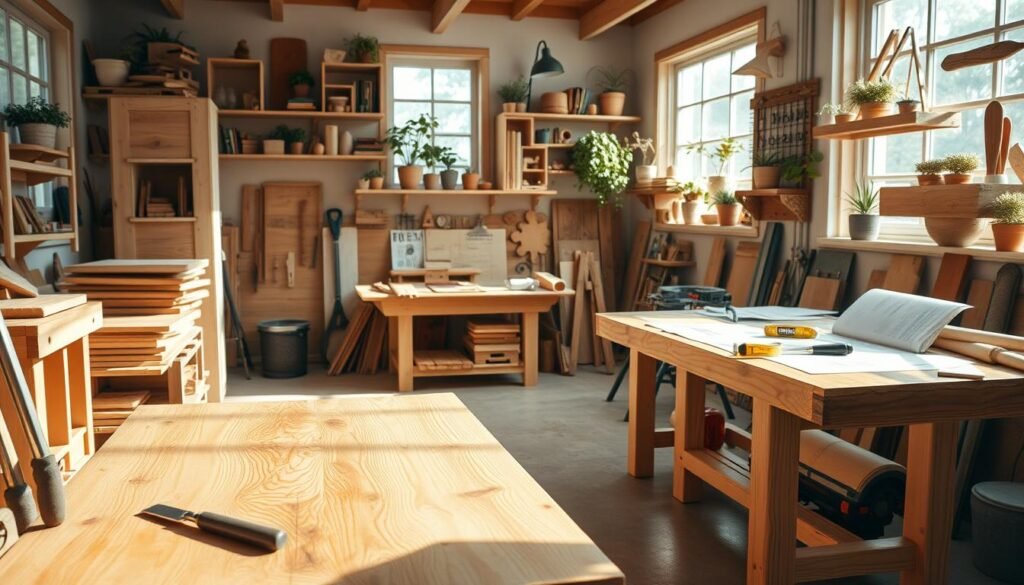
To boost productivity, setting up a good workspace is key for DIY fans. A tidy workspace makes woodworking better and keeps things running smoothly.
First, pick a spot for your woodworking. It could be a garage corner or a room at home. Make sure it’s bright and has good air to work comfortably.

It’s important to organize your tools and stuff. Use a wooden pen holder or tray for tools you use a lot. Install shelves or a storage unit for wood and other supplies. This keeps everything in order and easy to find.
Working on a wood desk or project? A desk organiser helps keep things neat. Use labels on containers and avoid clutter. This helps you stay focused and avoid distractions.
With a well-set-up workspace, you’ll do better on DIY projects, like a diy desktop organizer. This setup boosts your productivity and makes woodworking more fun.
Project1: Classic Wooden Pen and Pencil Holder
Adding a handmade wooden desk organizer to your office is a great idea. It keeps your space tidy and adds a personal touch. A classic wooden pen and pencil holder is perfect for this.
You’ll need basic woodworking tools and materials like a plank, saw, sandpaper, and drill. The wood you choose affects the look of your organizer. Reclaimed wood gives a rustic feel, while polished hardwood looks modern.
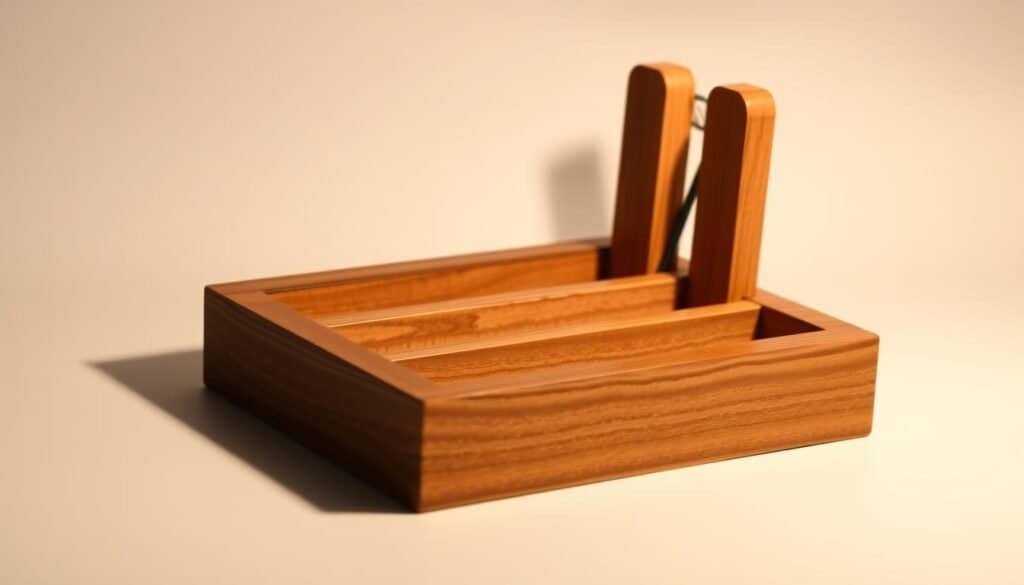
First, cut the wood to size. Sand the edges to smooth them. Then, put the pieces together into a holder. You can make it any size or design you want, for pens, pencils, or paintbrushes.
Tips for Customization
Make your holder unique by adding a personal touch. You can engrave your name or a pattern on the wood. Try different stains or paints to match your office.
Adjust the compartments to fit your needs. If you use more pens, make more space for them. This makes your organizer practical and stylish.
With these steps and tips, you can make a wood organizer that’s both functional and beautiful. It will keep your space organized and show off your personal style.
Project2: Tiered Document Tray Organizer
Turn your study table into a tidy space with a tiered document tray organizer. It’s ideal for those wanting a study table organizer that keeps papers handy.
You’ll need wooden planks, supports, and a solid base for this handmade desk organizer project. Its beauty is in being tailored to your needs. You can change the size and number of tiers as you like.
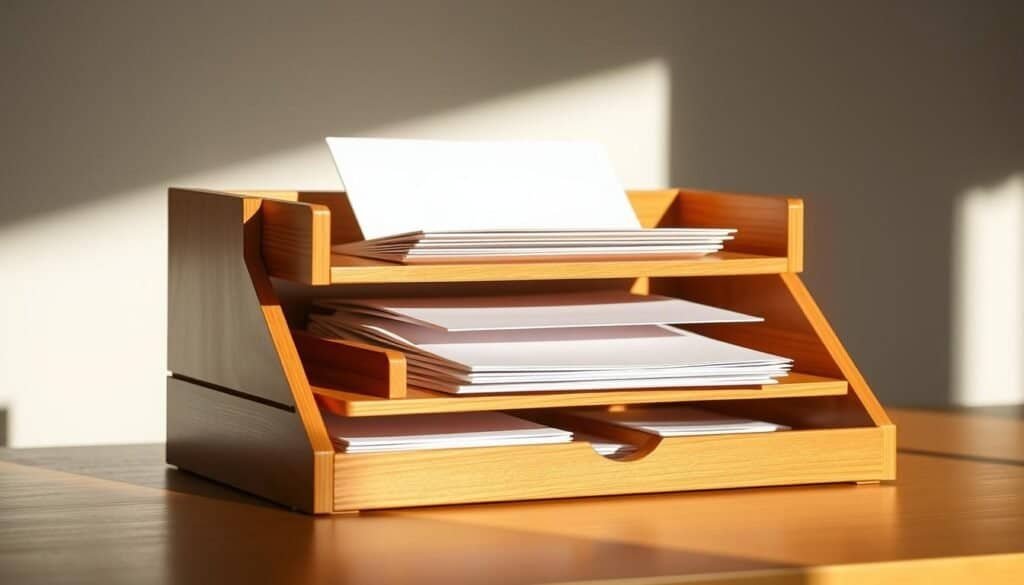
First, cut the wooden planks to the right length for your trays. Sand them to avoid splinters and get a smooth look. Then, put the trays together by attaching the sides and bottom. They should be strong enough for your papers.
Assembly and Finishing
Start by attaching the trays to the supports, making sure they’re evenly spaced. The supports need to be strong enough for the weight of your papers. After your trays are set up, attach them to the base. Make sure everything is stable.
For the final steps, sand any rough spots and apply a finish like varnish, paint, or stain. This improves your organizador escritorio‘s look and protects the wood.
With these DIY wooden desk organizer plans, you’ll have a stylish tiered document tray organizer. It’s a great way to tidy up your desk and show off your skills.
Project3: Multi-Compartment Desk Caddy with Drawer
Make your workspace better with a multi-compartment desk caddy and a drawer. It’s great for organizing your desk and keeping it tidy.
A wooden desk organizer can be tailored to your needs. It’s perfect for pens, papers, or other office items. The drawer is great for keeping important things safe.
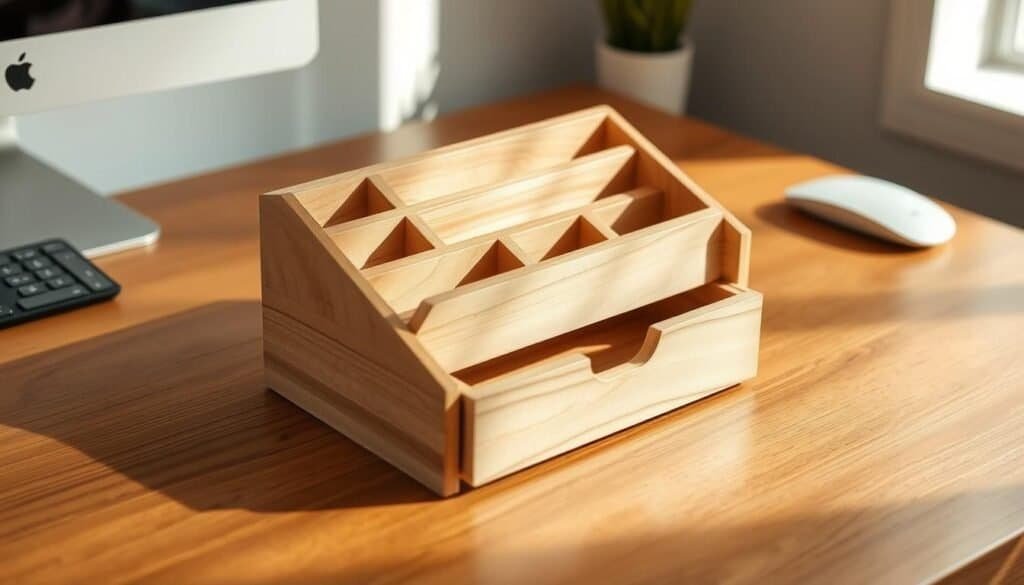
First, design your caddy, thinking about its size and how many compartments you want. Use wood for the base and add dividers for separate spots. You can make this wooden desk stationery organizer with simple tools and materials.
Adding a Drawer
The drawer is key for extra storage and keeping things organized. To make it, build a small box that fits inside the caddy. Use a slide or runner for easy opening and closing.
When making the drawer, think about using diy desk accessories like drawer pulls or knobs. Adding a small lock can also help keep things safe.
By following these steps, you can make a wooden desk organizer that fits your needs. The multi-compartment desk caddy with a drawer is a smart choice for any desk.
Project4: Wooden Phone Dock with Hidden Cable Management
Building a wooden phone dock with hidden cable management is a smart DIY project. It helps declutter your workspace. This project adds both function and beauty to your office or home office.
First, design your wooden phone dock. Think about your phone’s size and the desk space. Your dock should hold your phone at a good angle and manage cables well.
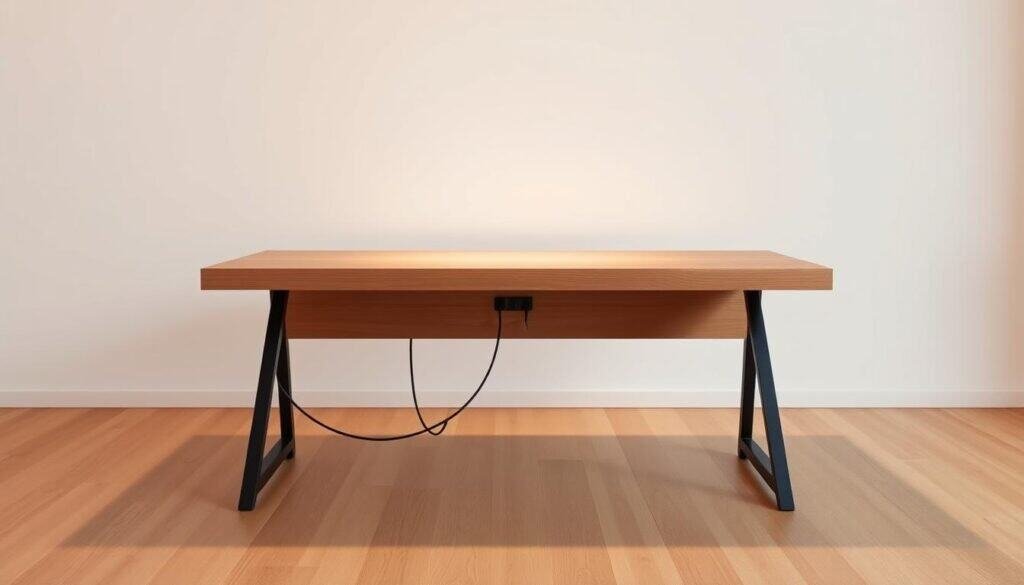
Good cable management is key for a clean workspace. Your dock can have hidden spots or cable ties to keep cables neat.
Choose wooden materials that match your desk. For example, a natural wood desk can warm up your office.
This project makes your workspace better and more organized. It lets you tailor your office to your liking, adding value to your decor.
In summary, a wooden phone dock with hidden cable management boosts your workspace’s look and function. Follow the steps and use smart cable management to make a dock that fits your desk and improves your work area.
Project5: Compact Desktop Mail and File Sorter
Having a wood office desk and a compact mail sorter can make you more productive. A clean workspace is not only nice to look at. It also helps you focus better on your tasks. A well-designed mail and file sorter keeps your desk tidy and your documents organized.
To begin, gather some basic materials: a wooden plank, a saw, sandpaper, and a drill. The plank’s size depends on your desk’s space. Measure the area for the sorter to find the right size. Cut the plank carefully to avoid rough edges.
Then, plan the compartments for your mail and files. A small sorter might have three to five sections. Sand the edges to smooth them out and avoid splinters. Use wood glue and nails to put the sorter together, making sure it’s stable.
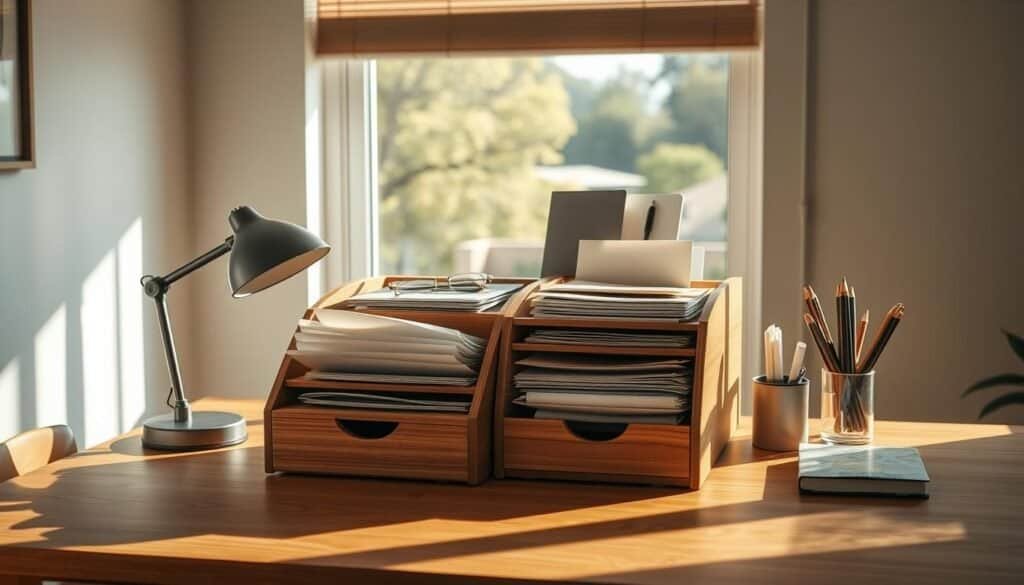
After building your sorter, you can make it look good with your desk. You might stain or paint it to match your desk. Let the finish dry before putting it on your desk.
Organize your documents and mail in the sorter’s sections. This could be bills, documents to file, and mail to answer. This way, you can find any document quickly, making you more productive.
Keeping your sorter clean is easy. Dust it often to keep it looking new. Also, check the compartments to avoid clutter. With these steps, your sorter will help keep your workspace organized.
Project6: Customizable Wooden Drawer Dividers
Make your workspace better with wooden drawer dividers. They match your desk ideas perfectly. This DIY project is easy and boosts your office’s organization.
First, measure your drawers to figure out divider sizes. Think about the wood’s thickness and how tight they should fit. For a modern desk, sleek dividers are a good choice.
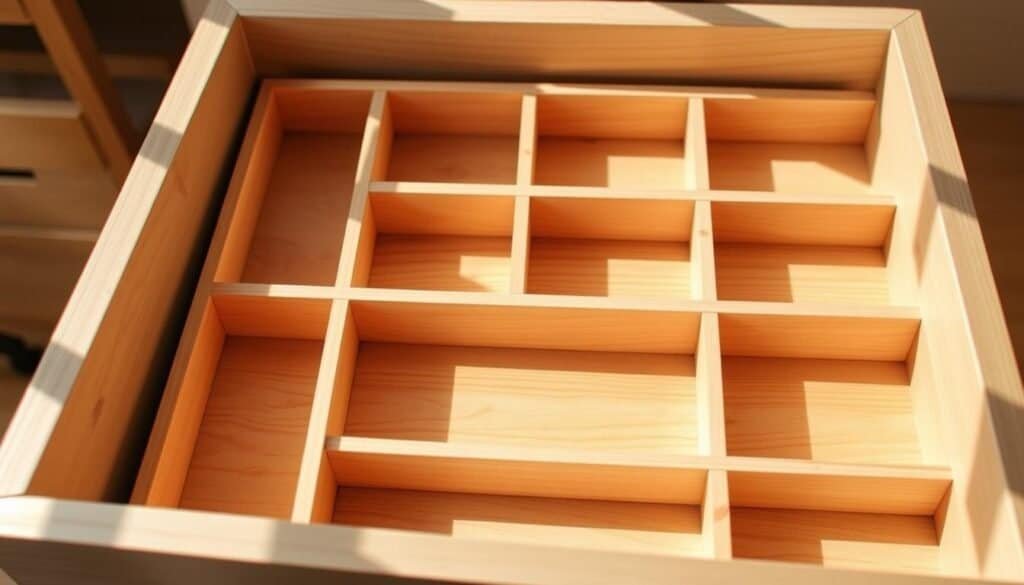
After measuring, cut the wood to size. Being accurate ensures a perfect fit. You can make dividers for any storage need, from a wooden desk to a wood desk project.
Assembly and Customization
To put the dividers together, use wood glue and nails or a strong adhesive. You can design them to fit your desk, adding features like adjustable parts.
This project makes your desk more organized and personal. It works with any desk, modern or wood desk ideas.
By following these steps, you’ll have dividers that organize and beautify your desk. They fit any desk style, from wooden to modern.
Project7: Floating Shelf Desk Organizer with Hooks
A floating shelf desk organizer with hooks is both practical and stylish. It keeps your workspace tidy and adds a modern touch to your desk.
To start, gather a wooden plank, brackets, hooks, screws, and a drill. Make sure the plank fits your desk’s style or decor.
Mount the brackets to the wall and place the shelf on top. It’s important to level the shelf to avoid tilting. You can leave the wood natural or add a finish to highlight its beauty.

Hooks make your shelf even more useful. Hang keys, bags, or office supplies to keep them handy but off your desk.
Choose the right spot for the hooks, mark it, and drill a hole. Then, screw in the hooks securely. The number and size of hooks depend on your needs and shelf size.
This DIY project improves both function and style in your workspace. A floating shelf desk organizer with hooks helps you stay organized and reflects your personal taste.
7 Small Wooden Desk Organizer Projects for Different Workspace Styles
Different workspace styles need unique wooden desk organizers. Whether you want a modern or traditional look, these 7 projects can fit your style.
For a modern space, try a sleek pen holder or a tiered document tray. These creative small desk organizer designs keep your area tidy and stylish.
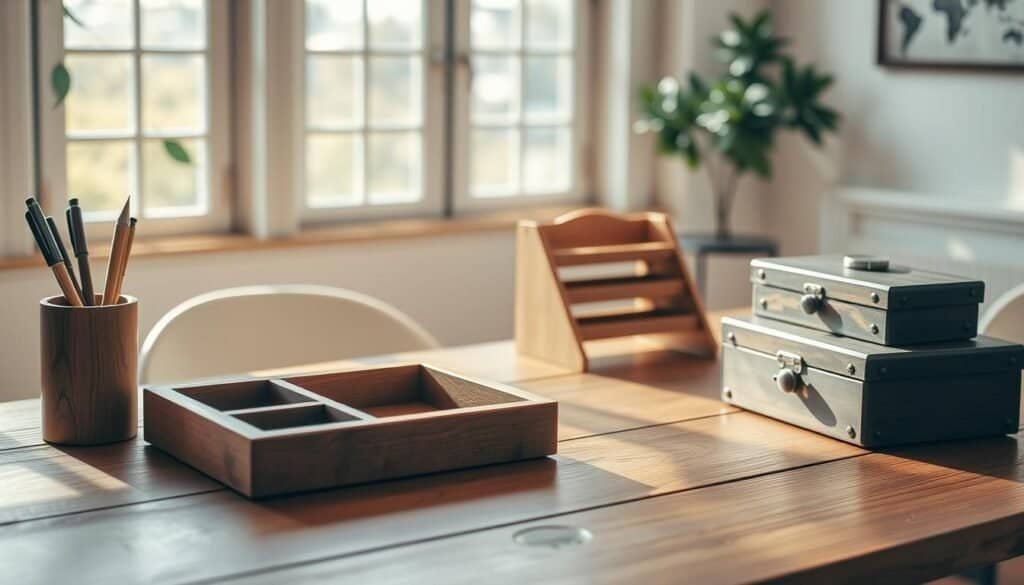
Prefer a traditional or rustic look? Choose a wooden desk caddy with a drawer or a desktop mail and file sorter. These small desk decluttering projects offer storage and add warmth to your space.
Wooden desk organizers are versatile. You can mix different projects to match your style. For example, pair a floating shelf with hooks and a customizable wooden drawer divider for a perfect mix.
Adding these wooden desk storage ideas to your space balances organization and style. A well-organized desk boosts productivity, whether at home or work.
Professional Finishing Techniques for Wooden Organizers
To make your DIY wooden desk organizers look great, use professional finishing techniques. A well-finished organizer makes your workspace look better and works better too.
Sanding is the first step for a smooth finish. Start with coarse-grit sandpaper and move to finer grits to remove any flaws. This step is key for a surface ready for staining or a finish.
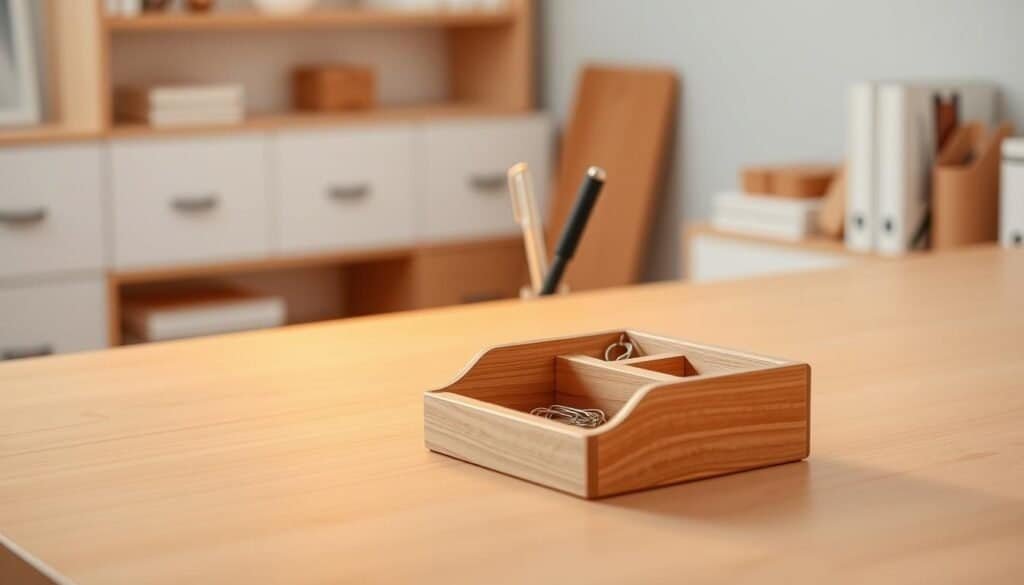
Choosing the right finish is important for your wooden desk organizer. Whether you want a natural look or a specific color, the finish matters a lot. Always follow the manufacturer’s instructions for application and drying times for a professional finish.
Applying a finish is easy if you’re patient and pay attention to details. Your “homemade wooden desk organizer inspiration” will become a beautiful, useful piece with the right finish.
By following these “simple wooden desk organizer plans” and focusing on finishing techniques, you can make organizers that are both useful and look good. A professional finish can really improve your DIY project’s quality.
Troubleshooting Common DIY Woodworking Challenges
Wooden desk organizers are fun to make, but they come with challenges. Issues like uneven cuts, misaligned joints, or finishing problems can happen. These problems can pop up when making a wood pen holder or a DIY desktop organizer.
Wood warping or splitting is a common issue. To avoid this, make sure your wood is dry and stored correctly. For uneven cuts, double-check your measurements. Using a jig can also help guide your saw.
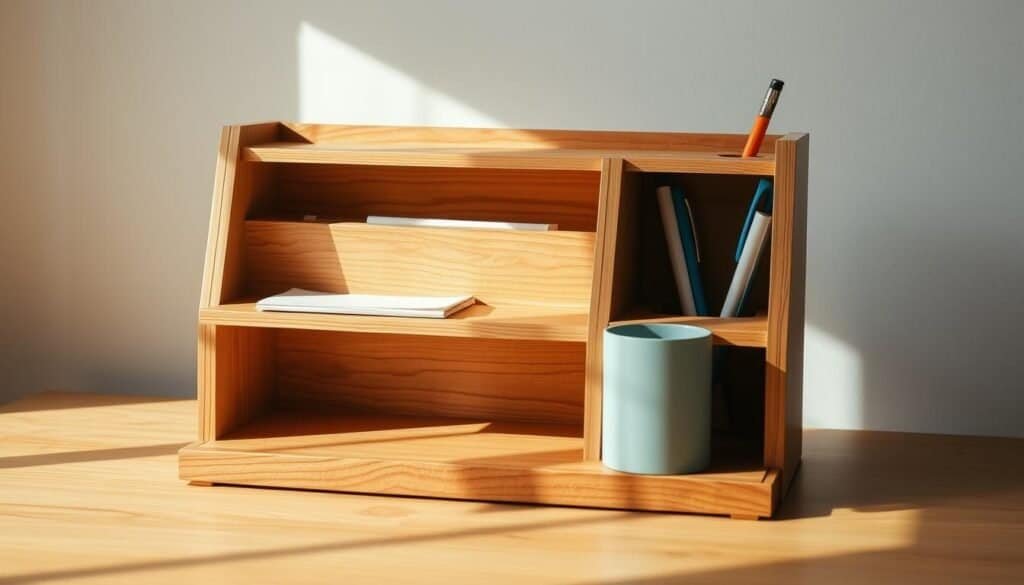
Assembling your DIY desk organizer can be tricky. Use clamps and take your time to avoid misaligned parts. Sanding your project well before finishing can also prevent many problems.
Knowing these common challenges and having solutions can help your DIY projects succeed. This includes your desk organiser or DIY desktop organizer.
Maintaining the Beauty of Your Wooden Desk Organizers
To keep your handmade wooden desk organizer looking its best, regular maintenance is key. Dust and dirt can build up, making it dull and potentially harming the wood over time.
Begin by dusting your wooden desk setup with a soft, dry cloth. For a deeper clean, mix a bit of mild soap with warm water. Then, gently wipe down the organizer. Stay away from harsh chemicals or abrasive cleaners that can harm the wood or strip its finish.
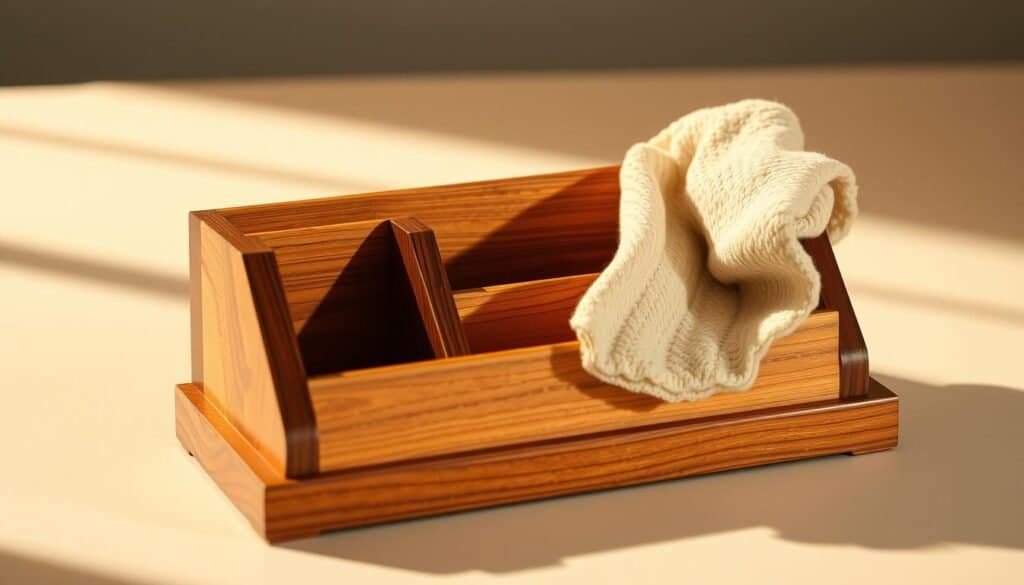
For your study table organizer, think about applying a wood conditioner or wax now and then. This keeps the wood moist and protected. It also helps keep your organizador escritorio looking great and lasting longer.
By following these easy care tips, your wooden desk organizers will stay beautiful and useful for many years.
Conclusion
Exploring the 7 small wooden desk organizer projects has shown you how to make your workspace better. These DIY plans add both function and style to your desk. They help you stay organized and make your desk more personal.
With a wooden desk organizer, you can clear out clutter and work more efficiently. You can make anything from a simple pen holder to a desk caddy with many compartments. These projects spark your creativity and guide you in making your own desk accessories.
Each project offers a special way to organize your workspace. By picking the right DIY plans, you can make a desk that shows off your style and meets your needs. So, choose a project that fits you, get your tools ready, and start making your ideal wooden desk organizer today.

