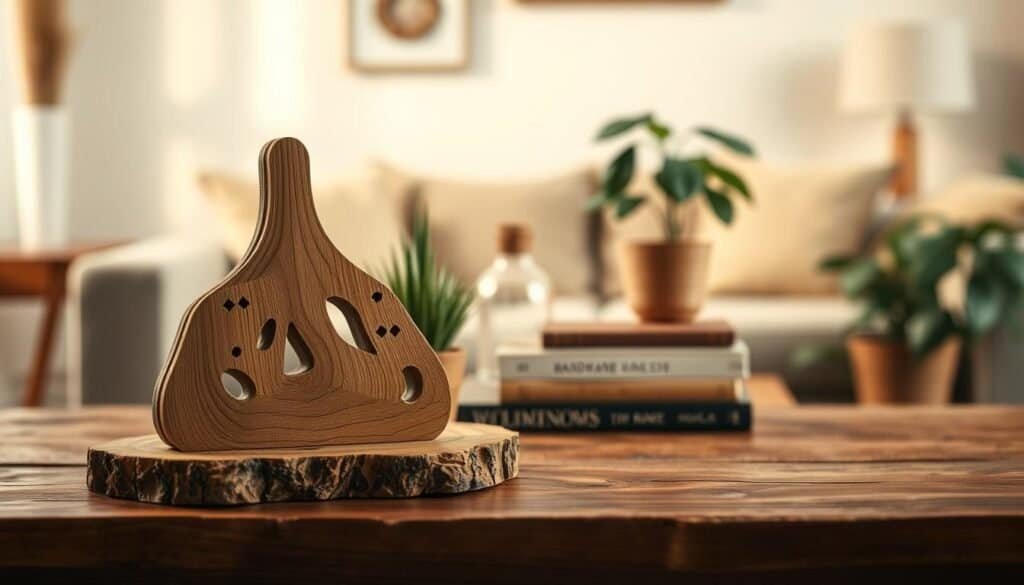
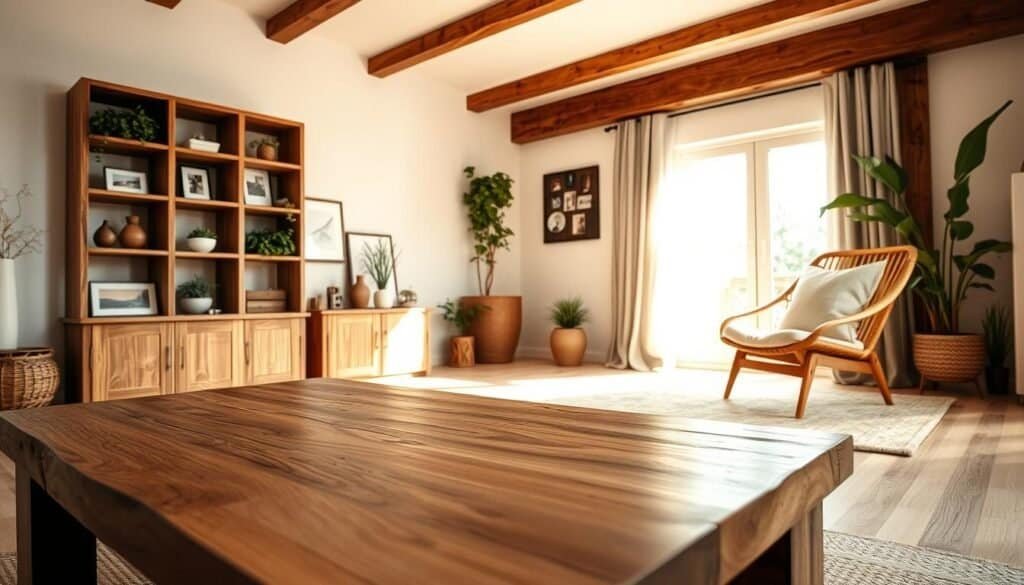
Using reclaimed wood to bring rustic charm indoors is easy. It’s not only eco-friendly, but it also makes your home decor unique. By using old wood, you help the environment and create something special.
These DIY projects are great for adding rustic home decor to your home. With a bit of creativity, you can turn old wood into stunning pieces that show off your style. Let’s dive into eight inspiring projects to help you make your own eco-friendly home projects.
Why Reclaimed Wood Is Perfect for Your Home Decor
Reclaimed wood is great for those who want unique decor. It’s good for the planet because it’s eco-friendly. By using wood that’s already been used, we save trees and forests.
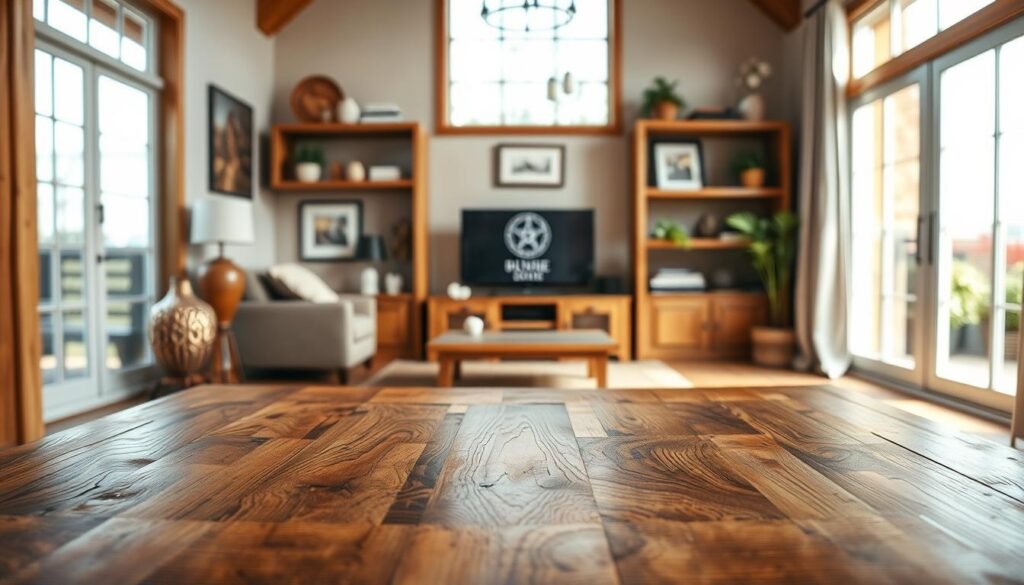
It also makes your home look special. Each piece tells a story, with signs like nail holes and weathering. This adds warmth and character to any room.
You can use reclaimed wood in many ways. It’s perfect for big items like furniture and wall art. It’s also great for small things like picture frames and shelves. Its beauty and benefits make it perfect for decorating.
Using reclaimed wood also makes your home personal. It can fit any style, from cozy to modern. It’s a way to give old wood a new life and make your home unique.
Essential Tools and Materials for Your Reclaimed Wood Journey
Before starting your reclaimed wood project, make sure you have the right tools and safety gear. You’ll need a table saw for straight cuts, a drill press for precise drilling, and sandpaper to smooth the wood.
For woodworking, it’s key to have nails, screws, and wood glue ready. Reclaimed wood might need special fasteners or fillers for any damage.
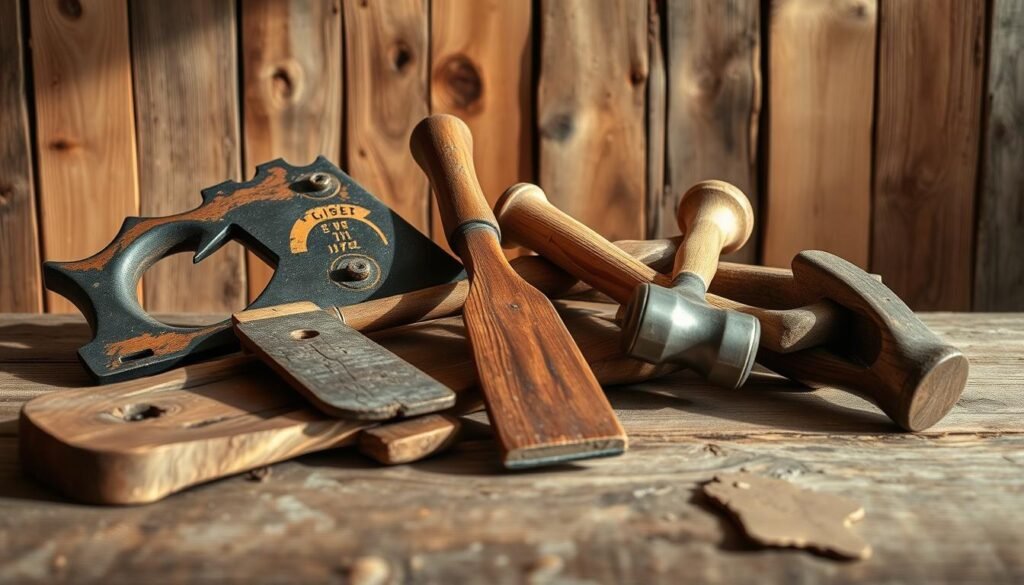
Always put safety first when using power tools and working with reclaimed wood. Wear protective eyewear, a dust mask, and gloves to stay safe and avoid injuries.
With the right tools, materials, and safety gear, you’re ready to start your reclaimed wood DIY projects. You’ll work with confidence and creativity.
Preparing Your Reclaimed Wood Treasures
To make reclaimed wood look its best, you need to prepare it right. This means taking a few steps to get the wood back to its original state.
Cleaning the wood is the first step. Dirt and grime can cover up the wood’s natural look. Use a soft-bristled brush or cloth to remove loose dirt. For deeper cleaning, mix soap and water, but test it first on a small area.
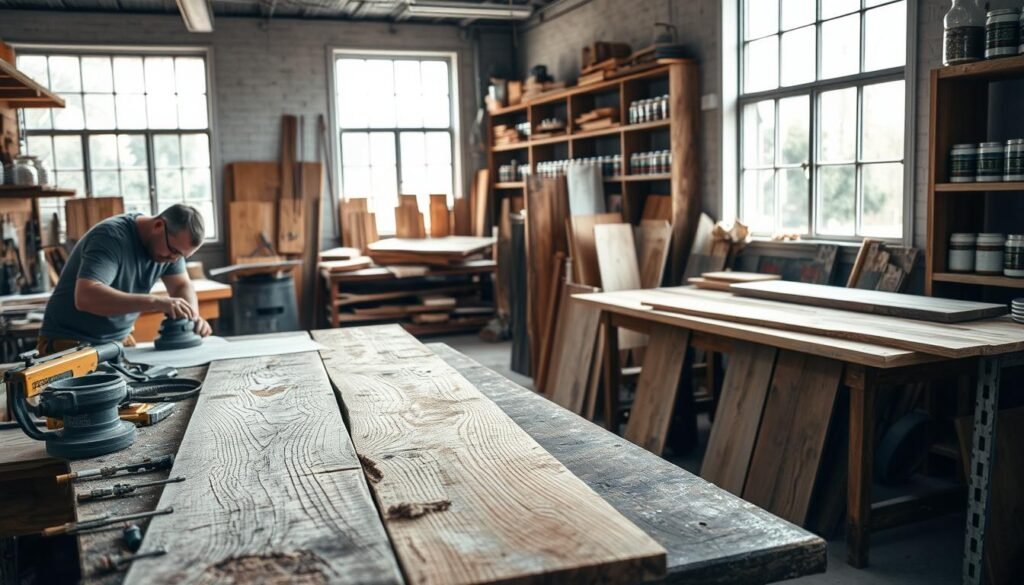
Next, check the wood for damage or rot. Reclaimed wood often has nails or screws. Removing these carefully is important to avoid more damage. If the wood is damaged, you might need to use a wood restoration method or get help from a pro.
Lastly, apply a finish to the wood. This could be a sealant, oil, or wax. The choice depends on the look you want and how much protection you need.
By following these steps, you can make sure your reclaimed wood is ready for your project. It will show off its unique character and beauty.
8 DIY Home Decor Projects from Reclaimed Wood
Get ready to unleash your creativity with our curated list of 8 stunning DIY home decor projects made from reclaimed wood. These projects showcase the versatility and charm of reclaimed wood. They offer something for every style and skill level.
From functional pieces like a farmhouse-style coffee table with storage to decorative elements such as geometric reclaimed wood wall art, our projects cater to a wide range of tastes and needs. You’ll also find ideas for a rustic floating shelf, a vintage-inspired wooden picture frame, and a statement pallet wood headboard, among others.
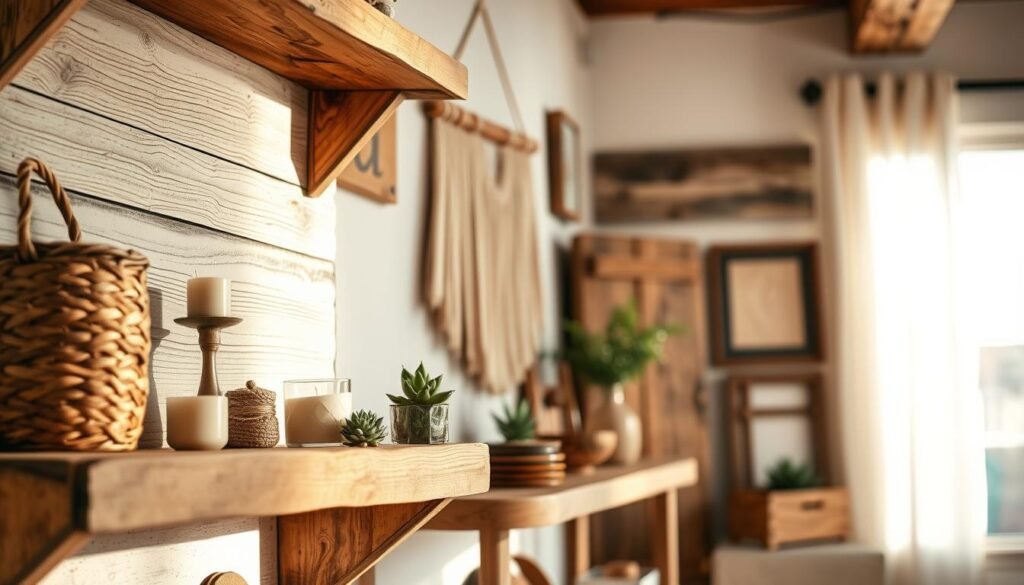
These eco-friendly projects not only enhance your home’s aesthetic but also promote sustainability. Whether you’re a seasoned DIY enthusiast or a beginner, our guide will walk you through the process. This ensures that you can create beautiful, functional pieces for your home.
Project 1: Rustic Floating Shelves with Industrial Flair
Make your home look better with DIY rustic floating shelves. They add warmth and character to any room. Use them to show off decorative items, books, or kitchenware.
To start, pick high-quality reclaimed wood. Look for wood with unique textures and markings. You’ll also need industrial-style brackets, screws, and a drill. Make sure your materials can hold the weight of what you’ll display.
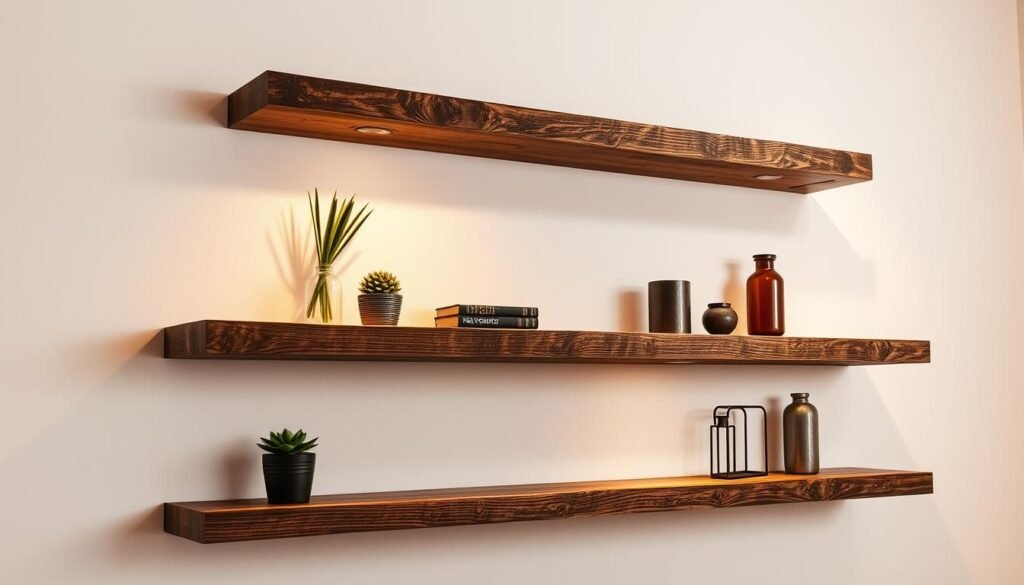
First, measure and cut your wood to the right length. Sand the wood to make it smooth and highlight its natural beauty. Then, attach the industrial brackets to the wall, making sure they’re level and secure.
Mount the shelves on the brackets, making sure they fit well. You can add a finish or stain to protect the wood and make it look better. Once done, place your shelves where you want, and enjoy the extra storage and style they add.
For an industrial look, use metal brackets and mix textures. Try different lengths and setups to make a unique look that fits your decor.
Project 2: Geometric Reclaimed Wood Wall Art
Make your living space stand out with a beautiful geometric reclaimed wood wall art. It mixes the charm of old wood with cool geometric shapes. This creates a special piece that brings life to any room.
To begin, gather reclaimed wood planks, a miter saw, a drill press, and your favorite geometric pattern. Go for a hexagon or chevron for a sleek vibe. Or mix wooden shapes for a quirky look. The goal is to pick a design that speaks to you.
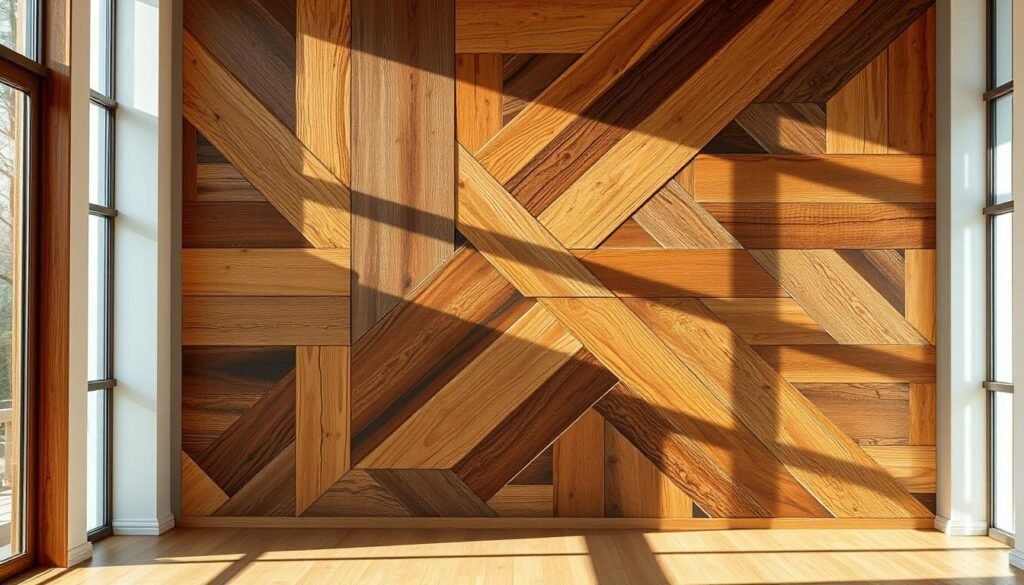
After picking your design, cut the wood into the needed shapes and sizes. Use wood glue and nails to put the pieces together. Make sure it’s strong and looks good. You can keep the wood natural or add a finish to highlight its beauty.
This wall art is not just a pretty addition to your home. It’s also a conversation starter. It shows off your creativity and ability to turn old materials into something new. This DIY project adds a modern touch and warmth to your walls. It’s a perfect DIY mix of “geometric decor” and “home decor ideas.
Project 3: Farmhouse-Style Coffee Table with Storage
Reclaimed wood is perfect for a rustic farmhouse-style coffee table with storage. It mixes function with the beauty of aged wood. This creates a unique piece that enhances any living room.
Think about your room’s size and layout when designing your coffee table. A big table can be a centerpiece, while a smaller one fits well with other furniture. Reclaimed wood furniture, like a farmhouse style, adds warmth and history to your decor.
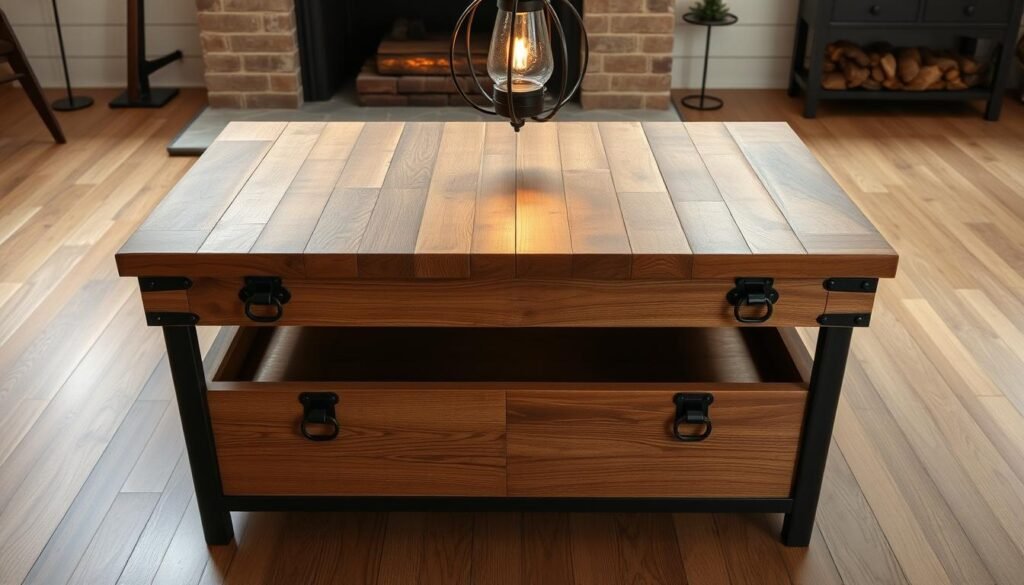
To begin, gather reclaimed wood planks for the top and shelves, and wooden brackets for support. You’ll need basic woodworking tools like a saw, drill, and sandpaper. Make sure you have a level and clamps for a solid build.
The storage part is a key feature of this project. Shelves or a cabinet keep your living room tidy. This adds both beauty and usefulness to your space.
Building the coffee table means making the frame, attaching the top, and adding storage. With good planning and work, your farmhouse-style coffee table with storage will be a valuable piece in your home.
Project 4: Vintage-Inspired Wooden Picture Frames
Creating vintage-inspired picture frames from reclaimed wood adds rustic charm to your home. It’s a way to upcycle old wood into a beautiful piece of art with a DIY project. This art tells a story.
To start, find some reclaimed wood with a rich history and character. Look for wood with interesting textures and patina. This adds to the vintage appeal of your frames.
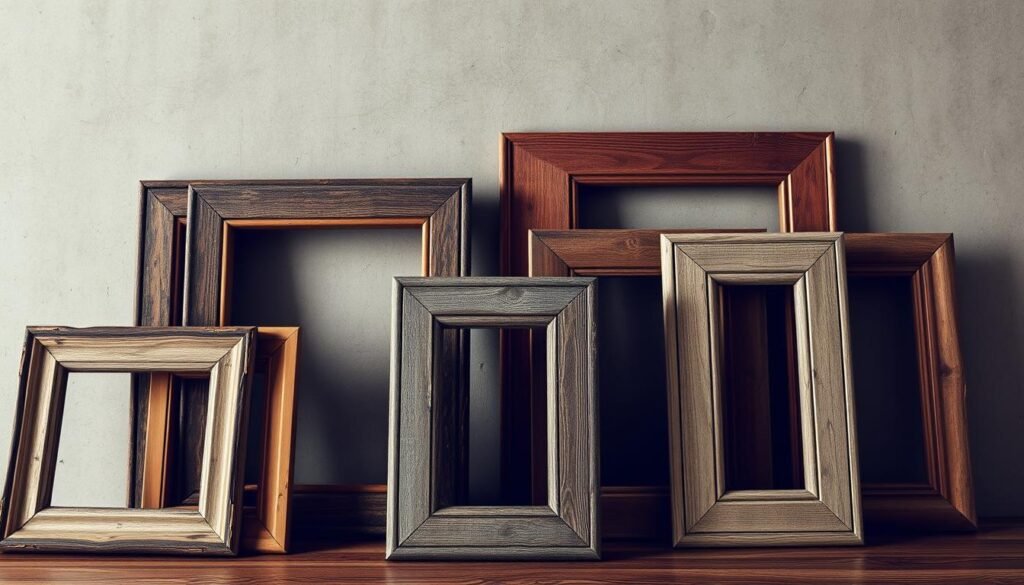
Begin by cutting your reclaimed wood into the required frame sizes. You can use a simple frame design or get creative with patterns and designs. Sanding the wood is key to smooth out any rough edges and enhance its natural beauty.
Assemble the frames using nails and wood glue. To give your frames a vintage look, add distressed finishes or antique hardware.
Once your frames are done, add your favorite photos or artwork. These vintage-inspired wooden picture frames will not only enhance your home decor. They will also be a conversation starter when you have guests over.
Project 5: Statement Pallet Wood Headboard
Bring the outdoors in with a statement headboard made from pallet wood. This material is both sustainable and visually appealing. It adds rustic charm to your bedroom and supports eco-friendly decor.
To start, gather your materials. You’ll need pallet wood planks, a drill, and a saw. Also, get a measuring tape, sandpaper, and a hammer. You might need decorative items like nails or a wood stain. Make sure you have a clear plan and all tools before you begin.
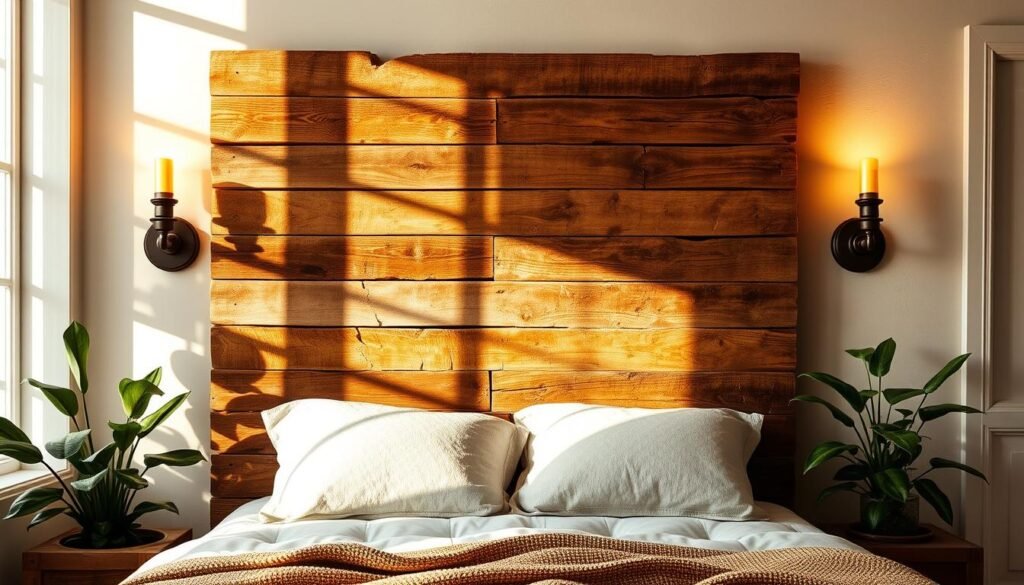
The design options for a pallet wood headboard are endless. You can go for a simple look or a complex, geometric pattern. Think about your bedroom decor’s overall aesthetic. A statement headboard can be a room’s focal point, so choose wisely.
After assembling your headboard, add a finish to protect the wood and enhance its look. A clear coat or wood stain can maintain the natural look while adding durability. This step is key to keeping your DIY headboard beautiful for years.
Creating a pallet wood headboard is a rewarding DIY project. It can transform your bedroom decor. With creativity and basic carpentry skills, you can make a unique headboard. It’s a versatile and eco-friendly choice, fitting both rustic and modern styles.
Project 6: Tiered Reclaimed Wood Planters for Indoor Greenery
Make your indoor plants stand out with a tiered reclaimed wood planter. It’s a mix of rustic charm and modern style. This DIY project is great for small spaces, using vertical space well and adding natural beauty to your home.
First, collect your reclaimed wood and the tools you need. Cut the wood into the right sizes for the planter’s tiers. Then, put the tiers together using strong brackets or wooden supports. Make sure each tier is level and well attached.
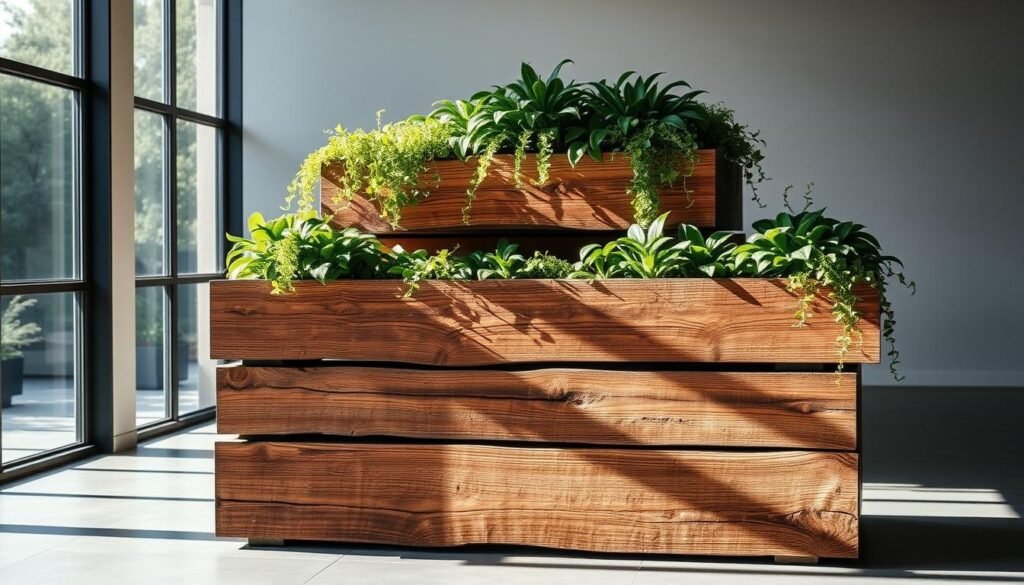
Tiered planters make your plants look good and are easy to care for. You can change the size and number of tiers to fit your space and the plants you have.
Using reclaimed wood in your planter is good for the environment. It reduces waste and adds a special, eco-friendly touch to your decor. This project is a fun way to add greenery to your home and show off your creativity.
Project 7: Multifunctional Entryway Organizer with Coat Hooks
Building a multifunctional entryway organizer with coat hooks from reclaimed wood is a great idea. It adds both style and function to your home. An entryway organizer helps keep your home neat by providing a place for keys, coats, and more.
Think about the space you have and what you need to store when designing your organizer. Reclaimed wood brings warmth and character, making your organizer both useful and beautiful. It enhances your home’s decor.
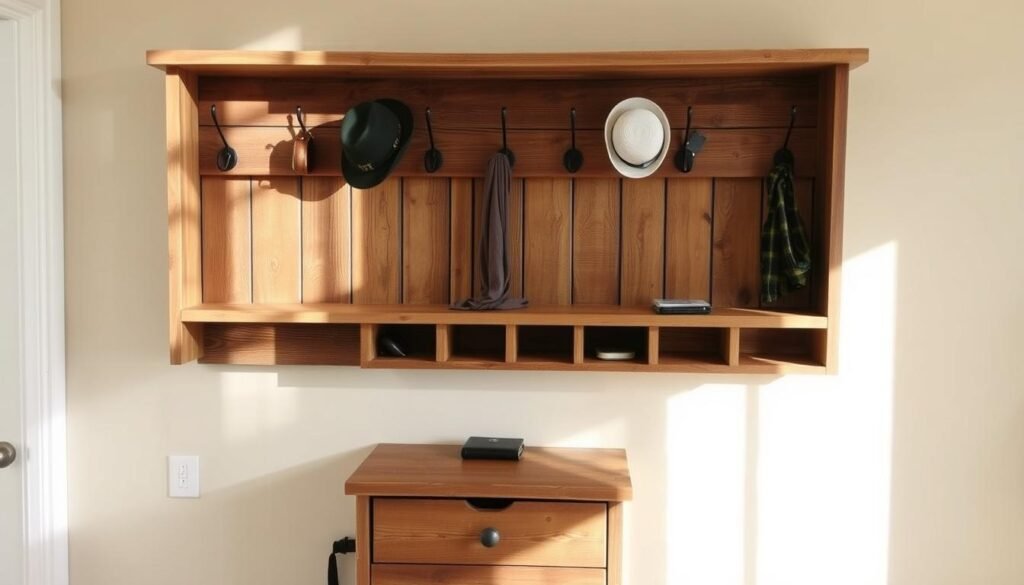
To begin, prepare your reclaimed wood. Clean and sand it to remove dirt or old finishes. Then, cut the wood to fit your design, making sure it meets your DIY needs.
Assemble the organizer by attaching the coat hooks and any other hardware. Make sure it’s strong enough to hold coats and bags. You can also add shelves or a bench for more storage and function, improving your home’s organization.
Using reclaimed wood in your DIY entryway organizer is not just practical. It also supports sustainable living by reusing old wood. It’s a wonderful addition to your home.
Project 8: Show-Stopping Reclaimed Wood Accent Wall
Create a stunning focal point in your home with a reclaimed wood accent wall. It’s eco-friendly and stylish. This DIY project can change any room, adding rustic charm and character.
Think about the design that fits your space best. You can go for a full-wall look or a partial wall. The type of reclaimed wood, like weathered barn wood or vintage oak, greatly affects the look.
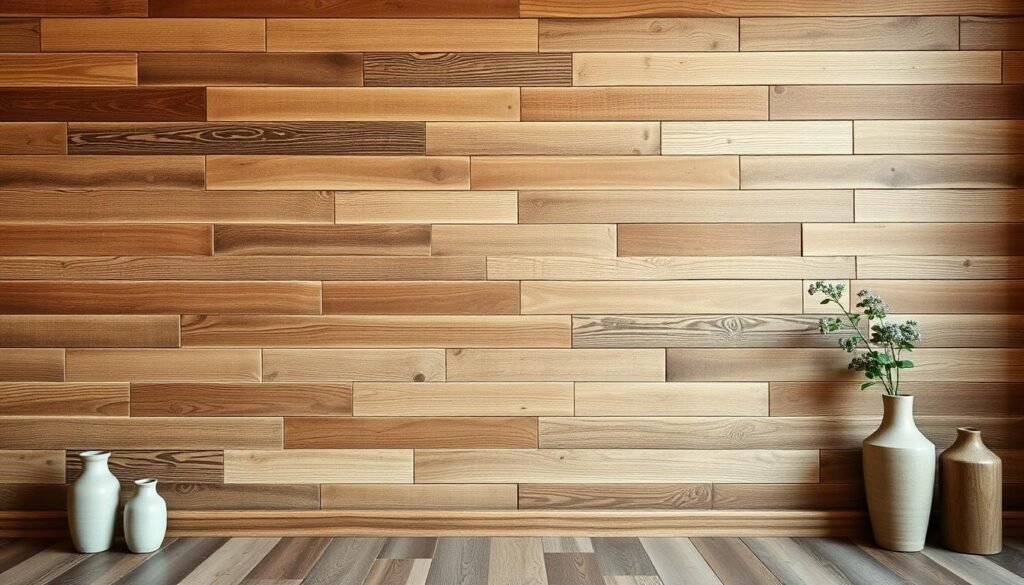
First, find the reclaimed wood. You can look at salvage yards, Habitat for Humanity ReStores, or online. Make sure the wood is clean and dry. You’ll need a saw, drill, and nails or a nail gun for the job.
Plan the layout of your wall. Choose a pattern like horizontal, vertical, or something more complex. Measure your wall and mark where each plank will go. Start from the center and work outwards for balance. Use the right fasteners to secure the planks, making sure they’re level and even.
A reclaimed wood accent wall adds interest and warmth to your space. With good planning and execution, it becomes a standout decor piece. It shows off your style and commitment to sustainable living.
Troubleshooting Common Reclaimed Wood Challenges
Starting a reclaimed wood DIY project? Knowing how to handle common problems is key. Reclaimed wood is full of character but comes with its own set of challenges. These include old nails, dirt, and uneven surfaces.
First, inspect the wood for hidden dangers like nails or screws. A metal detector can help find these hazards. Cleaning the wood well also shows its true condition and helps plan your project.
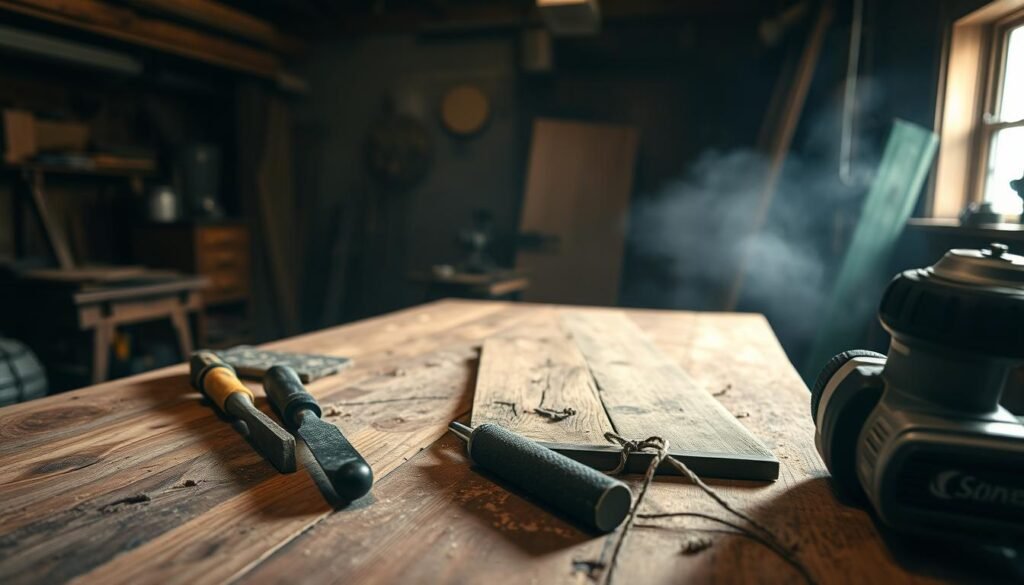
Uneven surfaces can be fixed with the right tools and techniques. Sanding is essential to smooth out the surface. Wood fillers can fill gaps or holes. For bigger structural issues, using brackets or redesigning the project might be needed.
By tackling these common problems, DIY fans can make sure their projects are both beautiful and lasting. With the right tools and patience, the unique challenges of reclaimed wood can be rewarding.
Conclusion: Bringing New Life to Old Wood
Reclaimed wood is special because it combines character, history, and sustainability. It’s perfect for DIY home decor projects, You Can Do It. By using old wood, you reduce waste and make your space warmer and more personal.
The eight DIY projects we showed you prove how versatile reclaimed wood is. You can make everything from rustic shelves to bold headboards. Each project shows how you can be creative and eco-friendly with your decor.
Thinking about using reclaimed wood in your home? It’s more than a trend. It’s a way to live more sustainably. With these DIY projects, you can give old wood a new life and help the environment.
Whether you’re experienced with DIY or just starting, we hope we’ve inspired you. Reclaimed wood offers endless creative possibilities. It can be turned into unique, functional pieces that show off your style.

