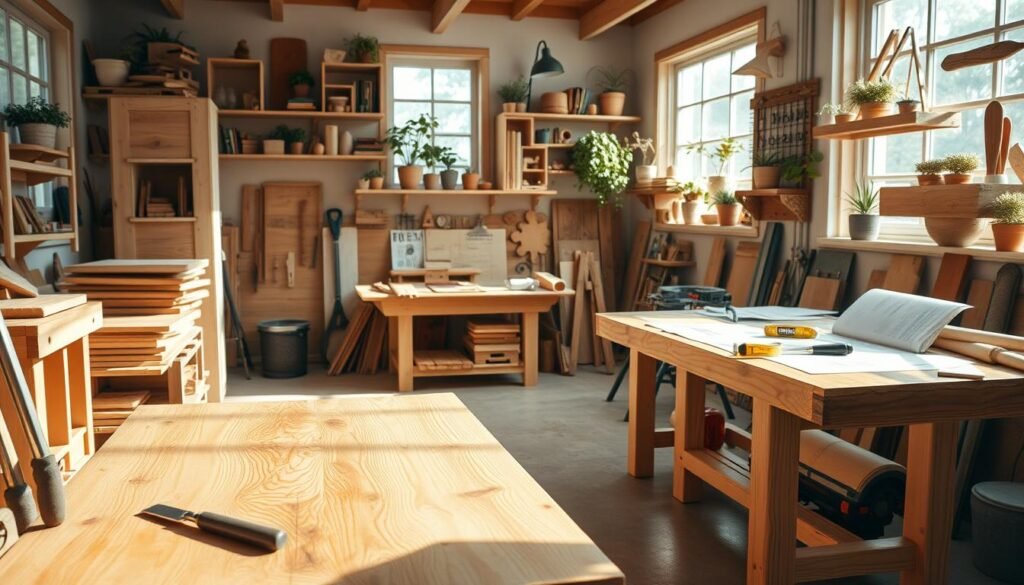
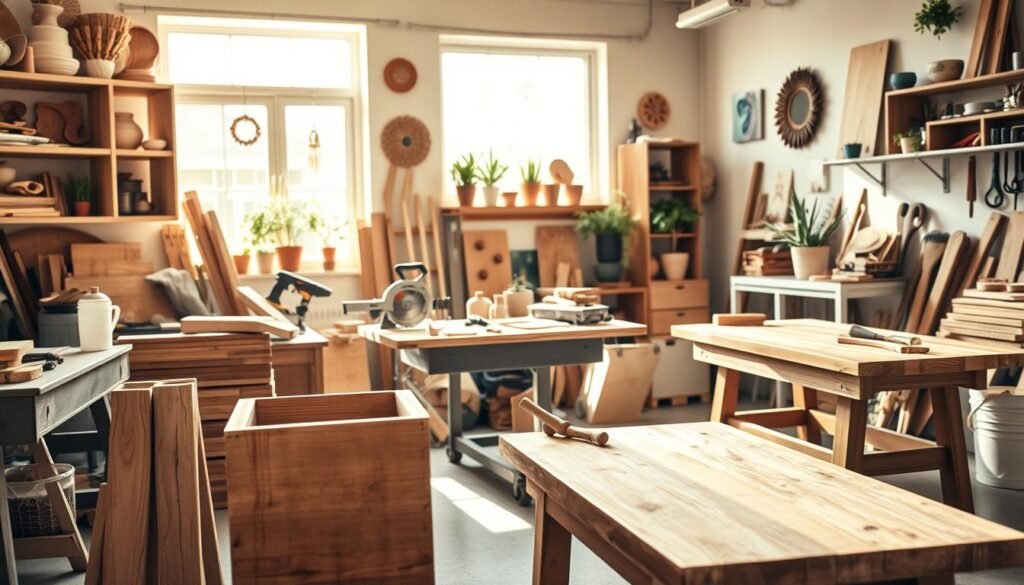
Make your living space elegant with mid-century modern design. This style is known for its simplicity and organic shapes. You can bring it to life with DIY woodworking ideas that add sophistication to any room.
Whether you’re experienced or just starting, our guide has DIY mid-century modern furniture projects for you. You’ll find everything from simple decor to complex furniture. We offer inspiration and practical tips to help you create stunning pieces that showcase mid-century modern style.
Check out our woodworking for beginners projects and start your next project today.
The Timeless Appeal of Mid-Century Modern Design
Mid-century modern design is a mix of modern and natural elements. It has become a favorite among DIY fans. It’s known for clean lines, organic shapes, and a simple look.
This design style started in the 1930s and grew until the 1960s. It was a reaction against the old, cluttered decor. It focused on being simple, functional, and connected to nature.
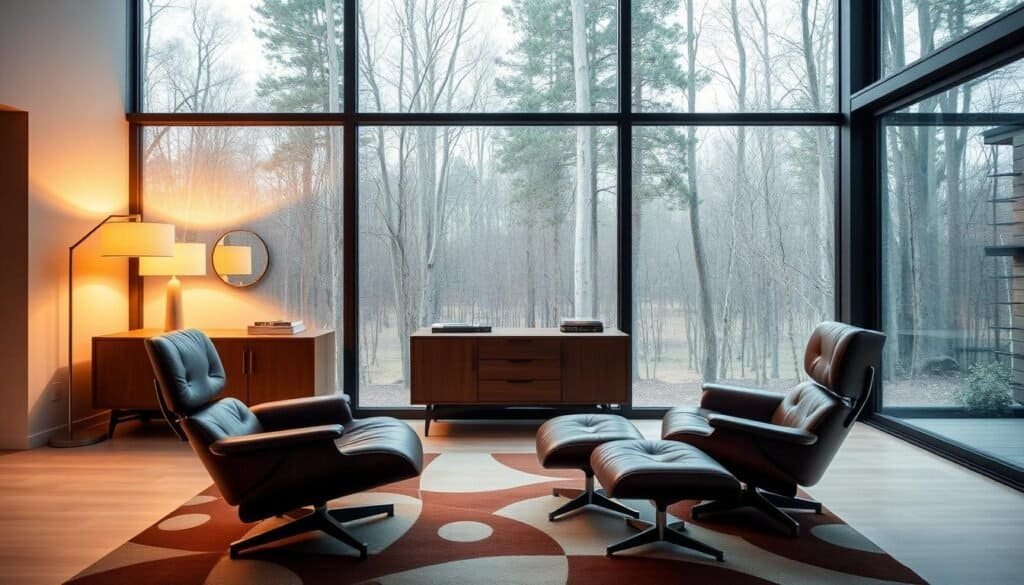
Wood is a big part of mid-century modern design. Woodworking projects with this style can make any room feel cozy and unique. You can make everything from sleek coffee tables to simple wall clocks.
To add mid-century modern style to your home, look for clean lines and simple shapes. Use DIY projects with natural wood tones. This way, your space will feel both modern and classic.
Mid-century modern design is loved for its balance of looks and use. Whether you’re experienced or new to DIY, adding this style to your home is a fun and creative project.
Essential Tools and Materials for Mid-Century Modern Woodworking
Starting with mid-century modern woodworking requires knowing the key tools and materials. You’ll need a good set of basic hand tools and some entry-level power tools.
Basic Hand Tools
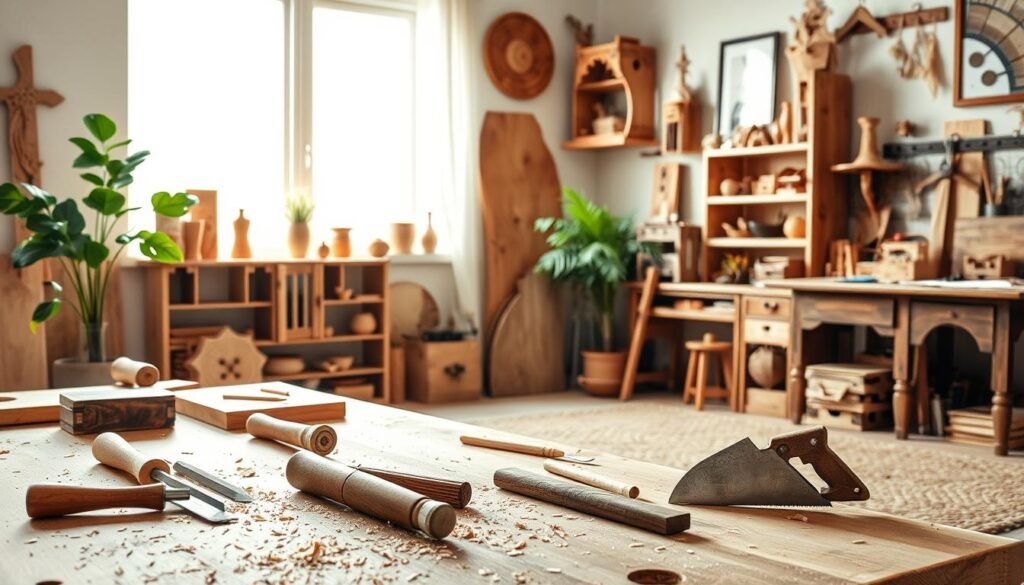
Basic hand tools are vital for any woodworking project. You’ll need a tape measure, chisel set, hand saw, and clamps. These tools help you work with precision and control.
Entry-Level Power Tools
For mid-century modern woodworking, you’ll need tools like a table saw, drill press, and sander. They make cutting, shaping, and smoothing wood easier and more accurate.
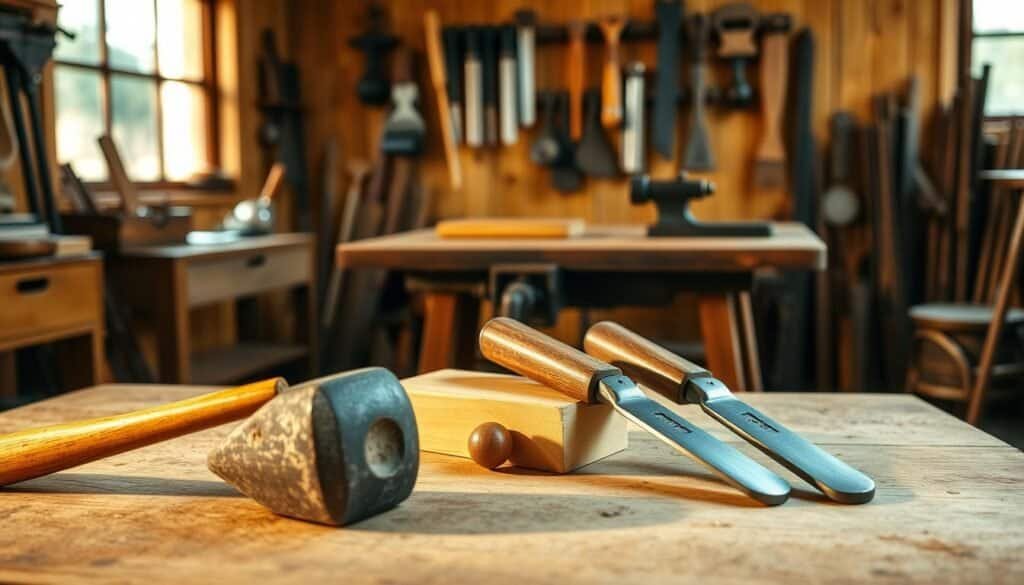
Popular woods for mid-century modern projects include walnut, teak, and oak. Walnut has a rich, dark color, while teak is warm and golden. Oak adds a rustic look with its prominent grain. Knowing these woods’ characteristics is key to getting the right look.
Budget-Friendly Alternatives
If you’re on a budget, there are cheaper options than expensive hardwoods. Engineered wood and reclaimed wood can look similar but cost less. Also, thrift stores and online marketplaces can help you find affordable materials and tools.
Mid-Century Modern DIY Wood Projects You’ll Love Building
Get ready to unleash your creativity with our curated list of mid-century modern DIY wood projects. Whether you’re a beginner or an experienced woodworker, you’ll find inspiration in our selection of projects. They cater to different skill levels.
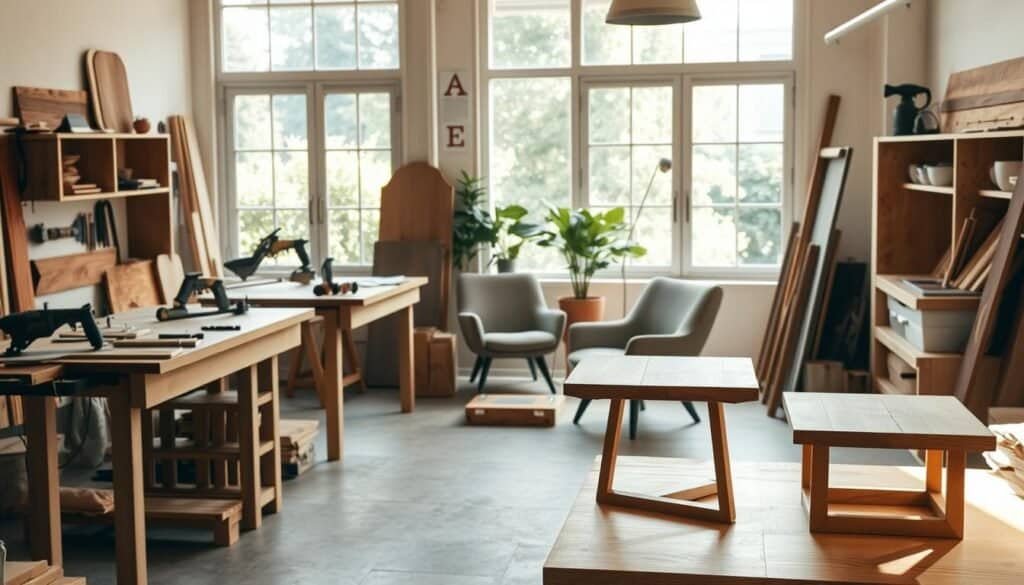
Our collection includes a variety of unique diy woodworking projects. These projects will help you create functional and stylish pieces for your home. You’ll learn how to bring mid-century modern design into your living space.
Beginner-Friendly Projects
If you’re new to DIY woodworking, start with beginner-friendly projects. These projects require minimal tools and techniques. Simple projects like wooden coasters, wall art, or picture frames are great for honing your skills and building confidence.
Advanced Challenges
For experienced woodworkers, our advanced challenges will push your skills to the next level. Consider taking on projects like a sleek coffee table, a tapered leg plant stand, or a mid-century inspired bookshelf. These unique diy woodworking projects will help you showcase your craftsmanship.
With these mid-century modern DIY wood projects, you’ll be able to create beautiful and functional pieces. These pieces will reflect your personal style. So, get started and enjoy the process of bringing your ideas to life!
Project1: Sleek Mid-Century Modern Coffee Table
A sleek mid-century modern coffee table can be the centerpiece of your living room. Building one is easier than you think. It combines functionality with the iconic style of the mid-century modern era, making it a great addition to any home.

To start, gather your materials and tools. For a typical mid-century modern coffee table, you’ll need solid wood (such as oak or walnut) for the legs and table top. You’ll also need wood screws, wood glue, and a finish of your choice.
Creating Those Iconic Tapered Legs
The tapered legs are a hallmark of mid-century modern design. To create them, measure and cut the wood carefully. Make sure the legs taper evenly from top to bottom. This requires precision, but the result is well worth the effort.
Using a table saw or a circular saw, cut the legs slightly larger than needed. Then, use a planer or sander to achieve the precise taper. Sanding the legs thoroughly will help achieve a smooth finish.
Assembling the Table Top
Assembling the table top involves attaching the wooden planks together using wood glue and screws. It’s important to ensure that the surface is even and the joints are tight.
Start by laying out the planks according to your design. Apply wood glue to the edges and clamp them together. Once the glue is dry, reinforce the joints with screws from underneath. Sand the table top to smooth out any imperfections.
With the legs and table top ready, assembly is straightforward. Attach the legs to the table top using screws or dowels. Make sure they are evenly spaced and the table is stable.
Apply your chosen finish to protect the wood and enhance the appearance of your coffee table. Whether you choose a natural stain or a bold color, the finish will bring out the beauty of the wood and complete your mid-century modern coffee table.
Project2: Minimalist Wooden Wall Clock
Making a DIY minimalist wooden wall clock is easy and fun. It brings a mid-century modern vibe to your home. Plus, it shows off your woodworking talents.
You’ll need a wooden plank, a clock mechanism, and some decorations. For a clean look, pick a plain wooden plank. Oak, walnut, or pine are great choices because they look good and last long.
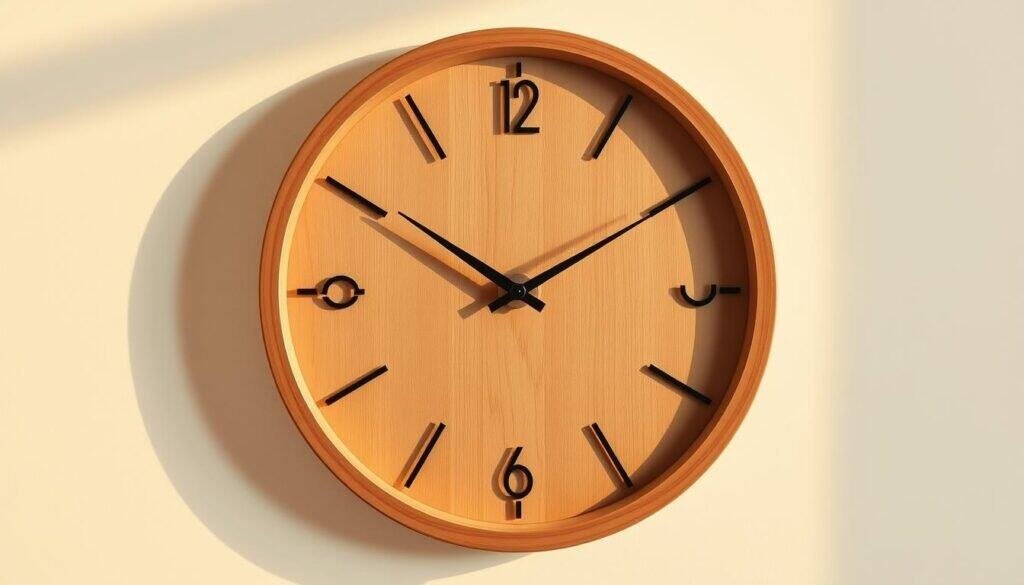
First, cut your plank to the right size for your wall clock. It should be big enough to see but not too big. Then, sand the wood to make it smooth. This makes your clock look professional.
Next, attach the clock mechanism to the plank’s back. Make sure it’s in the middle and tight. You can then add decorations like metal hands or a simple frame to make it look better.
This project is simple but lets you add your own style. It’s perfect for making a “DIY wall clock” as a gift or to decorate your home. It’s a great way to try out “simple wood projects” that really stand out.
By following these steps, you can make a stunning “minimalist wooden wall clock.” It brings a mid-century modern feel to any room. It’s not just useful; it’s also a beautiful piece of wall art.
Project3: Tapered Leg Plant Stand
Create a beautiful tapered leg plant stand to elevate your home decor with a touch of mid-century modern style. This project is a great way to showcase your woodworking skills and add a personal touch to your living space.
To start, you’ll need to prepare the materials and tools required for the project. The main components of the plant stand include the tapered legs, the top shelf, and the lower supports. For the tapered legs, you’ll need four wooden legs with a square base that will taper down to a smaller square at the bottom.
Creating the tapered legs involves careful measurement and precise cutting. Begin by marking the taper on each leg, using a pencil to draw a line from the top square to the bottom smaller square. Then, use a table saw or a hand saw to carefully cut along the marked line, ensuring a smooth taper.
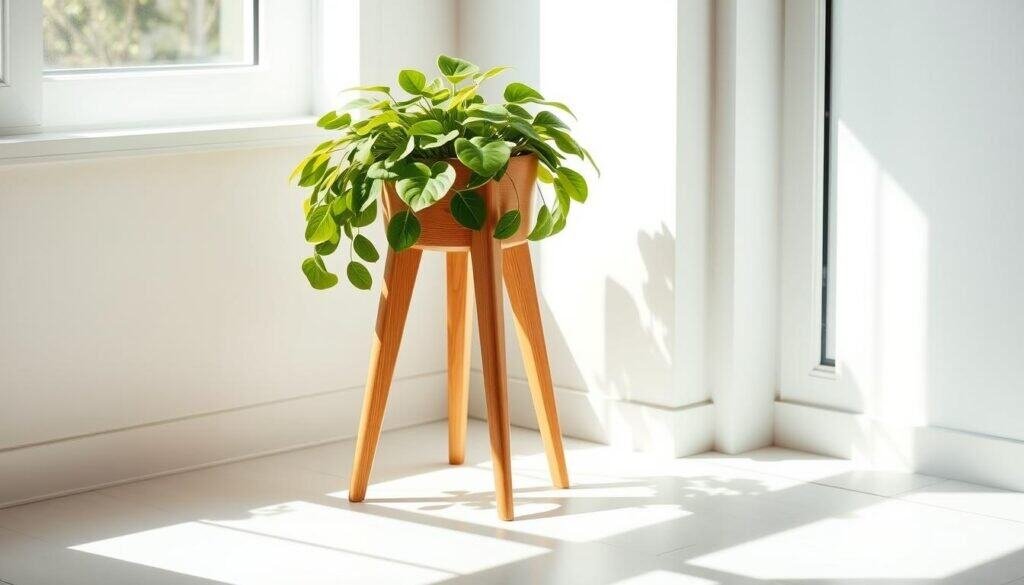
Once the tapered legs are cut, sand them to smooth out any rough edges. Assemble the plant stand by attaching the legs to the top shelf and lower supports using screws or dowels. Make sure the structure is sturdy and level.
The final step is to finish the plant stand with a wood stain or paint that matches your desired mid-century modern aesthetic. Apply a clear coat to protect the wood and enhance the appearance.
With your tapered leg plant stand complete, you can now display your favorite plants in style. This project not only adds a decorative element to your home but also showcases your DIY skills.
Project4: Geometric Wooden Wall Art
Geometric wooden wall art is a great way to add interest and personality to your home. This DIY project lets you make a unique piece that shows off your style. It also fits well with mid-century modern homes.
To begin, you’ll need some basic materials. These include different types of wood, a miter saw, a drill press, and a jigsaw. The wood you pick will greatly affect your art’s look. Woods like walnut, oak, or pine work well for a striking design.
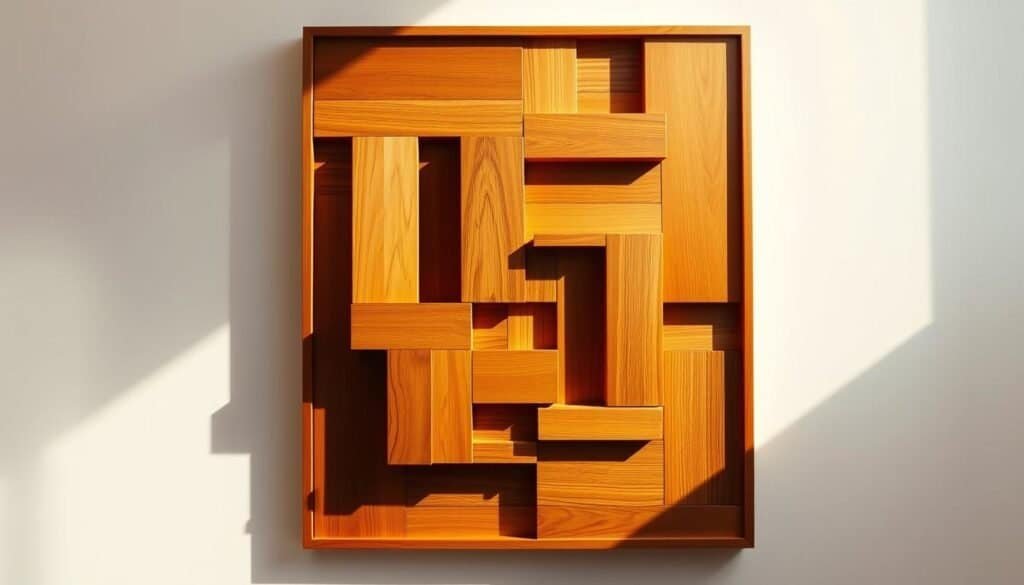
First, design your geometric pattern. You can find inspiration in mid-century modern designs or make something new. After you have your design, cut out the wood pieces with your saws. Then, put the pieces together into your shape, using nails and glue to hold them.
For a stunning piece, choose the right wood and design for your decor. Think about the wood’s color and texture, and the design’s shape and pattern. Adding a finish, like a clear coat or stain, can also make the wood look better and protect it.
By following these steps and tips, you can make a beautiful geometric wooden wall art piece. It will add mid-century modern charm to your home. This DIY project is perfect for adding interest to a wall or creating a unique piece that shows your style.
Project5: Mid-Century Inspired Bookshelf
A mid-century inspired bookshelf brings retro charm to your home. It’s perfect for DIY fans wanting a stylish, functional piece.
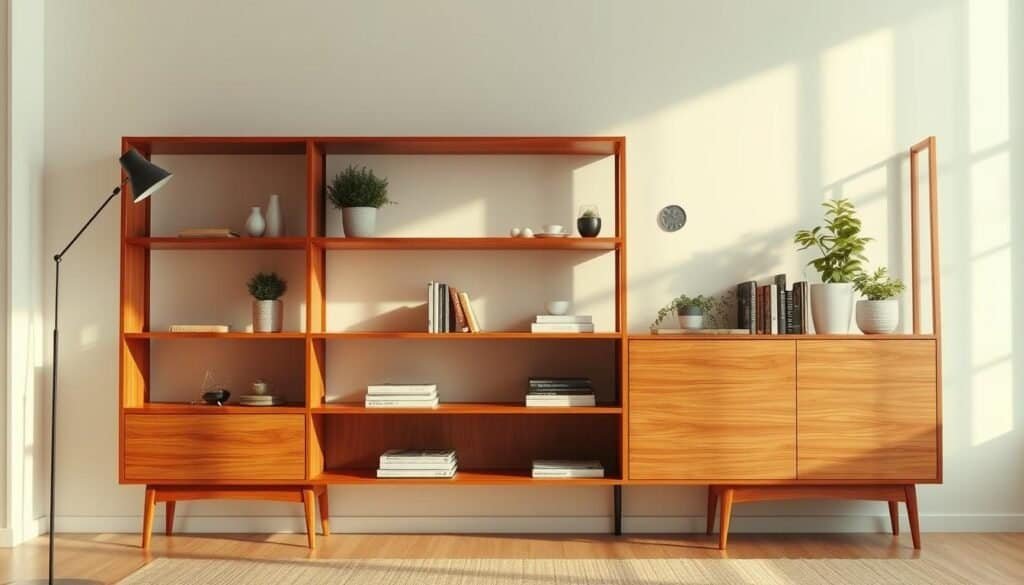
Building this bookshelf needs focus on details and quality materials. Choose the right wood and hardware for the look. Walnut or teak woods and simple hardware are good choices for a mid-century modern style.
Creating Adjustable Shelving
Adjustable shelving is key in a mid-century bookshelf. It lets you arrange items as you like. You’ll need shelf pins or brackets that can move up or down.
Drill holes for the pins and make sure shelves are level. This makes the bookshelf both functional and attractive.
Building a Solid Frame
A sturdy frame is vital for a bookshelf. Start with the sides and back using quality wood. Use mortise and tenon or dado joints for strength.
After the frame is built, attach the shelves and finish with sanding and staining. A solid frame means your bookshelf will last long.
By following these steps, you can make a beautiful mid-century bookshelf. It adds elegance to any room. This project is great for improving your DIY skills and creating something special.
Project6: Wooden Desk Organizer
Organize your workspace in style with a DIY wooden desk organizer. This project is great for those who love simple, elegant designs. With a few tools and beautiful wood, you can make a piece that adds class to your office.
First, pick the right wood for your desk organizer. Walnut or teak give a rich, dark look. Oak or pine offer a lighter appearance. The design should be simple, with clean lines, to match mid-century modern decor.
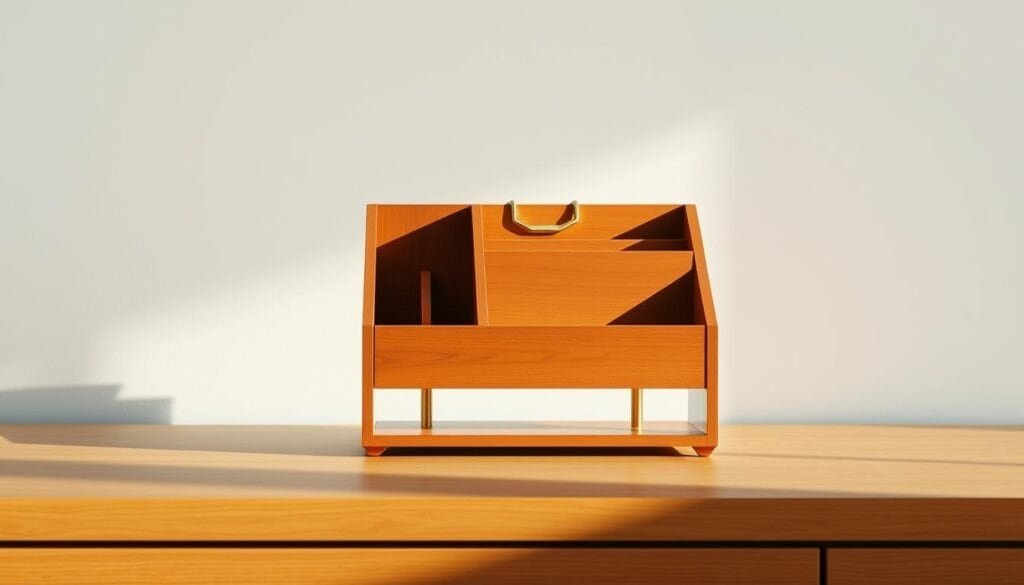
To build it, cut the wood into the needed pieces. Then, assemble them into a box-like structure with compartments. Sand the whole piece to a smooth finish. You can adjust the size and number of compartments to fit your needs.
After finishing, your wooden desk organizer will keep your space tidy and add style to your office. It’s a rewarding DIY project that combines function with the beauty of natural wood.
Project7: Slatted Bench with Hairpin Legs
Looking to add mid-century modern charm to your home? Building a slatted bench with hairpin legs is a great choice. It’s stylish and functional, perfect for any living space.
The slatted bench has a simple design. Pair it with hairpin legs for an airy feel. You’ll need wooden slats and metal hairpin legs. Walnut, teak, or oak are popular choices for the wood.
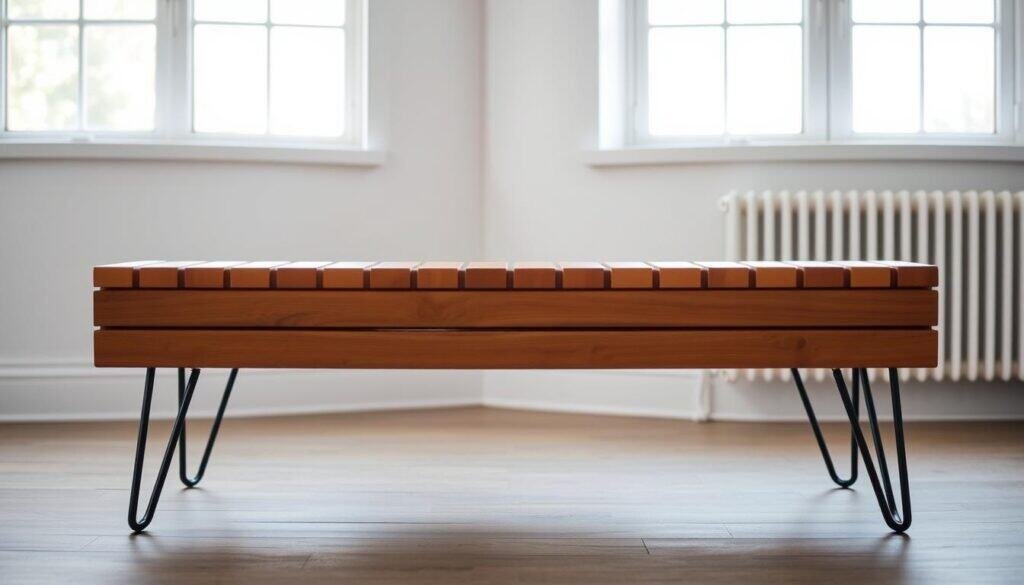
To start, build the slatted top. Place the wooden slats parallel, evenly spaced. Attach them to horizontal supports at each end. This makes the bench stable and looks minimalist.
The hairpin legs add mid-century modern flair. They’re made from metal and are simple yet elegant. Make sure to measure carefully when attaching them to the top for stability.
This bench is versatile. Use it as a footrest or extra seating in the living room. You can also customize it with your choice of wood, metal leg color, or size.
With attention to detail, you can make a beautiful slatted bench with hairpin legs. It will bring mid-century modern elegance to your home.
Project8: Floating Wooden Shelves
Floating wooden shelves are a stylish way to store things. They can make any room look better. You can display decorations, store books, or keep kitchen tools within reach.
To make your own shelves, you’ll need a few things: wooden planks, a drill, wall anchors, and screws. The wood you pick can change how your shelves look. For a mid-century modern vibe, try walnut or teak. They have a warm, rich tone.
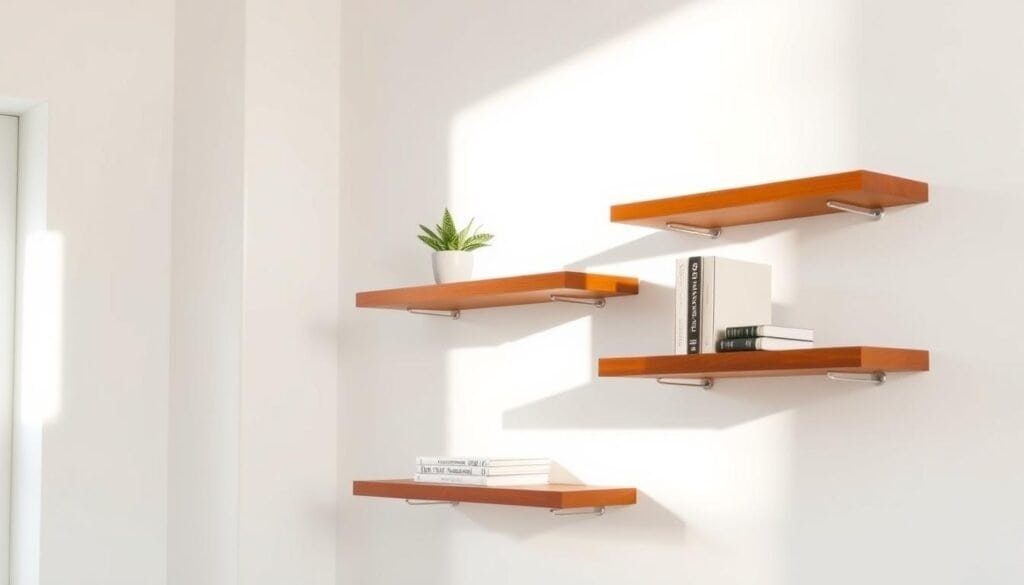
You can design your shelves to match your space and style. For a simple look, choose clean lines and a natural finish. For something more striking, add decorative brackets or use a bold stain.
When you put up your shelves, make sure they’re level and secure. This keeps them safe and looking neat. Floating shelves are all about being sleek and uncluttered.
With these easy steps and the right materials, you can make beautiful floating shelves. They add both function and style to your home. This project is perfect for DIY fans or beginners, bringing mid-century modern charm to your space.
Eco-Friendly Approaches to Mid-Century Modern DIY
As we focus more on the environment, it’s key to use eco-friendly methods in mid-century modern DIY woodworking. DIY fans can help the planet by picking sustainable materials and methods.
Using reclaimed wood is a great way to make your DIY projects greener. Reclaimed wood comes from old buildings or fallen trees. It saves new lumber and keeps the wood’s history and look.
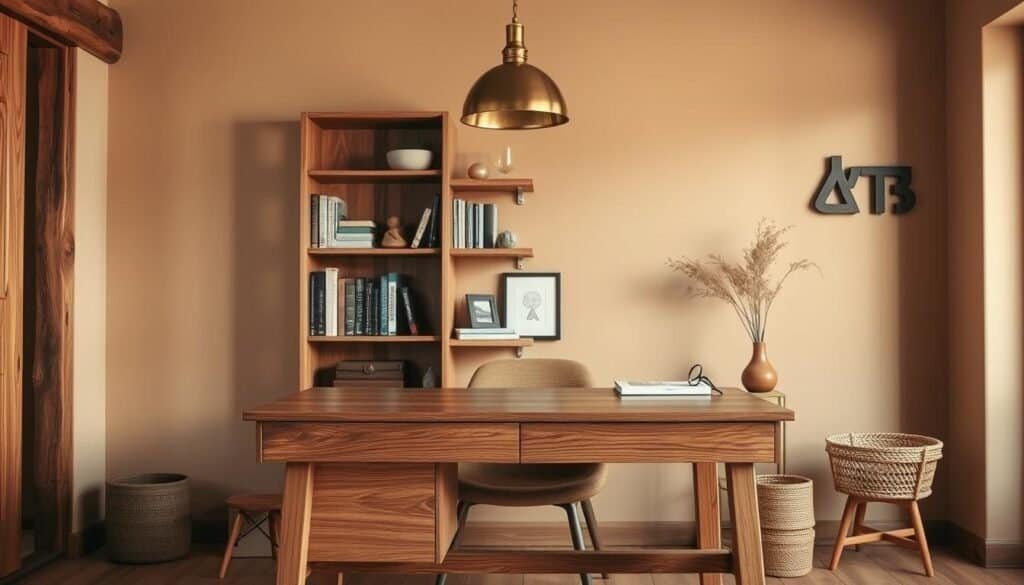
You can also use sustainable materials like FSC-certified lumber, bamboo, or eco-friendly finishes. These choices cut down on environmental harm and improve air quality inside. Eco-friendly finishes make your projects look good and are good for the planet.
Another green approach is to plan your projects well to waste less. Using materials wisely and reusing wood cuts down on waste. This not only helps the environment but also makes your work better.
By using these green methods in your DIY projects, you can make beautiful, sustainable pieces. As more people want eco-friendly woodworking, these methods will become a big part of DIY.
Finishing Techniques for Mid-Century Modern Wood Projects
Finishing techniques are key to highlighting mid-century modern wood designs. A good finish not only looks great but also keeps the wood safe from harm.
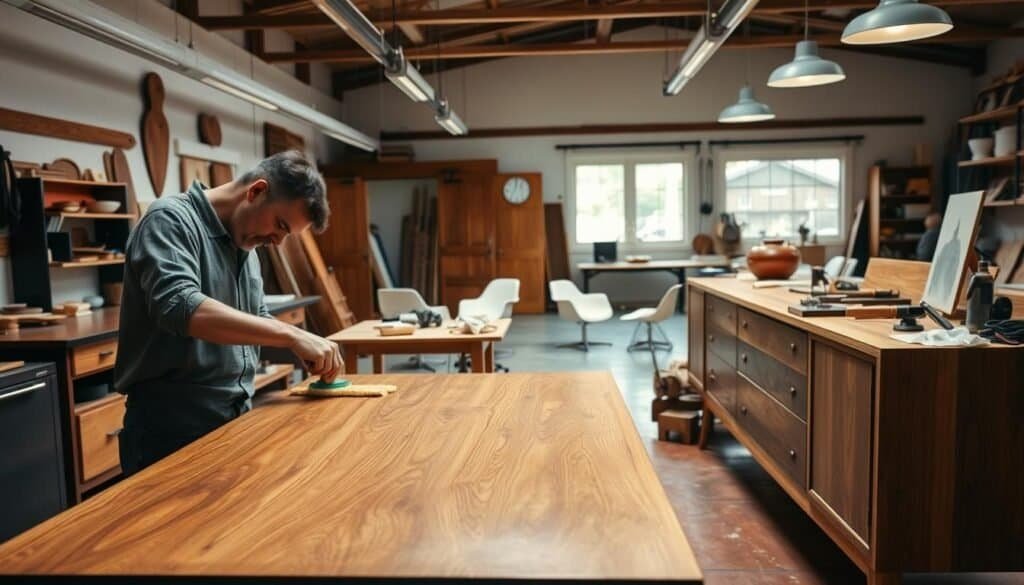
There are many ways to finish mid-century modern wood projects. Two favorites are Danish oil and wax, and making a matte satin finish.
Danish Oil and Wax Techniques
Danish oil and wax techniques start with applying Danish oil to the wood. Then, a layer of wax is added. This method makes the wood grain stand out and gives a strong finish. To get this look, follow the Danish oil instructions, then buff with a cloth before waxing.
Creating a Matte Satin Finish
A matte satin finish is made by applying a satin coat after staining or oiling the wood. It gives the wood a soft, subtle glow. For a matte satin finish, use a top-notch satin finish product and follow the instructions.
Learning these finishing techniques can take your mid-century modern wood projects to the next level. You’ll get a professional finish that highlights the wood’s beauty.
Troubleshooting Common Issues in DIY Wood Projects
Even with careful planning, DIY wood projects can sometimes hit a snag, requiring some troubleshooting. Whether you’re dealing with warped wood, fixing mistakes, or adjusting your technique, being prepared for common issues can save you time and frustration.
One common issue is warped wood. This can be caused by uneven drying or changes in humidity. To address this, you can try using clamps to gently coax the wood back into shape or using a wood straightening technique.
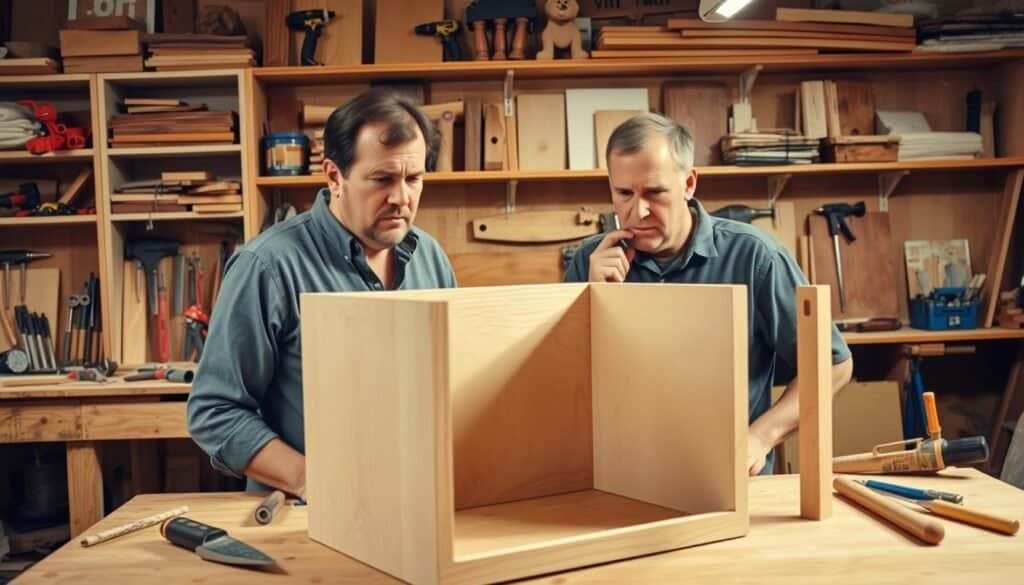
Another common problem is mistakes in measurement or cutting. If you catch the mistake early, you can often fix it by adjusting your design or using a wood filler to cover the error. For more significant mistakes, it may be necessary to start over or seek additional guidance.
Adjusting your technique is also an essential part of troubleshooting. This might involve changing your cutting technique, using different tools, or practicing new skills. By being willing to adapt and learn, you can overcome common issues and achieve a successful outcome for your DIY wood project.
By being prepared for common issues and having some troubleshooting tips up your sleeve, you can ensure that your DIY wood project turns out as planned. With patience and practice, you’ll become more confident in your ability to tackle any challenges that come your way.
Conclusion
Mid-century modern DIY wood projects are full of creative options. They are perfect for homeowners and woodworking fans. You can make unique items like coffee tables and wall art that show off your style.
This guide shows how versatile mid-century modern design is. It helps you make any room look more elegant. Whether you’re experienced or new to woodworking, we hope this guide inspires you to make your ideas real.
Keep exploring mid-century modern DIY wood projects. Try out different materials, techniques, and designs. With time and effort, you’ll make stunning pieces that highlight your skill and add a mid-century modern flair to your home.

