The holiday season brings warmth, joy, and a chance to add personal touches. Making your own decorations can make your celebrations even more special.
Creating your own holiday decor is fun and rewarding. With just a few materials, you can make beautiful, rustic pieces. These pieces will add a personal touch to your home.
There are endless possibilities, from rustic holiday crafts to detailed handmade christmas decorations. We’ll share some creative ideas for making your own decorations. You’ll learn how to make DIY wooden ornaments that will be treasured for years.
The Charm of Handmade Holiday Decorations
Handmade holiday decorations are special because they’re unique and personal. They show love and care, unlike mass-produced ones. This makes them truly special.
Making your own handmade Christmas decorations lets you customize them. You can choose traditional, rustic, or modern designs. This way, your holiday decor reflects your style.
Using natural materials like wood adds warmth to your decor. Wooden ornaments can be stained, painted, or left natural. They’re perfect for festive DIY projects that everyone can enjoy.
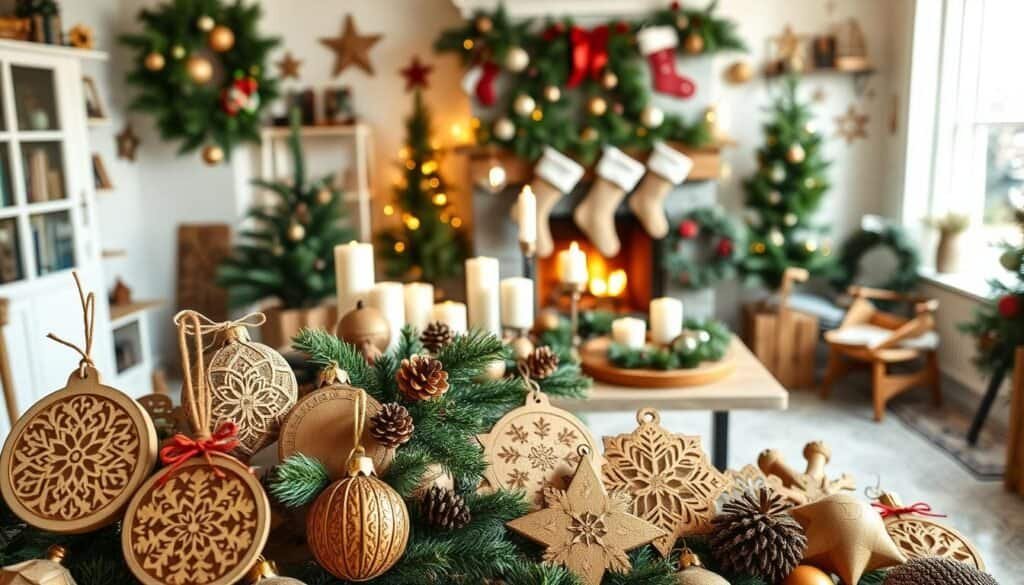
Creating your own holiday ornament ideas and homemade holiday decor adds a personal touch. It also creates lasting memories with your family. It’s a way to share traditions and skills with the next generation.
Adding handmade elements to your decor makes the holiday season more special. So, start gathering your materials and get creative with your holiday projects!
Essential Materials and Tools for Wooden Ornament Crafting
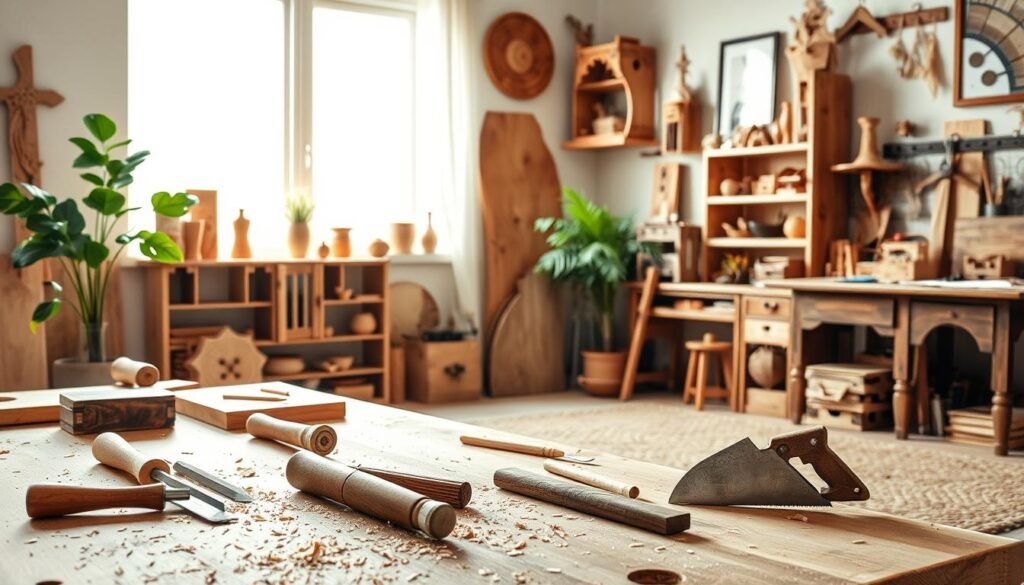
Before you start making your DIY wooden ornaments, it’s important to gather the right materials and tools. Having the right supplies makes the crafting process smoother and more fun.
For wooden ornament crafting, choose the right type of wood. Basswood, pine, and cedar are good choices for beginners. You can also use scrap wood or pre-cut shapes to make things easier.
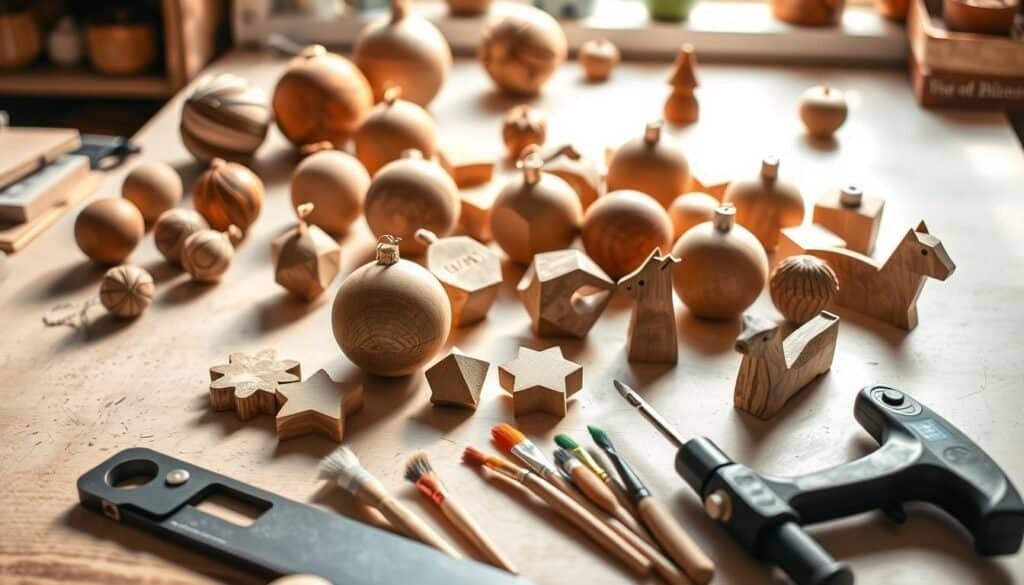
You’ll need a saw for cutting, sandpaper for smoothing, and a drill for holes. Wood glue and a sealant are also useful for more complex designs and protection from moisture.
Getting kids involved in crafting can be fun and educational. Use pre-cut shapes or simple designs for them. Make sure to use non-toxic materials and tools that are safe for their age.
For beginners, start with simple projects and watch online tutorials. Be patient with your craft. With practice, you’ll get better at using materials and tools, making your ornaments more beautiful.
With the right materials and tools, you’ll create beautiful wooden ornaments. They add a personal touch to your holiday decor. Crafting alone or with family is a rewarding experience.
DIY Wooden Ornaments That Add Heart to the Holidays
Ready to make your holiday decor special? Try crafting your own DIY wooden ornaments. They add a unique charm to your home and become a cherished tradition.
Begin with simple projects like wooden slice ornaments. You can decorate them with paint, glitter, or decoupage. Adding names or special dates makes them keepsakes.

For more complex projects, try making wooden snowflakes or stars. Use a jigsaw or scroll saw for detailed designs. Wooden snowflakes can hang in windows or from the ceiling, adding whimsy.
Creating wooden Christmas crafts like mini houses or animals is also fun. They’re beautiful ornaments and can be gift toppers or centerpiece pieces. Their rustic appeal and warmth make your holiday setting cozy.
To make your ornaments even more special, add natural elements like pinecones, cinnamon sticks, or dried flowers. They bring texture and fragrance, making your decorations more sensory.
DIY wooden ornaments are perfect for both seasoned crafters and beginners. They let you decorate your home and create lasting memories.
Rustic Wood Slice Ornaments
Wood slice ornaments bring nature’s beauty to your holiday decor. They add a unique rustic charm to your Christmas tree or home.
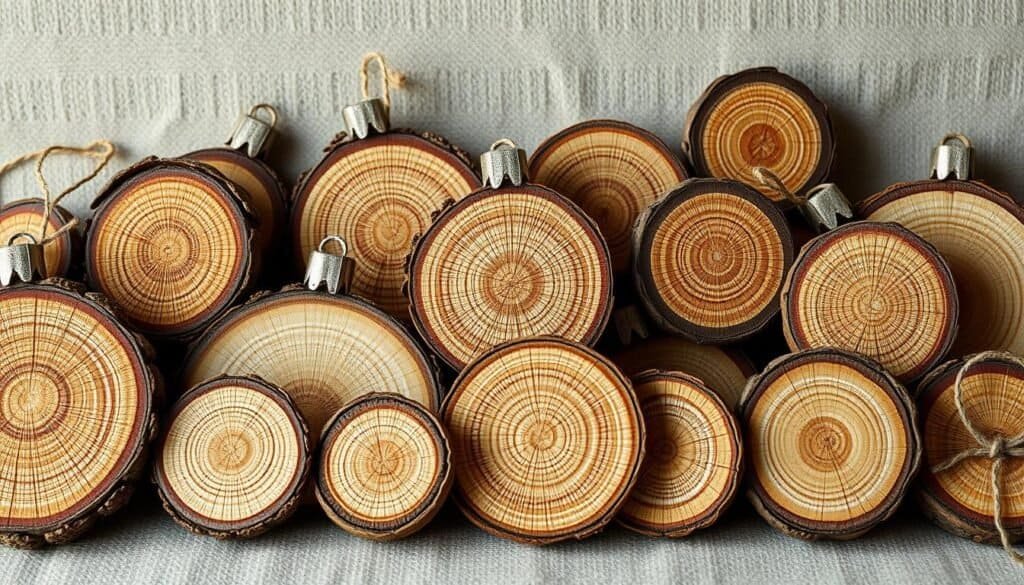
To begin, prepare your wood slices. Cut them into thin slices using a wood lathe or band saw. Sand them to smooth out any rough edges.
Make sure your wood slices are dry. This prevents them from cracking or warping.
Painting and Decorating Techniques
Now, start painting and decorating your wood slices. Use acrylic paints for colors and patterns. You can also decoupage or add glitter, ribbons, or beads for a personal touch.
For a rustic look, try a distressed finish. This keeps some of the natural wood texture visible. It adds character to your ornaments.
Finishing Touches
After decorating, apply a clear coat for protection and shine. Attach a string or twine to hang them on the tree or around the house.
Making rustic wood slice ornaments is a fun DIY project. It adds a personal touch to your holiday decor and showcases your creativity.
Wooden Snowflake Ornaments
Wooden snowflake ornaments are a delightful holiday craft. They add a personal touch to your Christmas decor with their detailed patterns and natural beauty.
Making these ornaments involves several steps. You’ll design, cut out, sand, and finish the snowflakes. It’s a fun way to get into the holiday spirit and a great activity for kids. They learn about the value of handmade crafts.
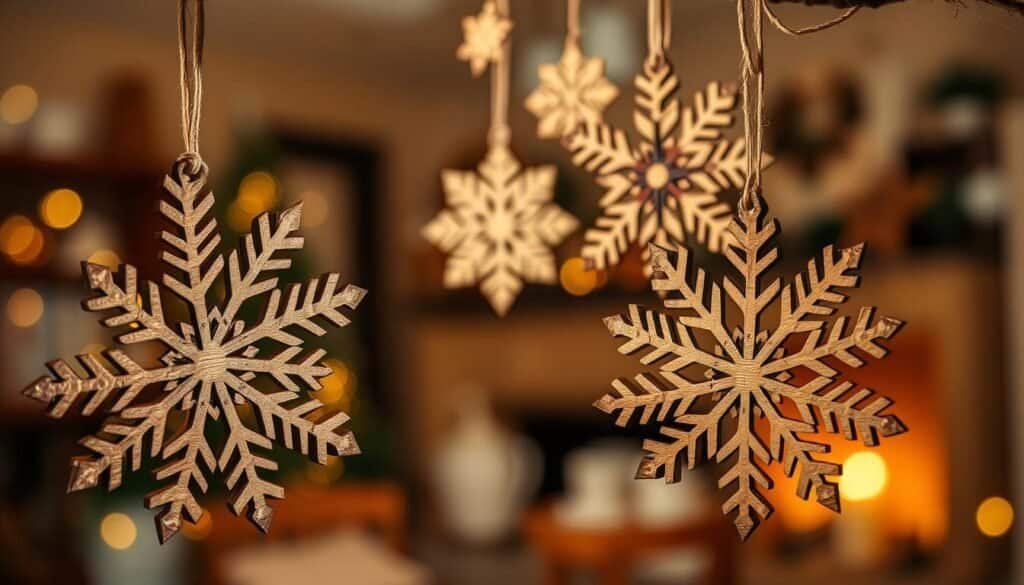
To start, design and cut out your snowflake patterns. You can use a jigsaw, laser cutter, or even a coping saw for a rustic look. The tool you choose depends on your design and what you have.
When cutting, use a steady hand and work slowly. This ensures the details are precise. You can find free patterns online or create your own with software or by drawing.
Sanding and Finishing
After cutting, sand the snowflakes to smooth out edges. Start with coarse-grit sandpaper and move to finer grit for a smooth finish. Then, apply a finish like varnish or stain to protect the wood and enhance its look.
Adding Sparkle and Shine
To add sparkle, you can use glitter, rhinestones, or metallic paint. These elements make your ornaments shine on the Christmas tree. For a subtle look, try a clear coat with a hint of sparkle.
Getting kids involved in making these ornaments is fun and educational. It introduces them to woodworking and crafting. They’ll love seeing their creations on your tree.
By following these steps, you can make beautiful wooden snowflake ornaments. They’ll become a cherished part of your holiday traditions. Hang them on your tree, use them as gift toppers, or give them as gifts. They’ll bring joy and warmth to your holiday season.
Miniature Wooden Houses Ornament Set
Create a whimsical holiday village with our guide to making miniature wooden houses ornaments. They will add a touch of warmth to your holiday decor.
To start, cut out the house shapes from your chosen wood. Use a template or draw the shapes freehand. For a rustic look, use scrap wood and wrapping paper for a unique design.
Cutting the House Shapes
Use a coping saw or a jigsaw to cut out the house shapes. Sand the edges to smooth them out and remove any splinters.
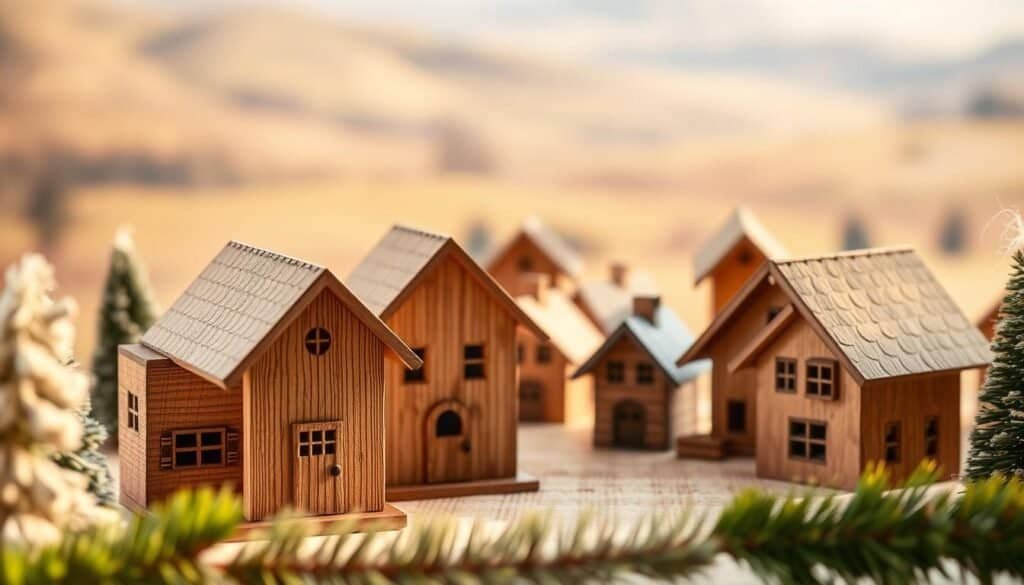
Assemble the mini houses using a hot glue gun. Start by gluing the sides and back together, then add the front and roof.
Add details like windows, doors, and chimneys using paint or markers.
Decorating Your Holiday Village
Once your mini houses are assembled, decorate your holiday village. Arrange the houses on a mantel, side table, or windowsill for a festive display.
Add greenery like small pine branches or holly for a festive atmosphere. You can also add small figurines, such as carolers or animals, to bring your village to life.
To create a cohesive look, use a consistent color scheme or theme. You can also add twinkling lights for a magical ambiance.
With these simple steps, you can create a charming miniature wooden houses ornament set. It will become a treasured holiday tradition.
Scrap Wood Christmas Stars
Scrap wood Christmas stars are a fun and green way to decorate your home. They’re great for those who enjoy crafting and want to make something special from old wood.
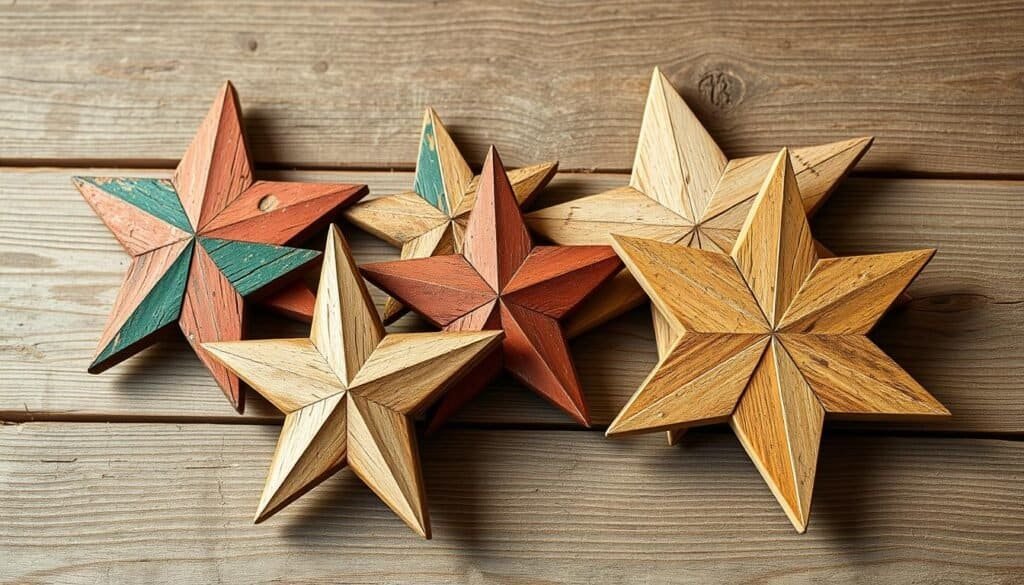
Start by picking the right wood for your stars. Look for pieces that are strong and have a cool texture. You can use old pallets, wooden crates, or any scrap wood you have.
Next, cut the wood into star shapes and sizes. Use a jigsaw or circular saw for the cuts. Sand the edges to make them smooth and remove splinters.
Assembling Your Star Pattern
To make your star, create a pattern or design. You can use a template or draw it freehand. Use wood glue to stick the pieces together. You can also use nails or screws for extra strength.
As you put the star together, align the pieces carefully. Clamp them until the glue dries. This makes sure your star is sturdy and even.
Finishing and Decorating
After assembling, add a finish to protect and enhance the wood. You can stain, paint, or varnish it to match your style.
To add sparkle, decorate your star with glitter, ribbons, or other embellishments. You can also hang it with a string or twine on the tree or from the ceiling.
Making scrap wood Christmas stars is a fun DIY project for the holidays. With a bit of creativity and basic crafting skills, you can create beautiful, unique decorations for your home.
Wooden Block Present Ornaments
Turn simple wooden blocks into beautiful ornaments for a personalized holiday touch. This fun DIY project adds a cozy feel to your home.
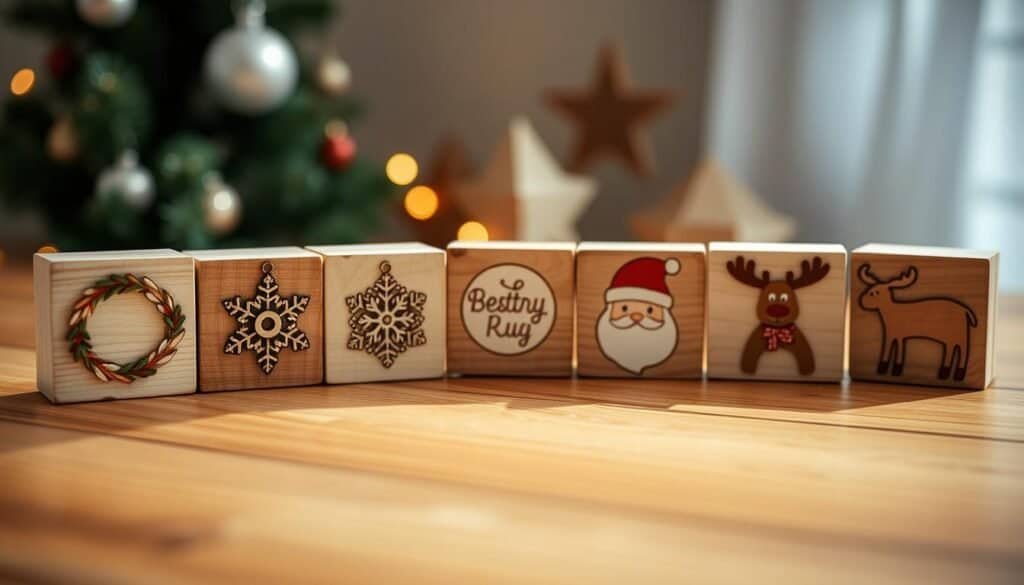
You’ll need wooden blocks of different sizes to start. Choose new or reclaimed wood for your desired look. Sand the blocks to smooth out any rough edges and ensure they are even. This step is key for a professional finish.
Creating the Gift Wrap Effect
After preparing your blocks, it’s time to give them a gift wrap effect. Use wrapping paper or decorative paper to cover the blocks. Apply a thin layer of glue to the block and wrap the paper around it, securing it with tape until the glue dries. You can also use fabric or ribbons for a rustic or textured look.
Adding Ribbons and Bows
The final step is adding ribbons and bows to your wooden block presents. Pick ribbons that match your wrapping paper’s color and theme. Tie a bow around the block or simply loop a ribbon around it. This adds a charming detail that makes your ornaments look like real gifts.
Wooden block present ornaments are a great DIY project for adults and a wonderful holiday craft for kids. They can help with sanding, choosing wrapping paper, and adding ribbons. This makes for a fun and engaging activity for the whole family.
By following these simple steps, you can create beautiful wooden block present ornaments. They decorate your home or make great gifts. They add a personal touch to your holiday decor and can become a cherished annual tradition.
Cinnamon Stick and Wood Slice Gnomes
Add a whimsical touch to your holiday decor with cinnamon stick and wood slice gnomes. These decorations are easy to make and add a cozy feel to your home. They’re perfect for the holiday season.
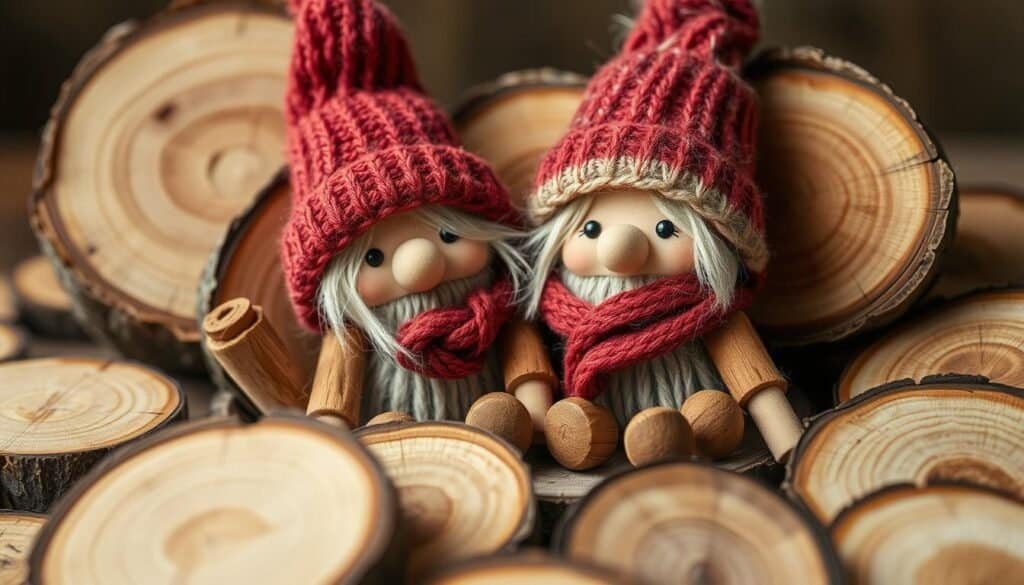
To begin, gather a few simple materials: cinnamon sticks, wood slices, felt or yarn for the beard, and a hot glue gun. Start by gluing the cinnamon sticks together to form the gnome’s body. You can use one wood slice or stack several for a stable base.
The gnome’s body can be simple or detailed. For a rustic look, leave the cinnamon sticks as is. For a polished look, wrap them with twine or yarn.
Making the Beard and Hat
The beard and hat make your gnomes unique. Use felt or yarn to craft a beard that fits your gnome’s personality. Glue the beard under the gnome’s “face.” For the hat, use felt, paper, or fabric, decorating it with bells or ribbons.
Adding Personality to Your Gnomes
Now, add personality to your gnomes. Paint or draw faces, or add features like rosy cheeks. Consider adding props like tiny lanterns or baskets to make them more interesting.
These gnomes are great for decorating your mantel or coffee table. They’re also a thoughtful gift topper. They showcase creativity and add a personal touch to your holiday decor. With a bit of imagination, your gnomes can become special, embodying the spirit of Christmas recycling crafts.
Driftwood Christmas Trees
Driftwood Christmas trees are a creative and eco-friendly way to celebrate the holiday season. They add a rustic charm to your home.
Selecting and Preparing Driftwood Pieces
The first step is to collect and prepare the driftwood pieces. Look for sturdy pieces with interesting shapes. You’ll need different sizes for a balanced tree.
After collecting, clean the driftwood with a soft brush to remove dirt. Use a wire brush to get rid of loose bark or splinters.
Assembling Your Tree Structure
To build your tree, start with the largest and most stable pieces for the base. Glue or nail them together for a sturdy base.
Add more driftwood layers to shape the tree. Make sure it’s balanced and has space for decorations.

After your tree is built, decorate it. Use twine, ribbons, or wire to hang ornaments and lights.
Add natural elements like pinecones, holly, or mistletoe for a rustic look.
By following these steps, you can make a beautiful driftwood Christmas tree. It will add rustic charm to your holiday decor.
Kid-Friendly Wooden Ornament Projects
Get your kids involved in the holiday fun with fun wooden ornament projects. Making ornaments is a great way to bond and teach them about DIY crafts.
Begin with simple projects like wooden slice ornaments. Cut out shapes, paint or decorate them, and add a string. Kids can use paint, glitter, and more to make each ornament special.
For more challenging projects, try making wooden snowflakes or stars. Use pre-cut shapes or have kids cut them out with help. Add paint, stickers, or glitter for a personal touch.
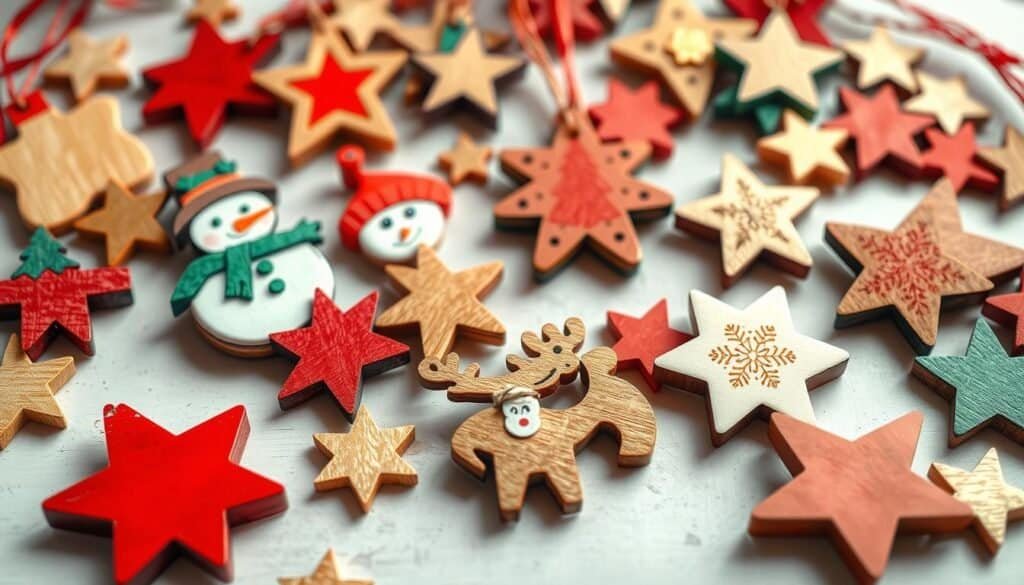
Miniature wooden houses are another fun project. They require assembly and decoration, helping kids with fine motor skills and creativity. Work together as a family on different parts of the house.
Make the experience fun and educational. Let kids design their ornaments and learn about wood types. Explain the crafting process from start to finish.
Wooden ornament projects are not just for decorations. They create lasting memories with your children. These crafts are a great way to celebrate the holiday season together.
Displaying and Gifting Your Handmade Wooden Ornaments
Now that you’ve made your own handmade wooden ornaments, let’s explore creative ways to display and gift them this holiday season. Displaying your handmade ornaments can add a personal touch to your holiday decor. It makes your home feel cozier and more inviting.
One idea for displaying your ornaments is to hang them on your Christmas tree. You can use a variety of ornaments to create a unique and personalized look. Or, you can create a vignette on a mantel or side table. Use a few special ornaments, some evergreen branches, and candles for a warm ambiance.
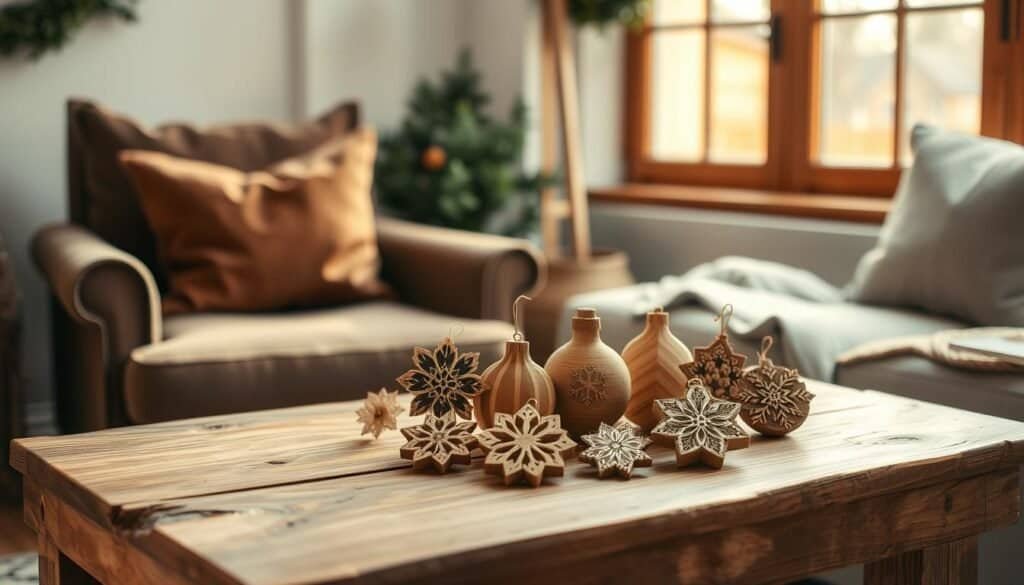
When it comes to gifting your handmade wooden ornaments, consider packaging them attractively. You can place them in decorative boxes or bags, or wrap them individually in tissue paper. Adding a personalized note or card can make the gift even more special.
Handmade wooden ornaments also make thoughtful gifts for friends and family. They can be used to add a personal touch to their holiday decor. They often become treasured keepsakes. Consider gifting a set of ornaments that match or complement the recipient’s home decor.
In addition to being a lovely gift, creating and giving handmade ornaments can be a meaningful way to share your creativity and thoughtfulness with others. It’s a way to connect with loved ones during the holiday season, making the time even more special.
By displaying and gifting your handmade wooden ornaments, you’re not only enriching your own holiday experience. You’re also sharing that joy with others. Whether you display them in your home or give them as gifts, your handmade ornaments are sure to bring smiles and warmth to those around you.
Conclusion
Making diy wooden ornaments is a fun way to make your holiday decor special. This guide shows you many projects to choose from. You can pick the ones that match your skills and style.
Projects like rustic wood slice ornaments and wooden snowflakes add charm to your decorations. You can hang them on your tree, decorate your mantel, or give them as gifts.
Creating these rustic holiday crafts warms your home and makes lasting memories. Seeing your hard work come to life brings joy and pride.
Now, you can try new designs and techniques with diy wooden ornaments. Happy crafting! May your holiday season be filled with joy, love, and handmade traditions.

