Turning your kitchen into a stylish and useful space is easy. You can do this by adding homemade cutting boards. These boards are not just for cutting food. They also make your kitchen look great.
Creative cutting boards are loved for making kitchens look better. They also work well for food prep. By picking the right materials and designs, you can make a cutting board that matches your kitchen’s style.
With a bit of creativity, a simple cutting board can become a beautiful kitchen decoration. It adds warmth and character to your kitchen. This makes it a great place for cooking and hanging out with friends.
The Rising Trend of Functional Kitchen Décor
The way we think about cooking and entertaining at home is changing. Cutting boards, once just for chopping, now add beauty to kitchens. They mix function with style.
Historical Evolution of Cutting Boards
Cutting boards have a long history, starting with stone or wood in ancient times. Their design and materials have changed over the years. Now, they’re not just useful but also decorative, adding to the kitchen’s charm.
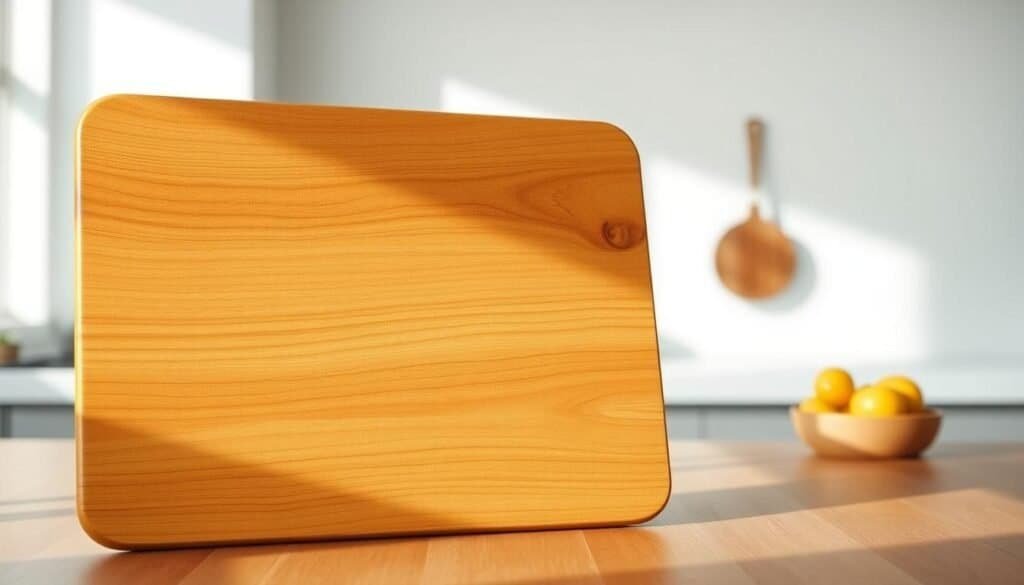
Modern design has made cutting boards more than just tools. They’ve become decorative highlights. People are making their own cutting boards to show off their style.
Sustainability Aspects
There’s a growing focus on using eco-friendly materials and methods for cutting boards. This move towards sustainability is good for the planet and makes the boards last longer.
Personalization Benefits
DIY cutting board projects let you make something truly yours. You can add engravings, unique wood patterns, or custom designs. It’s a way to express your creativity and make something special.
Essential Materials for DIY Cutting Boards That Double as Décor
The materials you pick for your DIY cutting board project are key. They affect both the board’s durability and its look. Choosing the right materials is important for a stylish cutting board that also decorates your kitchen.
Hardwoods: Maple, Walnut, and Cherry
Maple, walnut, and cherry are top picks for cutting boards. They’re durable and have beautiful grain patterns. Maple is light and scratch-resistant, while walnut adds elegance with its dark color. Cherry wood is loved for its reddish-brown color and workability.
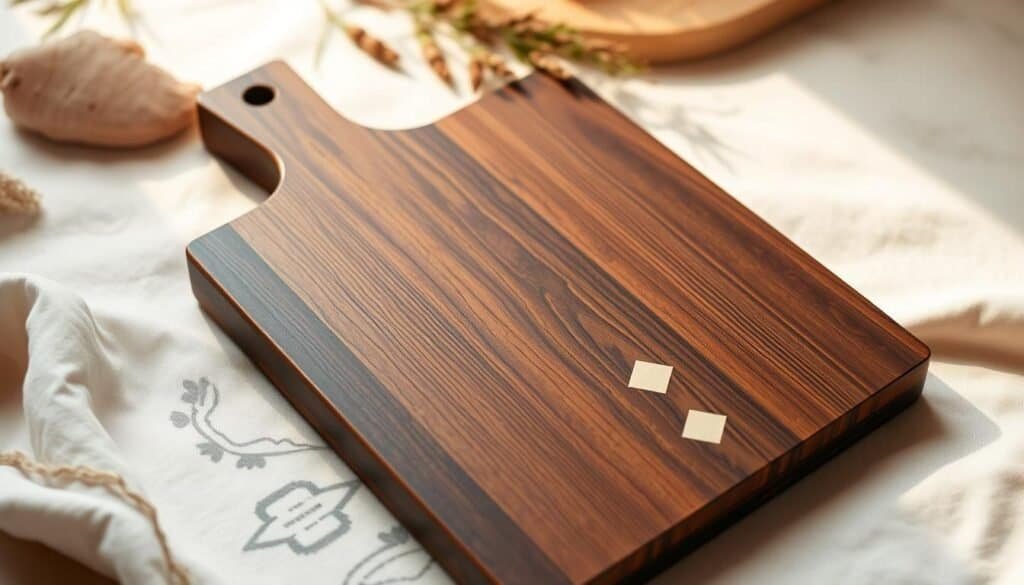
Not all woods are good for cutting boards, like those that touch food. Pine and cedar have oils that can flavor food and cause allergies. Stick to hardwoods that are safe and durable.
Food-Grade Epoxy Resin
Food-grade epoxy resin is great for decorative inlays or filling wood gaps. It makes your cutting board look better. Make sure the epoxy resin is safe for food.
Stone and Marble Accents
Adding stone or marble accents makes your cutting board sophisticated. These materials are tough and look good with wood. They create a unique kitchen piece.
Local Lumber Yards vs. Online Suppliers
You can buy materials from local lumber yards or online. Local yards let you see the wood in person. Online suppliers offer more choices. Think about cost, quality, and delivery time when deciding.
Reclaimed Wood Sources
Using reclaimed wood makes your cutting board special. Look for it in old barns, fences, or other salvaged places. It’s eco-friendly and gives your board a unique history.
By picking the right materials and adding trendy touches, you can make a serving platter that’s both useful and beautiful. Use decorating tips to make your project shine.
Tools You’ll Need for Your Cutting Board Projects
Whether you’re new to woodworking or have lots of experience, the right tools are key. When making a cutting board from serving tray wood or other materials, being precise and safe is important.
Hand Tools for Beginners
For beginners, basic hand tools are a must. Chisels, hand saws, and mallets are essential. They help shape and assemble your cutting board, whether it’s from scrap or new wood.
Measuring and Marking Tools
Accuracy is vital in woodworking. Tools like calipers, marking gauges, and pencils are needed. They ensure your cuts are precise, making your wood decor projects perfect.
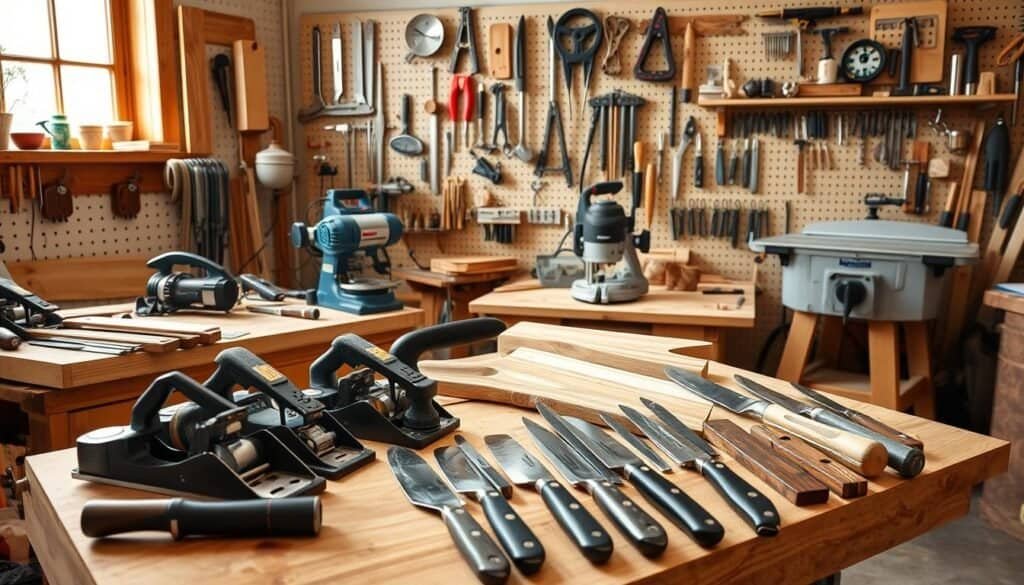
A router is a versatile tool. It can create decorative edges or patterns on your cutting board. This makes it look even better as a piece of wood decor.
Specialty Clamps and Jigs
Clamps and jigs are essential for holding your workpiece in place. They help ensure straight cuts and secure assembly. They’re very useful for small wood projects to sell.
Respiratory Protection
When using power tools or certain woods, wearing a dust mask or respirator is important. It protects you from harmful particles.
Eye and Ear Safety
Wearing safety glasses and ear protection is a must. They protect your eyes from debris and your hearing from loud noises. This is important for all woodworking projects, including those with scrap wood ideas.
Preparing Your Workspace for Cutting Board Creation
Before starting your DIY cutting board project, get your workspace ready. A tidy workspace is key for making beautiful and useful wooden boards for food.
Workbench Requirements
A strong workbench is the base of your workspace. It needs to be big enough for your wood projects and stable for cutting and putting things together.
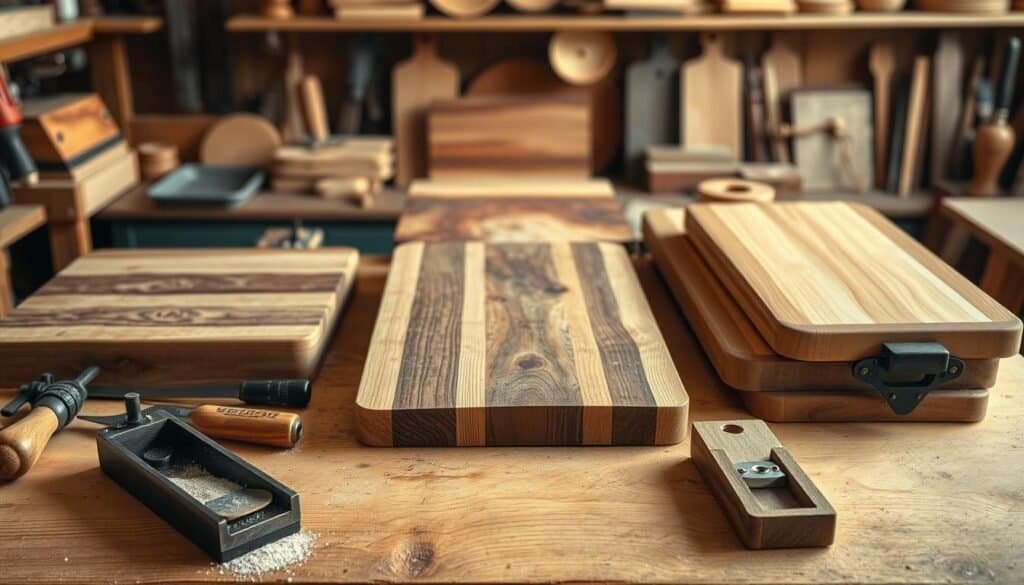
Good storage is important for keeping things organized, like when working on DIY wood projects. You’ll need shelves for lumber, bins for hardware, and drawers for tools.
Dust Collection Systems
A dust collection system is a must for a clean and safe workspace. It cuts down on wood dust inhalation and keeps your area clear.
Fire Safety Precautions
Fire safety is also a big deal. Make sure you have a fire extinguisher nearby and keep your space free from things that can catch fire.
With these steps, you’ll be ready to make top-notch wooden boards for food and other wood projects.
DIY Cutting Boards That Double as Décor: Project Planning
Planning well is key to a great DIY cutting board that looks good and works well. Before you start, make sure you plan everything out carefully.
Sketching Your Concepts
Begin by drawing out your ideas for the cutting board. Think about its size, shape, and design. Consider if it will be a wood serving tray for parties or a kitchen centerpiece.
Considering Kitchen Aesthetics
Your cutting board should match your kitchen’s look. Think about your kitchen’s colors, materials, and style. For example, if you’re having a snack board party, your cutting board should look good and work well.
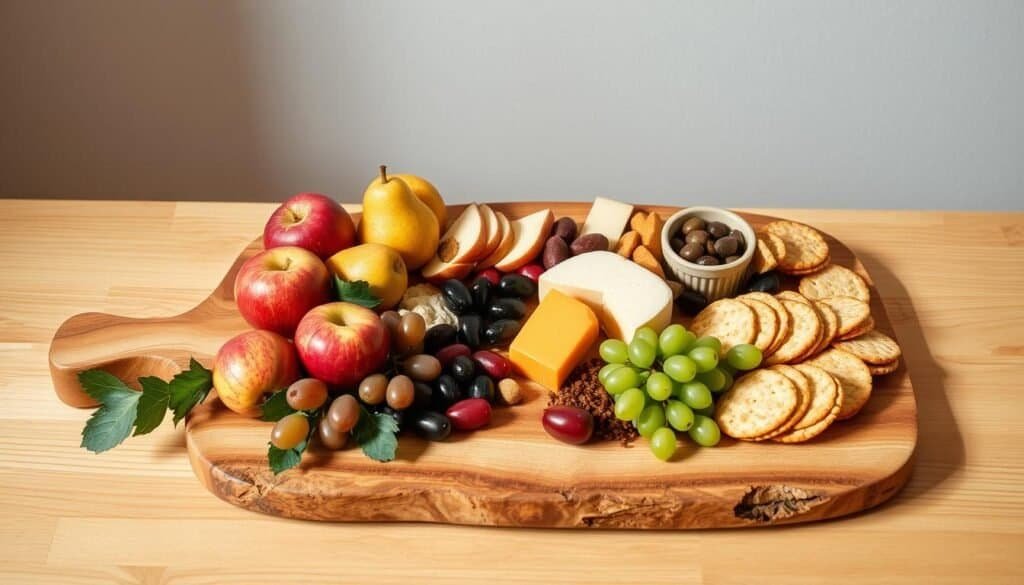
Don’t forget to think about your budget when picking materials. There are many budget-friendly options that can look great and be useful. Consider using reclaimed wood or local timber.
Premium Material Considerations
If you want something fancy, use high-quality materials. Hardwoods like maple or walnut can make your cutting board elegant. It will be perfect as an appetizer board for your table.
Weekend Projects vs. Extended Crafts
Choose if your cutting board will be a quick weekend project or a longer craft. This choice affects the design’s complexity and the materials you pick. Simple designs are good for a weekend project, while complex ones take more time.
With good planning, your DIY cutting board will be both useful and beautiful. It will add to your kitchen’s look. Whether you need serving board ideas or a special kitchen item, planning is essential for success.
Classic Hardwood Cutting Board with Decorative Inlay
A classic hardwood cutting board with a decorative inlay is perfect for any kitchen. It combines function with beauty. This project lets you show off your skills while making a useful tool for cooking.
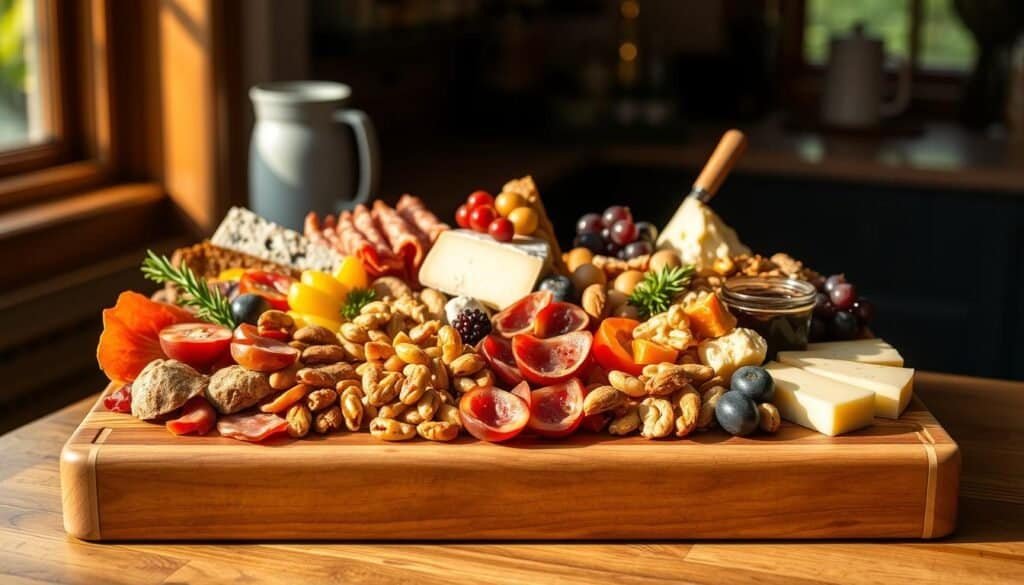
Choosing the right wood for your cutting board and inlay is key. Hardwoods like maple, walnut, and cherry are great because they’re durable and have unique grain patterns. For a striking look, pair light maple with dark walnut.
Specialized Tools for Inlay Work
Inlay work needs precision and the right tools. A router with a small bit is best for detailed designs. You’ll also need a chisel set for removing wood and fitting inlays together. A coping saw or jigsaw is good for cutting out complex shapes.
Creating the Base Board
The base board is the foundation of your inlay. Choose a hardwood good for cutting boards, then cut it to size. Sand it smooth before marking out the inlay area.
Inlay Techniques for Beginners
Beginners should start with simple designs and move to more complex ones. Use a template or pattern for your cuts. Work carefully to ensure a tight fit for the inlay pieces. A little glue and clamping will secure the inlay.
Countertop Presentation
After finishing your cutting board, think about how to display it. You can use it for cutting or as a snack board. Adding fun charcuterie board ideas, like cheeses and fruits, will make it look great.
Wall-Mounted Options
If you want to show off your cutting board as art, mount it on a wall. Use simple brackets or design a hanging mechanism into the board. You can also use unique charcuterie board ideas on wall displays, making your cutting board a kitchen highlight.
Live-Edge Serving Board with Natural Charm
A live-edge serving board is perfect for charcuterie and desserts. It’s a mix of function and natural beauty. The wood’s organic charm adds to your kitchen.
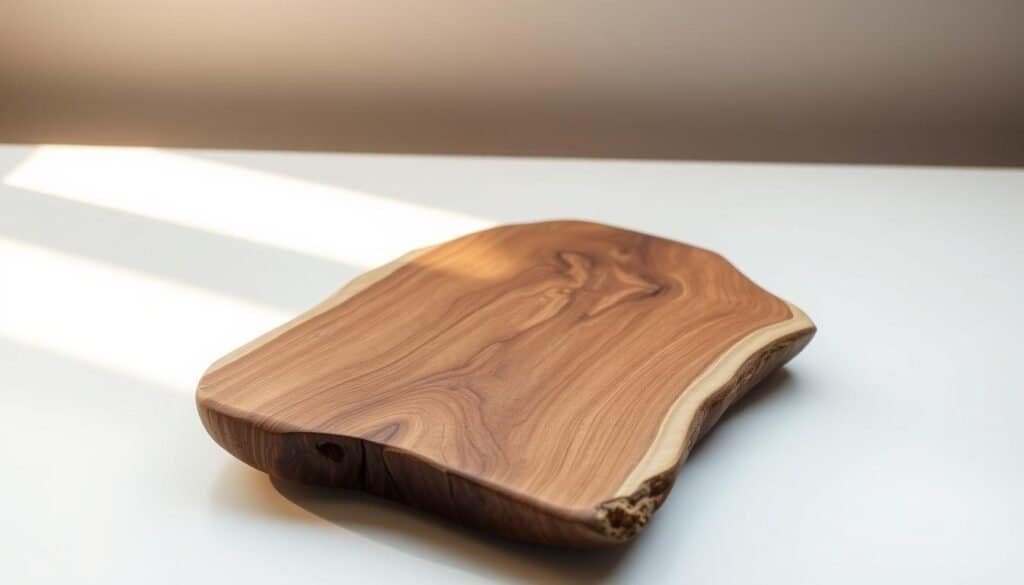
Choose a live-edge slab with unique edges and character. The wood’s quality and natural flaws make it special.
Working with Natural Imperfections
Knots and voids add to your board’s charm. You can leave them as is or fill them with decorative elements.
Preserving the Natural Edge
Use a food-safe finish to keep the edge natural. This protects the wood without hiding its beauty.
Filling Voids with Decorative Elements
Decorative elements like resin or contrasting wood can make your board stand out. They also help stabilize the wood.
Complementary Serving Accessories
Add serving accessories like cheese knives and small bowls. Choose items that match your board’s theme.
Seasonal Decoration Ideas
Use your board for seasonal displays. Try a dessert charcuterie with fruits and chocolates, or a charcuterie board with meats and cheeses.
By using your live-edge board, you bring natural beauty to your kitchen. It’s perfect for entertaining family and friends.
Geometric Pattern Cutting Board for Modern Kitchens
Make your kitchen look modern with a DIY geometric pattern cutting board. It’s not just for cutting food; it’s also a stylish piece of décor. Geometric designs are all about modern style, and on a cutting board, they bring a sophisticated vibe to your kitchen.
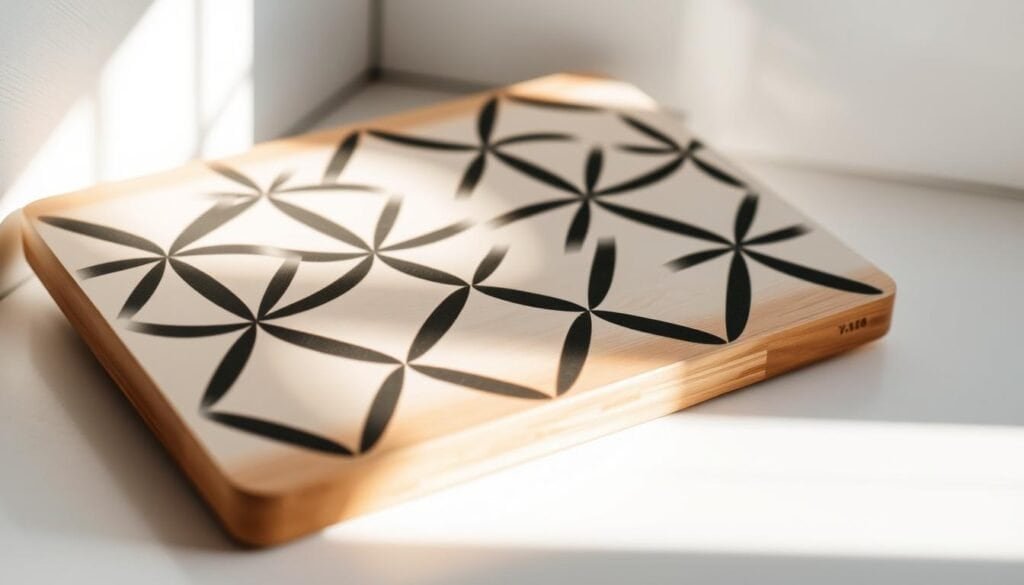
To make cool geometric patterns, use software like Adobe Illustrator or SketchUp. These tools let you design detailed patterns that fit your cutting board perfectly.
Balancing Complexity with Feasibility
When making your pattern, mix complexity with ease. Too complex designs can be hard, even for experts. Start simple and get better as you go.
Using Templates and Guides
Templates and guides are key for sharp cuts and joints. You can make your own or find them online. They help your pattern look right and look good.
Ensuring Perfect Joints
Good joints make your cutting board look pro. Use clamps and precise tools for tight, even joints.
Enhancing Pattern Contrast
To highlight your pattern, use different woods or stains. This boosts the look and makes the pattern pop.
Protective Coatings for Longevity
Finish your board with a protective coat for lasting beauty. Use food-safe oils or wax to guard against moisture and wear.
By following these tips, you’ll make a cutting board that’s perfect for any charcuterie night. It will add a modern flair to your kitchen.
End-Grain Butcher Block with Artistic Flair
The end-grain butcher block is more than a kitchen tool. It’s a beautiful piece of décor when made with flair. It’s crafted by arranging wood pieces so the end grain faces up, creating a unique pattern.
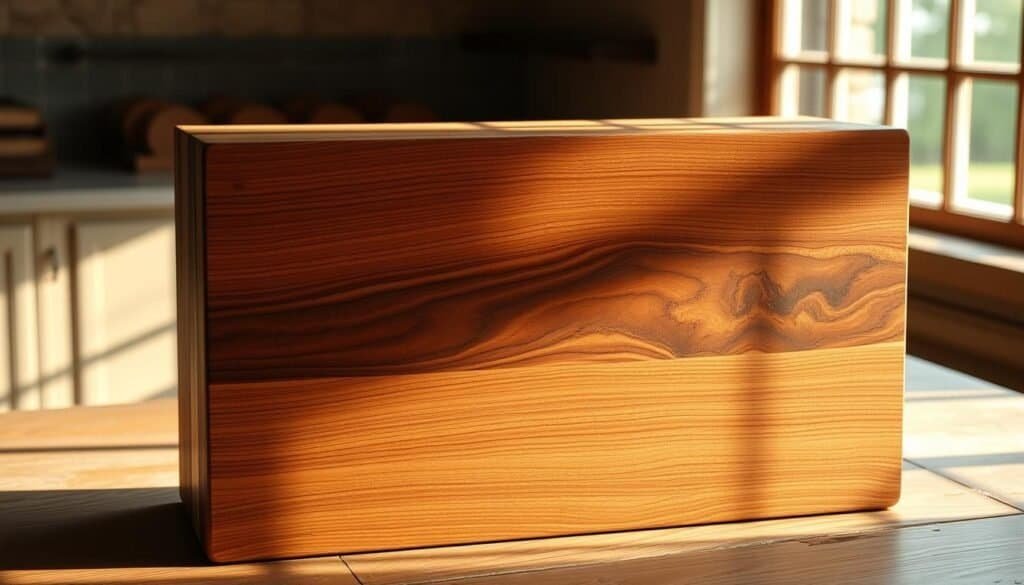
One big plus of an end-grain butcher block is its knife-friendly surface. The end-grain construction is softer on knives, keeping them sharp longer.
Durability Advantages
End-grain butcher blocks are very durable. The way they’re made spreads out knife cuts, reducing wear and tear.
Wood Selection for Contrast
To add flair, choose woods with different colors and grain patterns for contrast. This makes the cutting board stand out and unique.
Gluing and Clamping Techniques
Making an end-grain butcher block requires careful gluing and clamping. It’s important to apply glue evenly and clamp correctly for a strong finish.
Hidden Hardware Systems
Use hidden hardware systems for mounting or supporting your cutting board. This keeps its look intact.
Decorative Hanging Methods
When not in use, hang your end-grain butcher block on the wall as décor. Use decorative hanging methods like French cleats to enhance your kitchen’s look.
An end-grain butcher block is a mix of function and art. It’s perfect for woodworkers and DIY fans to create a standout kitchen feature.
Resin-Infused Cutting Board with Stunning Color
Resin in cutting boards brings new life to kitchen decor. It makes your cutting board both functional and stylish. This is thanks to the modern look it adds.
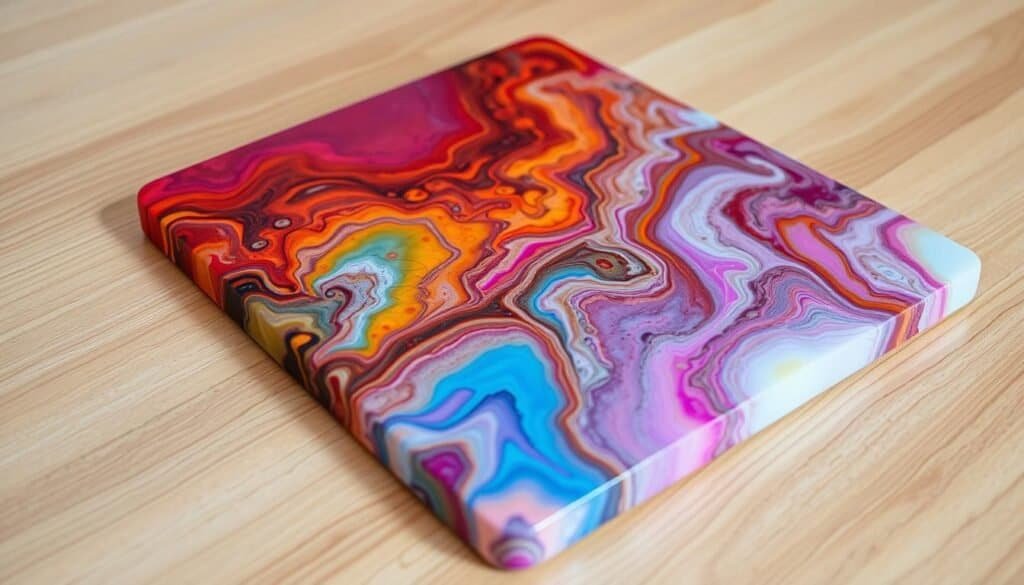
Choosing the right resin is key. It must be safe for food and fit your project’s needs. Look for resins made for crafting and meet food safety standards.
Mixing and Pouring Techniques
Getting a perfect resin finish needs careful mixing and pouring. Follow the maker’s mixing guide. Pour slowly to avoid air bubbles.
Creating Marble Effects
To get a marble look, mix resin in different colors. Play with the colors to get your pattern. This makes your cutting board truly unique.
Metallic and Pearlescent Additives
Metallic or pearlescent powders add luxury to your cutting board. They make the color pop and shimmer under light.
Progressive Sanding Methods
After curing, sanding is needed to smooth the surface. Start with rough sandpaper and move to finer ones. This will give you a glossy finish.
Buffing for Crystal Clarity
Buffing is the last step for a clear finish. Use a buffing wheel or soft cloth with polish. This removes scratches and highlights your cutting board’s shine.
By using these steps, you can make a cutting board that’s both beautiful and useful. It shows off your creativity and DIY skills in kitchen decor.
Upcycled Wood Cutting Board with Character
Turning old wood into a cutting board is a great way to reduce waste. It also makes a unique kitchen item. This method transforms old wood into something useful and adds charm to your kitchen.
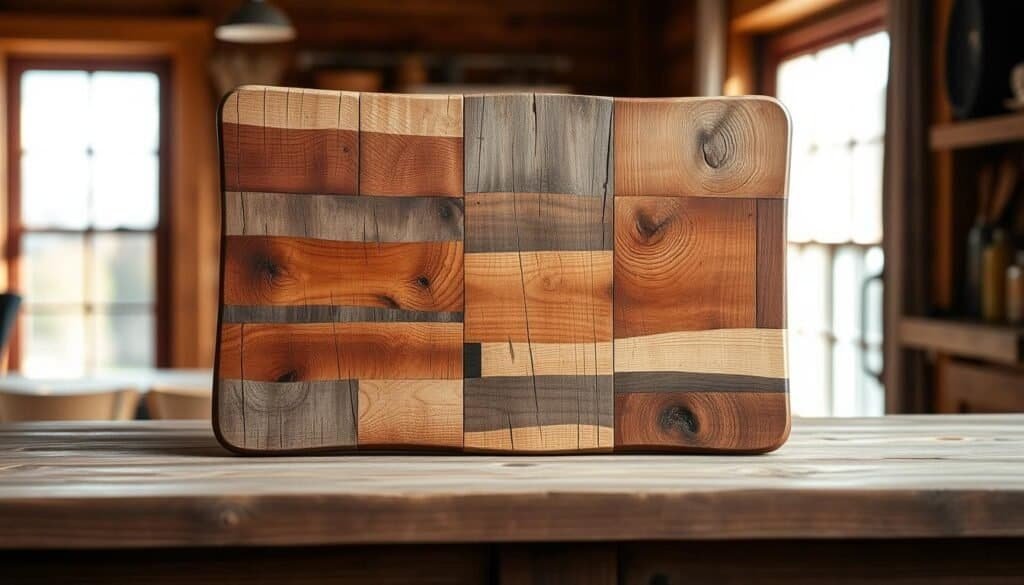
Barn wood and architectural salvage are perfect for making cutting boards. They bring a rich history and special textures that new wood can’t match.
Evaluating Wood Condition
First, check the wood’s condition before you start. Look for rot, insect damage, or too much wear.
Removing Hardware and Contaminants
Next, take out any hardware or dirt from the wood. This is key to making sure it’s safe for food.
Heat and Chemical Treatment Methods
Some woods might need heat or chemicals to kill bacteria or pests. Find out the best way to treat your wood.
Preserving Original Markings
The beauty of upcycled wood lies in its history, seen in marks or patina. Keeping these features makes your cutting board even more special.
Incorporating Vintage Elements
Adding old metal straps or antique hardware can make your cutting board even more unique. It tells a story.
By following these steps, you can make a cutting board that’s both useful and decorative. It shows off the wood’s history and character, following cutting board decorating tips.
Personalized Cutting Boards with Pyrography
Pyrography lets you turn a simple cutting board into a unique piece of wood decor. This method burns designs onto the wood, making it personal and creative.
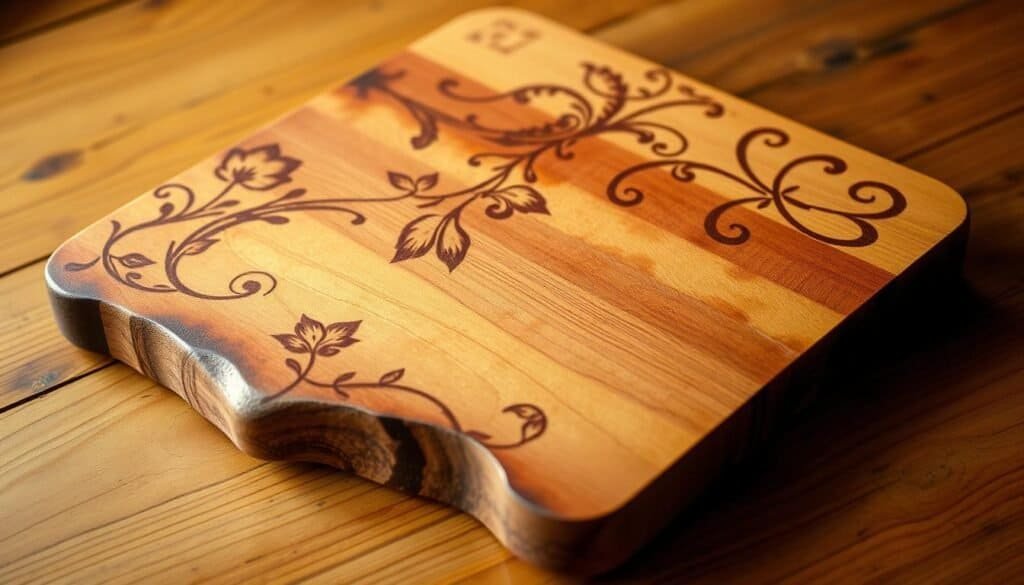
To start with pyrography, you need the right tools and to know about temperature control. There are many pyrography pens, some with adjustable temperatures. Picking the right pen and learning to adjust the temperature is key for great results on your cutting board.
Practice Techniques for Confidence
Practice on scrap wood before doing your cutting board. This builds your confidence and technique. It also lets you see how different woods react to the pyrography pen and improve your design.
Creating Custom Stencils
Custom stencils are great for detailed designs on cutting boards. You can make them with software or by hand. Make sure they fit your cutting board well and are precise.
Carbon Paper Techniques
Carbon paper is handy for transferring designs to your cutting board. Just place the carbon paper between your stencil and the board, trace the design, and the image will transfer.
Food-Safe Finishes for Burned Areas
After pyrography, finish the burned areas with food-safe products. Use mineral oil, beeswax, or specialized wood finishes that are safe for food.
Preventing Design Fading
To keep your design from fading, avoid direct sunlight. Also, oiling the cutting board regularly helps keep the design and wood in good shape.
By following these tips and practicing pyrography, you can make stunning, personalized cutting boards. They’re not just useful in the kitchen but also showcase your creativity and skill.
Charcuterie Board with Built-In Serving Features
Hosting a snack board party? The right serving board ideas can make it unforgettable. A charcuterie board with built-in features not only looks great but also makes serving easier.
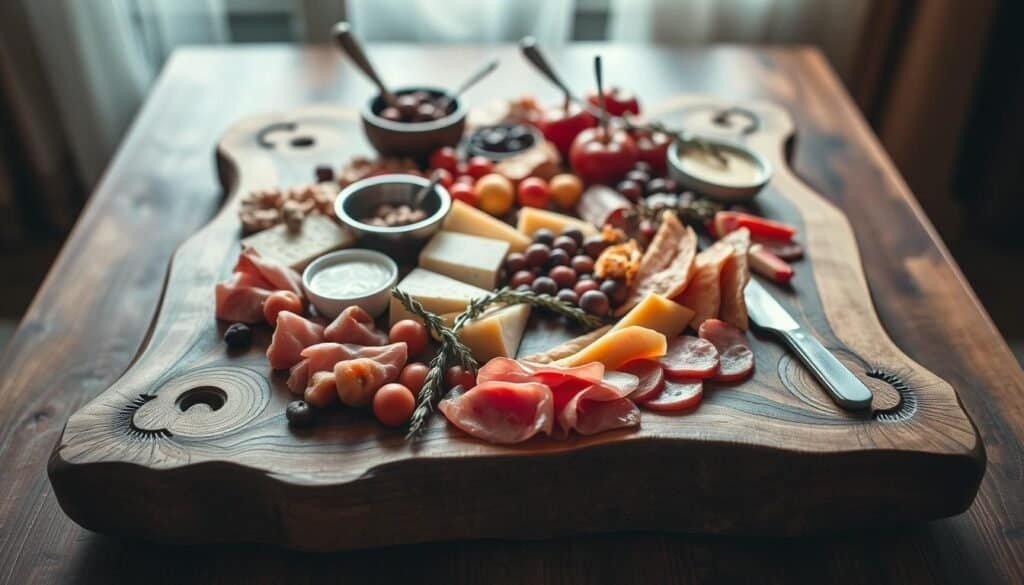
It’s important to place handles right for easy carrying and serving. Think about the board’s size and weight when choosing handle ergonomics.
Edge Details for Easy Lifting
Edge details matter a lot for your charcuterie board. A rounded or beveled edge makes lifting and serving safer, reducing accidents.
Router Techniques for Recessed Areas
Router techniques can make your charcuterie board look and work better. These recessed areas are perfect for sauces, dips, or garnishes.
Drainage Considerations for Wet Foods
For wet foods or cheeses, add drainage features to your board. This keeps the board from getting slippery and wet.
Food Arrangement Principles
How you arrange food on your board is key. Mix colors, textures, and heights for a stunning display.
Complementary Serving Tools
Don’t forget about serving tools. Cheese knives, picks, and spreaders can make serving better and match your board ideas.
With these design elements, you’ll have a charcuterie board that’s both beautiful and practical. It’s perfect for your next snack board party.
Cutting Board Wall Display: Gallery-Style Kitchen Art
Turn your kitchen into a gallery with a cutting board wall display. It shows off your handcrafted creations. This display adds a personal touch and makes functional items into art.
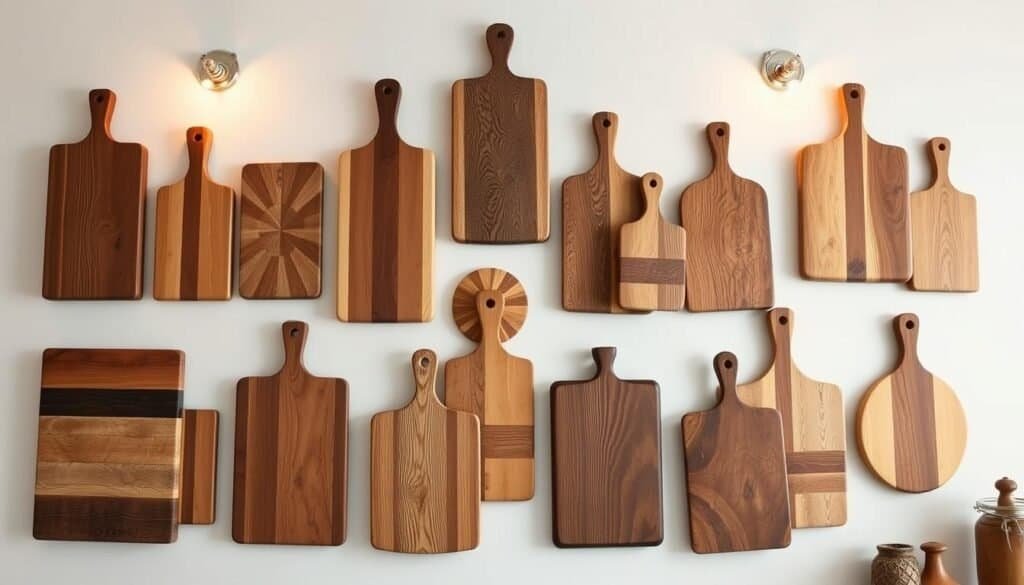
For heavy cutting boards, use French cleats for a strong hang. This method keeps your boards safe from falling and damaging your kitchen.
Decorative Hooks and Hangers
Decorative hooks and hangers are a stylish way to hang your cutting boards. Pick designs that match your kitchen’s look. These hooks are not just useful but also make your display look better.
Color and Wood Species Coordination
Matching the color and wood of your cutting boards makes your display look good. Mixing different wood tones and finishes adds depth and interest. It makes your wall display a kitchen highlight.
Size and Shape Variations
Using different sizes and shapes of cutting boards makes your display interesting. Mixing large and small boards, and various shapes, creates a lively arrangement. It catches the eye and holds it.
Holiday-Themed Arrangements
Make holiday-themed arrangements with your cutting boards. Group boards by color for the season or use boards with festive designs. It adds to the holiday feel.
Incorporating Other Kitchen Elements
To make your cutting board wall display even better, add other kitchen items. Include utensils, pots, or pans. It turns your kitchen into a complete gallery that shows off your cooking style and kitchen’s look.
Food-Safe Finishes for Beautiful and Functional Boards
Applying a food-safe finish to your cutting board is key for its look and life. A well-finished cutting board makes your kitchen look great. It also keeps the wood safe from harm, perfect for your charcuterie boards.
Mineral Oil vs. Walnut Oil
When picking a finish, you can go for mineral oil or walnut oil. Mineral oil is easy to find and affordable. Walnut oil, on the other hand, gives a richer look and is often chosen for its beauty.
Proper Application Methods
It doesn’t matter if you pick mineral or walnut oil. What’s important is how you apply it. Put a lot on the board, let it soak, and then wipe off any extra.
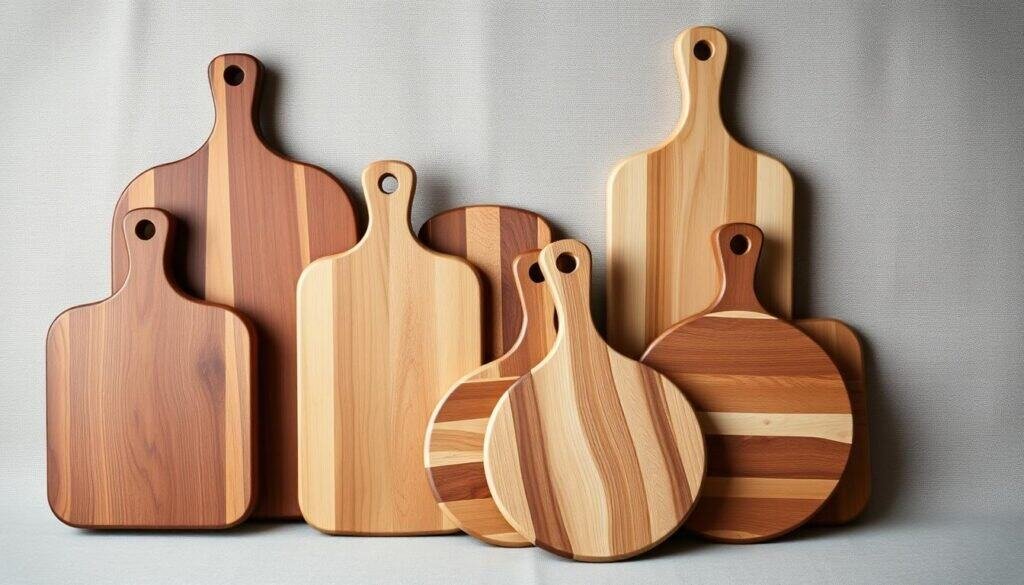
For extra protection, think about using a mix with beeswax or carnauba wax. These mixes make the finish harder and last longer.
Buffing for Perfect Results
After you apply your finish, buff the board. This makes the finish smooth and even.
Daily and Weekly Care
For daily care, just clean it. For weekly care, you might need to reapply oil.
Monthly Rejuvenation Processes
Every month, do a deeper clean. Sand and reapply a finish to keep your board looking new.
Gifting Your Handcrafted Cutting Boards
Handcrafted cutting boards are great gifts for loved ones. They can be the star of any charcuterie board or party food platter.
Eco-Friendly Wrapping Options
Choose eco-friendly wrapping to match your cutting board’s sustainable vibe. Opt for recycled paper or biodegradable materials to reduce waste.
Make the gift even more special with presentation boxes and stands. They highlight your cutting board’s beauty, perfect for any charcuterie theme.
Printed Care Cards
Include care cards with your gift. They’ll help the recipient keep their cutting board in top shape. It’s great for those who love to host parties.
QR Codes Linking to Video Tutorials
Add QR codes for video tutorials on caring for the cutting board. It’s a modern and helpful touch.
Monograms and Family Names
Personalize your cutting boards with monograms or family names. It makes the gift even more meaningful.
Special Dates and Commemorations
Gift a cutting board for special occasions like weddings or housewarmings. It makes the moment even more memorable.
Conclusion: Elevating Your Kitchen with Handcrafted Cutting Boards
Handcrafted cutting boards can make your kitchen warm and useful. By making your own cutting boards, you can make your kitchen special. You’ll also get the practical benefits of a well-made cutting board.
Looking to spice up your kitchen? These projects are perfect for a charcuterie board night or just to add some flair. You can choose from classic hardwood to resin-infused and upcycled wood. There’s something for everyone, no matter your skill level.
Think about how your cutting board can be the star of your kitchen. It can add elegance to your gatherings. With creativity and the right design, your cutting board will be a highlight in your home.

