Creating something with your own hands is very rewarding. Traditional joinery techniques let you make beautiful furniture with simple tools.
For beginners, starting with simple projects is key. You don’t need a lot of expensive tools to begin. Basic hand tools can make your work look professional.
Woodworking without power tools saves money and makes the craft more personal. Learning basic joinery lets you make many projects, from simple to complex.
The Beauty of Traditional Joinery
The art of traditional joinery has a long history, with many cultures adding their own techniques. For centuries, craftsmen have perfected ways to join wood without modern tools.
Traditional joinery is more than just a way to connect wood. It’s about making beautiful pieces that last. The detailed designs and careful work show the woodworker’s skill.
Historical Perspective on Traditional Woodworking
Looking back, traditional joinery has shaped woodworking. Each culture has its own woodworking joinery methods. For instance, Japanese joinery is known for its simplicity and beauty, often using no metal.

Using traditional woodworking techniques lets craftsmen make pieces that are both useful and tell a story. These methods have been passed down, showing the craftsmanship and history of each culture.
Some key traits of traditional joinery include:
- Precision cutting for tight joints
- Using natural materials and little metal
- Focus on looks as well as use
By understanding and valuing the history and culture of traditional joinery, woodworkers can keep innovating while honoring the craft’s roots.
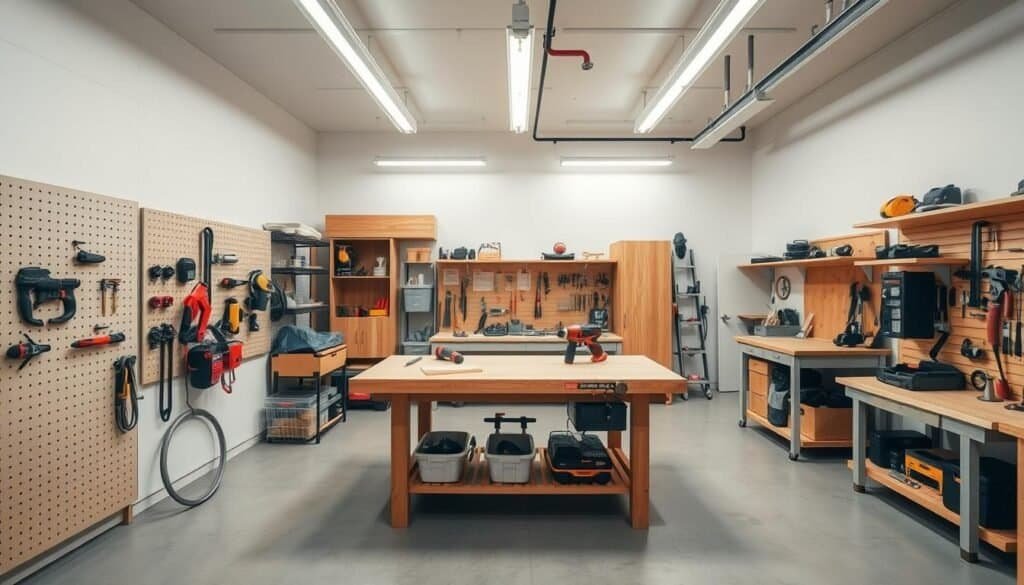
Essential Basic Tools for Joinery Success
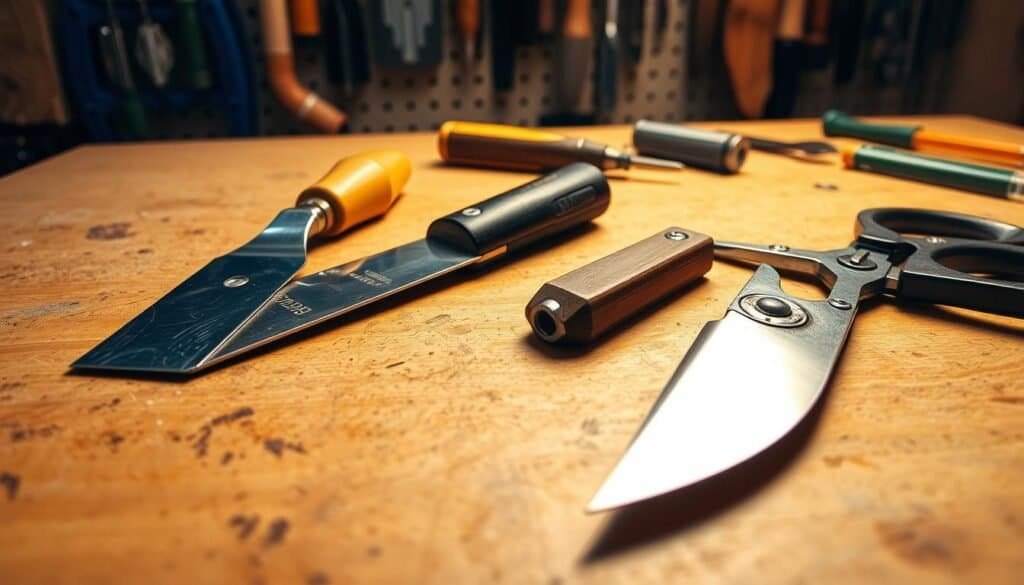
To succeed in joinery, you need the right basic tools for joinery. A good toolkit makes your work easier and ensures quality. For beginners, learning hand tool joinery is a great start.
Every joinery toolkit should have hand tools like chisels, hand saws, and marking gauges. These tools are key for making precise joints. Getting quality tools early can save you money and trouble later.

Keeping your tools in good shape is as important as choosing them. Clean them regularly and store them properly. This helps your tools last longer and work better. It’s part of maintaining your tool kit, essential for joinery success.
Maintaining Your Basic Tool Kit
- Regularly clean your tools to prevent rust and debris buildup.
- Store tools in a dry, organized manner to protect them and make them easier to find.
- Sharpen cutting tools periodically to maintain their effectiveness.
For woodworking beginners, start with the basics and add more tools as you go. Knowing how each tool works is key to mastering joinery. As you get better, you’ll be ready for more complex projects and improve your skills.
Understanding Wood Behavior for Better Joints
The secret to great joinery is knowing how wood acts under different conditions. Wood changes size with humidity and temperature changes. This can affect how well your joints hold up.

When you work with wood, think about its grain, moisture, and density. Wood with a lot of moisture shrinks a lot. This can cause gaps or cracks in your joints. Knowing this helps you pick the right wood for your projects.
Selecting the Right Wood for Your Project
Picking the right wood is key for strong and lasting timber joints. Different woods are better for different projects. Hardwoods like oak and maple are strong and durable. Softwoods like pine are good for projects where you need to save on weight and cost.
- Think about the wood’s grain and texture.
- Check the wood’s moisture and density.
- Pick wood that fits your project’s needs.
By understanding wood and choosing the right wood, you can make wooden joinery that works well and looks good. This knowledge helps you avoid mistakes and makes your projects last longer.
Mastering Joinery Without Fancy Tools: Simple Techniques
Simple techniques can make your joinery skills better without costing a lot. It’s not about having the latest tools. It’s about knowing the basics and using them well. With the right simple techniques, you can make strong and beautiful joints.
Using hand tools effectively is key in traditional woodworking. It’s about being precise, patient, and practicing a lot. Hand tools give you control that power tools can’t match. By mastering hand tools, you can make high-quality joinery.
Creating Templates for Consistent Results
Creating templates is a simple way to make your joinery consistent. Templates help you make joints the same way, saving time and reducing waste. Use stable materials like MDF or plywood for your template.
Here’s how to make a template:
- Design your joint on the template material, ensuring it’s accurately drawn.
- Cut out the template using a sharp blade or a jigsaw.
- Smooth the edges to ensure they are free from any rough spots.
- Use the template to guide your hand tool or chisel when cutting the joint.

Using templates makes your work consistent and faster. This method is great for projects with many identical joints. With practice, your joinery skills will improve, letting you take on more complex projects.
Mastering wood joinery takes patience, practice, and the right techniques. Focus on simple, effective methods and use tools like templates. You can get professional-looking results without fancy equipment.
5 Basic Joints Every DIYer Should Know
Basic joints are key to successful DIY projects. Knowing and mastering these joints is essential for DIY enthusiasts. It helps improve woodworking skills.
Woodworking has many techniques and joints. But some are more basic than others. Here, we’ll look at five basic joints every DIYer should know.
Types of Basic Joints
- Dovetail Joint: Known for its strength, the dovetail joint is great for drawers and cabinets.
- Butt Joint: A simple joint, the butt joint connects two pieces of wood end-to-end or at a right angle.
- Dado Joint: This joint connects shelves to cabinet frames, making a strong and stable connection.
- Domino Joint: Using a special tool, the domino joint offers a strong and versatile connection for various projects.
- Mortise and Tenon Joint: A classic joint, it provides exceptional strength and is often used in cabinet joinery and furniture making.

Mastering these basic joints will greatly improve your DIY joinery skills. Each joint has its own use and can be applied in many woodworking projects. From simple shelving units to complex furniture pieces, these joints are versatile.
Understanding the types of wood joints and their uses is vital for successful DIY projects. By using these basic joints in your projects, you’ll create stronger and more durable pieces.
To improve your joinery techniques, practice and experiment with different joints. As you get more comfortable with these basics, you can try more complex joints and techniques. This will expand your DIY joinery skills.
In conclusion, knowing the five basic joints discussed here is essential for your DIY woodworking projects. Whether you’re making a simple cabinet or a complex piece of furniture, these joints are invaluable in your toolkit.
Joinery Hacks: Improvising When You Lack Tools
Sometimes, the best joinery results come from using what you have. Whether you’re a seasoned DIY enthusiast or just starting out, you might face a project without the right tool. But, with a bit of creativity and some joinery hacks, you can get professional-looking results.

Adapting Techniques to Your Available Resources is key when you’re missing a specific tool. For example, if you’re missing a domino joiner but have a chisel, you can hand-cut a strong mortise.
Adapting Techniques to Your Available Resources
One of the most useful joinery hacks is learning to use tools in new ways. For instance, using clamps creatively can help you achieve precision similar to specialized tools. Here are a few strategies:
- Use multiple clamps to apply even pressure across a joint, ensuring a tight bond.
- Employ cauls (straight or curved pieces of wood) with your clamps to distribute pressure evenly and prevent bowing.
- For complex joints, consider using a combination of clamps and wedges to secure the pieces in place while the adhesive sets.
Another valuable hack is to simplify your joinery techniques when working without the ideal tools. For instance, opting for butt joints or simple lap joints can be just as effective as more complex joints. This is true for carpentry projects that don’t require detailed work.
By embracing these joinery hacks and adapting your techniques to the tools at hand, you can keep working on your projects. This resourcefulness saves time and money. It also boosts your creativity and skill in woodworking.
Troubleshooting Common Joinery Problems
Troubleshooting is key for woodworkers. Even the best plans can hit snags. Issues like misaligned joints or gaps can be a big headache.
Common joinery problems often come from wrong measurements or tool misuse. Wood also changes size with humidity, affecting joints. Spotting these issues early is vital.

Deciding to repair or start over is a big choice. It depends on the problem’s severity and when you catch it.
When to Start Over vs. When to Repair
When you face a joinery problem, think it through. Small gaps might be fixed with filler or adjustments. But, big issues like misaligned joints might mean starting fresh.
- Minor issues, like small gaps, can often be fixed with wood filler or adjustments to the joint.
- Major problems, such as structural misalignment, may require starting the project over or making significant repairs.
- Understanding when to cut your losses and when to persevere is key to successful joinery.
Learning to troubleshoot and knowing when to repair or start over is essential. It saves time, reduces waste, and boosts your skills. This skill is vital for all woodworkers, from newbies to experts.
3 Beginner-Friendly Projects to Practice Your Skills
Woodworking projects for beginners are great for improving your joinery skills. They let you use what you’ve learned and get real-world experience.
Here are three projects that are perfect for beginners looking to hone their joinery skills:
- Simple Birdhouse: Building a birdhouse is a great way to practice basic joinery techniques such as measuring, cutting, and assembling wood.
- Wooden Picture Frame: Creating a picture frame involves working with miter joints, a fundamental joinery technique. It’s a practical project that results in a useful item.
- Small Wooden Shelves: Building small shelves is another excellent project for beginners. It involves practicing various joinery techniques and can be customized to fit different spaces.
These projects are not only easy woodworking projects but also give you a sense of accomplishment as you see your skills improve.

For those looking for kids woodworking projects, many of these beginner-friendly projects can be adapted for children. They teach valuable skills and the joy of creating something with their own hands.
Practicing joinery skills through these projects will build your confidence. It prepares you for more complex woodworking tasks.
Conclusion: The Ongoing Journey of Joinery Mastery
Mastering joinery is a journey that never ends. It takes patience, practice, and dedication. You’ve learned that you can master joinery with basic tools and the right techniques.
Keep practicing and improving your skills. This article has given you the knowledge to tackle many woodworking projects. You’ll do it with confidence.
Remember, success in woodworking joinery comes from understanding wood, using basic tools, and mastering simple techniques. Keep working hard and you’ll create strong, beautiful joints. Your woodworking projects will get even better.