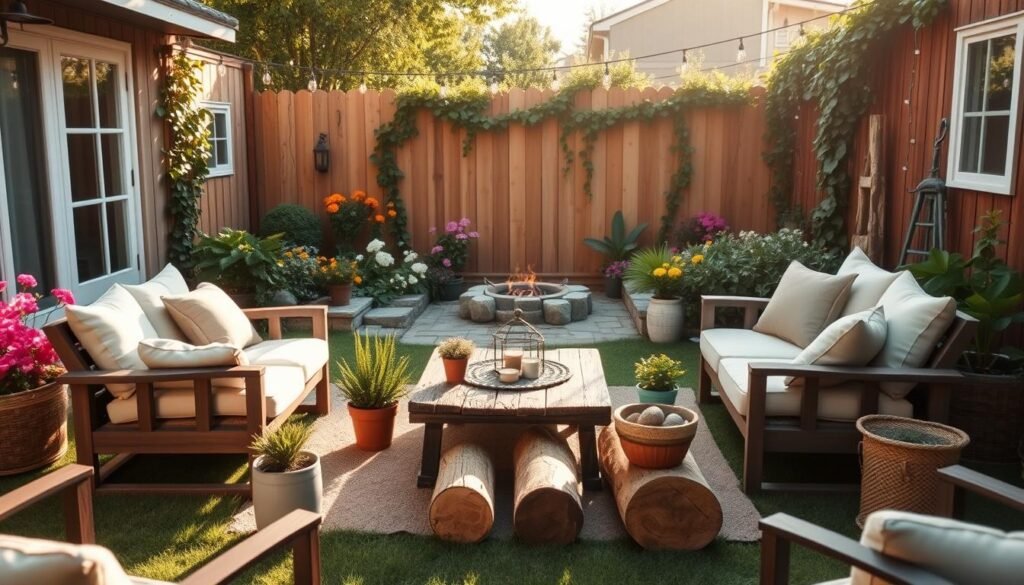
As the seasons change, our homes should reflect the beauty and charm of each time of year. Creating a cozy and inviting space is easier than ever with DIY wood décor projects.
From refreshing spring decor to cozy winter arrangements, DIY seasonal decorating can transform your home. With seasonal wood décor ideas, you can enhance your home’s ambiance and make it a haven for family and friends.
Whether you’re looking to update your seasonal home décor or simply want to try your hand at diy wood décor, our guide is here to inspire you. Explore the possibilities and get creative with your home decor this year.
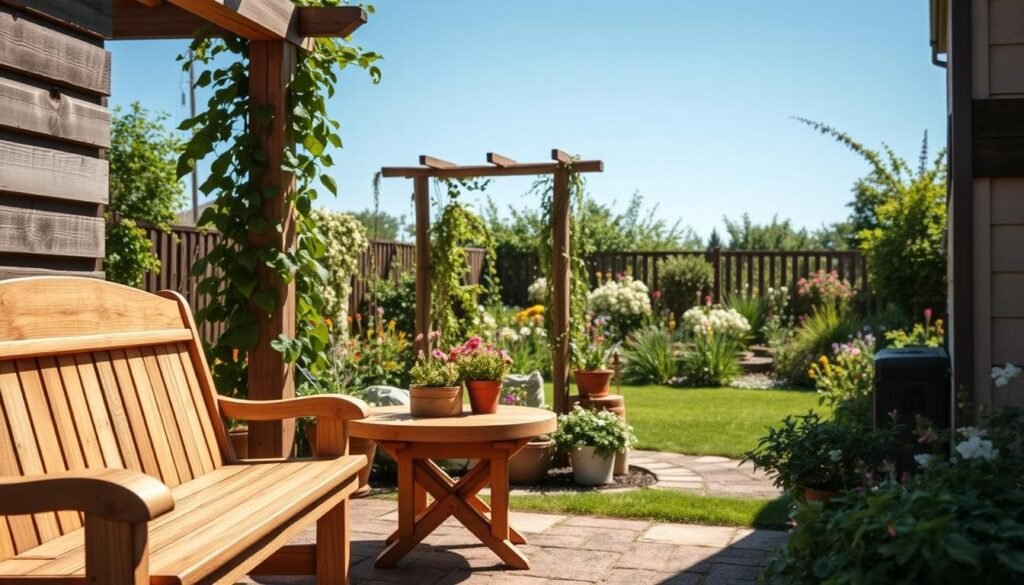
The Timeless Appeal of Wooden Décor in Home Design
Wooden décor in home design is timeless. It brings coziness and natural beauty to any space. Wooden elements can turn a house into a home, adding warmth and character to every room.

Wooden décor adds natural warmth and texture to home design. It creates a cozy atmosphere that’s hard to find with other materials. The unique grain patterns and textures of wood add depth and visual interest to any room, making it feel more inviting and comfortable.
Longevity and Durability Factors
Wooden décor is long-lasting and durable. With proper care, wooden elements can last for decades, developing a beautiful patina over time. This makes wooden décor a great investment for homeowners who value quality and craftsmanship.
From Rustic to Modern Applications
Wooden décor is incredibly versatile, ranging from rustic to modern applications. Whether you’re looking to create a cozy, cabin-like atmosphere or a sleek, contemporary look, wooden elements can be tailored to suit your style. From reclaimed wood to sleek, modern designs, the possibilities are endless.
Complementing Existing Home Décor
Wooden décor can easily complement existing home décor, adding a touch of warmth and character to any room. Whether you’re looking to update your living room, kitchen, or bedroom, wooden elements can be incorporated to enhance the overall aesthetic and create a cohesive look. For example, adding wooden crafts for home, such as a wooden wall art or a wooden coffee table, can elevate the ambiance of your living space.
Benefits of Creating Your Own Seasonal Wood Décor
Making your own seasonal wood décor lets you show off your creativity. It also adds a personal touch to your home. You can make sure it matches your style and design.

Creating your own wood décor is great because you can upcycle old wood. This not only cuts down on waste but also gives old materials a new life.
Upcycling and Repurposing Options
Upcycling old wood can be simple or complex. You can turn an old pallet into a wall decoration or make a wooden wreath from reclaimed barn wood. The options are endless, making it a fun and creative challenge.
Eco-Friendly Wood Sourcing Tips
When picking wood for your projects, choose eco-friendly options. Look for reclaimed wood, sustainably harvested timber, or wood certified by the Forest Stewardship Council (FSC). These choices help reduce your environmental impact.
By picking sustainable wood and upcycling, you can make beautiful and unique décor. This approach is good for the planet and adds a special story to your wood décor.
Adding diy wood decor ideas to your home design is rewarding. It lets you create pieces that are personal and good for the environment. Whether you’re experienced or new to crafting, seasonal wood décor offers many creative options.
Essential Tools and Materials for DIY Wood Projects
Before starting your next woodworking project, make sure you have the right tools and materials. The right equipment makes the process easier and ensures your DIY wood projects last longer.
Must-Have Hand Tools
Every woodworker needs a basic set of hand tools. This includes a tape measure, square, pencil, hammer, and hand saw. A chisel set is also key for removing small wood pieces and fitting parts together. Quality hand tools greatly improve your woodworking experience.

Power tools can also be very helpful. A table saw is vital for straight cuts in large wood pieces. A drill press is great for precise drilling. For more advanced projects, a router can create decorative edges and profiles.
Softwoods vs. Hardwoods for Different Projects
Choosing between softwoods and hardwoods depends on your project’s needs. Softwoods like pine and cedar are cheaper and good for projects where cost matters. Hardwoods, such as oak and maple, are stronger and better for projects needing a polished look.
Reclaimed Wood Considerations
Reclaimed wood adds unique character to any project. But, it needs careful handling. Look out for nails, screws, and other metal objects that could harm your tools. Also, check for rot or insect damage before using it.
Knowing about the tools and materials helps plan your DIY wood projects better. Whether using softwoods, hardwoods, or reclaimed wood, the right approach is key to success.
10 Seasonal Wood Décor Ideas You Can DIY for Every Time of Year
Discover 10 unique seasonal wood decor ideas that you can easily DIY to enhance your home’s ambiance throughout the year. Whether you’re a beginner or an experienced crafter, these projects are designed to suit your skill level.
Beginner-Friendly Options
For those new to woodworking, start with simple projects like a wooden leaf garland or a rustic wooden candle holder. These beginner-friendly wood projects are perfect for getting started with DIY seasonal decorating.
Projects for More Experienced Crafters
If you’re more experienced, consider tackling projects like a wooden seasonal sign or intricately designed wooden wall art. Experienced woodworkers can enjoy the challenge of complex designs that add a personal touch to their home decor.
From spring to winter, these seasonal wood crafts can be adapted to fit any time of year. With a few basic tools and materials, you can create beautiful pieces that enhance your home’s ambiance. 
By incorporating these DIY projects into your seasonal decorating routine, you can add a personal touch to your home. This makes it feel fresh and inviting all year round.
Spring-Inspired Wooden Blossom Wreath
Spring is the perfect time to make a wooden blossom wreath. It brings the outdoors inside. This DIY project welcomes the new season with a beautiful piece of home decor.

To start, you’ll need a wooden base for your wreath. You can use a pre-made wreath form or make your own with wooden dowels or branches. Sand the wood to smooth out any rough edges, ensuring a clean surface for your decorations.
Adding Spring Elements
Next, add spring elements to your wreath. Use artificial blossoms, leaves, or flowers for a vibrant look. Attach these with a hot glue gun, arranging them for balance and appeal. This is where you can get creative with your DIY spring decor.
Finishing Touches
Lastly, add some finishing touches to your wooden blossom wreath. Consider adding a ribbon or twine for a rustic look, or leave it as is for a cleaner appearance. You can also add other spring signs, like wooden signs or small decorative items, to enhance the theme.
With these steps, you can create a stunning wooden blossom wreath. It celebrates spring and adds a personal touch to your home decor. It’s a fun and rewarding spring wood craft project that’s sure to impress.
Rustic Wooden Planter Boxes for Spring Flowers
Making rustic wooden planter boxes is a fun DIY project. It brings spring vibes to any room. These planters are great for showing off your favorite spring flowers. With a few easy steps, you can make a beautiful planter that boosts your home’s look.

To start, measure and cut the wood. Pick a wood type that’s strong and good for outdoors. Measure and cut the wood to the size you want your planter to be. Make sure your cuts are exact to avoid any gaps.
Assembly Techniques
Assembling your planter means using a hammer and nails or screws. Start with the bottom and sides, then add the corners for stability. Make sure the corners are tight to keep the planter stable when filled with soil and flowers.
Weatherproofing Your Planter
To keep your planter safe from the weather, apply a weatherproofing finish. This can be a sealant or a waterproof stain. This step will help your planter last longer, so it stays beautiful for many springs.
By following these steps, you can make a stunning rustic wooden planter box. It will add a charming touch to your home. Place it on your porch, patio, or indoors, and it will beautifully showcase your spring flowers.
Summer Driftwood Beach-Themed Wall Art
Transform your space with a unique DIY driftwood wall art that captures the beauty of the beach. Summer is the perfect time to bring the outdoors in and add a coastal touch to your home decor. With driftwood wall art, you can create a stunning piece that reflects your love for the ocean and the relaxed vibe of summer.

Before you start creating your driftwood wall art, it’s essential to prepare and clean the driftwood. Begin by collecting driftwood pieces of various shapes and sizes. Soak them in a mixture of water and bleach to remove dirt and any unwanted organisms. Let them dry completely before proceeding to the next step.
Design Layout Techniques
Plan your design layout carefully to achieve a visually appealing arrangement. You can arrange the driftwood pieces in a symmetrical or asymmetrical pattern, depending on your preference. Consider the size and shape of your wall art and how it will fit with your existing decor. Use a template or sketch out your design on paper before starting to assemble the pieces.
Secure Mounting Methods
Once your driftwood wall art is assembled, it’s vital to mount it securely to the wall. Use a sturdy backing board and attach the driftwood pieces to it using a strong adhesive and nails or screws. Hang your artwork using picture hanging hardware that can support its weight. Ensure it’s level and secure to prevent it from falling.
By following these steps, you can create a beautiful summer driftwood beach-themed wall art that adds a touch of the coast to your home. This DIY project is not only fun but also a great way to personalize your space with a unique piece of decor that reflects your style.
Wooden Outdoor Lanterns for Summer Evenings
Light up your summer nights with wooden outdoor lanterns. They bring warmth and elegance to your space. Perfect for cozying up or hosting guests, they make any evening special.

Making your own wooden lanterns is a fun DIY project. You can design them to fit your outdoor style and needs.
Frame Construction
Begin by building the lantern’s frame with wooden slats or panels. Choose wood like cedar or pine for its look and strength. Make sure it’s strong enough for outdoor use.
Adding Glass or Screen Elements
After the frame is ready, add glass panels or metal screens. They protect the light and add beauty. Glass can be clear or tinted, and metal screens can have cool designs.
Lighting Options
For lighting, pick candles, LED lights, or solar lights. Candles give a cozy glow, LEDs are bright and long-lasting, and solar lights are green and effective.
By following these steps, you can make beautiful wooden lanterns. They’ll make your summer evenings cozy and inviting.
Fall Wooden Pumpkin Centerpieces
As the leaves change colors, bring the warmth of fall into your home with a beautiful wooden pumpkin centerpiece. Creating a wooden pumpkin centerpiece is a fun and easy DIY project. It adds a seasonal touch to your home decor.

To start, you’ll need to cut out the pumpkin shapes from your wooden material. Use a jigsaw or a coping saw to cut out the shapes. Make sure to cut out multiple shapes to create a beautiful and layered centerpiece.
Sanding and Finishing
Once you’ve cut out the pumpkin shapes, you’ll need to sand them to smooth out any rough edges. Then, finish the pumpkins with a stain or paint. This will give them a rustic or modern look and protect the wood.
Adding Stems and Details
To add a finishing touch, you can add stems and details to the pumpkins. Use a small piece of wood or a twig for the stem. Add decorative details like leaves or vines. This will make your centerpiece look beautiful and realistic.
With these simple steps, you can create a beautiful wooden pumpkin centerpiece. It’s perfect for adding a personal touch to your fall decor. So why not get creative and give it a try?
Rustic Wooden Sign with Fall Foliage
Create a cozy atmosphere this fall with a DIY rustic wooden sign. It showcases the beauty of autumn leaves. A rustic wooden sign with fall foliage is a perfect way to welcome the season into your home.

Start by selecting a wooden plank that fits your desired sign size. Sand the wood to smooth out any rough edges or surfaces. If needed, apply a coat of primer to create a uniform base for your design.
Lettering Techniques
Choose a font that resonates with your rustic theme. Use stencils or freehand techniques to add your desired message or greeting. You can opt for a classic “Welcome Fall” or a more personalized message. Ensure the lettering is clear and stands out against the background.
Adding Foliage Elements
To incorporate fall foliage into your sign, use artificial leaves or flowers. Arrange them around your lettering or along the edges of the sign. Secure the foliage with a hot glue gun or another suitable adhesive.
By following these steps, you can create a beautiful rustic wooden sign that captures the essence of fall. This DIY project not only adds a personal touch to your home decor. It also makes for a thoughtful, handmade gift for friends and family.
Winter Wooden Snowflake Door Hanger
Welcome the frosty season with a charming wooden snowflake door hanger. It adds a touch of winter wonder to your home’s entrance. This DIY project is a great way to get into the winter spirit and create a beautiful piece of decor that will last throughout the season.

To start, you’ll need to decide on a snowflake pattern for your door hanger. There are many different designs to choose from, ranging from simple to intricately complex.
Snowflake Pattern Options
You can opt for a traditional six-pointed snowflake or get creative with more complex designs. Consider using a template or drawing your own pattern freehand. The choice of pattern will depend on your skill level and the look you’re aiming for.
Once you have your pattern, it’s time to cut out the snowflake. This requires some precision and patience.
Cutting and Sanding Techniques
Use a coping saw or a jigsaw to cut out the snowflake, depending on the intricacy of the design. After cutting, sand the edges to smooth them out and remove any splinters.
With your snowflake cut out and sanded, you can move on to painting and decorating.
Painting and Decorating
You can paint your snowflake in white or any other color that matches your winter decor. Consider adding some glitter or other decorative elements to give it a more festive look. Once dry, attach a string or a hook to hang your wooden snowflake door hanger on your front door.
This wooden snowflake door hanger is not only a fun DIY winter decor project, but it also makes a lovely addition to your home’s exterior. It’s a great way to welcome the winter season and add some charm to your front door.
Cozy Wooden Candle Holders for Winter Nights
To warm up your home during winter nights, try making your own cozy wooden candle holders. This DIY project lets you create something beautiful and useful. It adds warmth and ambiance to any room.

Cozy wooden candle holders are a great way to enjoy your favorite candles. They also add to your home’s winter decor. By picking the right wood and design, you can make a unique piece that fits your decor.
Drilling Candle Holes Safely
Drilling holes for your candles needs to be safe. Use a drill press or a hand drill with care. Always wear protective eyewear. Make sure the wood is clamped down to avoid it moving while drilling.
Finishing for Heat Resistance
To make your wooden candle holder heat-resistant, use a finish that can handle candle heat. You can use a heat-resistant varnish or natural wax. Follow the manufacturer’s instructions and let it dry before using the holder.
Decorative Element Options
You can make your wooden candle holders unique with decorations like engravings, paint, or metal accents. Think about the look you want and pick decorations that match your winter decor. For a rustic feel, add twine or evergreen branches.
By following these steps and tips, you can make beautiful wooden candle holders. They will make your home cozy during winter nights. Enjoy your DIY project and the warm atmosphere it brings.
Creative Ways to Display Your Seasonal Wood Décor
Showing off your seasonal wood décor can make your home feel more welcoming. It’s important to display it in a way that looks good and fits with your home’s style.

To keep your seasonal wood décor tidy, think about a storage system. Use bins or containers with labels to store items when they’re not on display.
Transition Tips Between Seasons
Switching between seasons can be easier with a good storage plan. Store your current items and bring out the next season’s. This keeps things organized and clutter-free.
Color Palette Considerations
Think about your home’s color scheme when showing off your wood décor. Pick items that match or complement your colors for a unified look.
Mixing Wood with Other Materials
It’s okay to mix wood with other materials like metal, glass, or fabric. This adds interest and depth to your display.
Using these creative ideas, you can make your seasonal wood décor a highlight of your home. It will make your space feel cozy and inviting for everyone who visits.
Preserving and Storing Your Seasonal Wood Crafts
Keeping your seasonal wood crafts in good shape is key. They should last long and look great. To do this, you need to follow the right steps for preservation and storage.
Dusting and Surface Care
Dusting regularly is important to avoid dust and debris buildup. Use a soft, dry cloth to gently clean the surfaces. For deeper cleaning, a slightly damp cloth works, but dry the wood right away to avoid harm.
Refinishing When Needed
As time goes by, your wood crafts might need a touch-up. Look for signs like fading or scratches. Then, apply a wood finish to bring back their original shine.

Wood is sensitive to very hot or cold temperatures and humidity. Keep your wood crafts in a place with a stable climate. This will stop them from warping or cracking.
Protective Wrapping Methods
When you store your wood crafts, wrap them up for protection. Use bubble wrap or cloth to prevent scratches and damage. This keeps them in good shape until you need them again.
Conclusion
Making your own seasonal wood décor is a fun DIY project. It lets you make your home cozy and inviting for every season. With the seasonal wood decor ideas and projects in this article, you’re ready to create beautiful pieces for each season.
Whether you’re new to crafting or have lots of experience, DIY wood crafts are full of possibilities. Adding these wooden decorations to your home adds a personal touch. It also makes your home unique and shows off your style.
Keep exploring woodworking and take care of your seasonal crafts. This way, they’ll stay a special part of your home’s décor for years. Happy crafting, and enjoy the beauty of your handmade wood creations!