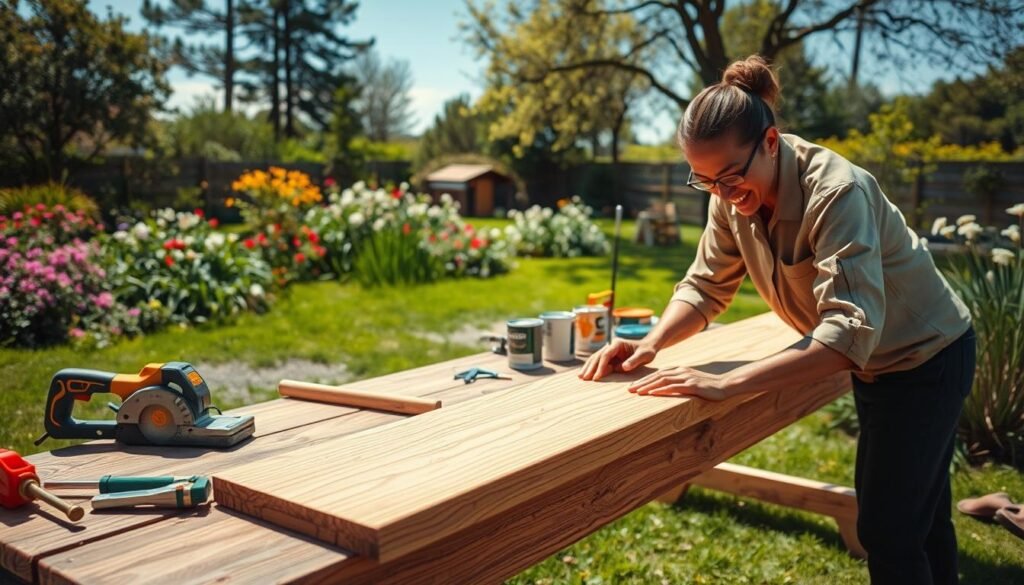
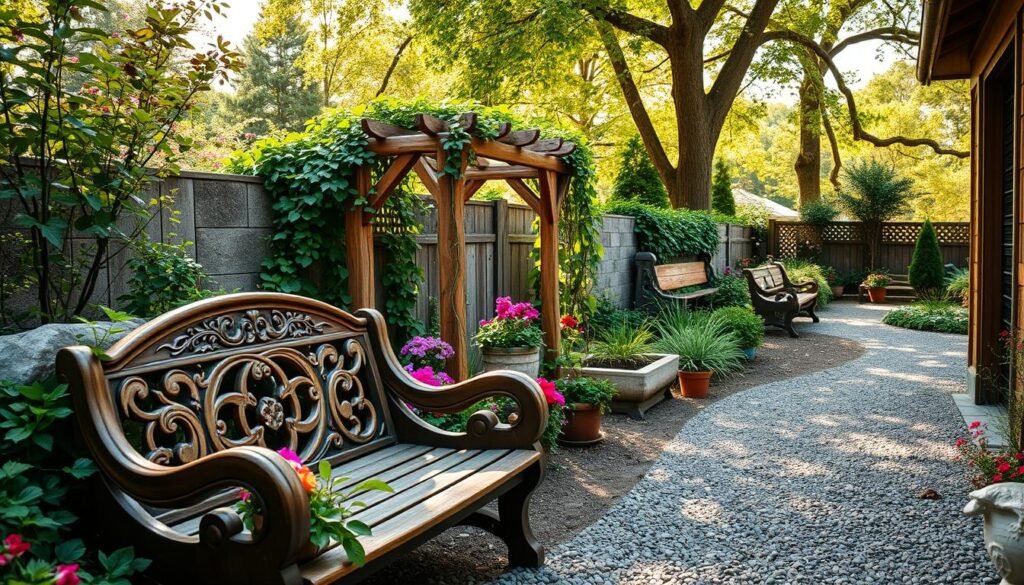
Enhancing your outdoor space can be a fun and rewarding experience. With a few simple wood projects, you can turn your backyard into a haven.
DIY outdoor wood projects offer a great way to add functionality and beauty to your outdoor areas. From benches to planters, the possibilities are endless.
By following easy-to-follow instructions and exploring creative ideas, you can create stunning outdoor spaces that reflect your personal style.
The Power of Wood in Transforming Outdoor Spaces
Adding wood to your outdoor area can make it feel like a part of nature. Wood brings warmth and character, making your outdoor space cozy and inviting.
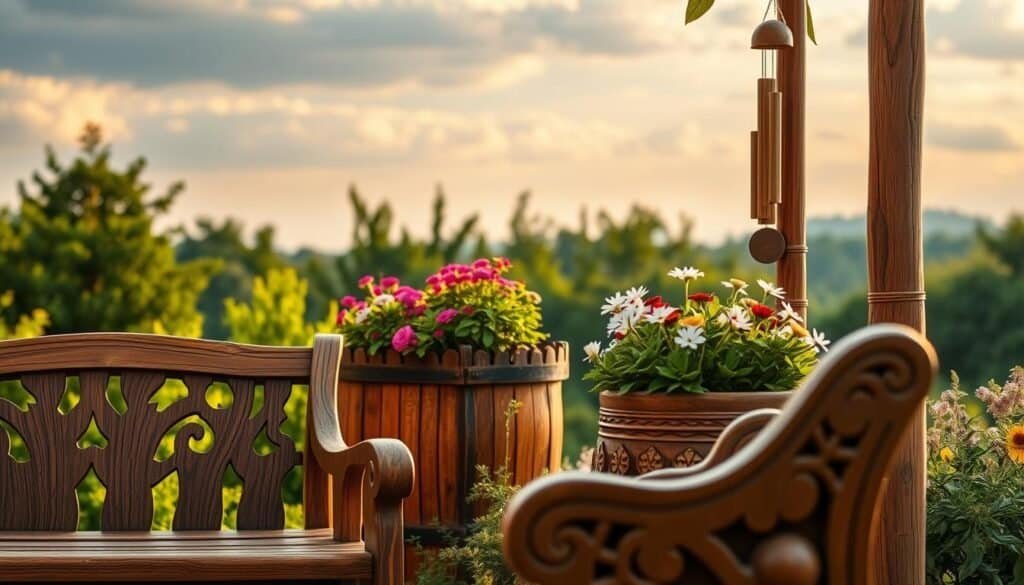
Wood is very versatile for outdoor projects, from furniture to decorations. Its natural look and warmth make it a top choice for creating a welcoming feel.
Accessibility for DIY Enthuasiasts
Working with wood is great for DIY fans. Simple projects like a wooden bench or planter box can be done with basic tools. This makes it easy for anyone to start.
Sustainable Material Choices
Choosing the right wood for sustainable projects is key. Using reclaimed, recycled, or sustainably sourced wood helps reduce environmental impact. It’s a smart choice for eco-friendly outdoor furniture.
Carbon Footprint Considerations
Even though wood is natural and renewable, its carbon footprint matters. Think about where the wood comes from, how it’s processed, and how it’s transported. Also, consider how long it will last and what maintenance it needs.
Understanding wood’s benefits and challenges helps you make better choices. You can enhance your outdoor space and help the environment at the same time.
Essential Tools and Materials for Outdoor Wood Projects
Outdoor wood projects need specific tools and materials for lasting beauty. Knowing the basics is key for your backyard projects.
Must-Have Power Tools
Power tools are vital for woodworking. For outdoor projects, you’ll need a circular saw, a drill, and a sander. These tools help cut, screw, and smooth wood.
Hand Tools for Detailed Work
Hand tools are also essential for fine details. Chisels, hand saws, and clamps are must-haves. They help with precision and control.
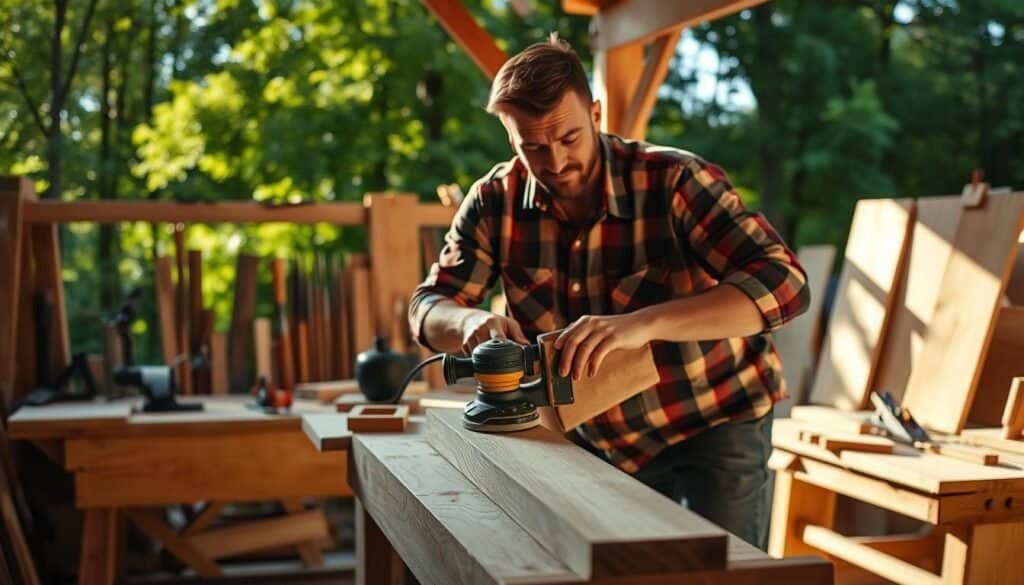
Choosing the right lumber is important for simple projects. Pressure-treated lumber is great for outdoors because it resists rot and insects.
Naturally Resistant Woods
For durability, consider cedar and redwood. These woods naturally resist the elements. They don’t need chemical treatments.
Sealants and Stains
Sealants and stains protect your wood from weather. They keep the wood’s beauty and guard against moisture and UV rays.
Application Techniques
Applying sealants and stains needs care. Follow the instructions and use thin, even coats. This ensures a professional look.
Simple DIY Wooden Bench for Your Garden
With basic tools and quality lumber, you can make a sturdy wooden bench for your garden. This DIY project is great for improving your outdoor area. It creates a cozy spot to relax.
Lumber Selection and Quantities
Choose durable lumber for outdoor use. Cedar or pressure-treated wood is good because they resist rot and insects. You’ll need two 4″ x 4″ x 18″ pieces for legs, two 2″ x 4″ x 48″ pieces for seat supports, and three 2″ x 6″ x 60″ pieces for seat slats.
Hardware Requirements
You’ll need 3″ exterior-grade screws, 2″ exterior-grade screws, and wood glue. Make sure all hardware is rust-resistant to last longer.
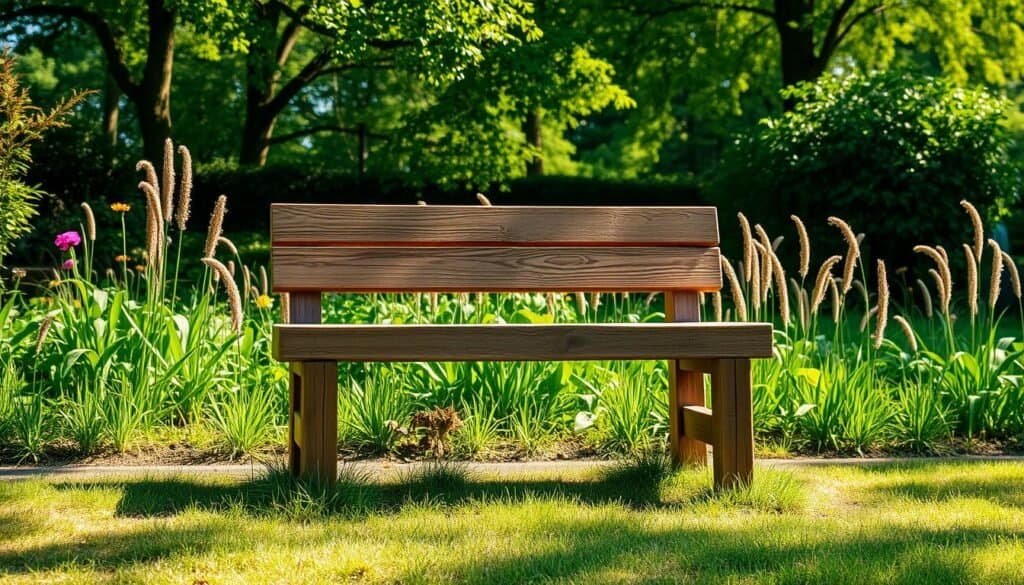
Cut the lumber as planned, then build the frame with 3″ screws. Use 2″ screws to attach the seat slats, spacing them evenly.
Adding Comfort Features
Think about adding armrests or a backrest for more comfort. Use more 2″ screws to attach them.
Sanding Techniques
Sand the bench to remove rough edges or splinters. Start with coarse-grit sandpaper and finish with fine-grit for a smooth finish.
Protective Coating Application
Apply a waterproof sealant or stain to protect your bench. Follow the manufacturer’s instructions for application and drying times.
By following these steps, you can make a beautiful wooden bench for your garden. It’s a simple yet rewarding DIY project that enhances your outdoor space.
Crafting a Rustic Wooden Planter Box
Looking for a woodworking and gardening project? Try making a rustic wooden planter box. It adds a personal touch to your outdoor space and showcases your favorite plants.
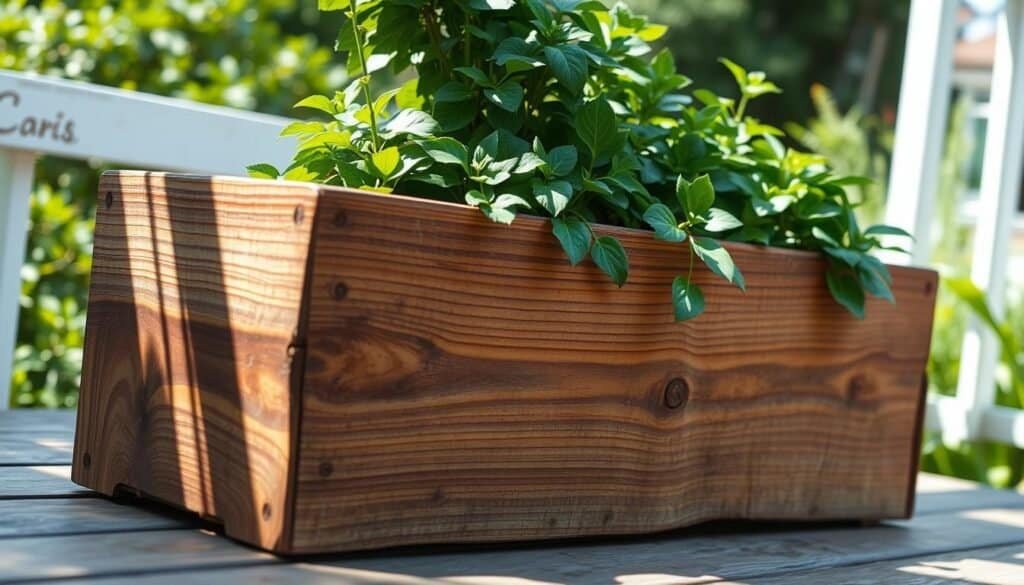
Choosing the right size for your planter box is key. Herbs and small flowers need less depth, while bigger plants need more. Make sure your planter box fits your plants’ mature size.
Drainage Planning
Good drainage stops waterlogged soil, which can harm plants. Drill holes in the bottom of your planter box. Adding gravel or broken pottery can also help with drainage.
Bottom and Side Construction
Building your planter box means putting together the sides and bottom. Use strong wood and make sure the corners are tight. Use screws or nails for this. The bottom must be solid to hold the soil and plants.
Adding Interior Protection
Adding a protective lining can make your planter box last longer. A waterproof liner keeps the wood from rotting. This is important for keeping your planter box in good shape.
Compatible Plant Types
The plants you can grow in your planter box depend on its size and your local weather. You can grow vegetables, herbs, flowers, and small shrubs. Pick plants that fit your climate and care for them well.
Seasonal Rotation Ideas
To keep your planter box looking good, change your plants with the seasons. This makes your garden interesting and helps you adjust to weather changes. For example, grow spring bulbs, summer flowers, and autumn foliage.
Building a Decorative Garden Trellis
Make your garden more beautiful with a trellis. It supports climbing plants and adds style. A good trellis can change your outdoor area, making it welcoming and pretty.
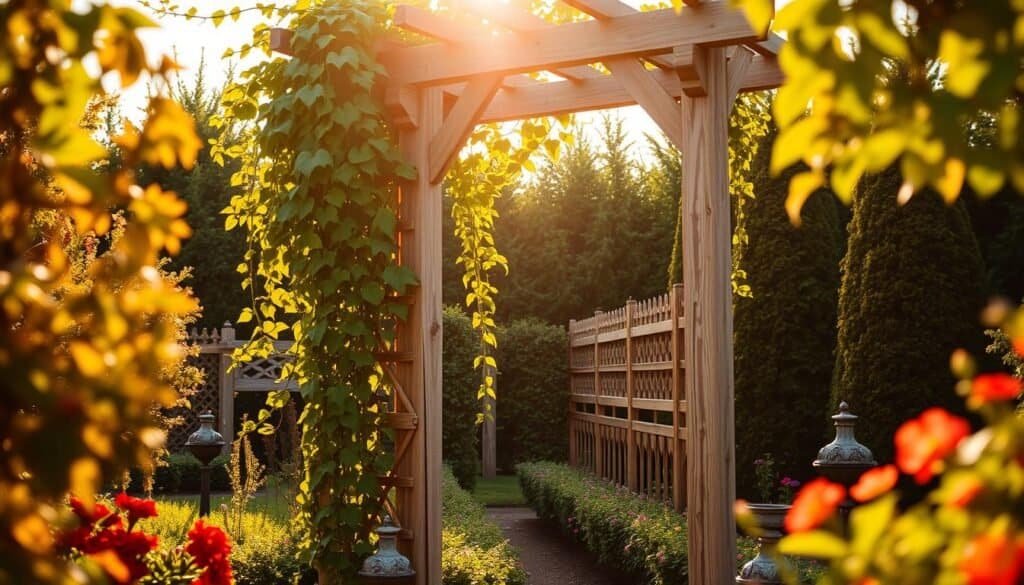
There are many designs for garden trellises, like lattice and frame styles. Lattice trellises have a detailed design, great for climbing plants. Frame trellises are simpler but also work well for climbers or vegetables.
Size and Height Considerations
The size and height of your trellis depend on your garden’s space and the plants you’ll grow. Taller trellises can be striking, while smaller ones fit in tight spaces or specific areas.
Framework Assembly
Building your trellis’s framework needs careful planning. Make sure it’s strong enough for the plants and any extras like planters or lights. Use solid materials and a good plan for a sturdy, beautiful trellis.
Installation Methods
How you install your trellis depends on its design and your garden’s layout. You can place it against a wall, in a corner, or as a standalone piece. Make sure it’s well-attached to handle weather and plant weight.
Flowering Vine Options
Flowering vines like clematis, roses, and wisteria add color and life to your trellis. Pick varieties that do well in your area and care for them to make them thrive.
Vegetable Growing Possibilities
Trellises aren’t just for flowers; they’re great for climbing vegetables too. Use a trellis to use your space better and get a big harvest.
Creating a Charming Wooden Pathway
Creating a wooden pathway is a simple way to make your backyard look better. A well-designed pathway not only guides visitors but also adds warmth and character to your outdoor space.
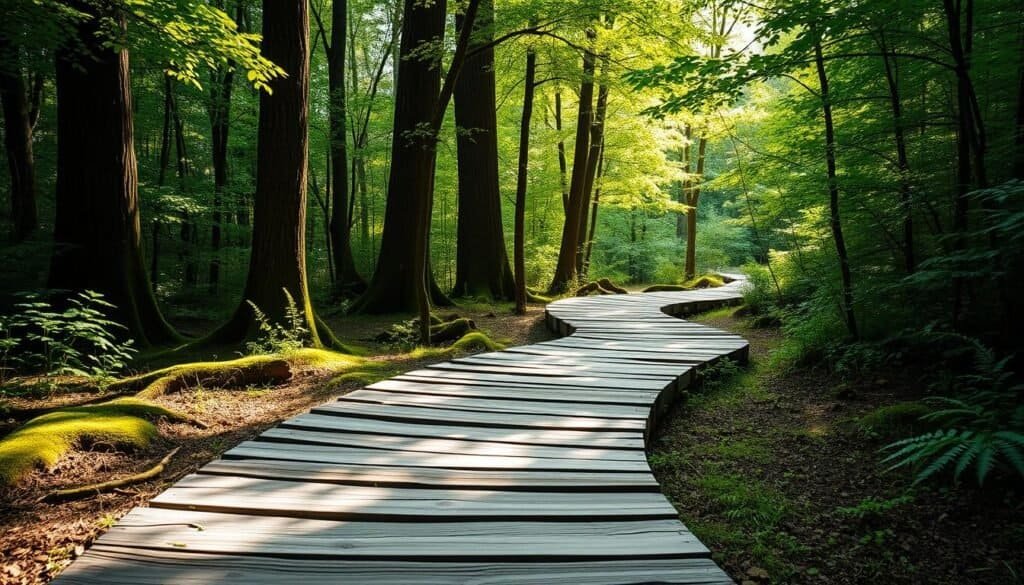
When designing your pathway, you’ll need to decide on a curved or straight design. Curved paths create a sense of journey, while straight paths offer a direct route.
Spacing and Pattern Options
The spacing and pattern of your planks greatly affect your pathway’s look. You can choose uniform spacing for a formal look or vary it for a rustic feel.
Ground Preparation
Proper ground preparation is key for a stable pathway. This means clearing, leveling, and laying down a base material.
Securing Wooden Elements
To keep your pathway secure, you need to fix the wood to the ground. Use the right fixings and make sure the wood is level.
Seasonal Care Requirements
Your pathway needs regular care to last. Clean it, check for damage, and apply treatments as needed.
Replacement Strategies
Some parts of your pathway may need replacing over time. Plan for replacements by finding matching wood and removing old sections.
By considering these factors, you can make a beautiful wooden pathway. It will enhance your garden’s beauty and function.
DIY Wooden Deck Box for Storage
A wooden deck box is a great way to keep your outdoor area tidy. It’s a useful storage option that you can tailor to your needs.
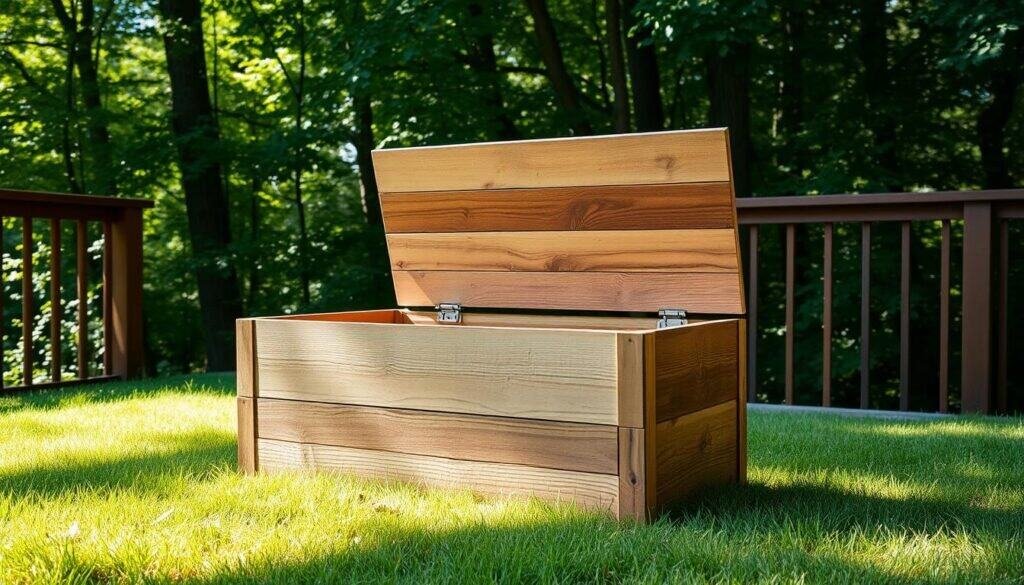
When making a DIY wooden deck box, picking the right wood is key. Choose woods like cedar or redwood that resist rot. These woods can handle the weather and last longer.
Hardware and Fasteners
It’s important to pick the right hardware and fasteners. Use screws and hinges made of galvanized or stainless steel. This prevents rust and keeps the box secure.
Base and Frame Construction
The base and frame must be strong. Use thick, durable wood and make sure the corners are well-supported. This gives your storage box a solid base.
Lid Design and Hinges
The lid should open easily and be locked securely. Adding a lock is a good idea. The design of the lid can also make your deck box look better.
Interior Moisture Protection
To keep items dry, line the inside with a waterproof material. This keeps your stored items safe from moisture.
Exterior Finish Options
Choose a finish that protects the wood from the weather. Use a waterproof sealant or stain to protect the wood and keep its color.
By following these tips, you can make a useful and good-looking DIY wooden deck box. It will offer valuable storage for your outdoor area.
How to Create Stunning Outdoor Spaces with Easy Wood Projects: A Complete Guide
To turn your outdoor area into a beautiful oasis, you need more than just wood projects. It’s about designing and making it functional. A great outdoor space is not just about wood projects. It’s about creating a welcoming and useful area.
Creating Zones in Your Outdoor Space
Designing an outdoor space means setting up different zones for activities. You might have a dining area, a place to sit, or a garden. Each zone should have its own purpose and look. Wood projects like benches, planters, and trellises can mark these areas and make your space more interesting.
Transitional Elements Between Areas
For smooth transitions between zones, use elements like pathways, stepping stones, or wooden bridges. These not only guide visitors but also add beauty and unity. For example, wooden pathways can enhance the natural look while linking different spots.
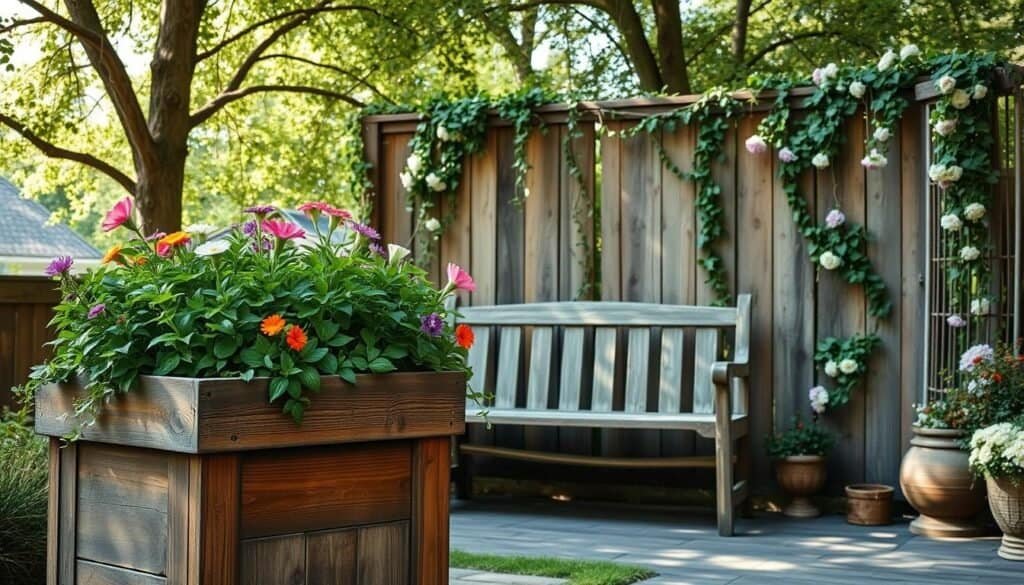
Choosing between natural and painted wood can change your outdoor space’s feel. Natural wood brings warmth and fits well with nature. Painted wood, on the other hand, adds color and lets you express your style.
Coordinating with Existing Elements
When adding wood projects, match them with your furniture, decor, and landscaping. This creates a balanced and harmonious design. Think about the style, material, and color of your current elements when picking wood projects. This ensures they go well together.
Multi-Purpose Design Considerations
For a more functional outdoor space, use multi-purpose designs. For instance, a wooden bench can also hold things, or a planter box can separate rooms. This saves space and makes your area more versatile.
Seasonal Adaptability
Lastly, think about how your outdoor space will change with the seasons. Pick wood projects that can handle different weather and can change with the seasons. This way, your space stays beautiful and useful all year.
Constructing a Simple Wooden Pergola
Building a simple wooden pergola is a great DIY project. It can make your outdoor space look better. A wooden pergola also gives plants a place to climb, making your area shaded and cozy.
Size and Height Calculations
First, figure out how big and tall your pergola should be. Think about the space you have and what you want the pergola for. Make sure it fits well and leaves room to move around.
Post Placement and Stability
How stable your pergola is depends on where and how you place its posts. Dig deep holes and use concrete to set the posts firmly. This keeps your pergola steady and safe.
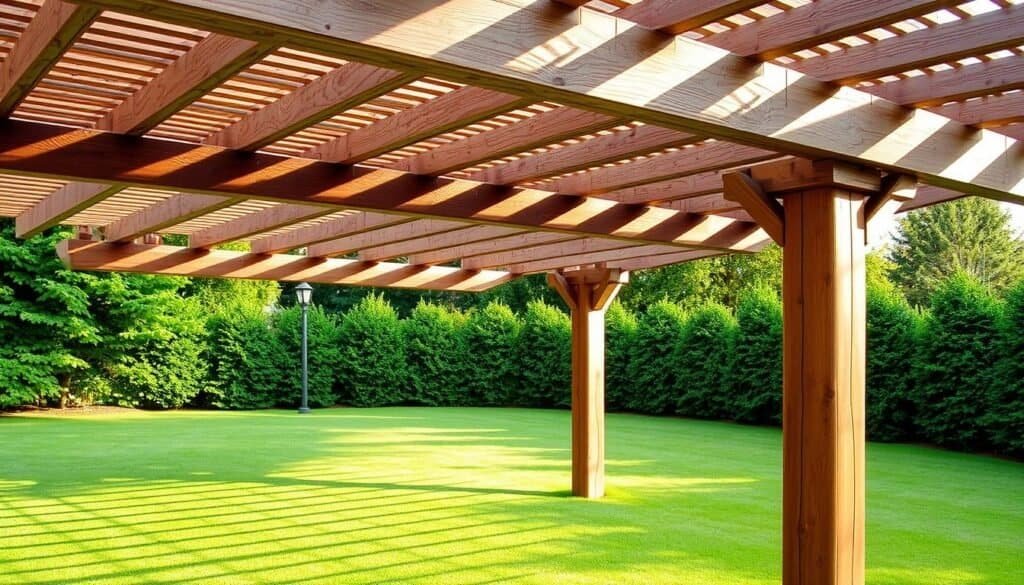
Getting the foundation right is important. After picking where to put the posts, dig holes and fill them with concrete. Then, attach the posts to the foundation, making sure they’re level and secure.
Beam and Rafter Assembly
Putting together the beams and rafters needs care. Use mortise and tenon joints or screws to attach the beams to the posts. Then, add the rafters across the beams, making a grid for your plants.
Support Systems for Plants
A pergola is more than just a pretty thing; it’s also for plants to climb on. Use twine or trellis attachments to help your plants grow up the structure. This makes your pergola look even better and makes the most of it.
Maintenance of Plant-Covered Structures
Keeping your pergola and plants looking good is important. Regularly trim your plants, check the structure for damage, and apply protective finishes as needed. This helps your pergola last longer.
Upcycling Wooden Pallets into Outdoor Furniture
Wooden pallets can be turned into many outdoor furniture pieces. You can make seating and tables with a little creativity. This not only cuts down on waste but also makes your outdoor areas unique.
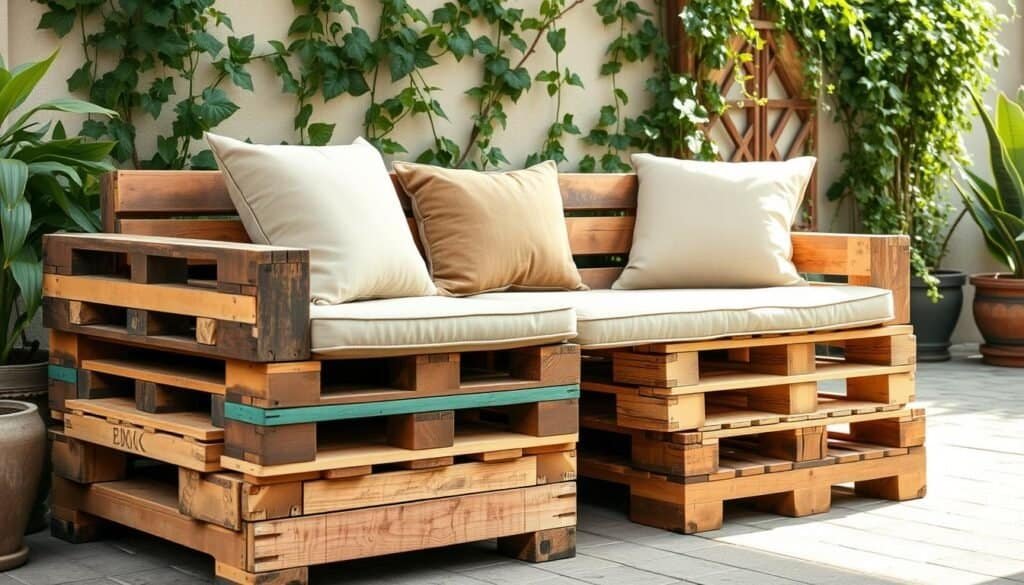
Before you start, check the pallets for damage or rot. Make sure they’re strong enough for the outdoors.
Cleaning and Disinfecting Methods
Use a wire brush to clean the pallets well. A mild solution can help keep pests away.
Simple Pallet Seating Options
Pallet seating can be simple benches or complex sofas. Start simple and add cushions for comfort.
Creative Table Designs
Pallets can become coffee, dining, or side tables. A glass top makes them look nicer.
Avoiding Harmful Chemicals
Choose eco-friendly products for treating or sealing. This keeps the environment and your health safe.
Structural Integrity Assessment
Check your pallet furniture often for wear or damage. Fix any issues quickly to keep it safe and strong.
By following these tips, you can make your outdoor spaces beautiful and useful. You’ll also help the environment by using wooden pallets.
Building a Wooden Privacy Screen
With a wooden privacy screen, you can enjoy your outdoor area without being overlooked by neighbors. A well-designed privacy screen not only enhances seclusion but also adds beauty to your garden or yard.
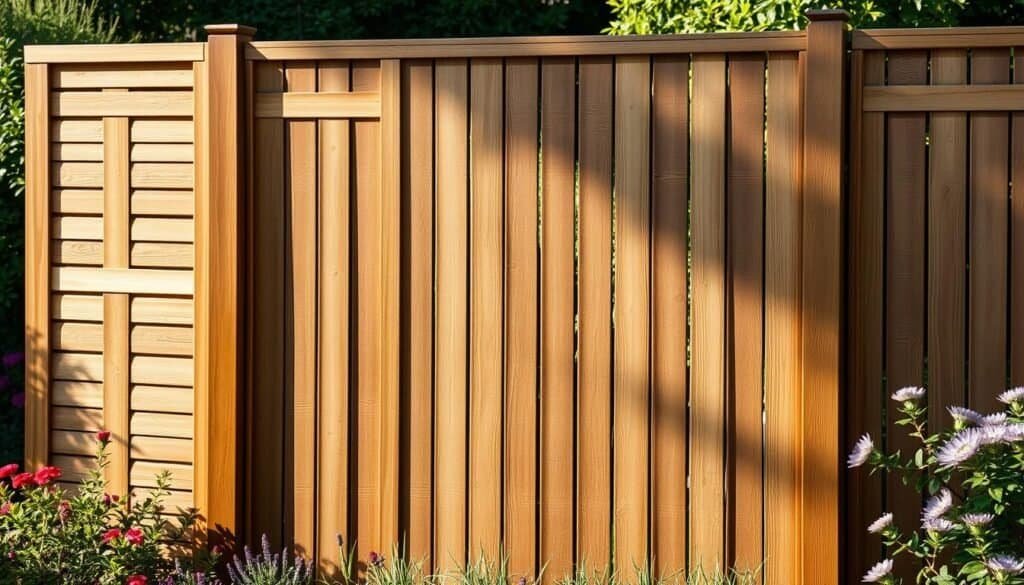
When designing your wooden privacy screen, you can choose between solid and slatted designs. Solid designs offer complete privacy. Slatted designs balance seclusion with airflow.
Height and Width Planning
Before starting, plan the height and width of your privacy screen. Think about the height of your fence or the area you want to screen. Make sure the width matches the space.
Frame Building Techniques
The frame of your wooden privacy screen is key. Use sturdy wood and the right joinery to make it strong and durable.
Panel Installation Methods
After building the frame, install the panels. For slatted designs, space the slats evenly. This will give you the right privacy and airflow.
Built-in Planter Options
Think about adding built-in planters to your privacy screen. This adds beauty and ties the screen to your garden.
Climbing Plant Support Systems
For more natural beauty, add a support system for climbing plants. This lets plants grow up and over your screen, making it even more beautiful.
By following these tips, you can make a wooden privacy screen. It will not only provide seclusion but also become a stunning feature in your outdoor space.
Crafting a Wooden Outdoor Bar or Serving Station
A well-designed wooden outdoor bar or serving station can change your outdoor entertaining. It offers a place for food, drinks, and socializing. This makes your outdoor living better.
Ergonomic Considerations
Think about your guests’ comfort when designing your bar. A counter height of about 36 inches is good. It lets guests stand comfortably and chat.
Space Requirements
Check your outdoor space for the right bar or serving station size. Make sure there’s enough room for guests to move around.
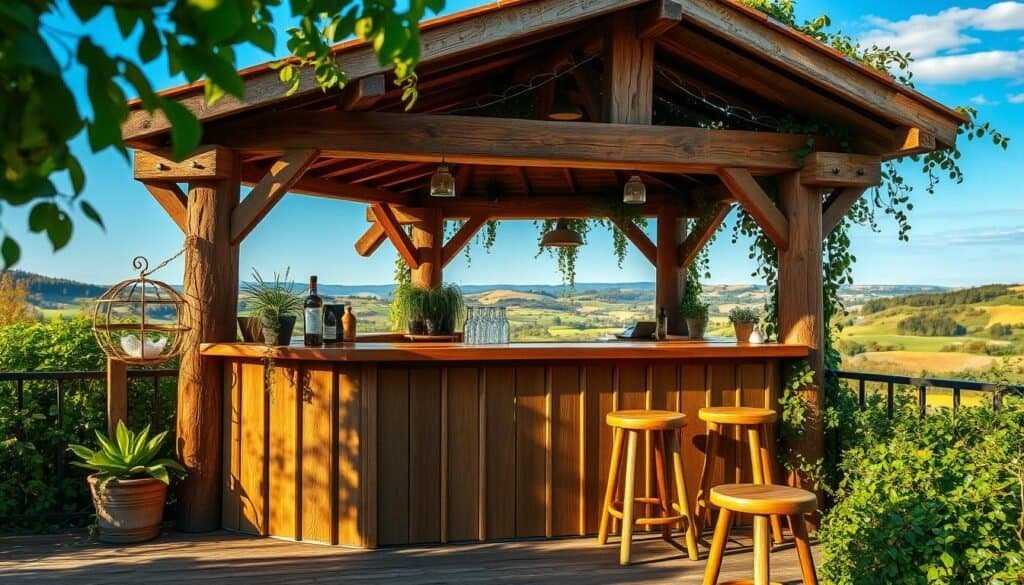
The base of your bar needs to be sturdy and level. Use pressure-treated wood or durable hardwood for it to last. Make sure it’s anchored well to avoid shifting or falling.
Countertop Installation
Choose a countertop that’s tough and weather-resistant. Install it securely on the base. Make sure it’s level and even.
Storage Solutions
Add storage for utensils, glasses, and other essentials. Shelves or cabinets help keep things organized and within reach.
Weather Protection Features
To protect your bar, add weather features. Consider a roof or canopy. Use finishes that shield the wood from the weather.
By planning and building your wooden outdoor bar or serving station, you create a great space. It makes your outdoor entertaining better.
Creating Wooden Garden Edging and Borders
To give your garden a polished look, wooden edging and borders are key. They not only define areas but also add natural beauty.
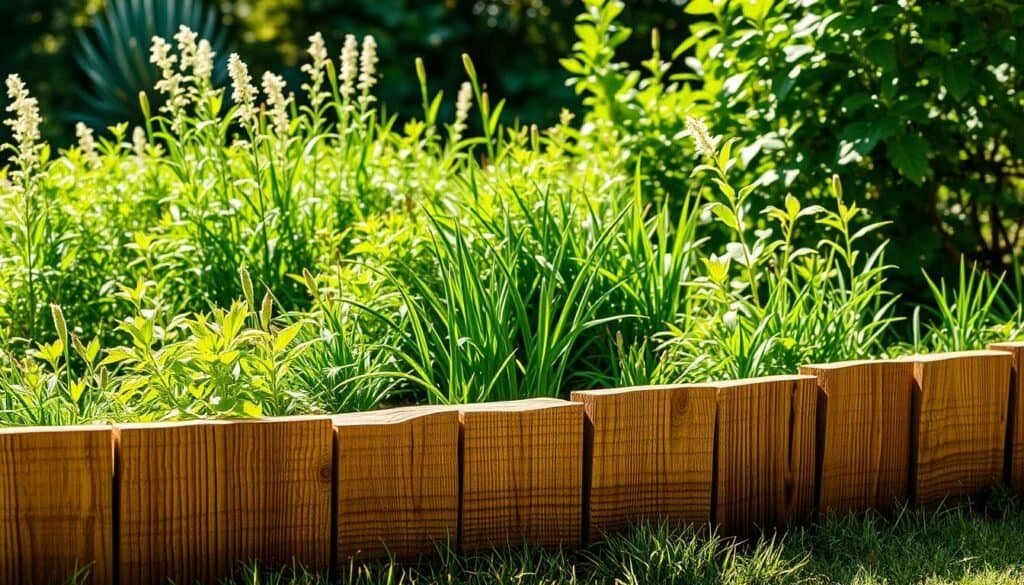
When planning your wooden garden edging, think about thickness and height. Thicker wood is more stable. The height affects how visible and impactful the edging is.
Ground Contact Durability
Wooden edging touches the ground, so durability matters. Use rot-resistant wood or protective treatments to make it last longer.
Straight Edge Methods
For a clean, modern look, straight edges are best. Use straight-cut wood planks in various patterns to match your garden design.
Curved Border Approaches
Curved paths or beds? Curved wooden borders can enhance these shapes. This might need more complex cutting and shaping.
Multi-Level Edging
Multi-level edging adds visual interest. It involves creating different levels to define separate areas in your garden.
Decorative Cut Patterns
Decorative cut patterns can make your wooden garden edging even more beautiful. From simple to complex designs, the options are vast.
DIY Wooden Bird Houses and Feeders
Building your own bird houses and feeders is a wonderful way to help local wildlife. It gives birds a safe place to nest and eat. This is a great project for your garden.
Basic Birdhouse Dimensions
When making a birdhouse, think about its size. It should be 6-12 inches tall and 6-8 inches wide. The depth depends on the bird you want to attract.
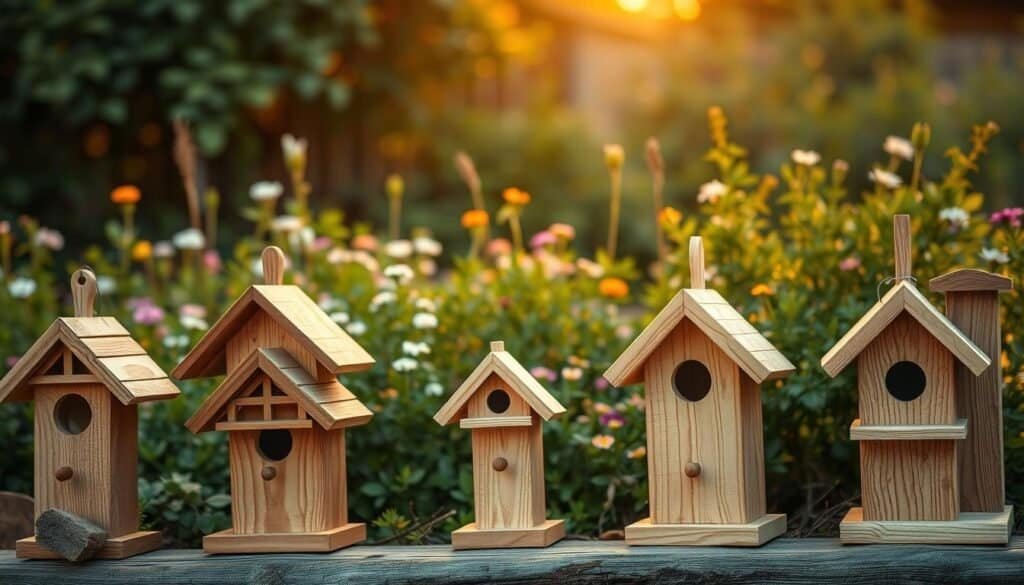
The size of the hole is key. A 2.5-inch hole is good for bluebirds. A 3-inch hole is better for robins.
Ventilation and Drainage
It’s important to have good ventilation and drainage. This keeps the birdhouse dry and comfy for the birds. Make sure your design has enough holes for air and water to flow.
Predator Protection Features
To keep birds safe, add features like a predator guard. You can also use a roof that covers the hole.
Optimal Mounting Locations
Place the birdhouse in a spot with the right sunlight. It should also be safe from bad weather. The height depends on the bird you’re trying to attract.
Seasonal Cleaning Procedures
Cleaning the birdhouse regularly is important. Do it at the end of each breeding season. This keeps it safe for the birds.
Troubleshooting Common Issues in Outdoor Wood Projects
Outdoor wood projects face many challenges. But, with the right steps, you can solve these problems. Issues like rot, damage, and wear can be fixed. Knowing how to tackle these problems is key to keeping your outdoor wood creations in top shape.
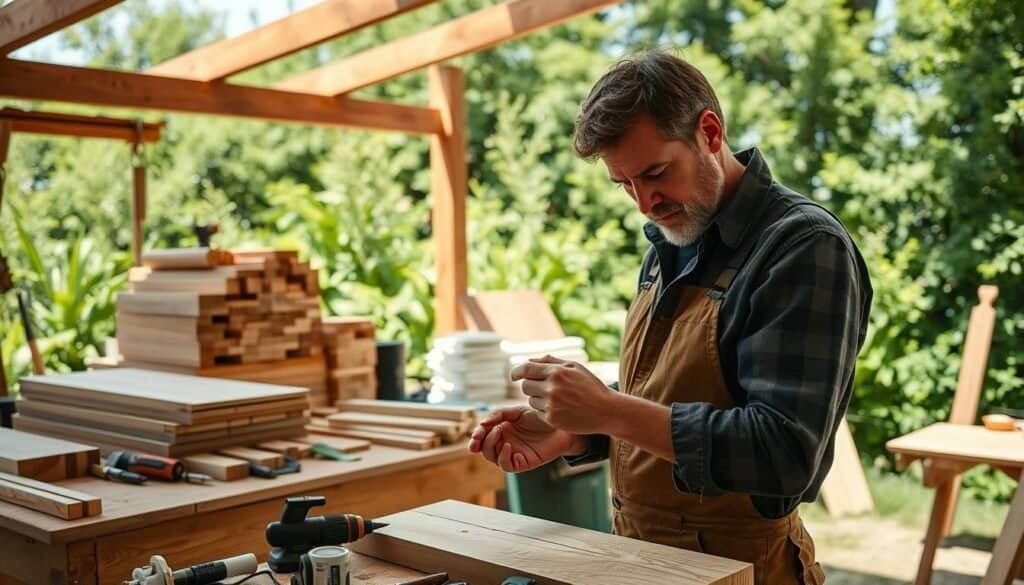
Preventing problems is the best strategy. Use durable, weather-resistant wood and apply protective finishes. Regular checks can spot issues early.
Repair Methods
When damage happens, knowing how to fix it is important. This might mean replacing rotten wood, strengthening damaged spots, or refreshing worn finishes.
Reinforcement Strategies
Strengthening your outdoor wood projects can prevent damage and extend their life. Adding support or using stronger materials in key areas is a good idea.
Joint Strengthening Approaches
Joints are often the weakest spots. Using techniques like brackets or stronger joinery can make them more durable.
Cleaning Procedures
Cleaning regularly is essential. It involves removing dirt and possibly using cleaning solutions to bring back the wood’s look.
Refinishing Steps
Refinishing is critical for upkeep. It means removing old finishes, sanding, and applying a new one. This protects the wood and makes it look better.
By using these troubleshooting tips and maintenance steps, you can keep your outdoor wood projects in great condition. They will remain a beautiful part of your outdoor space for many years.
Conclusion: Bringing Your Outdoor Vision to Life with Wood
Creating stunning outdoor spaces with easy wood projects is a great way to enhance your home’s beauty and functionality. We’ve explored various DIY outdoor decor ideas. From simple wooden benches to charming bird houses, we’ve given you the inspiration and knowledge to bring your outdoor vision to life.
By incorporating these outdoor wood projects into your outdoor space, you’ll create a beautiful and functional area. It will reflect your personal style. Whether you’re looking to add a decorative garden trellis or build a wooden pergola, the possibilities are endless.
With these easy wood projects, you can transform your outdoor space into a cozy retreat. It’s perfect for relaxation and entertainment. So, get creative, grab your tools, and start building your dream outdoor space today. Use DIY outdoor decor ideas that showcase your unique style.

