Adding a durable and glossy finish to your wood table can make your room look better. Applying epoxy resin is a great way to do this.
Epoxy resin is a strong and versatile finish. It not only protects your table from scratches and spills but also makes it look better. We’ll show you how to prepare your table, apply the epoxy resin, and get a professional finish.
This guide is for both DIY beginners and experienced folks. It will give you the knowledge you need to coat your wood table top successfully.
Understanding Epoxy Resin for Wood Tables
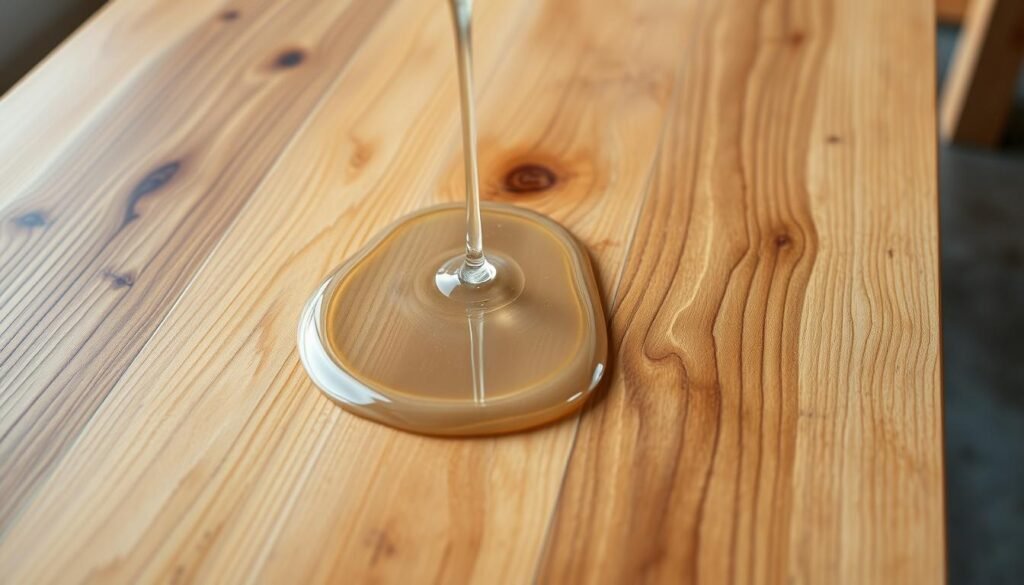
Epoxy resin makes wood tables look better and last longer. It’s a two-part resin that hardens when mixed. This creates a strong, shiny finish.
Epoxy resin protects wood tables from scratches and damage. This keeps the table looking good for a longer time.
Epoxy resin fills in wood imperfections, making the surface smooth. It’s perfect for wood table tops where a flawless finish is needed.
Also, epoxy resin can add decorative effects to wood tables. Its versatility and durability make it a favorite among woodworkers and DIY fans.
Knowing about epoxy resin’s properties and benefits helps people choose the best way to enhance and protect their wood tables.
Essential Materials and Tools You’ll Need
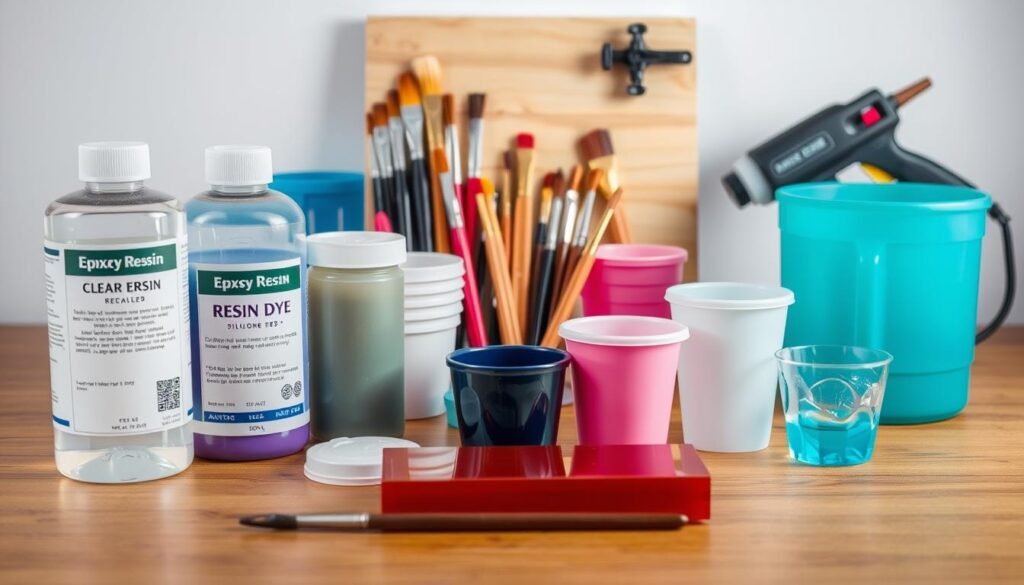
Before starting your epoxy resin project, gather all the necessary materials and tools. Having everything ready will make the application process smooth and efficient.
You’ll need high-quality epoxy resin and a hardener to start. These are the main components for your epoxy mixture. Choose a reputable brand and follow the mixing instructions carefully.
You’ll also need basic tools like mixing cups and stirrers. Mixing the epoxy well is key to avoiding imperfections.
Protective gear is also important when working with epoxy resin. Gloves and masks will protect your skin and lungs from harmful chemicals.
With all the necessary materials and tools, you’ll be ready to tackle your epoxy resin project confidently. This will make the process more enjoyable and ensure a professional finish.
Preparing Your Workspace for Epoxy Application

A well-prepared workspace is key to a successful epoxy application. Making sure your workspace is ready will help you get a perfect finish on your wood table.
Temperature and Humidity Considerations
Epoxy resin works best in warm temperatures. Aim for a temperature between 65°F to 75°F (18°C to 24°C) for the best curing. Also, keep humidity below 60% to avoid moisture problems.
Dust Control Measures
Keeping your workspace dust-free is vital for a flawless epoxy finish. Use a dust-reducing cover or plastic sheeting. Also, ensure good air flow by opening windows or using a fan. This will help keep dust away from your wet epoxy.
By managing temperature, humidity, and dust, you’re on the path to a great epoxy application. This effort will reward you with a smooth, professional finish on your wood table.
Preparing Your Wood Table for Epoxy Resin
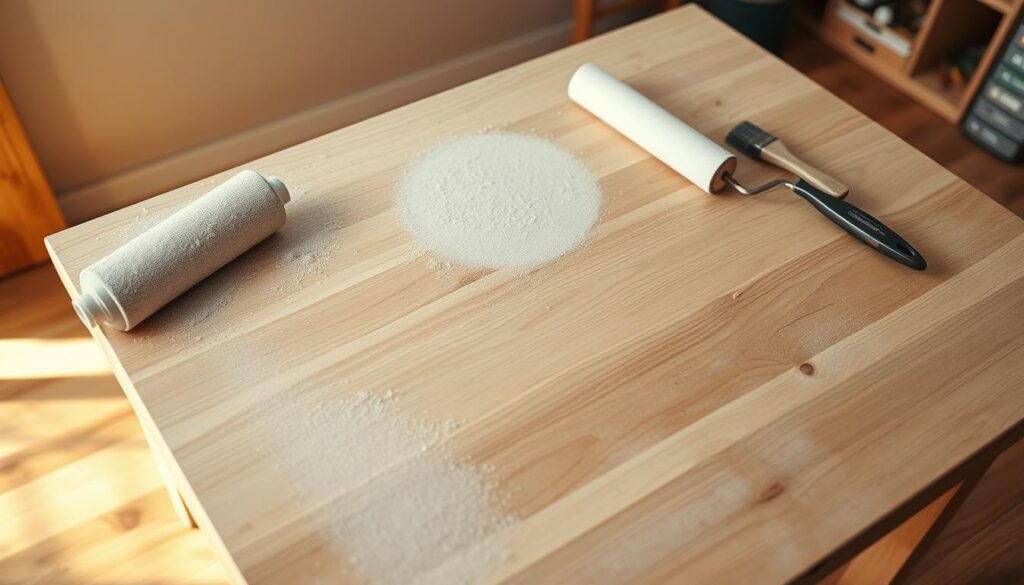
To get a professional epoxy resin finish, your wood table needs careful prep. This includes several important steps. These steps make sure the surface is smooth and ready for the epoxy.
Grit Progression for Proper Sanding
Sanding is key in getting your wood table ready. Begin with coarse grit sandpaper (about 80-100 grit) to remove any flaws or old finishes. Then, move to finer grits (120-150 grit, then 220 grit) for a smoother finish. This process helps prepare the surface for epoxy.
After sanding, it’s vital to remove dust and debris. Use a vacuum or a tack cloth to clean the surface. For a deeper clean, a damp cloth works, but make sure it’s dry before moving on.
Using Wood Fillers and Sealers
If your table has cracks or holes, fill them with wood filler. Sand the filled spots smooth once dry. Applying a wood sealer can also help create a uniform base for the epoxy.
Creating Intentional Voids for River Tables
For river tables, making intentional voids is a design choice. Use tape and sealants to mark the void areas, then pour the epoxy resin. This adds a special look to your table.
By following these steps, your wood table will be ready for epoxy resin. This will give you a beautiful and lasting finish.
How To Apply Epoxy Resin To Wood Table Top For Beginners
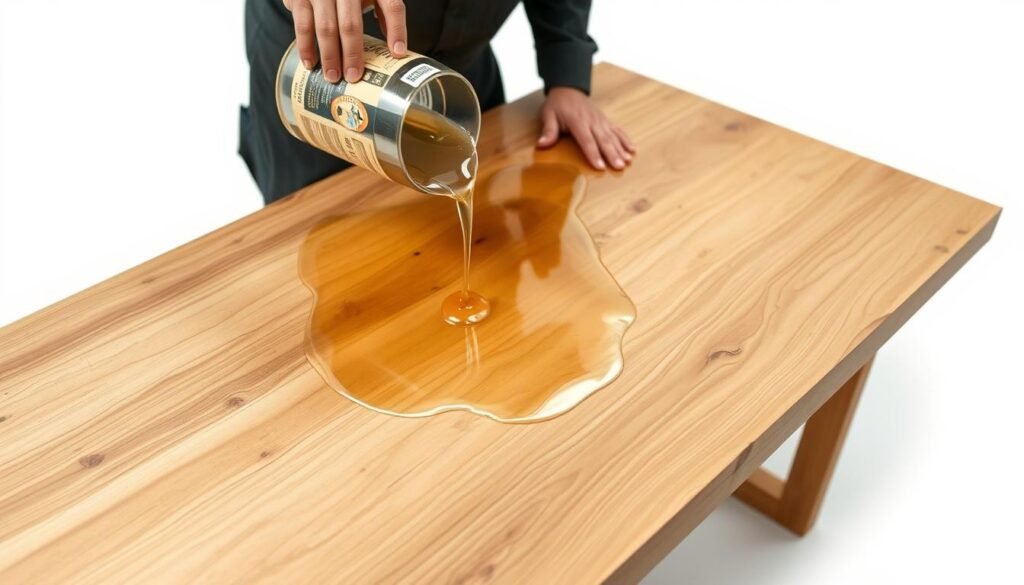
Applying epoxy resin to a wood table top can seem tough. But, with the right help, beginners can get great results. Knowing how to prepare and apply is key.
Measuring Ratios Accurately
Getting the epoxy resin and hardener mixed right is very important. Most products need a 1:1 or 2:1 ratio. Use a digital scale to measure accurately. Wrong ratios can ruin the whole project.
Mixing Techniques to Avoid Bubbles
Mixing the resin and hardener needs to be done carefully. Mix slowly and make sure to scrape the sides and bottom. This helps avoid bubbles.
Slowly pour the mixed epoxy onto the table, starting from the center. Work your way outwards. This method helps avoid air pockets and ensures an even coat.
Spreading and Leveling Tools
Use a spreading tool, like a credit card or epoxy spreader, to even out the resin. For big tables, a squeegee or leveling tool can help too.
By following these steps, beginners can get a smooth, professional finish on their wood table top.
Creating Decorative Effects with Epoxy
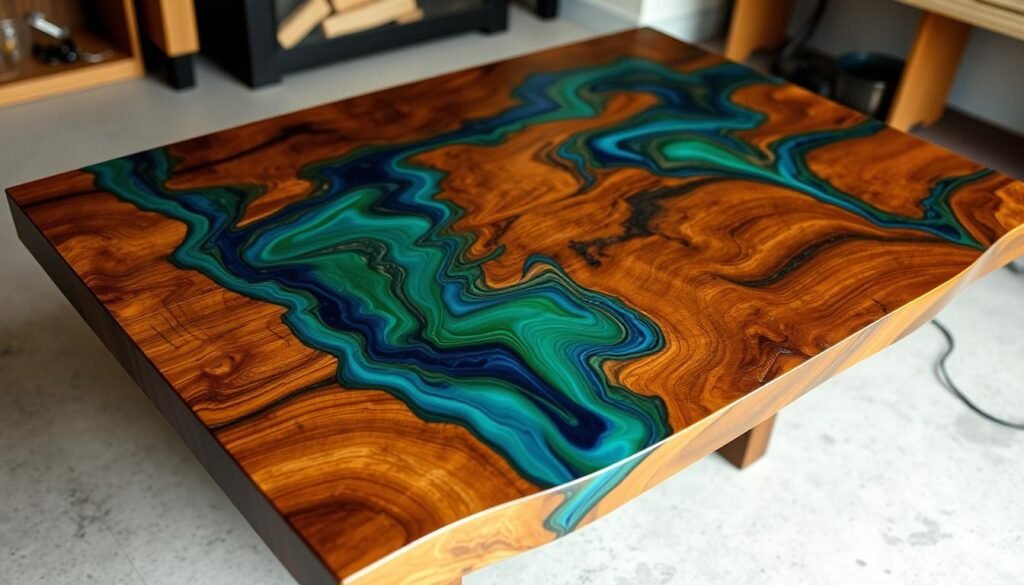
Epoxy resin is more than just a protective layer. It’s a tool for making your wood table top look amazing. You can make simple or complex designs with it.
Adding colors to epoxy resin is super fun. You can mix in pigments or dyes to get many colors. This lets you match your table to any style or décor. You can also try layering colors or making marbled effects for more depth.
You can also texture your epoxy resin for a unique look. Adding aggregates or using textured molds can make your table stand out. Plus, playing with the epoxy while it’s wet can create cool patterns.
Whether you want something simple or something bold, epoxy resin can help. By trying different techniques, you can make a table that shows off your style.
Managing Bubbles and Imperfections
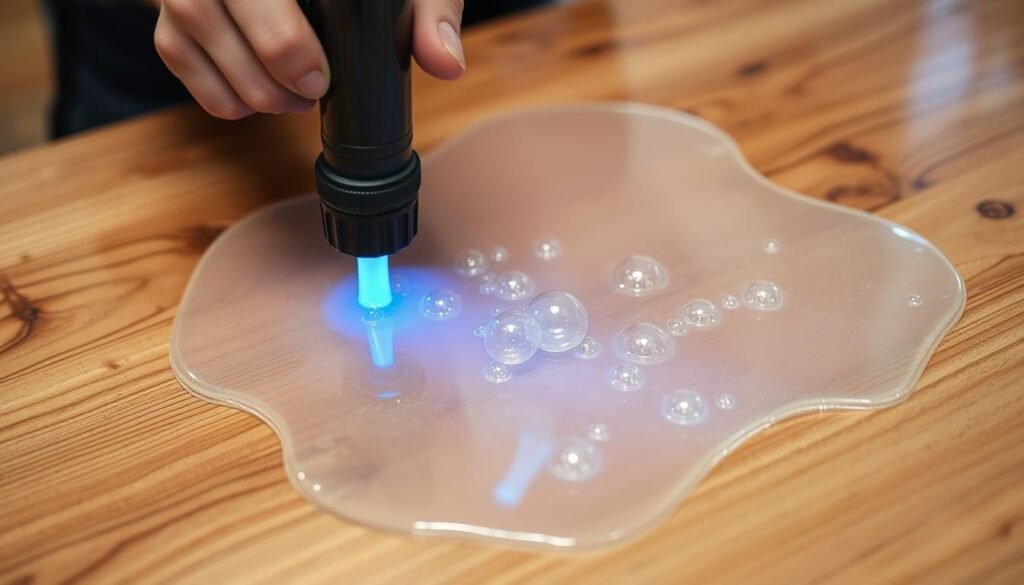
To get a perfect epoxy resin finish on your wood table, you need to know how to handle bubbles and flaws. Bubbles can happen when air gets trapped during mixing or on the wood’s surface.
Using Heat Guns and Torches Safely
Using a heat gun or torch is a good way to get rid of bubbles. These tools warm the epoxy resin, making air bubbles pop out. But, you must keep a safe distance to prevent burning the resin.
If you don’t have a heat gun or torch, or if bubbles are hard to get rid of, try manual methods. A toothpick or credit card can help smooth out bubbles. This method needs patience and care to avoid making more bubbles or harming the resin.
By mixing these methods, you can greatly reduce bubbles and flaws. This will give your epoxy resin wood table a smooth, professional finish.
Curing and Drying Process
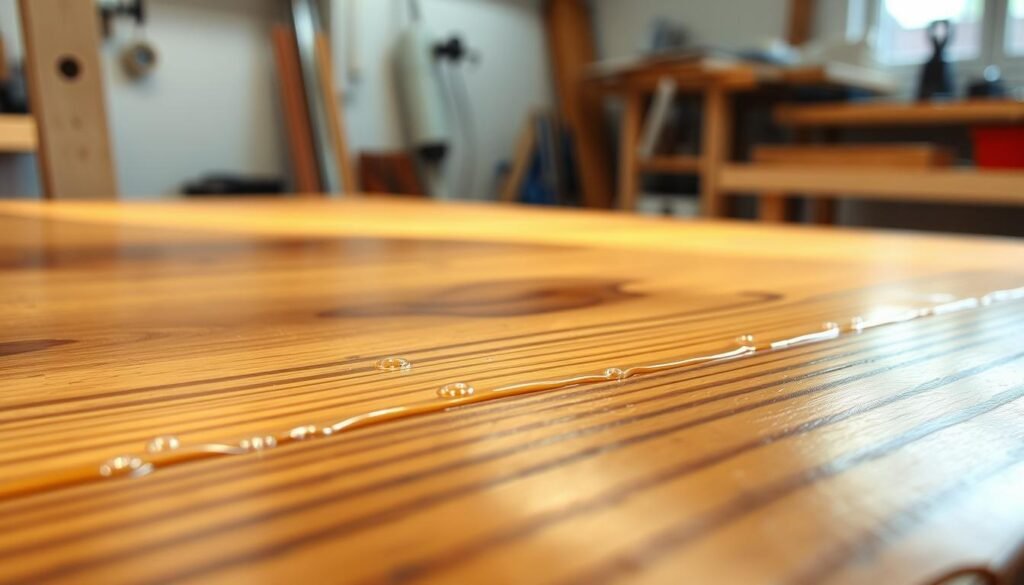
Understanding the curing and drying process is key to a professional finish on your epoxy resin wood table. This step is vital for the table’s durability and lasting quality.
The epoxy resin goes through two stages: initial cure and full cure. The initial cure lets the epoxy dry to the touch, usually in a few hours. This time can vary based on the environment.
The full cure is a longer process. It makes sure the epoxy is fully hardened and strong. This stage is essential for your table’s structure.
When to Move or Use Your Table
Wait until the epoxy is fully cured before using or moving your table. Using it too early can cause damage or imperfections in the finish.
Full cure time can range from a few days to a week. This depends on the epoxy product and environmental factors like temperature and humidity.
Finishing Your Epoxy Resin Table Top
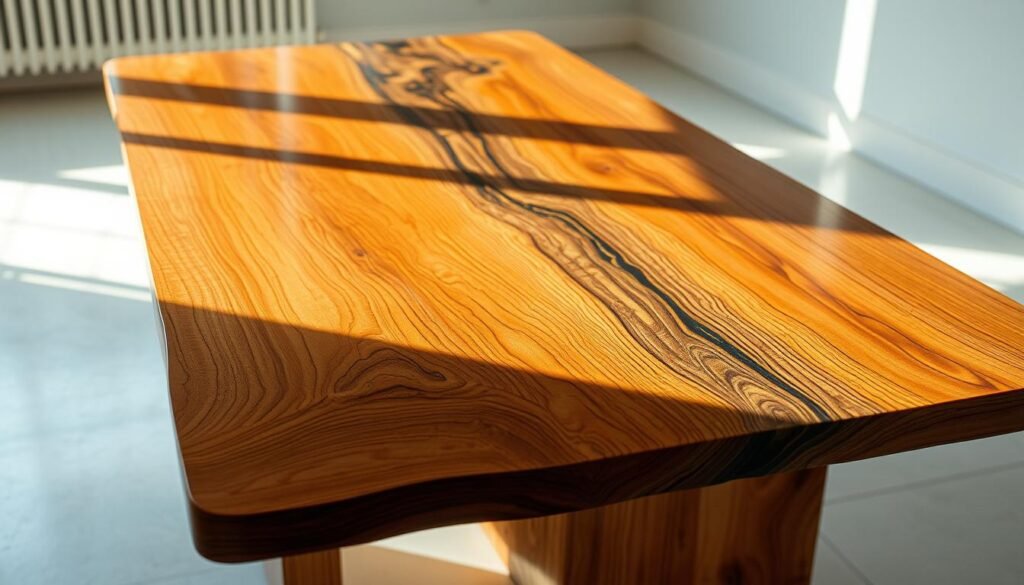
To make your epoxy resin table look its best, you need to finish it right. This means doing a couple of important steps. These steps will make your table top look professional and feel smooth.
Wet Sanding Process
Wet sanding is key to making your table top smooth. It gets rid of small flaws or dust that might have stuck to the surface while it was curing. Begin with a fine-grit sandpaper and then move to higher grits for an even smoother finish.
After wet sanding, it’s time to buff for that glass-like shine. Use a buffing pad on a power tool with a polishing compound on the epoxy resin. Buffing not only makes it shine but also smooths out the surface. It removes any tiny scratches or marks from sanding.
By doing these steps, you’ll get a beautifully finished epoxy resin table top. It will be both strong and look great.
Troubleshooting Common Epoxy Resin Problems
Even with careful planning, problems like bubbles and uneven finishes can happen. Bubbles are a common issue. To avoid them, keep your workspace clean and dust-free. Also, mix the epoxy resin slowly to prevent air from getting in.
Uneven finishes might happen if the epoxy isn’t mixed right or the surface isn’t ready. For a smooth finish, follow the mixing instructions and sand the surface well before applying the epoxy.
Sticky surfaces can be due to not curing fully or wrong mixing ratios. If you get a sticky surface, try putting a thin layer of epoxy on top after the first layer dries. This can seal the sticky area.
Knowing these common problems and their fixes helps you solve issues. This way, you can get a professional look on your wood table.
Conclusion
Applying epoxy resin to a wood table is a rewarding project. It needs attention to detail and the right techniques. By following this guide, you can get a beautiful and durable finish that highlights your wood table’s natural beauty.
The process requires preparation, patience, and practice. But the result is a stunning wood table top finishing that can make any room look better. You’ve learned that the key to success is preparing your workspace and wood table well, managing bubbles and imperfections, and letting the epoxy cure properly.
With these skills, you’ll be able to create a long-lasting and visually appealing finish. Whether you’re a DIY enthusiast or a professional woodworker, mastering epoxy resin application can open up new creative possibilities for your projects.

