Woodworking is all about precision and accuracy. To get professional results, you need to cut wood with confidence. Whether you’re experienced or new, the right techniques and tools are key.
Looking to get better at woodworking? Start with essential techniques. Learning the basics and practicing the right methods will help you make accurate cuts. This will take your woodworking to the next level.
This article will cover 12 accuracy tricks for beginners. These tips will help you cut wood like a pro. You’ll improve your skills and make high-quality results.
The Foundation of Professional Woodcutting
To cut wood like a pro, you need to understand the basics. Professional woodcutting is more than just making cuts. It’s about making precise cuts that bring your projects to life.
Rushing Through Measurements
One big mistake beginners make is rushing through measurements. Getting your measurements right is key for precise cuts. Always double-check your measurements before you cut.
- Use a sharp pencil to mark measurements clearly.
- Ensure your measuring tape is accurate and not worn out.
- Take your time; precision is more important than speed.
Ignoring Wood Properties
Another big mistake is ignoring wood properties. Different woods cut differently. Knowing these differences is essential for using beginner woodworking tricks well.
- Research the type of wood you’re working with.
- Adjust your cutting technique according to the wood’s grain and hardness.
- Use the right tools for the specific wood type to achieve clean cuts.

Trick #1: Proper Tool Selection for Precision Cuts
Making precise cuts is key for a skilled woodworker. It begins with the right tool choice. Learning to pick the correct tool is a essential woodworking skill for beginners.
Hand Saws vs. Power Saws
Hand saws and power saws both have their benefits. Hand saws give you control and precision, great for detailed work. Power saws, on the other hand, are faster and better for big projects.
For example, hand saws are best for angled cuts. But, a circular saw is better for straight cuts in big panels.
Specialty Cutting Tools
There are also specialty cutting tools for specific tasks. You have jigsaws for curves, miter saws for angles, and coping saws for detailed designs.

Using the right tool can make your cuts look better. It also saves time on your projects. By using efficient wood cutting methods, your cuts will be more accurate and faster.
Trick #2: The Art of Precise Measurement
Mastering precise measurement is key to improving cutting accuracy. To get professional woodworking results, you need more than just basics. You need a solid measurement system.
Beyond the Tape Measure
A tape measure is basic but not enough. Using tools like calipers, micrometers, and story sticks boosts precision. These tools help in complex projects, making measurements more accurate and consistent.
Creating a Measurement System
Creating a measurement system means having a consistent way to mark and measure wood. Use a marking gauge for layout lines or a grid system for your workspace. This systematic approach cuts down on errors and boosts accuracy.

Also, using sharp tools for woodworking is vital. Dull tools cause inaccurate cuts and measurements. Sharp tools, paired with precise measurement, greatly improve your woodworking project quality.
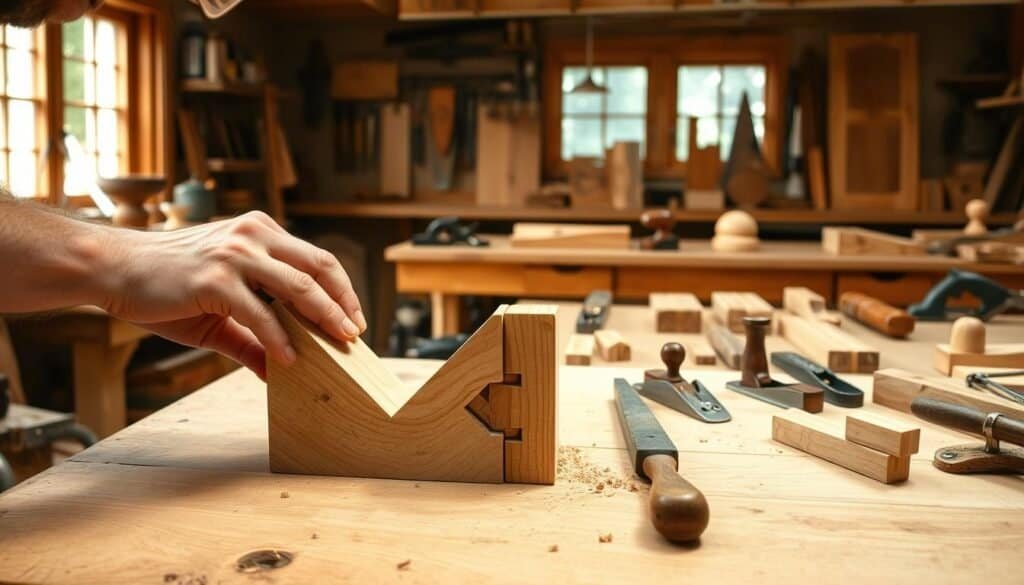
Trick #3: Creating and Using Cutting Templates
Creating and using cutting templates is key to precision in woodworking. They help woodworkers make cuts with high accuracy. This is perfect for projects needing many identical pieces.
Choosing the right material for your template is important. Durable materials like plywood or MDF are recommended for their strength. The template should match your project’s needs, considering wood grain and details.
Clamping Methods for Templates
Keeping the template on the workpiece is vital for accurate cuts. There are several ways to clamp it down, including:
- C-bar clamps for even pressure
- F-clamps for securing at points
- Adhesive-backed templates for a quick fix
Using cutting templates and the right clamping methods boosts your cut accuracy. This makes it easier to create projects like rustic wood walls or detailed woodwork.

Getting better at woodworking cuts takes time and practice. Using cutting templates is a big step towards professional results in your projects.
Trick #4: Mastering the Straight Cut
To make top-notch woodwork, you must master the straight cut. A straight cut is key for most woodworking tasks. This includes making a wood wall shelf that looks good and works well.
Body Stance and Posture
Getting your body stance right is key for a straight cut. Stand with your feet apart, facing the wood. This stance helps you stay balanced and in control.
Keep your back straight and don’t lean forward. Leaning can throw off your balance and mess up the cut.
Visualizing the Cut Line
Seeing the cut line clearly is vital. Before cutting, mark the line with a pencil and straightedge. Using a guide or template helps keep the cut straight. For projects inspired by western homes, precise cuts are essential for a great finish.
Here are some tips to improve your straight cut skills:
- Use a sharp saw blade to stay on track.
- Keep the wood clamped tight to avoid movement.
- Practice on scrap wood before your real project.

Trick #5: Cut Wood Like a Pro: 12 Accuracy Tricks Every Beginner Misses
Mastering the fifth trick in our series is key for precise woodworking, perfect for rustic living room pieces. It’s about doing checks before and after cutting to ensure quality.
Pre-Cut Checklist
Before cutting, having a checklist is vital. It includes checking measurements, blade condition, and wood alignment. A good pre-cut check can greatly reduce mistakes and boost your work’s quality.
- Verify the measurement against your project plan.
- Inspect the blade for any signs of wear or damage.
- Ensure the wood is securely clamped and aligned.

After cutting, it’s important to check the results. Look for accuracy, splinters, and fit. Regular post-cut checks help keep your woodworking top-notch.
- Measure the cut piece against your planned dimensions.
- Inspect the cut edge for any defects.
- Test the fit of the cut piece in your project.
By adding pre-cut and post-cut checks to your routine, you’ll improve your cutting skills. This leads to better results in your projects, like those for a rustic living room.
Trick #6: Blade Selection and Maintenance
For woodworkers, choosing the right blade is key. It’s important for western home decor or farmhouse living projects. The right blade ensures precise cuts and top-notch finishes.
Tooth Count and Configuration
The number and arrangement of teeth on a blade matter a lot. Blades with more teeth are great for smooth cuts in thick materials. Those with fewer teeth work better for rough cuts in softer woods.
- Higher tooth count (60-80 teeth) for fine finishes
- Lower tooth count (24-40 teeth) for rough cuts
- Alternate top bevel (ATB) configuration for general-purpose cutting
Sharpening Schedule and Techniques
Keeping blades sharp is critical. A dull blade can cause poor cuts and safety risks.

Set a sharpening schedule based on how often you use your blades. Using a diamond stone or sharpening steel can sharpen your blades.
By paying attention to blade selection and care, woodworkers can enhance their project quality. This is true whether they’re making a rustic farmhouse table or detailed western home decor items.
Trick #7: Managing Wood Grain for Clean Cuts
Learning to manage wood grain is key for clean cuts in woodworking. This is very important for decorating your home living room.
Knowing the wood grain’s direction and pattern helps you predict how it will cut. This knowledge is vital for making accurate cuts and avoiding splinters.
Reading Grain Patterns
To manage wood grain well, you need to learn to read grain patterns. Look for the grain’s direction and plan your cuts. Cutting with the grain usually results in cleaner cuts than cutting against it.
Before cutting, inspect the wood to spot the grain pattern. This simple step can greatly enhance your cut quality.
Backing Boards and Sacrificial Pieces
Using backing boards and sacrificial pieces helps manage wood grain. These layers support the wood, reducing tear-out during cutting.

By understanding wood grain and using the right cutting techniques and tools, you can get professional results.
Effective wood grain management gets better with practice. Don’t get discouraged by early mistakes. With time, you’ll get better at reading grain patterns and making precise cuts.
Trick #8: Essential Safety Practices for Accurate Cutting
To cut wood like a pro, safety comes first. It’s not just about the technique. It’s also about creating a safe space for precision.
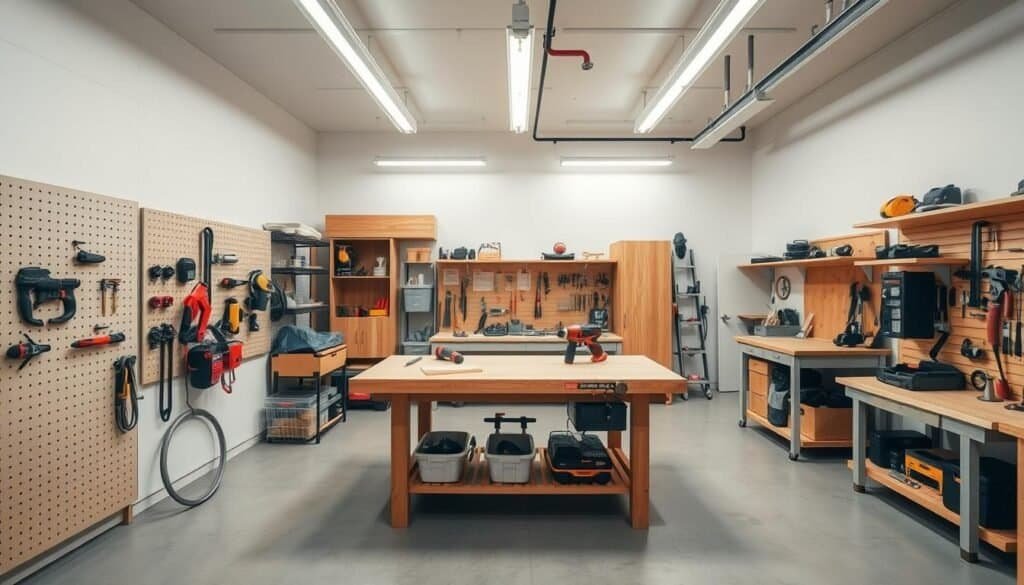
Workspace Organization
A clean workspace is key for safe and accurate cutting. This means keeping the floor clear, organizing tools, and having good lighting. A messy space can cause accidents and ruin your cuts.
- Keep your workspace clean and clear of obstructions.
- Organize your tools and materials for easy access.
- Ensure the workspace is well-lit to see what you’re doing.
Safe Handling Techniques
Safe handling is vital when using power tools and wood. It’s about knowing how to hold tools and handle wood to avoid accidents. For example, when cutting wood with a wood grain texture, understanding its behavior is key.
- Always follow the manufacturer’s instructions for tool usage.
- Keep your hands away from the cutting path.
- Use push sticks or other safety devices when necessary.
By organizing your workspace and using safe handling, you can lower accident risks. This focus on safety is similar to japanese wood joinery, where precision and safety are both important.

Trick #9: Advanced Circular Saw Techniques
Precision cutting is key in professional woodworking. Advanced circular saw techniques help achieve this. They are essential for solid wood projects and wooden chests.
DIY Guide Rail Systems
Using a DIY guide rail system can greatly improve your circular saw’s accuracy. It involves making a straight edge guide for your workpiece. This makes straight cuts easy.
To make a DIY guide rail, you need plywood and a straight edge material like aluminum.
- Cut the plywood to the desired length for your guide rail.
- Attach the aluminum strip along one edge of the plywood.
- Clamp the guide rail to your workpiece, ensuring it’s aligned with your cut line.
Depth and Angle Adjustments
Mastering depth and angle adjustments is vital. Proper depth setting prevents damage to the surface beneath. Angle adjustments are needed for beveled cuts, important for woodworking joints.
Key benefits of precise depth and angle adjustments include:
- Reduced risk of kickback
- Improved cut quality
- Increased versatility in woodworking projects

By using these advanced techniques, you can handle complex projects with confidence. These skills are essential for solid wood projects and wooden chests, leading to professional-grade results.
Trick #10: Jigsaw Mastery for Curved Cuts
Learning to use a jigsaw is key for woodworkers aiming for precise curved cuts. This tool is great for detailed designs and smooth curves. It’s perfect for projects with wood cut print designs or complex shapes.

Getting tight curves right needs the right technique and a quality jigsaw blade. For smooth curves, use a blade with lots of teeth. Move the jigsaw slowly and steadily along the path.
- Use a jigsaw with variable speed control to adjust to the material and curve complexity.
- Keep the jigsaw blade perpendicular to the workpiece to avoid binding.
- For very tight curves, consider using a jigsaw blade with a fine tooth pitch.
Cutting Techniques for Different Materials
Different materials need different jigsaw techniques. Cutting metal is slower and uses a special blade compared to wood. Knowing your material is essential for a clean cut.
- For wood, use a blade with a medium to high tooth count for smooth cuts.
- For metal, use a blade designed for metal cutting and operate at a slower speed.
- For plastic, use a blade with a high tooth count and a moderate speed to prevent melting.
Mastering these techniques and knowing your jigsaw’s limits can lead to top-notch woodworking. This includes projects with wood burning ideas or detailed wood cut print designs.
Trick #11: Sanding Strategies for Perfect Edges
To get flawless edges on your woodwork, understanding sanding strategies is key. Sanding is a critical step in woodworking that can make or break the quality of your project’s finish.
When working with woods like mahogany wood, it’s essential to start with the right grit. Begin with a coarse grit to remove any imperfections, then progress to finer grits for a smoother finish.
When to Change Grits
Knowing when to change grits is key for perfect edges. Start with a coarse grit (about 80-100) to remove material quickly. Then switch to a medium grit (120-150) for smoothing, and to a fine grit (220-240) for finishing.
Hand vs. Power Sanding
The choice between hand sanding and power sanding depends on your project’s needs. Hand sanding offers control and precision, ideal for detailed work or when working with wood veneer. Power sanding is faster and more efficient for larger surfaces.

Regardless of the method you choose, sanding in the direction of the wood grain is vital. It helps avoid scratches and achieve a smooth finish.
Conclusion: Bringing It All Together
Mastering woodcutting takes practice, patience, and the right techniques. By using the 12 accuracy tricks from this article, woodworkers can improve a lot. Whether making wood cut art or wood block prints, being precise is essential for great results.
Choosing the best corded circular saw is important. Learning to cut plywood with a circular saw is too. Use circular saw hacks to make your woodworking better. For detailed cuts, jigsaw projects are very useful.
As you get better, remember that wood cut printmaking and japanese print art need a good grasp of wood grain and cutting methods. By following the tips in this article, you’ll be on your way to making beautiful woodblock images and wood cut art. With tools like the worx circular saw tool and a circular saw table, you can get the precision and quality you need.