Adding rustic charm to your home is easy with leftover wood. A bit of creativity can turn scrap wood into stunning wall art. It looks like it was bought in a store.
Making rustic wall art from scrap wood is good for the planet and your wallet. You can create unique, homemade wood wall decor. It brings character to any room without costing much.
This DIY project lets you show off your creativity. It also gives new life to materials that would be thrown away. You’ll make something special that shows off your style.
The Beauty of Rustic Wood Wall Art
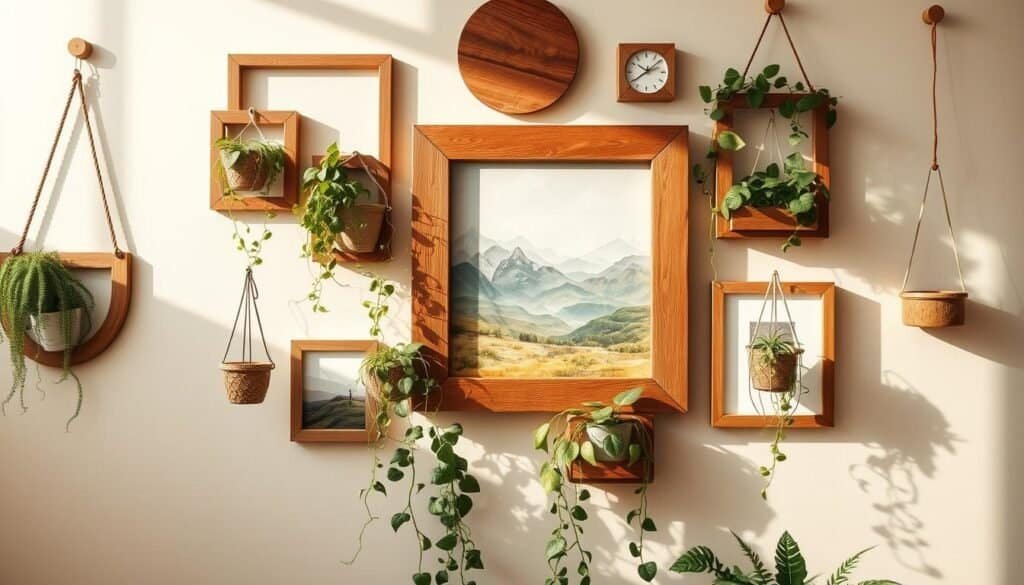
Rustic wood wall art adds a natural charm to any room. It brings warmth and coziness, making it great for living rooms, bedrooms, or kitchens.
It can fit different styles, from modern farmhouse to traditional rustic. You can pick a piece that matches your decor or use it as a bold statement. For more ideas, check out The Sawdust Man.

Every piece of rustic wood wall art is unique. Crafted from natural wood, no two are alike. Whether you prefer rustic or modern farmhouse, there’s something for everyone.
Essential Tools and Materials for DIY Wood Wall Art
Creating beautiful DIY wood wall art for your home decor is easy with the right tools and materials. You can find these essentials at local hardware stores or online.
Start with scrap wood from old pallets, fencing, or other wooden items. You’ll also need sandpaper to smooth out the wood. Don’t forget nails or a nail gun, a hammer, and a saw for cutting the wood.

Wood stain, paint, or varnish can add color and protect the wood. A drill is handy for making holes for hanging or adding decorations. With these tools, you can make unique and rustic wall art that shows off your style.
For a “scrap wood wall art tutorial,” check out online resources with step-by-step guides. Using local materials or old wood saves money and is eco-friendly.
Preparing Your Scrap Wood for Artistic Transformation
Getting your scrap wood ready is key to making stunning rustic wall art. This involves several important steps. These steps make sure your wood is perfect for turning into beautiful pieces.
First, clean your scrap wood well. Get rid of dirt, grime, or old adhesives on the surface. Use a soft brush or a damp cloth, depending on the dirt level.

Then, sand your scrap wood. Sanding makes the surface smooth, removing splinters or rough edges. It also lets your finish go in more evenly.
After sanding, check for nails or staples. Take them out to avoid tool damage or injury. Now, your scrap wood is ready for the next step in making your rustic wood crafts.
By doing these steps, you’ll create a beautiful piece of rustic wall art. It will show off the unique character of your scrap wood.
How to Create Rustic Wall Art From Scrap Wood (Beautiful and Cheap) – Step by Step
Turning scrap wood into rustic wall art is simple and eco-friendly. It’s a great way to give old wood a new life. With basic tools and a bit of creativity, you can make beautiful pieces that warm up any room.
To begin, clean your scrap wood to remove dirt or debris. Then, cut it into the shapes and sizes you want. You can use a circular saw or jigsaw, depending on the cut needed.

After preparing your wood, start assembling your wall art. Lay out the pieces on a flat surface to see how they fit together. You can follow a design or go for a random, rustic look.
Use wood glue to hold the pieces together. Nails or screws might also be needed. Ensure the pieces are aligned and the edges are even.
Finish with a stain or varnish to protect the wood and boost its look. Your rustic wall art is now ready to be displayed and enjoyed.
10 Easy Rustic Wood Wall Art Ideas for Beginners
Starting with DIY projects can be fun and rewarding. Rustic wood wall art brings warmth and character to any room. It’s a favorite for home decor.
Here are 10 easy and inspiring ideas to get you started:
1. Geometric Patterns: Use wooden planks of different lengths and widths to create a geometric pattern. You can choose a random or symmetrical pattern.
2. Wooden Signs: Make a wooden sign with a quote or name. Use a stencil or paint the letters freehand. For more ideas, check out this guide on DIY wooden art.
3. Reclaimed Wood Shelves: Attach wooden planks to the wall for floating shelves. It adds storage and decor.

4. Wooden Slices: Use wooden slices for a unique wall hanging. Arrange them in a pattern or create a random design.
5. Pallet Wood Art: Turn old pallets into wall art. Make a large piece or smaller sections.
6. Herringbone Pattern: Make a herringbone pattern with wooden planks. It adds sophistication to any room.
7. Wooden Letters: Spell out a name or word with wooden letters. Paint or stain them to match your decor.
8. Mosaic Art: Make a mosaic art piece with small wooden tiles. Use different colors and textures for a pattern or image.
9. Wooden Plank Wall: Attach wooden planks to create a rustic feature wall. Stain or paint them to match your decor.
10. Nature-Inspired Art: Use branches, leaves, and other natural elements for a nature-inspired art piece.
These easy rustic wood wall art ideas are great for beginners. With creativity and basic tools, you can make beautiful, unique pieces that show your style.
Creating Modern Farmhouse Wall Art with Reclaimed Wood
Modern farmhouse style mixes rustic charm with modern touches. Reclaimed wood wall art is a great example. It adds history and character to any room, making it stand out.
To make modern farmhouse wall art, pick wood with interesting textures and grains. The imperfections in reclaimed wood are what make it special. So, don’t hide them.

Modern farmhouse style loves natural materials. Reclaimed wood wall art brings warmth and coziness. You can add metal or greenery to make it even more unique.
When designing your reclaimed wood wall art, think about the look you want. For a rustic feel, leave the wood as is or add a distressed finish. For a modern look, paint or stain it to match your decor.
The best part of making your own modern farmhouse wall art is how customizable it is. You can adjust the size, design, and finish to fit your space perfectly. It becomes a piece of decor that’s truly yours.
Working with Different Types of Scrap Wood
The world of scrap wood is full of variety, each type bringing its own special qualities to your wall art. It’s key to know the different types and what they can do for your projects.
Reclaimed barn wood is a favorite for rustic crafts because of its weathered look and history. Pallet wood, easy to find, lets you make many wooden wall art designs, from shapes to abstract pieces.

Old fencing or decking can also be used for wall art. The trick is to find the special qualities of each wood type. For example, wood with lots of texture can make your rustic art stand out.
When picking scrap wood, think about the look you want. Consider the wood’s color, texture, and grain. These will help shape your wooden wall art ideas.
Exploring the different scrap woods opens up a world of DIY possibilities. Whether you’re experienced or new, using scrap wood is a fun and green way to make stunning wall art.
Mixed-Media Rustic Wall Art Techniques
Trying out different materials and textures is key in making mixed-media rustic wall art. Mixing scrap wood with other items adds depth and interest to your art.
Adding metal elements is a great way to make your wall art stand out. You can use old metal signs or gears for an industrial look. Or, try adding fabric like vintage burlap or lace for a soft, romantic feel.

When mixing materials, think about their textures and colors. Choose items that go well together. For example, pair rough wood with smooth metal or soft fabric.
The world of mixed-media rustic wall art is vast and exciting. With a little creativity, you can make unique pieces that show off your style.
In short, mixed-media rustic wall art techniques open up a world of creativity. By mixing scrap wood with other materials, you can create eye-catching, personal pieces for your home.
Finishing Techniques for Beautiful Wood Wall Art
To finish your rustic wood wall art, you need a finish that highlights its beauty. Finishing techniques are key to protecting the wood and showing off its unique look.
Staining wood is a favorite way to add color and depth. Pick a stain that matches the wood’s natural tones. Follow the manufacturer’s guide for application. For a rustic vibe, try weathered or distressed finishes.
Sealing wood is also vital. It keeps the wood safe from damage and makes your art last longer. Use a clear sealant or wood conditioner for the perfect finish.

There are more ways to enhance your wood wall art. You can apply wax or polyurethane for extra protection. Or, use a wood burning tool for detailed designs.
Think about the look you want for your wooden decor. The right finish can change everything, from modern to rustic to vintage.
With the right techniques, your wood wall art will bring warmth and character to any space.
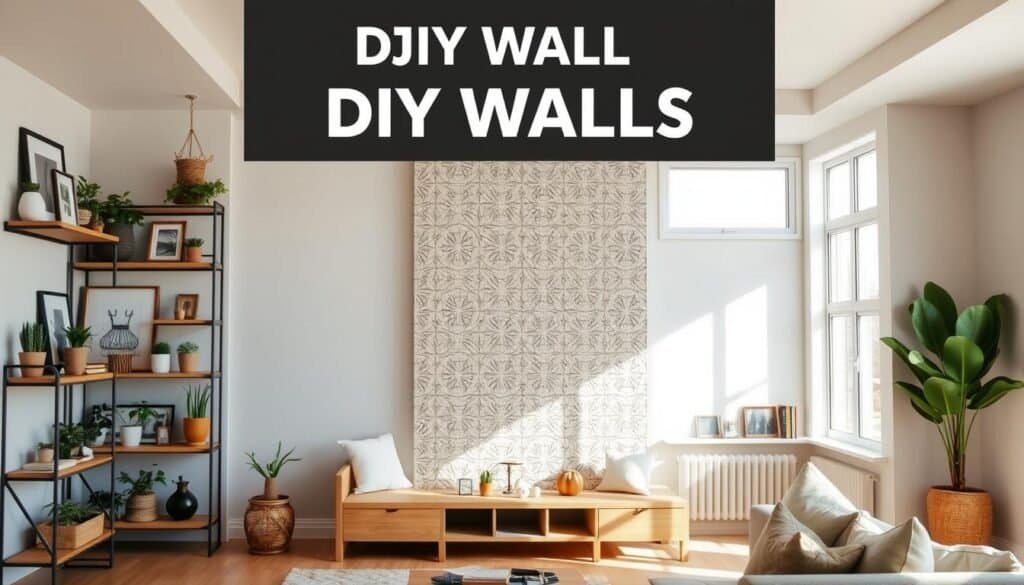
Large Statement Pieces for Blank Walls
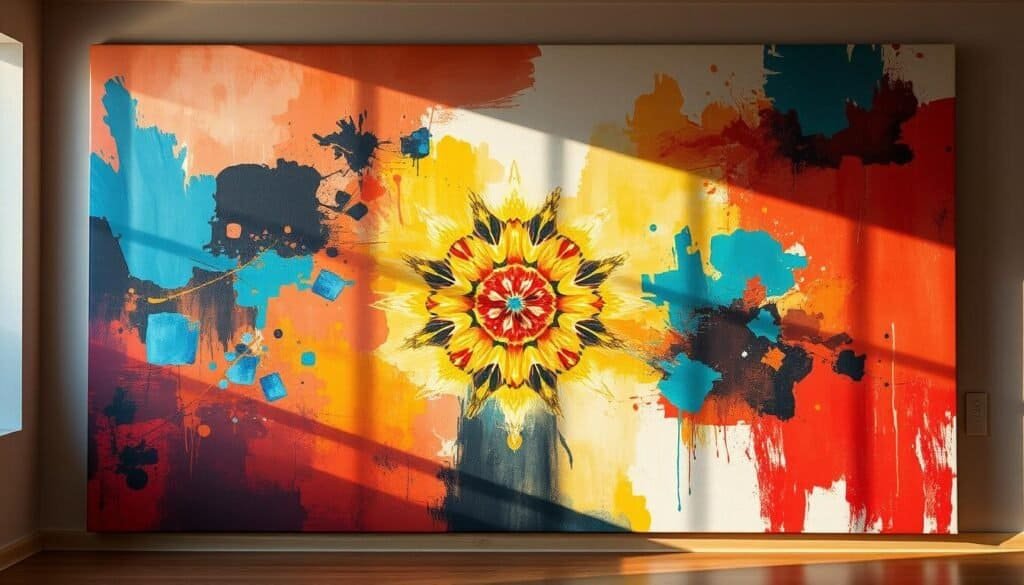
Large statement pieces can transform a blank wall into a stunning work of art. They can bring modern farmhouse charm or simply fill a space. Creating a large piece is a great way to improve your home’s look.
Using scrap wood is a good way to make a large statement piece. You can arrange wooden planks in a unique pattern. Mixing different woods, like reclaimed barn wood and pallet wood, adds texture and depth.

You can also add other materials to your piece. Think about metal accents, glass, or fabric for a mixed-media artwork. The most important thing is to have fun and be creative.
When designing, think about the wall’s size and the room’s decor. A large piece can be bold but must fit with the room’s style. Consider the colors, furniture, and other decor to make sure it complements the space.
Creating a large statement piece can add personality and style to your home. With some creativity and scrap materials, you can make a dull wall into a beautiful focal point. It will show off your unique taste and decor.
Troubleshooting Common Problems in DIY Wood Art
DIY wood art projects can be tricky, with issues like uneven surfaces and assembly problems. Knowing how to fix these can save you time and stress.
Uneven wood surfaces are a common problem. To fix this, use a sanding block to smooth it out before finishing. This makes the surface look better and helps stains or paint go on evenly.

Assembling wood art can be hard, too, with complex designs. To make it easier, lay out all the pieces before you start. Using a clamp to hold things together while the glue dries can also make your work look better.
Choosing the right wood is also key. For example, reclaimed wood adds character but can have nails or uneven surfaces.
Knowing these common problems and how to solve them can help you make stunning DIY wood art. Whether you’re new to DIY or have lots of experience, these tips will help you get great results.
Conclusion
Turning scrap wood into rustic wall art is a fun DIY project. It adds a personal touch to your home. By following the steps in this article, you can make unique and beautiful pieces that show off your style.
Rustic wall art lets you explore endless possibilities. You can use different woods, mix media, and finishes to make unique pieces. Whether you’re experienced or new to DIY, these projects are a great way to be creative and add character to your walls.
Remember, the beauty of rustic wall art is in its imperfections and uniqueness. So, don’t be afraid to try new things. With these ideas, you’ll create a home that’s truly yours. It will be filled with rustic charm and character, making your home a perfect blend of DIY projects and home decor inspiration.