Improving your living space is easy with simple DIY endeavors. Adding DIY wood projects to your home can make your daily routines better. These home improvement projects bring a personal touch and make daily tasks easier.
Small changes can make a big difference. These woodworking projects support your daily habits, making life more fun. By choosing designs that are both practical and beautiful, you can create a stunning and functional home.
The Joy of Functional Woodworking
Functional woodworking projects are more than just useful items. They bring joy to the maker. Woodworking is a calming activity that lets you create beautiful, useful things. It can be as simple as a cutting board or as complex as furniture.

Functional woodworking makes your home special with unique, handmade pieces. It’s not just about the final product. It’s about the journey and the joy of seeing your creation come to life.
Safety Considerations Before You Begin
Before starting any woodworking project, think about safety considerations. Make sure you have the right safety gear, like goggles and a dust mask. Learn how to use your tools safely to avoid accidents.
- Wear protective gear, including safety glasses and a dust mask.
- Keep your workspace clean and clear of debris.
- Use tools according to their manufacturer’s instructions.
By focusing on DIY safety, you can enjoy making something new safely. This careful approach makes woodworking safer and more fun. It makes the whole experience more rewarding.
Wood Projects That Quietly Improve Your Daily Routines
Wood projects can make your home more functional and organized. They can be simple storage solutions or decorative pieces. Woodworking can really enhance your daily routines.
When picking wood projects, think about your skill level. Beginners can start with easy projects like a wooden coat rack or a small shelf. More skilled woodworkers can tackle complex projects like a wooden storage bench or a coffee table.
Selecting Projects Based on Your Skill Level
To enjoy woodworking, choose projects that match your skill level. Here are some tips:
- Beginner-friendly projects: Look for projects that need minimal tools and simple techniques, like a wooden picture frame or a small cutting board.
- Intermediate projects: With some experience, try projects that need more complex techniques, like a wooden chair or a shelving unit.
- Advanced projects: For experienced woodworkers, consider projects with detailed designs or complex joinery, such as a wooden cabinet or a dining table.
Choosing projects that fit your skill level ensures a fun and successful woodworking experience. This way, you can create pieces that are both functional and beautiful, improving your daily routines.

Popular wood projects include storage solutions, decorative items, and functional pieces like coat racks and shelves. These projects can greatly improve your daily life by keeping your home organized and clutter-free.
Wall-Mounted Shoe Rack: Conquer Entryway Clutter
Entryway clutter can be a big problem. But, making a DIY wall-mounted shoe rack is easy. A messy entryway is not just ugly; it’s also annoying every day. A wall-mounted shoe rack keeps your shoes neat and your entryway clean.
Benefits of a Wall-Mounted Shoe Rack
- Saves floor space, making your entryway look more spacious
- Keeps shoes organized and easy to find
- Adds a touch of style to your entryway
To make your wall-mounted shoe rack, you’ll need some basic stuff:
- Wooden planks or plywood for the rack
- Wall brackets or screws
- Sandpaper and wood finish
First, measure the spot for your shoe rack. Cut your wood to the right size. Sand the edges to make them smooth and finish with wood to match your decor.

Then, attach the wall brackets to the back of the wood. Make sure they’re even and strong. Mount the rack on the wall, checking it’s level and secure.
Tips for a Successful DIY Project
- Choose a design that complements your entryway decor
- Use sturdy materials to ensure the rack can hold the weight of your shoes
- Consider adding additional features like hooks for hanging bags or keys
By following these steps, you can make a useful and stylish wall-mounted shoe rack. It will help you beat entryway clutter and make your home more organized.
Couch Side Table: The Perfect Companion for Relaxation
A couch side table is more than just furniture. It’s a friend for your relaxing moments. It lets you place your favorite books, a cup of coffee, or a remote control easily. This makes your time lounging more fun.
Building a couch side table is easy and can match your living room’s style. You can pick from many designs, like modern or rustic, based on what you like.

When making your DIY side table, think about its height and size. It should be easy to reach but not too low. The size depends on the space you have and how you’ll use it.
To make it better for relaxation, add a storage spot for magazines, remotes, or other things. This makes your space tidy and adds to its use.
Simple Steps to Create Your Couch Side Table
- Choose your materials, considering durability and looks.
- Design your table, thinking about size and features.
- Build your table with your chosen materials and design.
- Add a finish that goes well with your living room.
By following these steps and using couch table plans, you can make a beautiful and useful piece. It will make your relaxation time even better.
Rustic Wooden Picture Frames: Showcasing Memories Beautifully
With just a few tools and some reclaimed wood, you can make DIY stunning rustic wooden picture frames. These frames add a personal touch to your home.
Making DIY picture frames is a fun project. It lets you display your favorite memories in a unique way. Here are some ideas to start:
- Use reclaimed or distressed wood for a rustic, vintage look.
- Try different frame sizes and shapes for interest.
- Add twine, ribbons, or metal accents for extra flair.

Think about the room’s style when designing your rustic picture frame ideas. For example, weathered wood frames fit coastal or farmhouse decor. Polished frames work better in modern or traditional rooms.
Here are more rustic picture frame ideas:
- Make a gallery wall with frames of different sizes.
- Use natural materials like branches or bamboo for a unique frame.
- Include personal items like photos, tickets, or memorabilia in the design.
By making your own rustic wooden picture frames, you create beautiful, unique pieces. They reflect your style and showcase your cherished memories.
Bathroom Storage Tower: Maximize Small Space Efficiency
A bathroom storage tower is a great DIY project for small bathrooms. It helps keep your bathroom tidy and organized. Building a linen tower can make a big difference.
Benefits of a Bathroom Storage Tower
- Maximizes storage space in small bathrooms
- Keeps bathroom essentials organized and within reach
- Enhances the overall aesthetic of the bathroom
To build a bathroom storage tower, you’ll need a few things:
- Wood (e.g., pine or cedar)
- Screws and a drill
- Sandpaper and a saw
- Decorative trim (optional)

Think about your bathroom’s space and what you need to store. A tall, narrow tower fits in corners. A wider one is better for bigger bathrooms.
Tips for Building a Bathroom Storage Tower
- Measure your bathroom space carefully before starting the project
- Choose materials that are resistant to moisture and humidity
- Consider adding decorative trim to enhance the appearance of the tower
Follow these steps and tips to make a useful and nice-looking bathroom storage tower. It will help you use your space better and keep your bathroom neat.
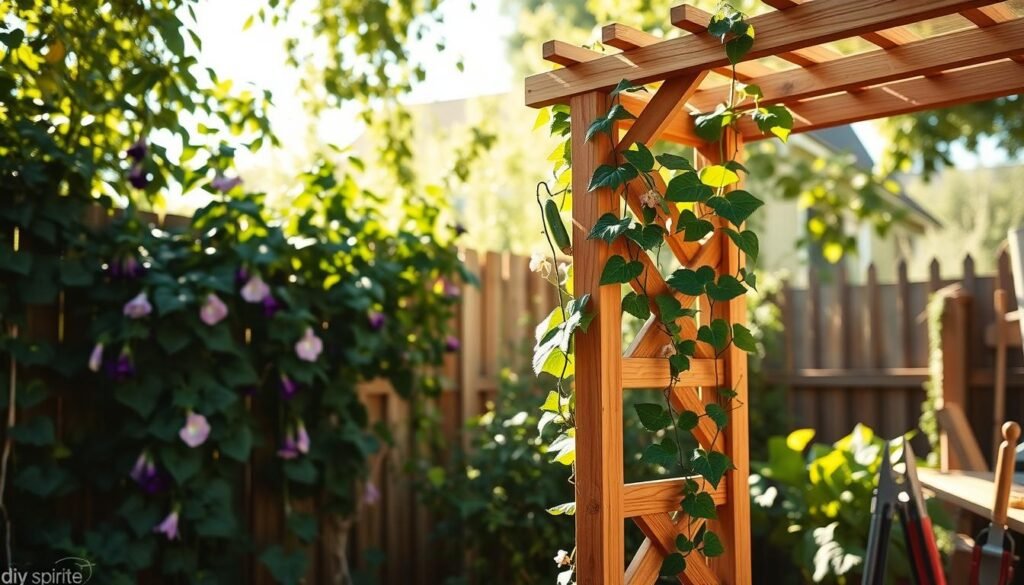
Welcome Sign with Planter: First Impressions with Greenery
Making a DIY welcome sign with a planter can really boost your home’s look. It’s a mix of function and beauty, adding a personal flair to your entrance.
This sign is more than just a decoration; it shows off your style. You can make it match your home’s look, whether it’s sleek, rustic, or classic.
Key Components of a Welcome Sign with Planter:
- A wooden or reclaimed wood sign
- A planter box or a hanging planter
- Greenery or flowers of your choice
- Decorative elements like ribbons or seasonal decorations
First, design your welcome sign. Pick a simple, bold font and a message that shows your family’s spirit. Paint or stain the sign to match your home’s look.

Then, add a planter box or hanging planter to the sign. You can pick from wood, metal, or ceramic, based on your style. Fill it with plants or flowers that look good with your home and are easy to care for.
Tips for a Beautiful Welcome Sign with Planter:
- Choose plants that fit your climate and are low-maintenance.
- Add things like ribbons or seasonal decorations to make it welcoming.
- Think about using a reclaimed wood sign for a rustic feel.
By following these tips, you can make a stunning DIY welcome sign with a planter. It will impress visitors and add a personal touch to your home’s look.
Scrap Wood Treasures: Small Projects with Big Impact
DIY upcycling is more than saving wood; it’s about making treasures. With a bit of creativity, scrap wood can turn into useful and lovely items. These items make our daily lives better.
Working with scrap wood is fun because it challenges us to think creatively. Scrap wood crafts let us come up with new ideas. We can make anything from small decorations to useful storage solutions.

For example, making wooden coasters, candle holders, or picture frames can make our homes special. These items do more than just serve a purpose. They also show our creativity and resourcefulness. By using wood scraps, we reduce waste and give old materials a new life.
Here are a few ideas for DIY upcycling projects:
- Creating a wooden coat rack from reclaimed wood
- Making a planter box for herbs or succulents
- Designing a wall-mounted shelf for storage
These projects not only tidy up our spaces but also add warmth and character. The beauty of scrap wood is its versatility and unique charm. As we explore scrap wood crafts, we see how small projects can greatly improve our homes.
By doing DIY upcycling, we help the environment and feel proud of our creations. So, before throwing away wood scraps, think about the treasures they could become.
Seasonal Wooden Decor: DIY Christmas Trees and Holiday Projects
As the holiday season comes near, making your own wooden decor can make your home special. With basic tools and some wood, you can craft beautiful decorations. These will be treasured for many years.
DIY Christmas Trees are a fantastic starting point. You can build a wooden Christmas tree from reclaimed or pallet wood. This adds a rustic charm to your holiday decor. Here are some ideas to begin:
- Use wooden planks to create a geometric Christmas tree shape
- Add some greenery, such as eucalyptus or ferns, to give your tree a natural look
- Decorate your tree with lights, ornaments, or other festive embellishments
Other than DIY Christmas trees, you can also make holiday wood projects. Think wooden snowflakes, candle holders, or ornaments. You can use wood burning, staining, or painting techniques.

For more ideas, consider making a wooden advent calendar, holiday sign, or dining table centerpiece. You can also use old wooden items like ladders or crates for unique decorations.
By making your own seasonal wooden decor, you add a personal touch to your holiday. It creates lasting memories for you and your loved ones.
Conclusion: Transforming Daily Routines Through Simple Woodworking
Simple woodworking projects can make your daily life better. They turn everyday tasks into fun activities. For example, making wall-mounted shoe racks or seasonal decor can make your home look great and work better.
Adding simple woodworking to your hobbies brings many benefits. You’ll have less clutter, work more efficiently, and feel proud of what you’ve made. These projects make your home feel more like your own, welcoming and tidy.
As shown, simple woodworking can change your daily life for the better. It solves common problems like storage or adds cozy spots. Woodworking is a creative way to improve your life and make your home special.