Want a project that’s both useful and eye-catching? Making a wooden cutting board by hand can be very rewarding. It adds a cozy feel to your kitchen.
These handmade items are great for chopping food and also look amazing as decor. Whether you’re experienced with wood or just beginning, our 10 unique designs will inspire you.
Our projects range from simple rectangular boards to unique live-edge serving boards. They suit all tastes and skill levels. Dive into different designs and techniques to make something special for your kitchen.
DIY Wooden Chopping Board Projects: Functional & Beautiful Ideas
DIY wooden chopping boards are both useful and stylish for any kitchen. By making your own homemade chopping board designs, you can match your kitchen’s look and your taste. It’s a fun project for anyone, whether you’re skilled or just starting out.
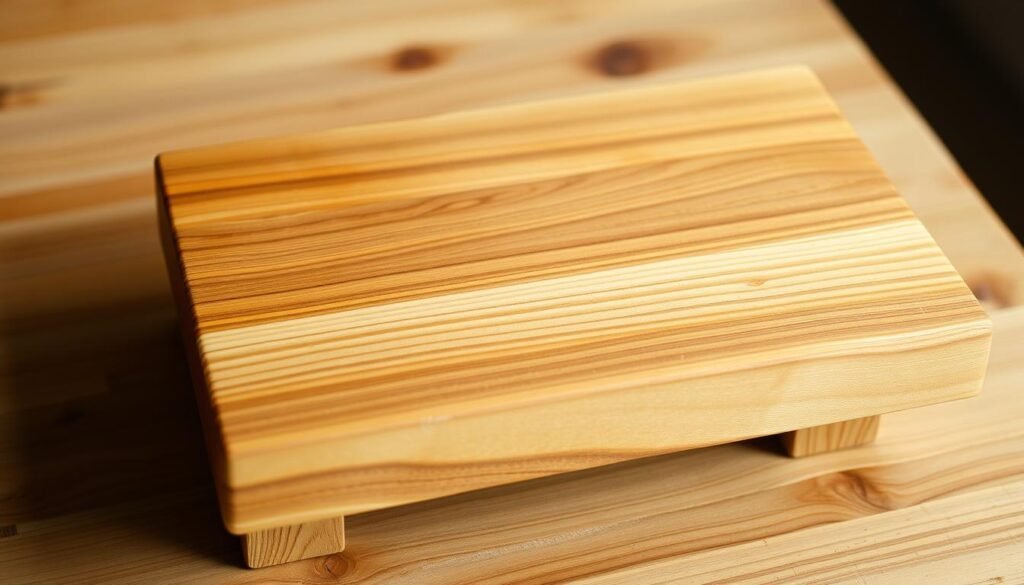
One great thing about DIY chopping boards is picking the wood and design. You can choose strong woods like maple or walnut, or go for a rustic feel with reclaimed wood. The unique wood cutting board diy projects let you try out different patterns, shapes, and sizes. This makes each board special and unique.
In this article, we’ll look at various DIY wooden chopping board projects. We’ll cover everything from simple rectangular designs to more complex patterns. These ideas will inspire your next woodworking project, whether you want a practical tool or a decorative piece.
By making your own chopping board, you can tailor it to your needs and save money. Plus, a handmade chopping board is a great gift for those who love unique items.
Essential Tools and Materials for Creating Wooden Cutting Boards
Making a wooden cutting board is all about picking the right wood and tools. The wood you choose affects the board’s look and how well it lasts.
Hardwoods: Maple, Walnut, and Cherry
Maple, walnut, and cherry are top picks for cutting boards. Maple is hard and resists scratches well. Walnut has a dark color and smooth grain. Cherry is known for its reddish color and fine grain.
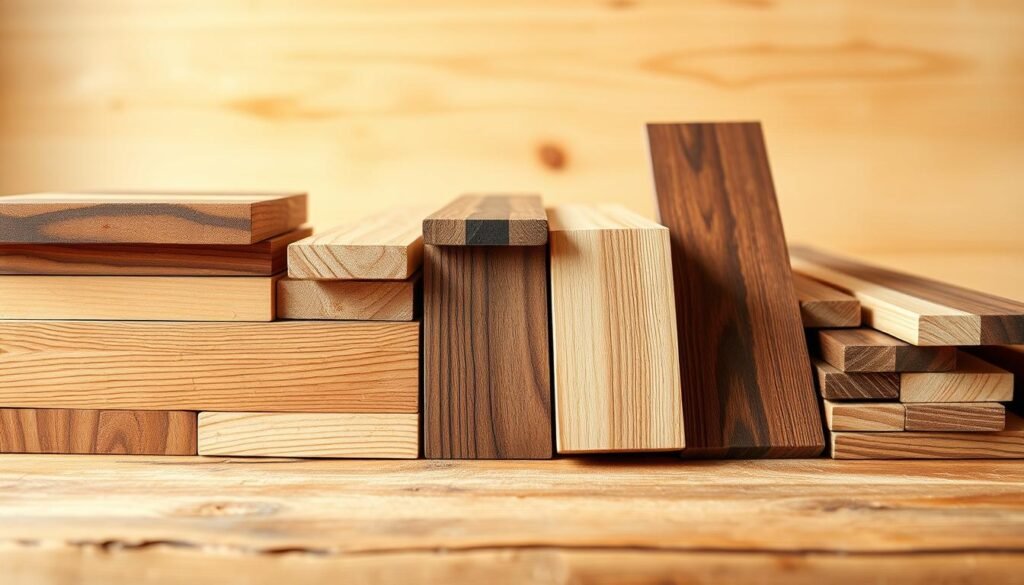
Not all woods are good for cutting boards. Pine and cedar are too soft and can be harmful. Avoid woods that are too porous, as they can hold bacteria. Choose dense, non-toxic hardwoods that are easy on knives and safe for food.
Having the right tools is key. You’ll need a table saw or circular saw for cutting, sandpaper for smoothing, and mineral oil for finishing. For detailed designs, a jigsaw or coping saw is helpful. Having all your tools ready makes the project easier and more fun.
If you’re into “easy kitchen chopping board crafts” or “creative chopping block tutorials,” learning about woodworking and hardwoods is a good start. With the right materials and tools, you can make a cutting board that’s both useful and beautiful for your kitchen.
Safety Considerations and Workspace Setup
When working with power tools and wood, safety comes first. A tidy workspace boosts your creativity and lowers accident risks.
Start by making sure your workspace is well-lit. Good lighting helps you see what you’re doing, cutting down on mistakes. Also, keep your area clean and free of clutter. This prevents tripping over tools or materials.

Wearing the right safety gear is key. Always use protective eyewear, gloves, and a dust mask with power tools. These steps can prevent serious injuries. Also, learn how each tool works and follow the maker’s instructions.
By focusing on safety and setting up your workspace right, you can enjoy making your DIY projects. This way, you’ll face fewer risks.
Project 1: Classic Rectangular Hardwood Cutting Board
Looking to improve your kitchen? A classic rectangular hardwood cutting board is a great choice. It’s both useful and stylish, perfect for any home.
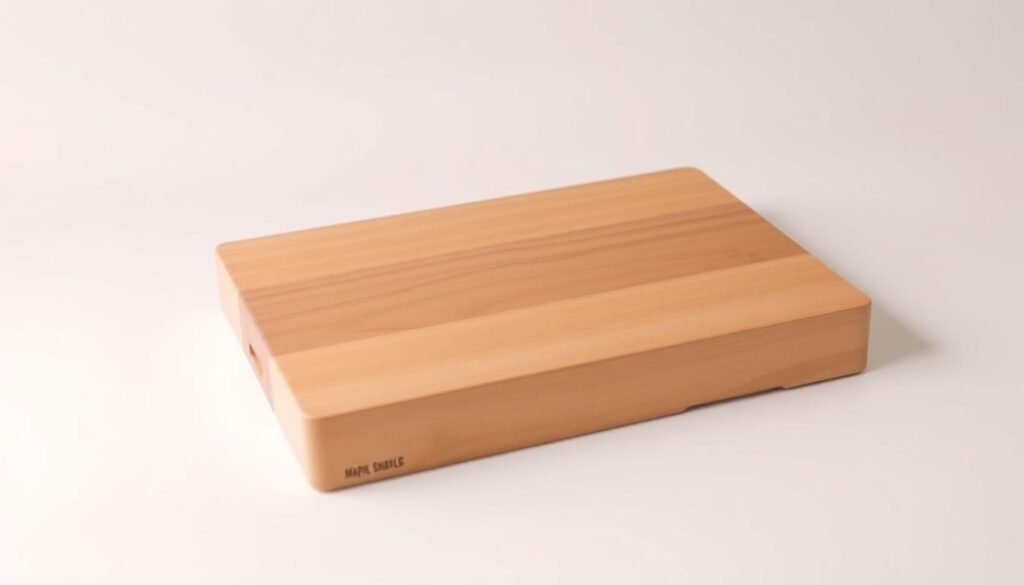
To make a classic rectangular hardwood cutting board, start by picking the right hardwood. Maple, walnut, and cherry are top picks because they’re strong and look good.
Cutting and Planing
First, cut your hardwood into the right size for your board. Use a sharp saw for clean cuts. Then, make sure the wood is the same thickness for a professional look.
Gluing and Clamping
Next, glue your wood pieces together. Use food-safe glue and clamp them down tight. Make sure the clamps are even to avoid warping.
Sanding and Finishing
After the glue dries, sand the board smooth. Start with coarse sandpaper and move to finer grits for a shiny finish. Finish with a food-safe coating to protect and beautify the wood.
By following these steps, you’ll have a beautiful and useful cutting board for your kitchen.
Project 2: End-Grain Butcher Block Board
Looking to test your woodworking skills? The end-grain butcher block board project is perfect. It’s durable and great for heavy use, loved by chefs and home cooks.
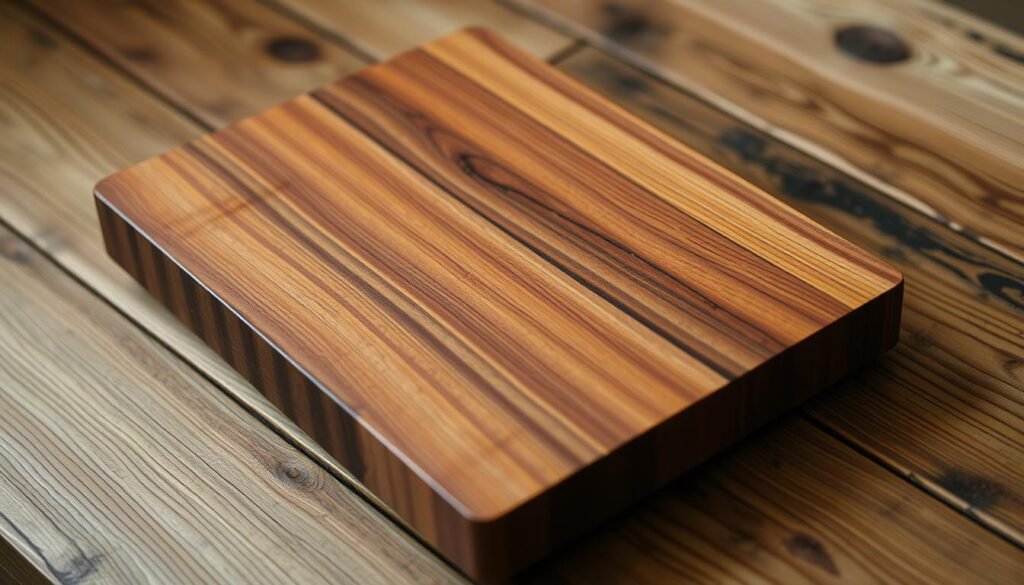
To start, you’ll need to glue wood strips together. This forms a solid panel. Make sure the glue is spread evenly and the strips are aligned right to avoid weak spots.
Cross-Cutting and Reassembly
After the panel is glued and dry, cut it into strips. Then, put these strips back together, changing the wood grain direction. This makes the end-grain pattern. You need to be precise to keep the board strong and the pattern even.
Final Glue-Up
The last step is to glue the strips back together and clamp them. It’s important to apply even pressure to avoid warping. Once the glue is dry, sand the board smooth. It’s now ready for use or extra decoration.
Making an end-grain butcher block board takes time and focus. But the end result is a beautiful, long-lasting chopping board. With the right care, it will last for years, making it a great investment for anyone who loves to cook.
Project 3: Striped Pattern Cutting Board with Handle
A striped pattern cutting board with a handle is both useful and stylish. It’s great for adding elegance to your kitchen. Plus, it’s very functional.
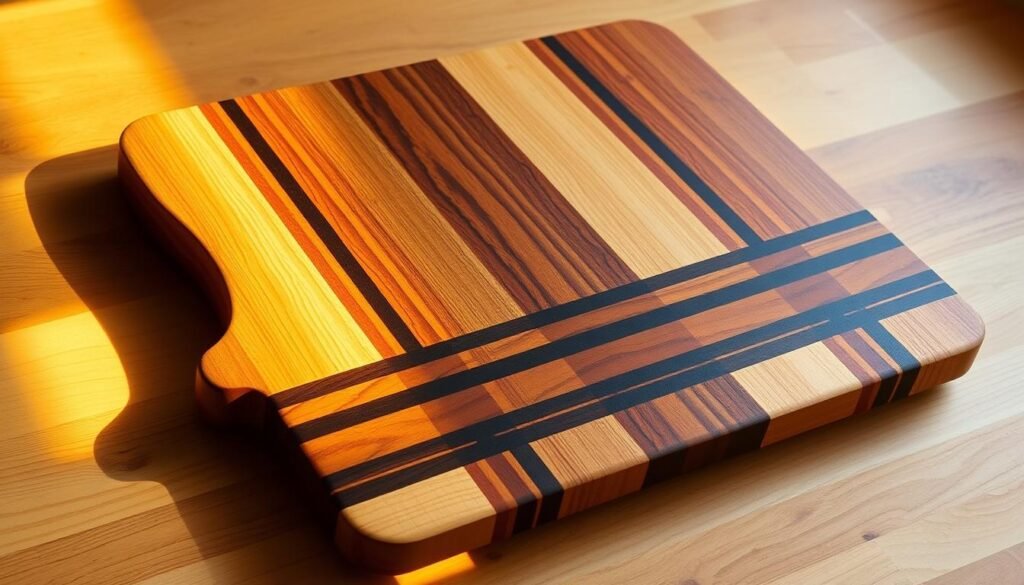
To start, gather your materials and tools. The design comes from alternating wood types. This creates a striking contrast.
Template Creation
Creating a template is key for a uniform design. It helps your cutting board look the same all over.
Routing the Handle
Adding a handle makes the board easier to use. Make sure it’s attached well and easy to hold.
Hand Sanding Curves
Hand sanding smooths out the board’s curves and edges. It makes the board safe and functional.
By following these steps, you can make a beautiful cutting board. It’s both a useful tool and a work of art.
Project 4: Rustic Live-Edge Serving Board
The rustic live-edge serving board is more than a kitchen tool. It’s a piece of art that highlights wood’s natural beauty. It’s ideal for those who love the unique look of natural wood grain.
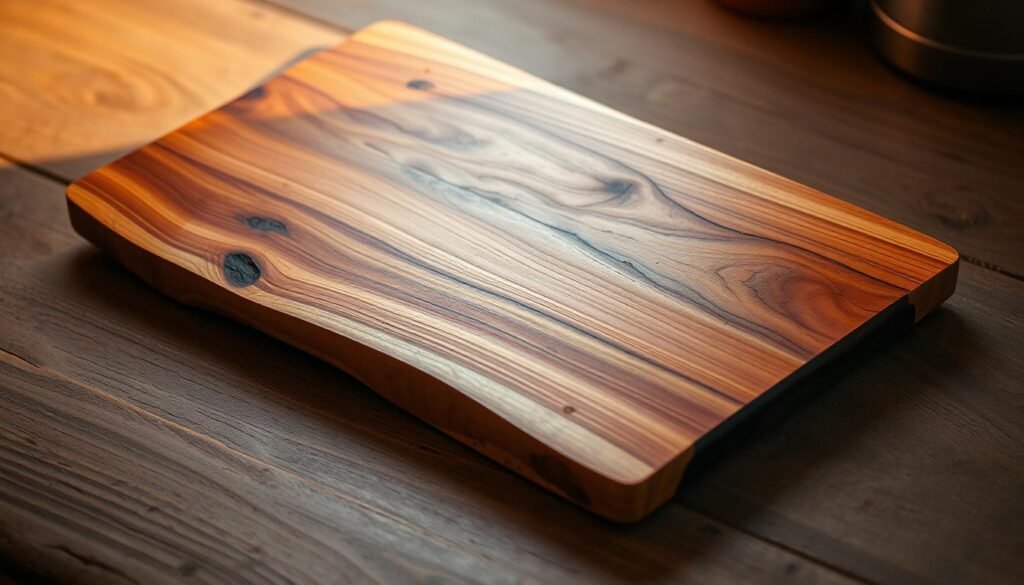
To begin, find a wood slab with a stunning live edge. You might choose walnut, maple, or another hardwood. The wood’s natural edge will be the board’s main feature, so pick a piece with an interesting shape.
Filling Natural Cracks
Live-edge wood often has natural cracks. To fill these, use a food-safe epoxy or wood filler. Always follow the product’s application and drying instructions.
Food-Safe Finishes for Character Wood
It’s important to apply a food-safe finish to protect your board. Consider mineral oil or beeswax. These finishes will enhance the wood’s natural beauty without harming it.
Adding Feet or Handles
Adding feet or handles can make your board more practical. Feet will lift the board, making it easier to clean. Handles will make it simpler to carry. Use strong adhesive and the right fasteners to attach these features.
By following these steps, you can craft a stunning rustic live-edge serving board. It will be a highlight in your kitchen. Use it for serving cheese, charcuterie, or as a decorative piece. This wood serving board will surely impress.
Project 5: Multi-Purpose Cutting Board with Juice Groove
A multi-purpose cutting board with a juice groove is great for any kitchen. It’s both useful and stylish. It’s perfect for preparing meals because it catches juices.
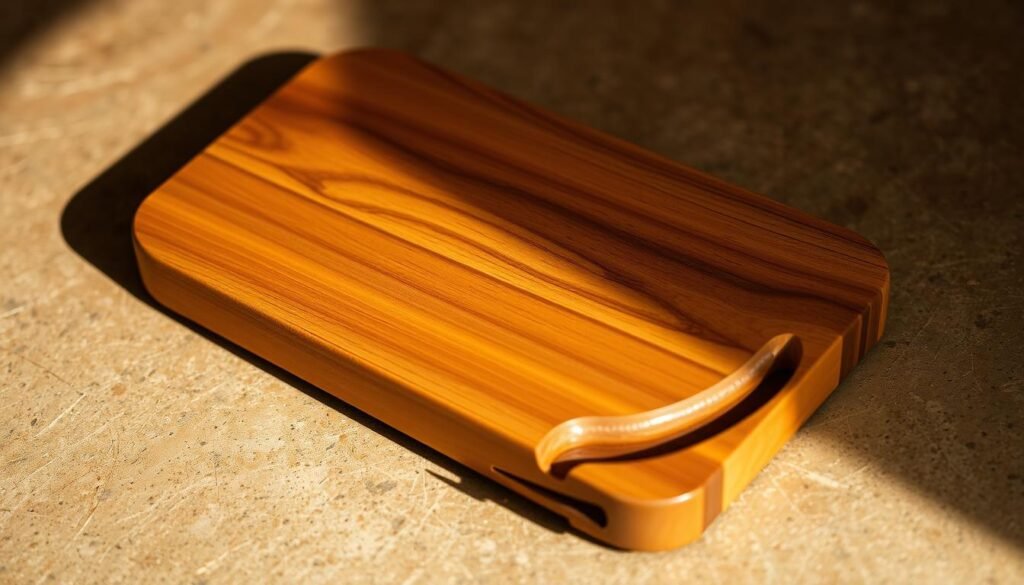
First, plan your project well. Think about the size and material for your cutting board. Maple or walnut hardwoods are good because they last long and look nice. The juice groove makes the project more complex, needing precise measurements and careful work.
Creating Templates
Making a template for your cutting board is key. It makes sure your board is even and looks as you want. Use strong materials like plywood or MDF for your template. Cut it to the right size. This template helps you cut accurately and finish professionally.
Router Bit Selection
Choosing the right router bit is important for the juice groove. You can use a straight bit or a core box bit, depending on what you want. Make sure the bit is sharp and fits the wood you’re using. A dull bit can ruin your work.
Execution Tips
Focus on the details when you’re making your board. Always wear safety gear like glasses and a dust mask. Keep your workpiece steady with clamps while routing. Sand it well to smooth it out, then apply a finish that’s safe for food.
By following these steps, you can make a beautiful and useful cutting board. It makes your kitchen better and shows off your skills in cooking.
Project 6: Personalized Engraved Cheese Board
A personalized engraved cheese board is a lovely addition to any kitchen. It’s a unique gift or a standout piece in your home. With the right techniques, you can make one that’s truly special.
To begin, pick a wooden board that’s good for engraving. Maple or walnut are great choices because they’re durable and look good. After picking your board, you can pick an engraving technique to add your message or design.
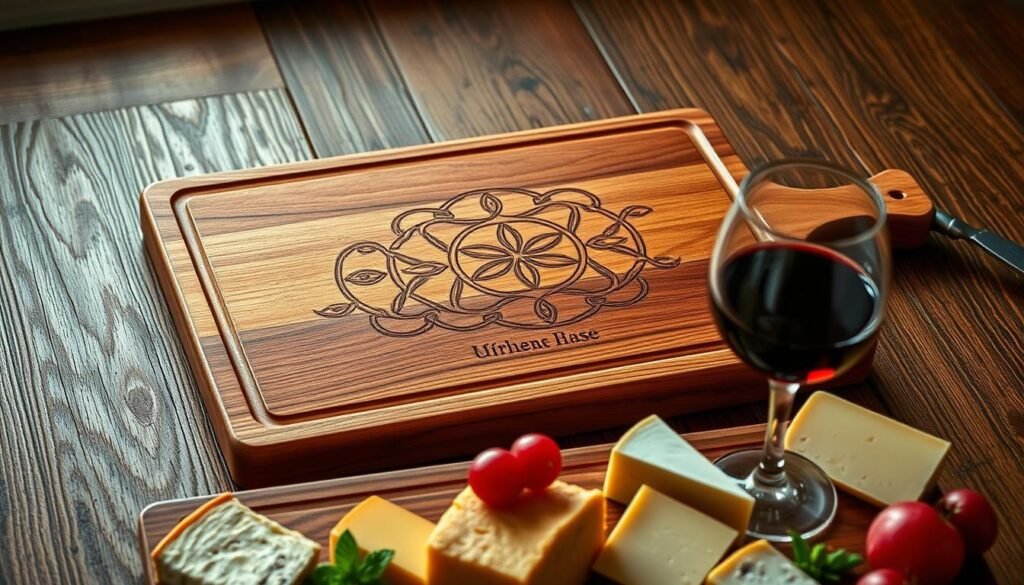
Hand carving is a traditional way that lets you add lots of detail. You can make complex designs or simple messages with hand tools. It takes skill and patience but looks handmade.
Router Engraving
Router engraving uses a router to make designs or text. It’s quicker than hand carving and gives consistent results. It’s perfect for clear text or simple designs.
Laser Engraving Options
Laser engraving is a modern method that uses a laser for precise designs or text. It’s very accurate and can handle complex designs. It’s great for detailed messages or patterns.
No matter the technique, a personalized engraved cheese board will wow everyone. It’s a thoughtful gift or a beautiful addition to your kitchen. With these methods, you can make a unique piece that shows your skill and care.
Project 7: Space-Saving Over-the-Sink Cutting Board
Kitchens with little counter space will love a space-saving over-the-sink cutting board. It lets you chop ingredients right over your sink. This makes food prep quicker and cuts down on cleanup.
This cutting board fits right over your sink, giving you a big, stable area for chopping. You can add cool features to make it even better.
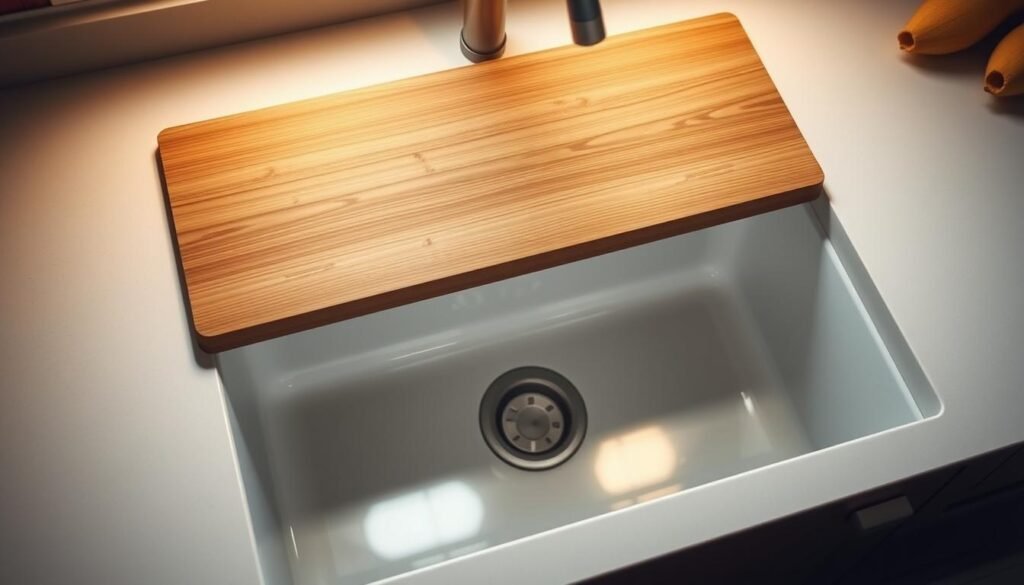
A collapsible colander insert is a great feature for your cutting board. It lets you wash your chopped food in the sink and then folds up when not needed. This saves space in your kitchen.
Non-Slip Edges
Adding non-slip edges to your cutting board is a smart move. You can use rubber or silicone strips along the edges. This keeps the board from slipping or sliding in the sink.
Stabilizing Features
Stabilizing features are key to keep the cutting board steady while you use it. You can add adjustable legs or clips. These hold the board in place, giving you a stable surface for chopping.
With these features, you can make a cutting board that’s both useful and stylish. It boosts your kitchen’s efficiency and adds a DIY touch to your home.
Project 8: Convertible Cutting Board with Drawer
Make your kitchen more useful with a cutting board that has a drawer. This wooden project is great for storing utensils and ingredients. It’s a smart addition to any kitchen.
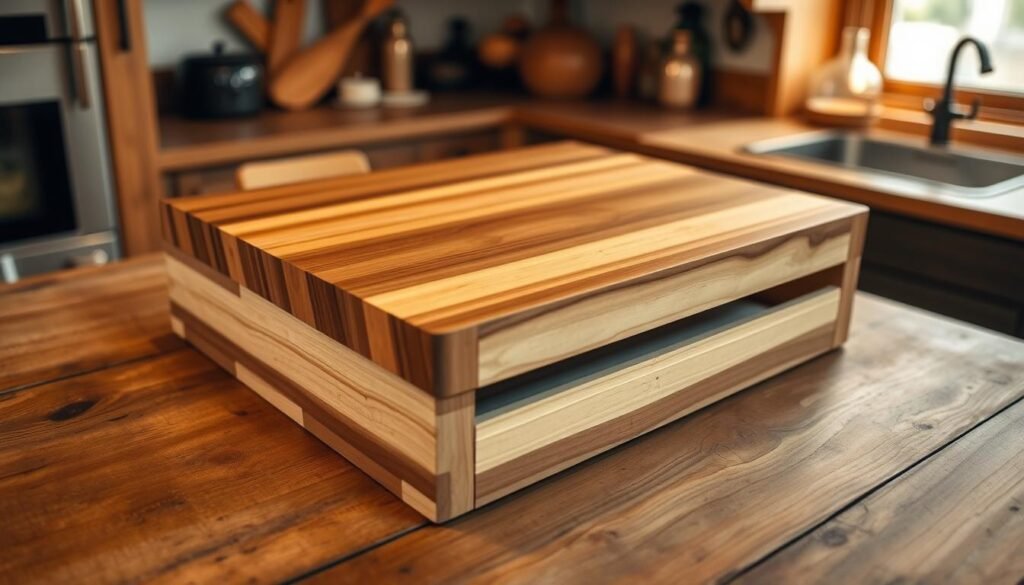
To make a cutting board with a drawer, start by designing it well. Make sure the cutting area and drawer are both easy to use.
Creating the Drawer Box
Building the drawer box needs careful measurements and construction. Use quality wood and strong joinery for a durable drawer.
Installing Slides
Drawer slides are key for smooth drawer movement. Pick the right slides and align them well. This makes the drawer easy to use.
Adding Stops and Pulls
Stops keep the drawer from coming out too far. Pulls or handles make it easy to open and close. These features improve both function and looks.
By following these steps and focusing on details, you can make a beautiful and useful cutting board with a drawer. It’s perfect for any kitchen.
Project 9: Geometric Pattern Inlay Serving Board
In this project, we’ll learn to make a beautiful geometric pattern inlay serving board. It’s both useful and eye-catching. It’s perfect for any kitchen, adding beauty and showing off your woodworking talent.
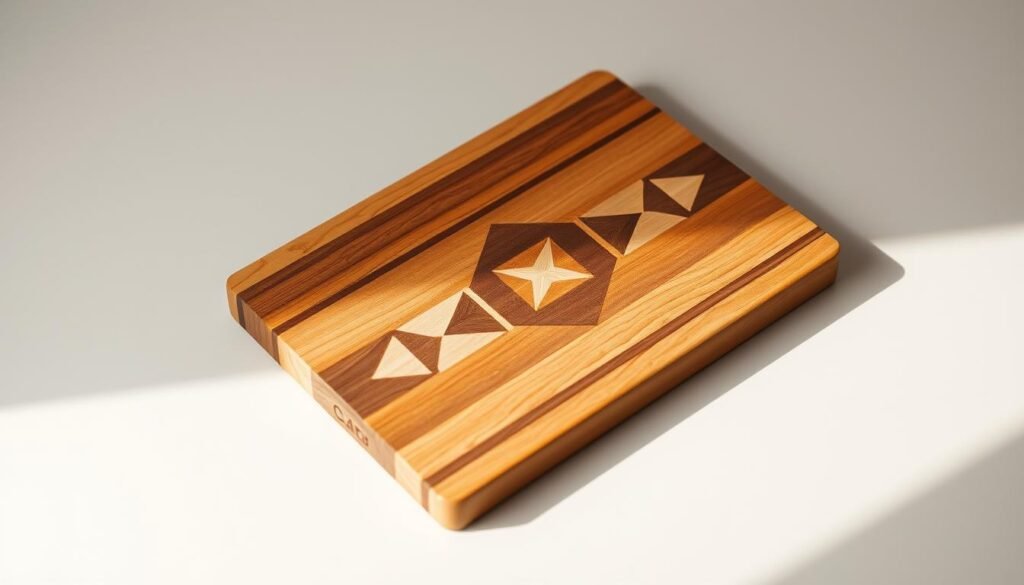
Simple shapes like triangles, squares, or hexagons are key to a stunning board. You can mix these shapes to create cool patterns. These patterns make your woodworking piece stand out.
Cutting Precise Angles
Cutting precise angles is key for a geometric pattern inlay serving board. You’ll need a miter saw or a table saw with precise angle settings. Cutting test pieces helps you get your angles right, making the pattern fit perfectly.
Template Creation
Creating a template is a smart move for this project. You can use software or draw it by hand. The template helps you cut the wood right, ensuring your pattern fits perfectly.
By following these steps and focusing on details, you can make a geometric pattern inlay serving board. It will be both useful and beautiful, adding a unique touch to your home.
Project 10: Upcycled Pallet Wood Rustic Chopping Board
Turning pallet wood into a rustic chopping board is a creative way to reuse materials. It adds a unique touch to your kitchen. Plus, it’s good for the environment.
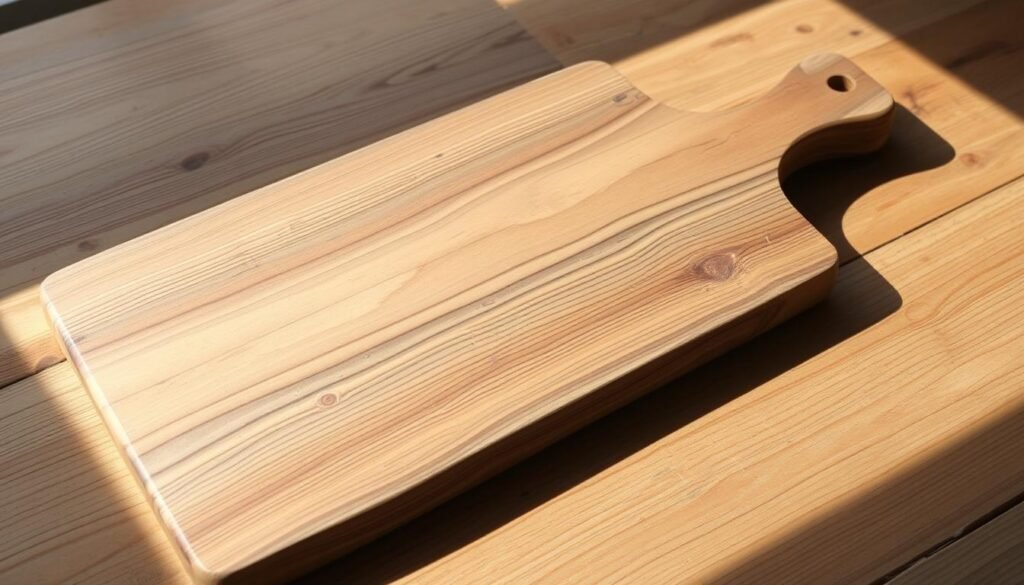
Start by collecting and breaking down pallets into wood planks. Make sure to check the wood for damage or nails. This ensures it’s safe to work with.
Once you have your planks, plan out your chopping board’s design. Think about the size and shape you want.
Creating Character with Mixed Woods
Using different types of wood can make your chopping board stand out. Mixing woods of various textures and colors creates a unique look. It adds beauty and tells a story of reuse.
Rustic Edge Treatments
To make your chopping board look more rustic, consider edge treatments. You can round the edges or create a chamfer. These not only look good but also make the board safer.
Preserving the Weathered Look Safely
Keeping your chopping board’s weathered look safe is important. Choose food-safe finishes that protect the wood. Regularly oiling the wood also helps keep it in good condition.
By following these steps, you can make a beautiful and useful upcycled pallet wood chopping board. It’s a great way to reuse materials and show off your creativity.
Maintenance and Care for Your DIY Wooden Chopping Boards
Proper care and maintenance can make your DIY wooden chopping boards last longer. Regular upkeep keeps them in top shape and safe for food prep.
Cleaning your wooden chopping boards is the first step. Wash them by hand with mild soap and warm water. Don’t use harsh chemicals or the dishwasher, as it can warp or crack the wood.
Oiling your wooden chopping boards is also key. Use a food-safe wood finish like mineral oil or beeswax. This protects the wood and keeps it looking good. Regular oiling prevents the wood from drying out and cracking.
Storing your wooden chopping boards right is important. Store them upright or hang them to let them dry completely. This prevents moisture buildup, which can cause warping or grow bacteria and mold.
Choosing food-safe finishes is critical for safety and quality. Look for non-toxic finishes that meet food safety standards. Check your boards often for wear and tear, and reapply finish as needed.
Conclusion
Making your own DIY wooden chopping boards can be very rewarding. It lets you make your kitchen tools your own and show off your creativity. You’ve seen 10 different projects to get you started on your next woodworking adventure.
These DIY projects prove that with the right tools and materials, you can make both useful and attractive kitchen items. Whether you’re just starting out or have lots of experience, there’s something here for everyone.
As you finish your DIY wooden chopping board projects, think about what you’ve learned and how you’ve shown your creativity. This experience will help you with future woodworking projects. And the beautiful chopping boards you’ve made will show off your skill.

