Turning your bedroom into a cozy spot is easy with a wood headboard. You can pick from many designs. Choose a rustic wood headboard for warmth or a modern wood headboard for a sleek look.
Doing it yourself lets you make your bedroom truly yours. You can try out different bedroom headboard designs. It’s a fun way to add either rustic charm or a modern touch.
The Impact of a Headboard on Bedroom Aesthetics
Choosing a headboard greatly affects your bedroom’s look. It can either match or stand out from other decor. A headboard is more than just furniture; it’s a statement that changes your bedroom’s feel.
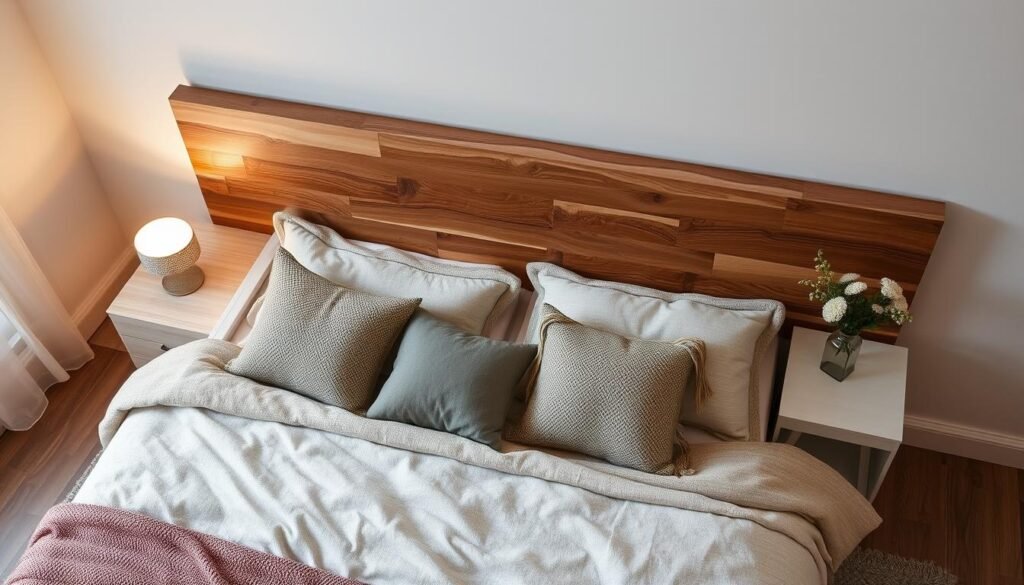
The style of your headboard can either blend with or contrast your bedding, furniture, and colors. For example, a rustic wooden headboard can warm up a modern room. On the other hand, a sleek, modern headboard can make a traditionally decorated room look better.
In interior design, picking the right headboard is key. It’s about knowing how different styles can change your bedroom’s look. Whether you want a simple or cozy room, the headboard plays a big role.
By picking a headboard that fits your bedroom’s style, you create a welcoming space. But, a headboard that contrasts can add a unique touch to your decor.
Why Choose Wood for Your DIY Headboard Project
Wood is perfect for DIY headboards because of its natural beauty. It adds warmth and coziness to any bedroom. This is something other materials can’t match.
Wood is also very versatile. You can stain, paint, or leave it natural. This means you can create many wood headboard styles to match your bedroom’s look. Whether you want rustic or modern, wood can adapt.
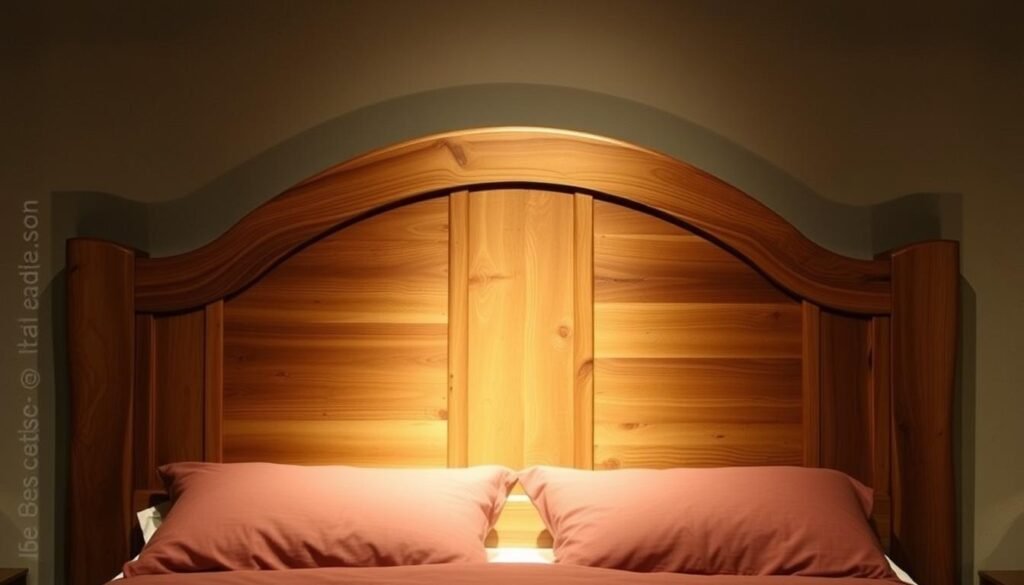
Another great thing about wood is its durability. A wooden headboard can last for years. It’s strong and can handle daily use, making it practical for your bedroom.
There are many types of wood for headboards, each with its own look. Oak is strong and durable, while pine is more affordable but beautiful. Looking at different wooden headboard ideas can help you pick the right wood.
Adding a wooden headboard to your bedroom makes it elegant. It also lets you get creative. With the right wooden headboard design, your bedroom can become a cozy, personal space.
Essential Tools and Materials for DIY Wood Headboards
Creating a beautiful DIY wood headboard starts with the right tools and materials. You’ll need essential tools and high-quality materials to make it stunning.
You’ll need basic tools like a saw, drill, sandpaper, and a hammer for your project. Depending on your design, you might also need a jigsaw or router.
The type of wood you choose is very important. You can use solid wood, engineered wood, or even reclaimed wood for a rustic look. Pallet wood is also popular for a unique and eco-friendly headboard. It’s great for a pallet furniture bedroom, adding to your decor.
You’ll also need hardware like screws, nails, and brackets to put your headboard together. Don’t forget a measuring tape, level, and clamps for accurate measurements and a sturdy build.
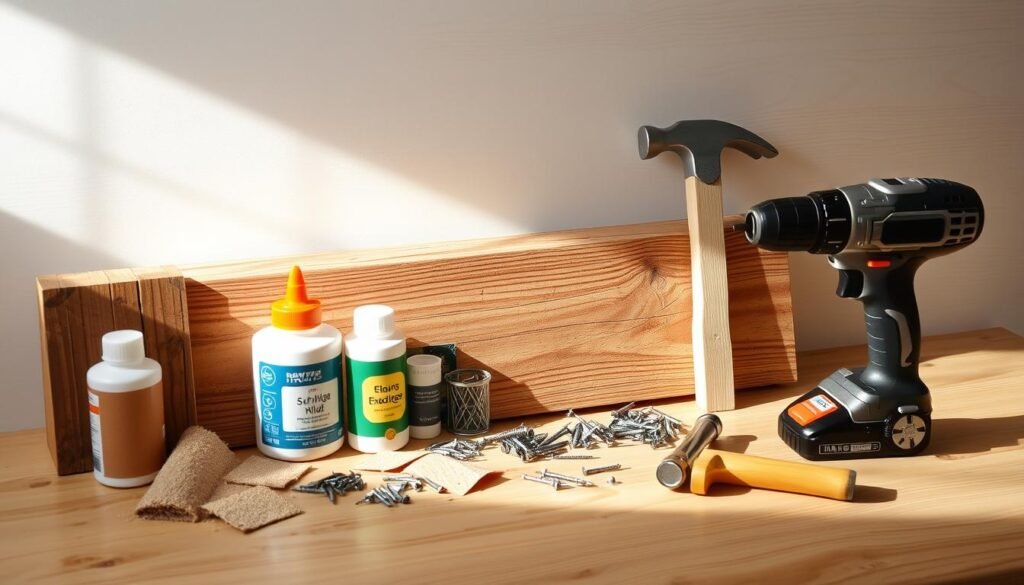
Before starting, sand your materials to avoid splinters and rough edges. You can stain or paint your headboard to match your bedroom’s color scheme.
With the right tools and materials, you’re ready to create a beautiful DIY wood headboard. It will add warmth and elegance to your bedroom.
Planning Your DIY Wood Headboard Project
Starting a DIY wood headboard project needs a good plan. First, measure your bed and wall space carefully. This step is key to planning your DIY headboard.
These measurements help you pick a design that fits well. Make sure it looks good with your bedroom’s style and decor. This way, your headboard will match your bedroom’s look.
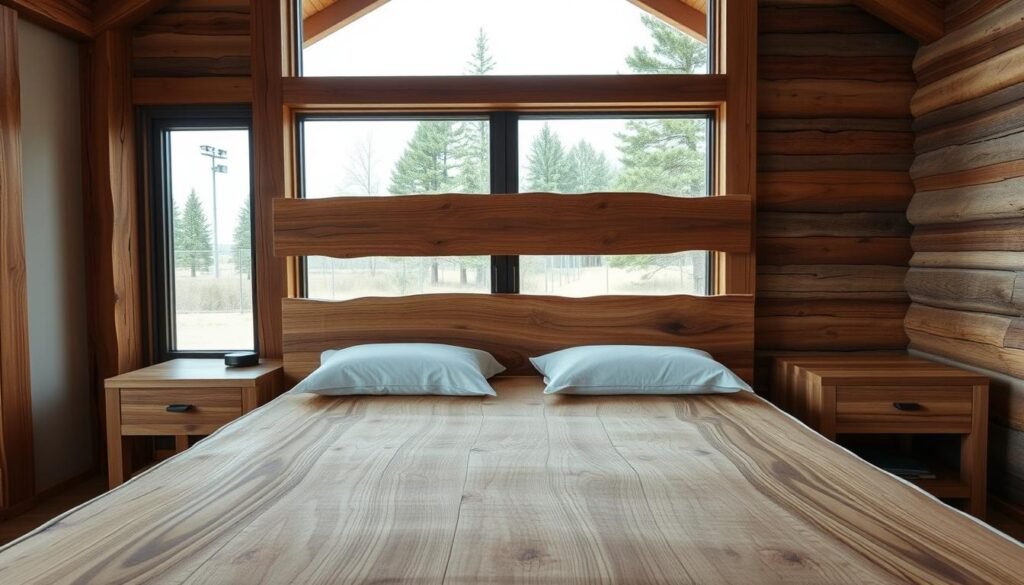
Think about the wood type and finish for your headboard. It should match or contrast with your bed furniture. This choice will make your bedroom look better together.
With careful planning, your DIY wood headboard will be both beautiful and useful. It will make your bedroom look better and show off your personal style.
DIY Wood Headboard Ideas:10 Rustic & Modern Designs for Every Bedroom
DIY wood headboard ideas are endless for both rustic and modern bedrooms. You can add warmth with a rustic wood headboard or go for a sleek, modern look. There’s a design for every taste.
If you love rustic decor, a reclaimed wood headboard is perfect. Its natural texture and imperfections bring character to your room. For a modern vibe, a minimalist wood headboard offers a clean, sophisticated feel.
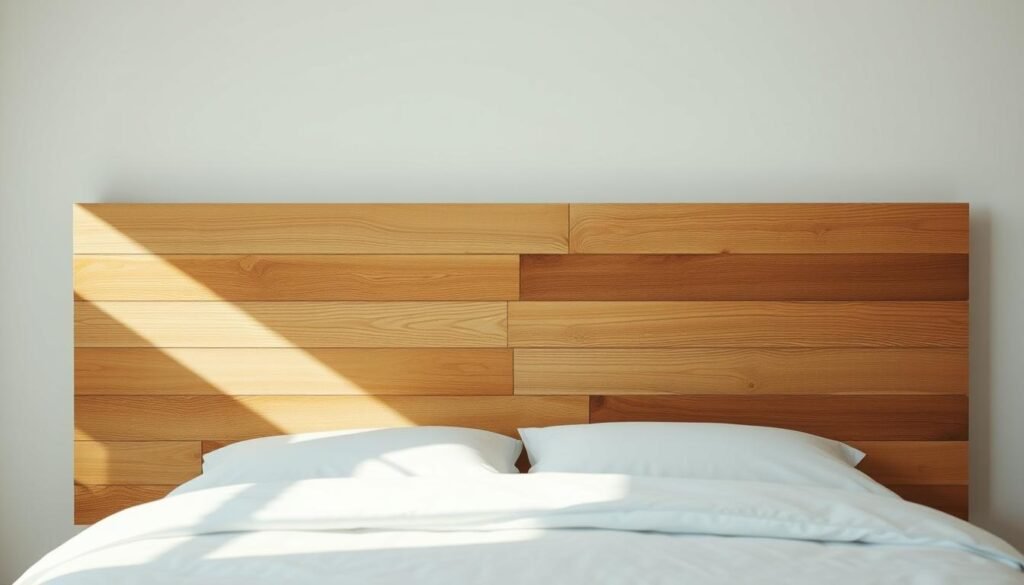
Popular DIY ideas include using wooden pallets, old doors, or vintage windows for a unique headboard. You can also play with wood stains and finishes to match your room’s colors. For a modern twist, try geometric patterns or add metal or fabric to your design.
With creativity, a simple DIY wood headboard can become a stunning centerpiece. Whether you’re on a tight budget or have more to spend, there are many projects to make your dream bedroom a reality.
Choosing the right DIY wood headboard can make your bedroom a cozy reflection of your style. So, get inspired and start your DIY project today!
5 Rustic Wood Headboard Designs
Rustic wood headboards are more than just furniture. They make a bold statement in any bedroom. They bring a natural beauty and warmth that’s hard to find elsewhere.
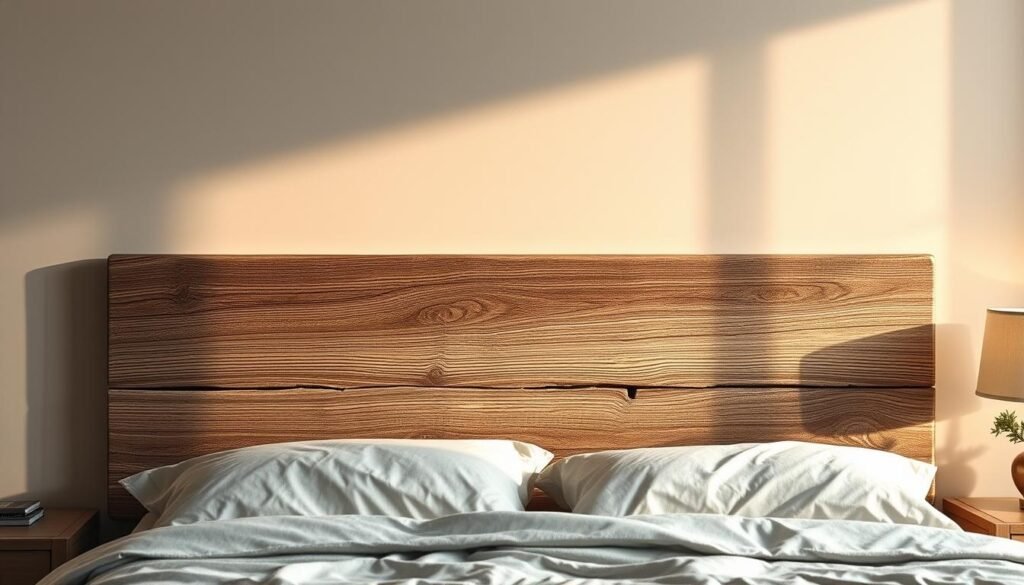
Let’s start with a reclaimed wood headboard. This design uses wood from old barns or fallen trees.
Materials and Tools
You’ll need reclaimed wood planks, wood glue, sandpaper, and a drill.
Construction Overview
First, build a frame with the planks. Make sure they’re well attached. Then, sand the wood to smooth out any rough spots.
Styling Tips
Match the reclaimed wood headboard with earthy tones and natural fabrics. This will enhance the rustic vibe.
Design 2: Rustic Barnwood Headboard
The rustic barnwood headboard is another favorite. It uses wooden planks that look like old barn wood.
Materials and Tools
You’ll need barnwood planks, nails, a hammer, and wood stain.
Construction Overview
Attach the barnwood planks to a wooden frame. Use wood stain to get the color you want.
Styling Tips
Pair the barnwood headboard with vintage decor and soft lighting. This creates a cozy and welcoming space.
Design 3: Wooden Slat Headboard
The wooden slat headboard gives a modern twist to rustic design. It features wooden slats arranged in a pattern.
Materials and Tools
You’ll need wooden slats, a drill, screws, and a saw.
Construction Overview
Build the slats into a frame, spacing them out evenly. Use screws to hold them in place.
Styling Tips
Match the wooden slat headboard with simple decor and neutral colors. This highlights the wood’s natural beauty.
Design 4: Distressed Wood Headboard
The distressed wood headboard has a unique, aged look.
Materials and Tools
You’ll need distressed wood panels, wood glue, and sandpaper.
Construction Overview
Attach the distressed wood panels to a backing board. Make sure they fit well.
Styling Tips
Enhance the distressed look with rustic metal accents and earthy tones.
Design 5: Natural Wood Panel Headboard
For a more subtle rustic look, try a natural wood panel headboard.
Materials and Tools
You’ll need natural wood panels, a saw, and wood finish.
Construction Overview
Cut the wood panels to size and build the headboard frame. Apply a wood finish to protect the wood.
Styling Tips
Pair the natural wood panel headboard with simple decor and soft lighting. This creates a calm and elegant space.
Each rustic wood headboard design brings a unique charm to your bedroom. By choosing the right materials and styling, you can create a cozy and inviting space that reflects your style.
5 Modern Wood Headboard Designs
Modern wood headboards are more than just a place to rest your head. They make your bedroom look like a modern oasis. Their simple design and clean lines make them perfect for any bedroom.
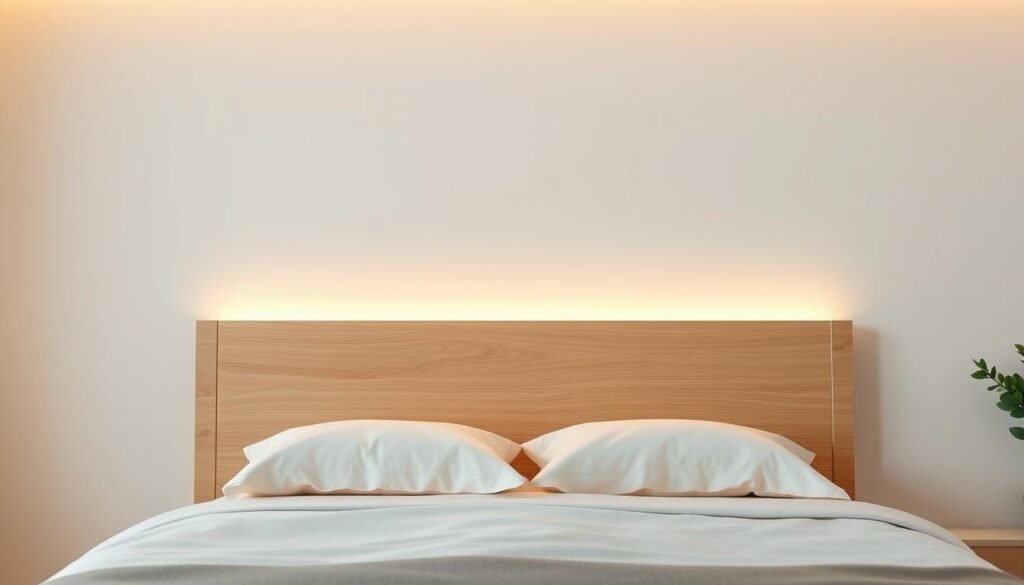
To make a modern minimalist wood headboard, you’ll need reclaimed wood, a drill, and a saw. The reclaimed wood makes your bedroom more eco-friendly.
Construction Overview
First, cut the wood into sleek panels. Then, put them together into a frame. This design highlights the natural beauty of the wood grain.
Styling Tips
Pair this headboard with a neutral bedspread and simple nightstands. This creates a modern and cohesive look in your bedroom.
Materials and Tools
To create a geometric wood headboard, you’ll need different types of wood, wood glue, and a jigsaw. The geometric pattern adds a unique touch to your bedroom.
Construction Overview
Make a geometric pattern with various woods and assemble it into a headboard frame. This is a fun and creative project.
Styling Tips
Match this headboard with bold-colored bedding. This contrast creates a lively and modern bedroom look.
Materials and Tools
A floating wood headboard needs wooden planks, a drill, and wall anchors. This design makes your headboard look like it’s floating, adding a modern touch.
Construction Overview
Attach the wooden planks to the wall using wall anchors. This creates a floating effect that’s visually appealing.
Styling Tips
Keep your bedroom simple and clutter-free. Let the floating headboard be the main focus.
Materials and Tools
A wooden slat headboard requires wooden slats, a saw, and a drill. It offers a rustic yet modern look.
Construction Overview
Assemble the wooden slats into a frame. This creates a sturdy and attractive headboard.
Styling Tips
Use earth-toned bedding to match the wooden slats. This creates a cozy yet modern bedroom atmosphere.
Materials and Tools
A modern panel headboard needs large wooden panels, a drill, and decorative hardware. It’s perfect for making a statement in your bedroom.
Construction Overview
Assemble the wooden panels into a large frame. Add decorative hardware for elegance.
Styling Tips
Pair this headboard with luxurious bedding and modern nightstands. This creates a sophisticated and modern bedroom design.
Adding a modern wood headboard to your bedroom can give it a stylish and inviting look. It’s perfect for a modern bedroom design.
Step-by-Step Installation Guide for Wood Headboards
Installing a wood headboard can be a fun DIY project. It’s important to follow a step-by-step guide for success.
Start by getting ready the tools and materials you need. You’ll require a drill, screws, a level, and possibly wall anchors. Always check the manufacturer’s instructions for any special needs.
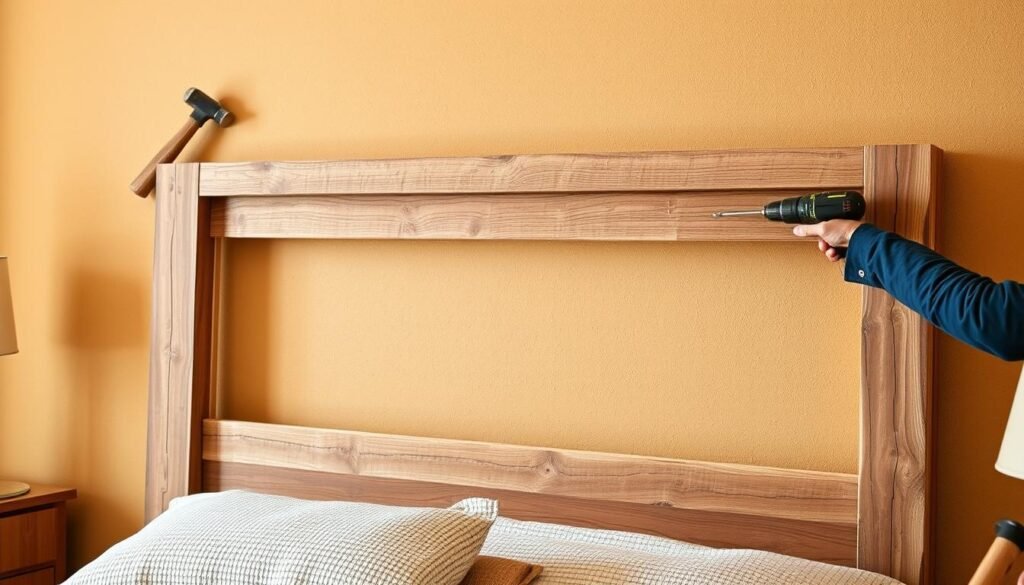
Place the headboard against the wall and mark where to attach the brackets or screws. Use a level to make sure it’s straight. If needed, drill pilot holes for wall anchors.
Then, attach the headboard to the wall with the screws or wall anchors. Make sure they’re tight to hold the headboard’s weight.
Lastly, check if the headboard is level and securely attached. Adjust the screws if needed. A well-installed wood headboard improves your bedroom’s look, making it stylish and cohesive.
By following these steps, you can get a professional-looking wood headboard installation. It will add elegance to your bedroom.
Finishing Techniques for Wood Headboards
To make your wood headboard stand out, the right finishing techniques are key. Finishing wood headboards involves several steps. These steps improve their look and last longer.
Staining is a popular choice. It adds color and depth to the wood. You can choose from light, natural tones to dark, rich colors. Pick a stain that matches your bedroom furniture for a unified look.
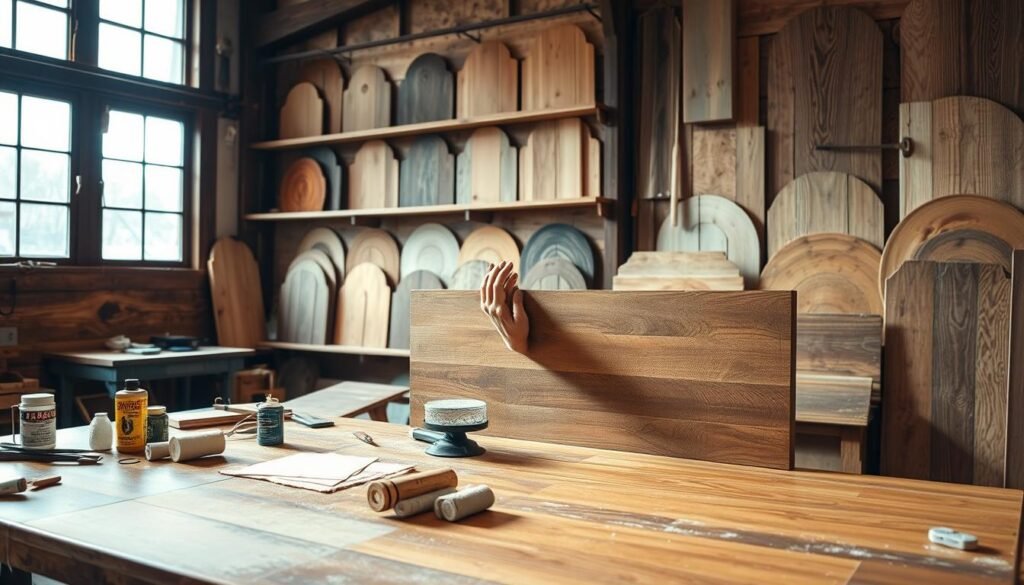
Painting is another way to finish wood headboards. It lets you pick from many colors. You can go for something bold or soft. Always use a good primer for a smooth finish.
Sealing is important to protect the wood. It keeps the wood safe from damage and wear. Apply a clear sealant over stained or painted wood for extra protection and beauty.
If you’re using pallet wood, like in pallet furniture bedroom designs, a natural finish or weathered stain works well. No matter the technique, always follow the instructions and work in a well-ventilated area.
Customizing Your Wood Headboard
With a few simple tweaks, you can turn a basic wood headboard into a stunning focal point in your bedroom. Customizing your headboard allows you to add a personal touch and make it truly unique.
One way to customize your wood headboard is by adding decorative elements. You can incorporate carvings, moldings, or other ornaments to give it a personalized look. For instance, adding a carved wooden crest or a decorative trim can enhance the overall aesthetic of your headboard.
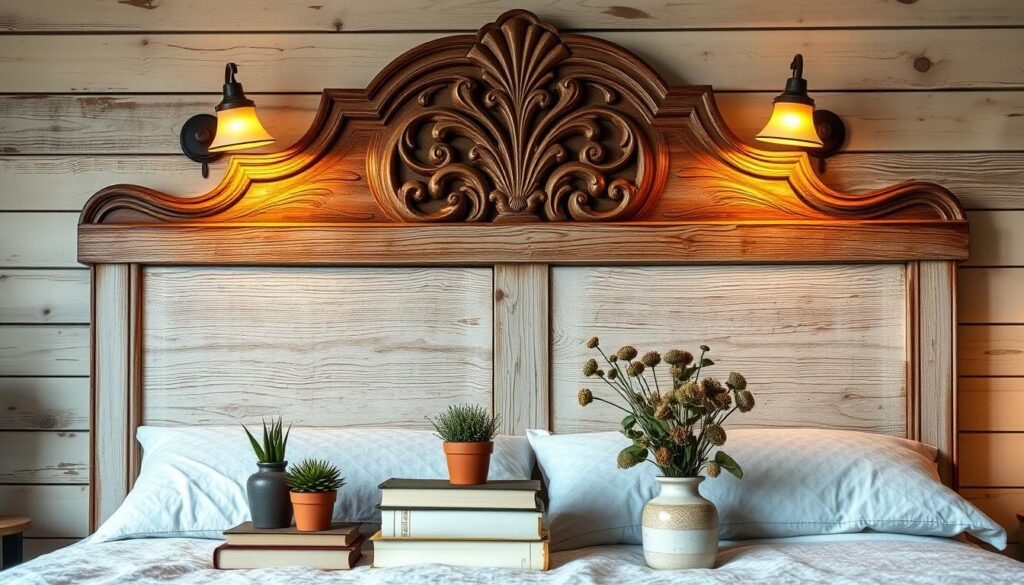
Modifying the design of your headboard is another way to make it stand out. You can experiment with different shapes, sizes, and styles to create a one-of-a-kind piece. Consider adding a statement piece, like a reclaimed wood accent or a metal embellishment, to give your headboard a unique flair.
Incorporating personal touches into your wood headboard can also make it special. You can add a meaningful quote, a family crest, or a personal symbol to make it truly yours. This is a great way to make your bedroom reflect your personality and style, aligning with your overall bedroom headboard designs and DIY bedroom projects.
By customizing your wood headboard, you can create a beautiful and functional piece that complements your bedroom decor. With a little creativity, you can turn a simple headboard into a stunning work of art that showcases your wooden headboard ideas and personal style.
Budget-Friendly Tips for DIY Wood Headboards
You don’t have to spend a lot to make a beautiful wood headboard. With a few smart tips, you can make a stunning headboard without spending too much.
Using affordable materials is a great way to save money. Look for reclaimed or salvaged wood at local stores or online. You can also turn old furniture, like an old door or pallet, into a unique headboard.
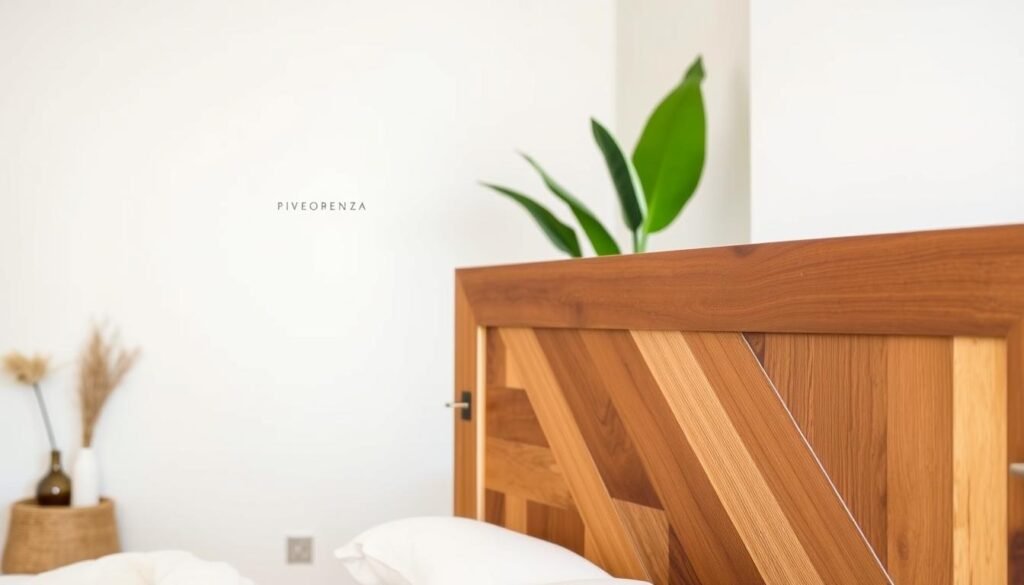
Keeping your design simple can also help save money. Choose a design that needs fewer materials and less work. Engineered wood or MDF are good options because they’re cheaper than solid hardwood.
Here are more tips to stay on budget: buy materials when they’re on sale, pick a smaller headboard, and make your own decorations instead of buying them.
By using these tips, you can make a fantastic DIY wood headboard. It will make your bedroom look great without costing a lot. With a bit of creativity and smart shopping, you can get a beautiful headboard that fits your budget.
Common Mistakes to Avoid When Making a DIY Wood Headboard
Starting a DIY wood headboard project can be tricky if you don’t know the common mistakes. One big error is taking wrong measurements. This can make your headboard not fit your bed or wall.
Choosing the wrong materials is another mistake. Using low-quality wood or the wrong finishes can make your headboard look cheap or wear out fast. It’s important to pick materials that are both strong and look good.
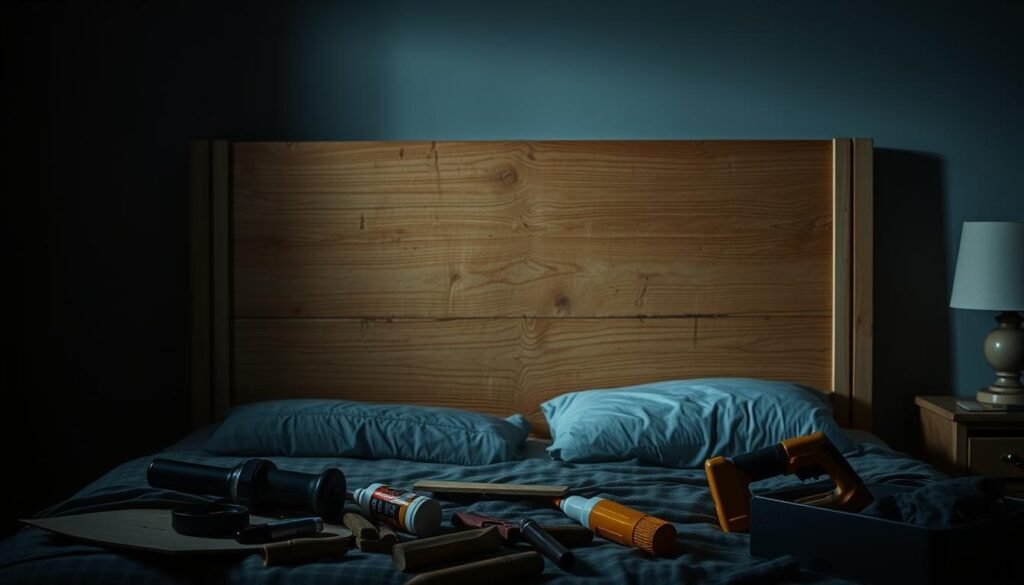
Not finishing your project right can also mess it up. If you don’t sand or seal the wood well, it might look rough or get damaged. Make sure to finish your headboard correctly to avoid costly mistakes.
Knowing these common mistakes helps you plan better. Take your time to measure right, choose the best materials, and finish well. This way, you’ll get a beautiful and lasting piece that improves your bedroom.
Styling Your Bedroom Around Your New Wood Headboard
Now that your new wood headboard is up, it’s time to make your bedroom cozy. Choose the right bedding, furniture, and decor to match your headboard. This will make your bedroom inviting and cohesive.
Begin by picking bedding that goes well with your headboard’s style. For a rustic headboard, choose earthy tones and natural fabrics. For a modern headboard, bold patterns and bright colors work best. The goal is to balance your headboard and bedding nicely.
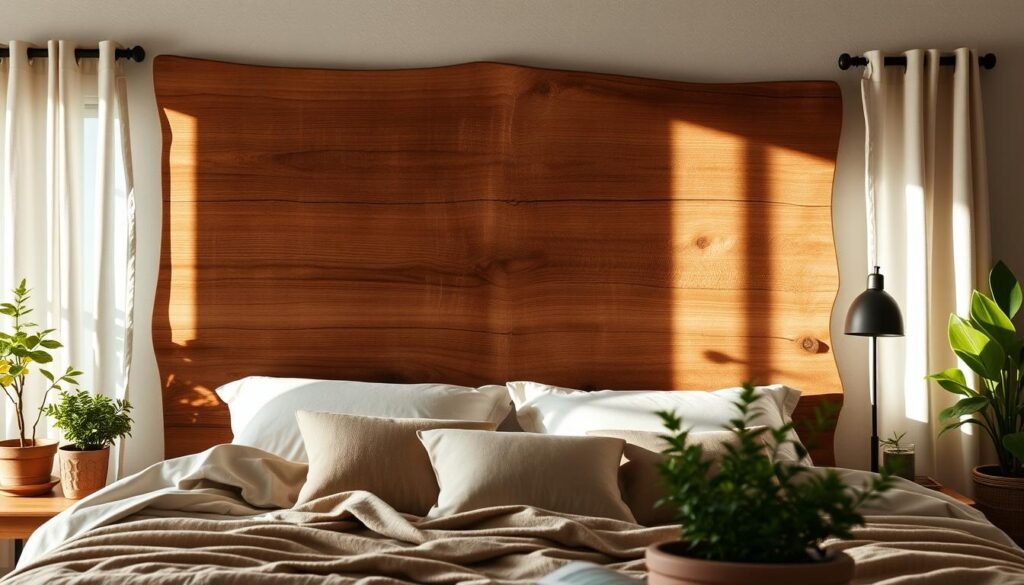
Think about your headboard’s style when picking furniture. A reclaimed wood headboard looks great with vintage or antique pieces. A sleek, modern headboard pairs well with minimalist furniture. Add decor like soft lighting, plants, or artwork to enhance the mood.
To make your king-size bedroom cozy, layer different elements. Use your wood headboard as the centerpiece. Then, add decor and furniture that complements it. With a bit of creativity, your bedroom will become a peaceful retreat that shows off your style.
Maintaining and Caring for Your Wood Headboard
Keeping your wood headboard in good shape is key. Regular dusting with a soft, dry cloth is a must. This prevents dust and debris from scratching the surface.
For deeper cleaning, a slightly damp cloth works well. But, dry the area right away to avoid water damage. Stay away from harsh chemicals or abrasive cleaners that can harm the wood or damage the finish.
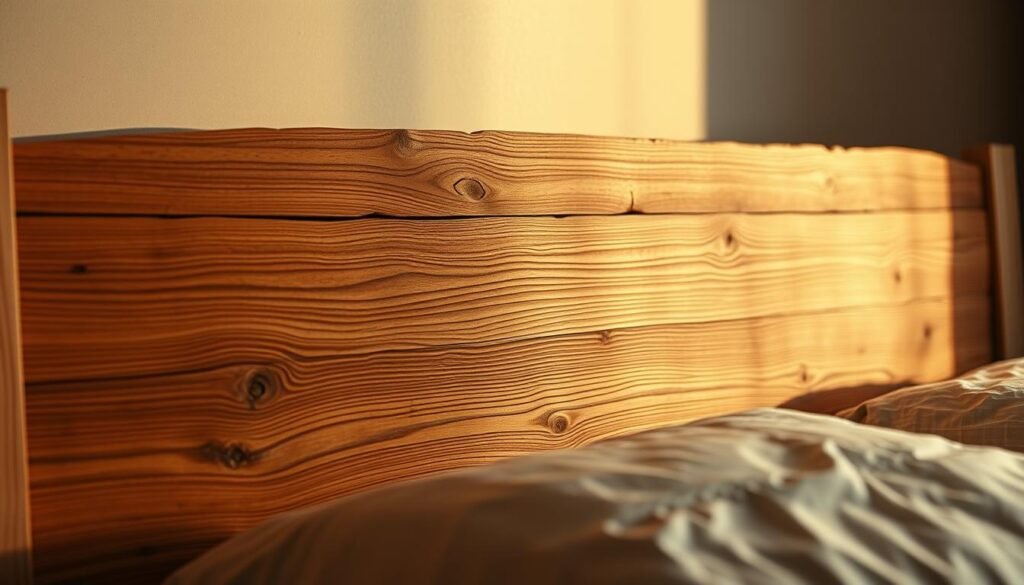
Polishing your wood headboard now and then keeps it looking great. Pick a polish that matches your headboard’s finish and follow the instructions carefully.
Protecting your headboard from too much sunlight and moisture is also important. Use curtains or blinds to filter sunlight. Also, make sure your bedroom has good air flow to prevent moisture buildup.
By following these easy care tips, your wood headboard will last for many years. It will remain a stunning centerpiece in your bedroom.
Conclusion
Creating a beautiful and functional bedroom is a top priority for many homeowners. One simple yet effective way to elevate your bedroom’s style is by incorporating a stunning wood headboard. Throughout this article, we’ve explored the world of DIY wood headboard ideas, from rustic to modern designs.
We provided you with the tools and inspiration needed to bring your vision to life. With diy wood headboard ideas, you can add a touch of warmth and character to your bedroom. Whether you’re looking for bedroom headboard designs that exude elegance or wooden headboard ideas that showcase your personality, the possibilities are endless.
By choosing the right materials and design, you can create a master headboard ideas that becomes the centerpiece of your bedroom. Now that you’ve seen the various options and techniques available, it’s time to start planning your own DIY wood headboard project. With a little creativity and some basic tools, you can transform your bedroom into a cozy retreat that reflects your unique style.
So, get started and enjoy the process of bringing your diy wood headboard ideas to life!

