Enhancing your curb appeal starts with a clear vision for your exterior. Many homeowners explore creative garden border ideas to neatly separate lawns from blooming flower beds. Defining these zones creates a clean style that anyone can achieve.
Choosing wooden landscape edging for a DIY task provides a warm, organic feel. Synthetic options simply cannot match this. These natural materials blend perfectly with the plants. It is a fun way to spend a weekend working outside on your property.
But, organic planks face challenges when they remain in the dirt. Moisture and ground contact often lead to decay if you do not take the right care. Shifting soil can shorten their lifespan dramatically.
Understanding these factors ensures your hard work lasts for many seasons. We will discuss how to select materials and prepare the site for your wood garden borders. Let us dive into the best practices for a sturdy and attractive finish.
Visit The Marketplace or grab your Free Garden Starter Kit
1. Wood Garden Borders Look Great — But Read This First
Wood garden borders are a fantastic way to shape your garden. But, you must first think about what your garden needs. This step is key to making sure your garden looks good and is easy to care for.
Assessing Your Garden’s Needs
Start by looking at your garden’s layout and needs. Think about the garden border materials that will work best for your garden. For example, if your garden gets a lot of moisture, choose materials that won’t rot or get damaged by insects.
Consider how you want to use your garden. Do you want a garden with path that winds through different areas? Or maybe a front garden no grass that’s easy to keep up? Your garden’s purpose and your likes will help you pick the right wood borders.

Also, think about how the wood borders will fit with your existing landscape. For instance, if you have a wall around patio, make sure your borders match it well. By carefully planning, you can create a beautiful and unified outdoor space.
- Evaluate your garden’s layout and conditions.
- Consider the purpose and desired use of your garden spaces.
- Choose garden border materials that are suitable for your garden’s conditions.
- Think about how your garden borders will integrate with existing features.
By taking these steps, you can make sure your wood garden borders are not just pretty but also practical and lasting. This careful planning will help you create a garden that’s both stunning and simple to care for.
2. Choosing the Right Wood Material for Your Garden Borders
Choosing the right wood for your garden borders is key. It affects both how your garden looks and how long it lasts. The wood you pick can change your wooden landscape edging‘s appearance and durability.
Different woods have their own pluses and minuses. Cedar, for example, is great for sleeper bed ideas because it fights off rot and bugs. But, it might cost more than other woods.
Pressure-treated wood is another choice, often used for sleepers garden projects. It’s strong and affordable. Yet, it might have chemicals some people don’t want in their gardens.

Think about the wood’s sustainability and how it ages. For sleeper beds garden designs, reclaimed wood brings a unique, rustic look. But, it might need more care.
When picking wood for your sleeper edging, consider these points:
- Durability and resistance to rot and insects
- Aesthetic appeal and how it complements your garden design
- Cost and budget considerations
- Sustainability and environmental impact
By considering these, you can find a wood that beautifies your garden and lasts long.
3. Planning Your Wooden Landscape Edging Design
Before you start installing your wood garden borders, planning is key. A well-thought-out design makes your garden look better and helps define different areas. It’s all about creating a beautiful and functional space.
Garden border design tips can greatly impact your garden’s look. For a rectangular garden, a simple straight design works well. But for complex shapes, you might need to get creative.
Measuring and Marking Your Garden
To plan your wooden landscape edging, measure your garden accurately. Use a tape measure to find the length and width of the areas you want to border. Think about paths, flower beds, and other features you’ll edge with wood.
- Identify the areas where you want to install the wood garden borders.
- Measure the perimeter of these areas to determine how much wood you’ll need.
- Mark the boundaries using stakes and twine or a garden hose to visualize your design.
For a straight garden design, a string line helps keep borders straight. For curved designs, use a garden hose or flexible rope to mark the shape. This will help you see how your wooden edging will look.
When planning your back garden ideas landscaping, think about the look you want. Consider your house style, garden color scheme, and how the wooden borders will fit in.

By carefully planning your wooden landscape edging design, you can create a stunning and useful garden border. It will enhance your outdoor space beautifully.
4. Budget Reality: What Wood Garden Borders Actually Cost
The cost of wood garden borders can change a lot. Knowing what affects the price is key to planning your budget.
The type of wood used is a big factor in cost. Different woods have different prices based on their durability and looks. For example, cedar and redwood are good choices because they last long but cost more than pine or spruce.
Garden border materials also matter a lot. You’ll need to think about the cost of posts, nails, and maybe a sealant to protect your borders.
The design of your sleeper garden ideas also affects the price. Simple borders are cheaper than complex ones with curves or levels. Adding sleeper beds or outdoor sleepers will also increase the cost.
For something different, consider a curved top gabion fence. It can make your garden stand out but will cost more.
Here’s a quick look at what wood garden borders might cost:
- Wood material costs can range from $3 to $10 per linear foot, depending on the type and quality of the wood.
- Labor costs, if you’re hiring a professional, can add another $5 to $15 per linear foot.
- Additional materials like posts and sealants can add to the overall cost.

By understanding these factors and thinking about your needs, you can plan your budget better for wood garden borders.
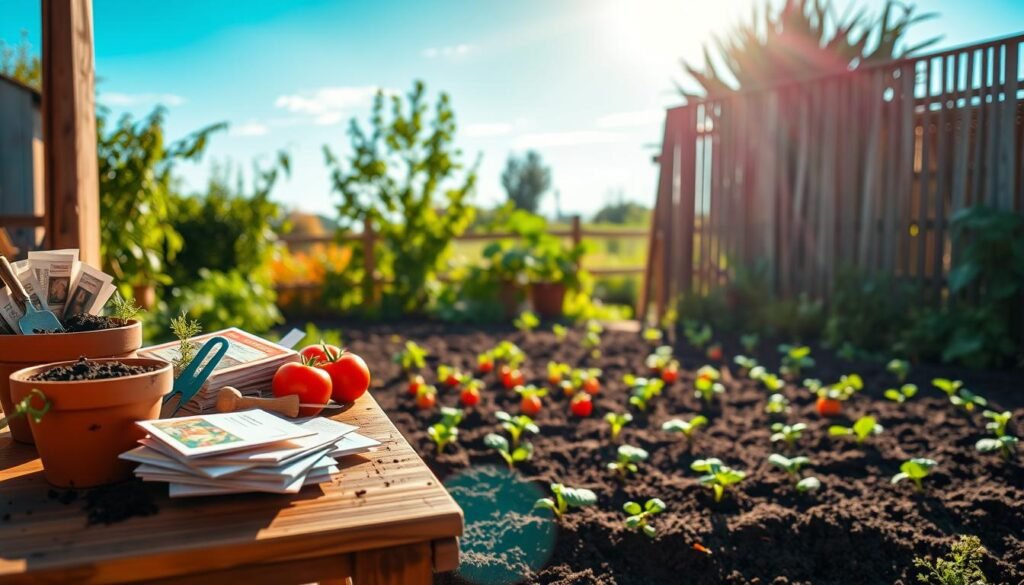
5. Essential Tools and Materials You’ll Need
Before starting your wood garden border project, make sure you have all the tools and materials. This step is key to a smooth installation.
Preparing the Necessary Materials
First, you’ll need some important materials for your wooden landscape edging project:
- Wooden planks or sleepers for the border
- Wood screws or nails for assembly
- Weather-resistant wood glue
- Wood preservative or sealant
Next, you’ll need the right tools:
- A tape measure and square for accurate measurements
- A saw for cutting the wood
- A drill or hammer for assembling the border
- A level to ensure the border is even

For raised sleeper beds and simple small backyard landscaping, you might also need soil, gravel, or decorative rocks. Having everything ready will make the installation easier and more fun.
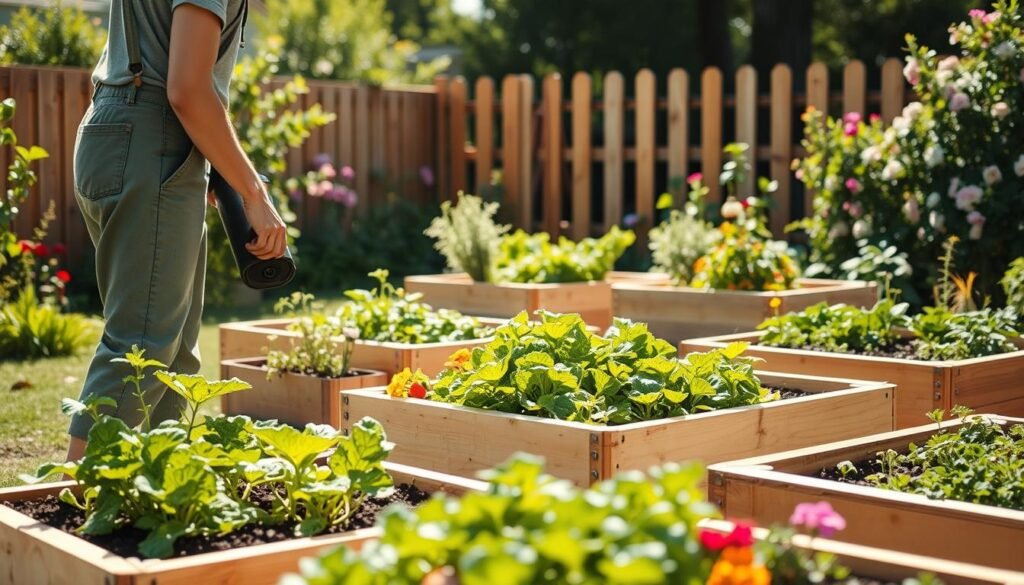
6. The Installation Process: What Your Weekend Will Look Like
With the right tools and planning, you can install wood garden borders over a weekend. The process has several key steps. These steps will help you create a beautifully edged garden.
Step 1: Prepare Your Site
Start by clearing the area where you’ll work. Remove any debris, plants, or obstructions. Use a string or hose to mark out the area for your wood garden borders.
Step 2: Dig the Trench
Dig a trench for your borders. Make sure it’s deep enough for the border material and a few inches for gravel or sand. The trench should be wider than the border material for easy placement.

Put a layer of gravel or sand at the bottom of the trench. This helps with drainage and stability. Compact it firmly for a solid foundation.
Step 4: Install the Borders
Start installing your wood garden borders from one corner. Work your way around the garden. Use a level to keep the borders even and adjust as needed. Secure them with stakes or nails, depending on your design.
Here are some key tips for the installation:
- Use weather-resistant wood to make your borders last longer.
- Think about the height of your borders in relation to the landscape.
- Make sure the borders are securely fastened to prevent shifting.
By following these steps and tips, you can achieve professional-looking results. This will enhance your small back garden landscaping or small UK backyard ideas.
7. Common Challenges and How to Handle Them
Starting to install wood garden borders can bring up a few hurdles. One big issue is uneven terrain, which is common when making sleeper raised beds patio designs.
Uneven ground makes it hard to get a level surface. To solve this, use adjustable wooden sleepers or shims to align the borders right.

Another problem is corners and tight spaces, like in different level garden sleeper beds on corners. Use cutting and fitting to make the joints smooth.
For those with backyard ideas small yard, mixing function and beauty is tough. Use vertical elements or tiered designs to save space and look good.
In backyard garden small spaces, think about scale and proportion. Pick materials and features that fit well with the area and don’t take over.
Some common problems you might run into include:
- Dealing with uneven terrain or slopes
- Navigating corners and tight spaces
- Balancing functionality with aesthetics in small yards
Knowing these challenges and having a plan can make your installation smooth and worry-free.
8. Maintenance Requirements: The Long-Term Commitment
Keeping your wood garden borders in top shape is key. Regular care ensures they stay strong and look great. It’s all about keeping your garden beautiful.
For your wood garden borders to last, check them often. Look for damage like rot, bugs, or warping. Fixing these problems early can stop bigger issues later.
Key Maintenance Tasks:
- Regularly inspect the wood for damage or rot.
- Apply a protective sealant or stain every 2-3 years.
- Keep the area around the borders clear of debris.
- Ensure the borders remain level and stable.
For raised flower beds backyard and raised border gardens along fence, watch the soil and drainage. Good drainage stops waterlogged soil, which harms the wood.
With backyard raised beds along fence, make sure they’re secure. Check if they’ve moved. This keeps them looking good and working right.

By sticking to these maintenance tips, your wood garden borders will last longer. You’ll keep enjoying their beauty and usefulness in your garden.
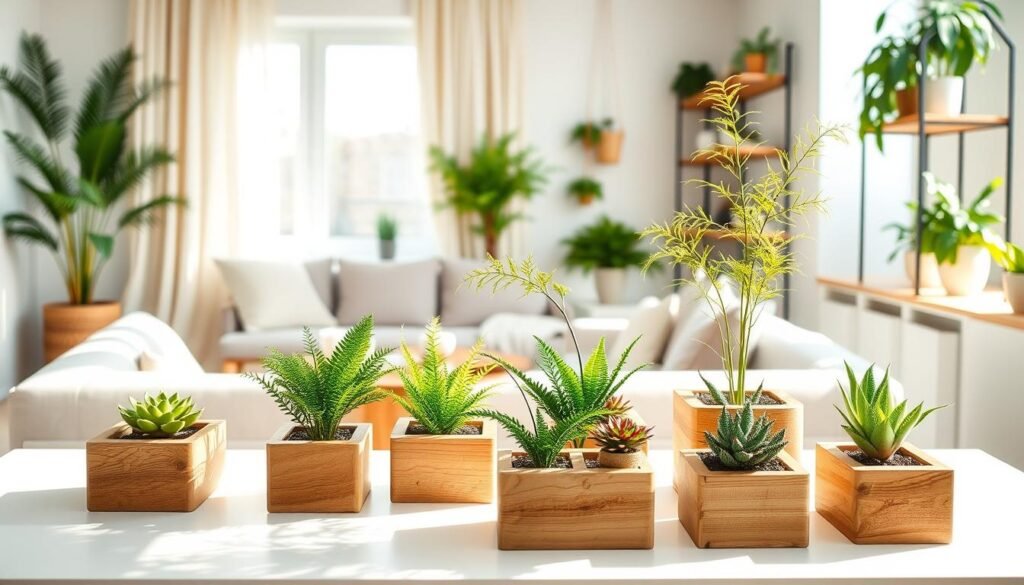
9. Design Inspiration: Popular Wood Border Ideas for Every Yard
Creating a stunning garden border is an art, and wood gives you a versatile canvas. Wood garden borders can add warmth and character to your outdoor space. They make it more inviting and beautiful.
Popular Wood Border Ideas
- Cottage-style borders with rustic wood
- Modern wooden edging for a sleek look
- English garden-inspired backdrops for a classic feel
Incorporating Wood Borders into Your Garden Design
To add wood borders to your garden design, think about your garden’s style and theme. For a cottage garden modern look, use reclaimed wood or distressed finishes. For a sleek look, choose modern wooden edging to create clean lines.

Wood can also frame a small concrete garden or an english garden inspired backyard. The key is to balance wood borders with other garden elements for a harmonious design.
Tips for a Beautiful Wood Border
- Choose durable, rot-resistant wood.
- Consider the wood’s color and texture to match your garden’s aesthetic.
- Make sure the wood border is installed correctly to avoid damage.
10. Conclusion
Installing wood garden borders can really boost your garden’s look and feel. Choosing the right wood and planning your design is key. This way, you can make a beautiful and useful outdoor area.
Things like your budget, tools, and upkeep needs matter a lot. Whether you want to match your stone or add a touch with concrete, wood borders are a great choice. They’re flexible and can fit many styles.
With good planning and doing, your wood borders will make your yard look better and last longer. You can use the ideas shared to make a space that’s both unique and welcoming. It will show off your personal taste.