Getting a high-quality finish is key for any woodworking project. It doesn’t matter if you’re just starting out or have years of experience. A professional finish can make your project stand out and last longer.
Knowing the right techniques and tips is vital. You’ll need to use stains, oils, and clear coats to show off the wood’s natural beauty. By following these steps, you can make a finish that looks great and lasts.
In this article, we’ll show you how to get a professional wood finish. We’ll cover everything from preparing the wood to applying the finish. You’ll learn all you need to know to make stunning woodworking projects.
The Foundation of Professional Wood Finishing
To get a professional wood finish, you need to know the basics. One key thing is the type of wood you use.
Hardwoods vs. Softwoods: Finishing Differences
Hardwoods, like oak and maple, are denser than softwoods, such as pine and fir. This means hardwoods need more coats to look even.
The wood’s grain pattern also matters. Oak, with its bold grain, might need extra coats. Cherry, with its smooth grain, can get a glossy finish with fewer coats.
Cleaning and Degreasing Techniques
Before you start, clean and degrease the wood. Use a wood cleaner to remove dirt, oil, and other stuff that can mess up the finish.
Moisture Content Considerations
Don’t forget about the wood’s moisture level. Wood with too much moisture can cause an uneven or cracked finish. Make sure the wood is dry before you apply the finish.
Essential Tools for Achieving a Professional Wood Finish
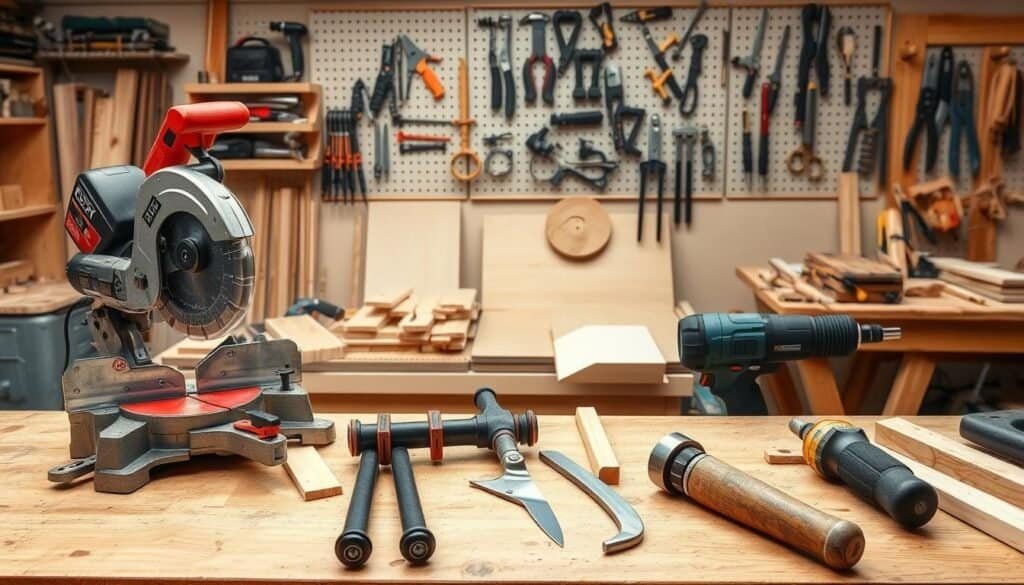
Getting a professional wood finish starts with the right tools. Woodworkers need the best sanding tools, brushes, and spray equipment. This ensures a flawless finish.
Hand vs. Power Sanding Tools
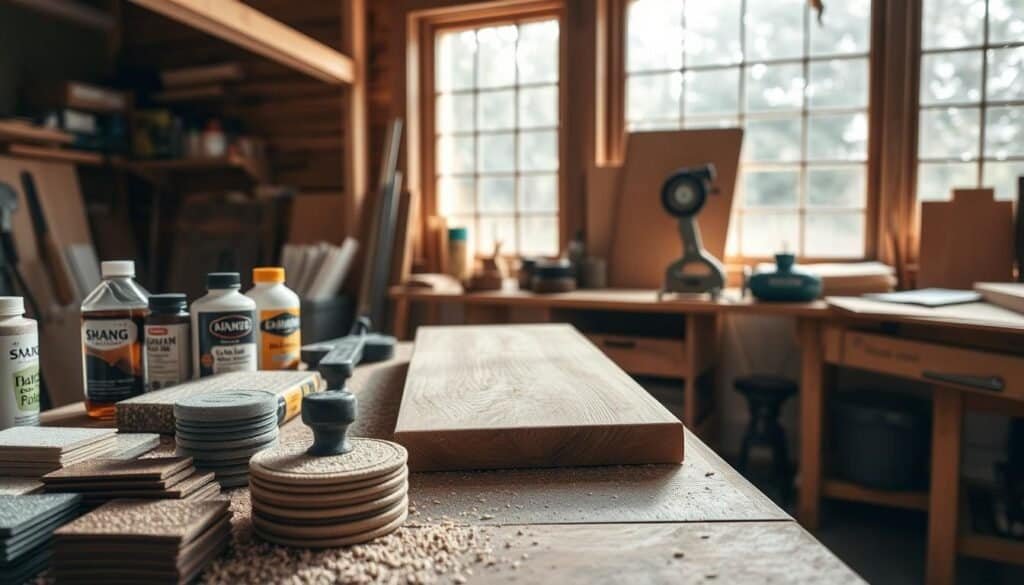
Woodworkers can choose between hand sanding tools and power sanding tools. Hand sanding is great for small, detailed areas and gives more control. Power sanding is better for large surfaces and is faster. Both are needed for a smooth finish.
Specialty Sanding Tools for Difficult Areas
Specialty sanding tools are key for tricky areas. They help with complex shapes and tight spaces. This ensures every wood surface is smooth.
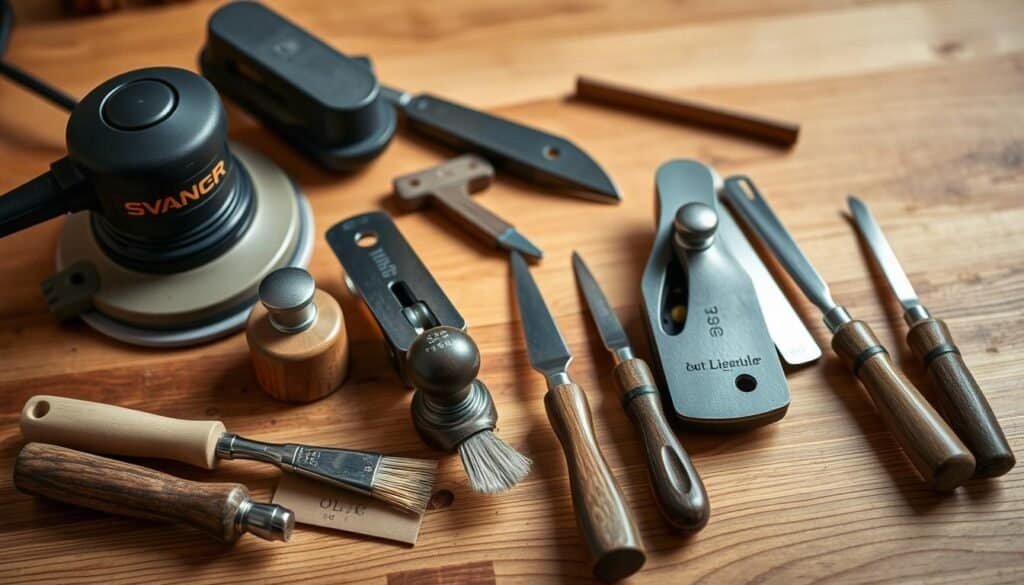
The quality of brushes greatly affects the finish. Natural bristle brushes are best for oil-based finishes. Synthetic brushes are better for water-based finishes. Choose the brush size and shape based on your project’s needs.
Spray Equipment Options for Different Budgets
Spray equipment is vital for a professional wood finish. You can choose from HVLP systems, which are versatile and easy to use, or airless systems, which are efficient but more expensive. Pick based on your budget and project needs.
Knowing about the tools and their uses helps woodworkers make the best choices. This leads to great results in their projects.
Wood Finishing Secrets for a Professional Look
Learning about wood finishing can make your project look like a pro’s. Getting a professional wood finish is more than just applying a finish. It takes careful prep, the right conditions, and patience.
Why Preparation Matters More Than Application
Preparation is key to a pro wood finish. This means sanding the wood smooth, filling in any flaws, and making sure it’s clean and dry. Good prep is vital because it affects how the finish looks. A smooth surface lets the finish stick well, giving you a glossy finish.
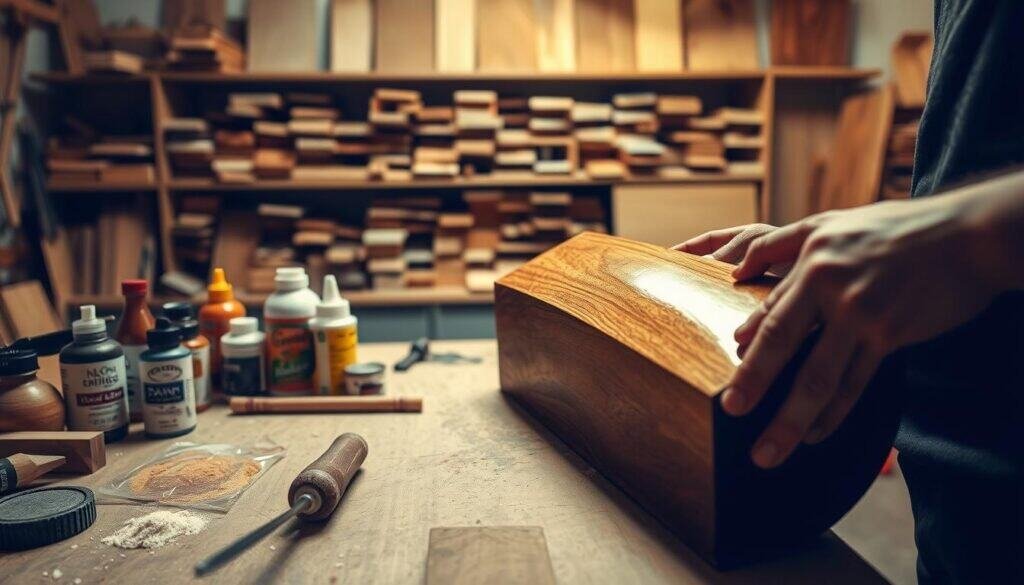
Environmental conditions are important in wood finishing. Temperature and humidity can change how fast the finish dries and its quality. It’s best to work in a place with good air, a steady temperature of 60°F to 80°F (15°C to 27°C), and humidity of 40% to 60%. This helps avoid problems like uneven drying or finish flaws.
The Perfect Drying Time Between Coats
Getting the drying time right between coats is essential for a pro finish. Hurrying can cause uneven or flawed finishes. The drying time depends on the finish type and the environment. Always follow the maker’s drying time guide and be patient for the best results.
By mastering these wood finishing secrets, you can get a pro look that brings out the wood’s beauty. Whether it’s for natural wood furniture or other projects, focus on prep, environment, and drying time. This will give you a finish that’s polished and looks like a pro did it.
Mastering the Art of Wood Sanding
Getting a smooth finish on wood starts with learning sanding techniques. Sanding is key in the wood finishing process. It gets the surface ready for staining and sealing.
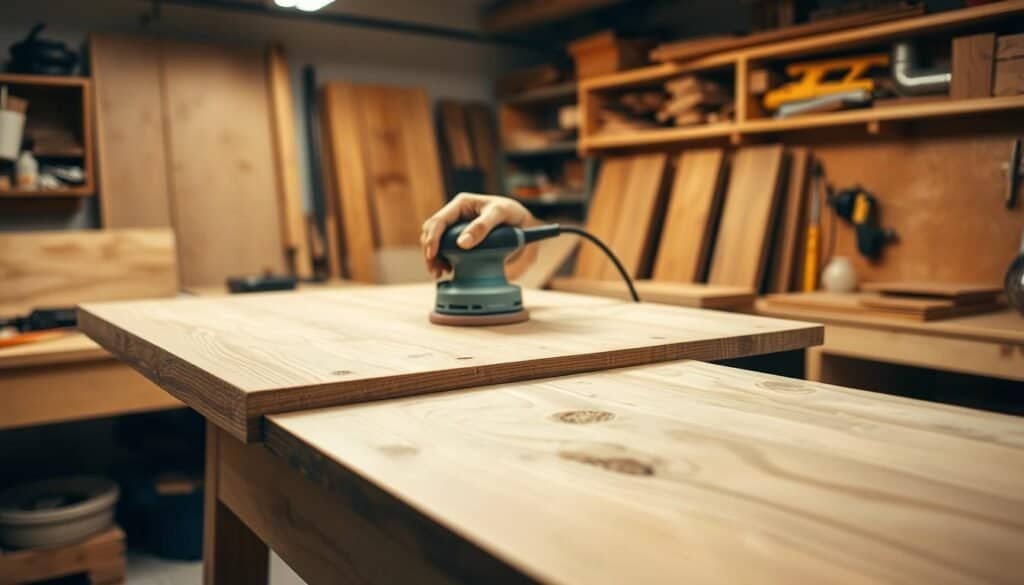
Creating a sanding schedule is vital for a pro finish. Begin with coarse-grit sandpaper and move to finer grits. Make sure each step is done well before moving to the next.
Detecting and Eliminating Cross-Grain Scratches
Cross-grain scratches are a big problem when sanding wood. Check your work under good light to spot them. If you find scratches, use finer grit sandpaper and sand with the grain to fix them.
Special Techniques for Figured Wood
Figured wood needs extra care because of its unique grain patterns. When sanding figured wood, use a flexible sanding block. This helps get an even finish by following the surface contours.
By learning these wood sanding techniques, woodworkers can get a smooth, even surface. This is essential for a pro finish. Whether it’s straight-grained or figured wood, a good sanding schedule is the key to success.
Pre-Finishing Treatments That Enhance Results
Getting a professional wood finish starts with the right pre-finishing treatments. These treatments make the final result better by improving the quality and durability of the finish.
DIY vs. Commercial Wood Conditioners
Wood conditioners prepare the wood surface for finishing. You can use commercial wood conditioners or make your own DIY version. Commercial conditioners are easy to use and made for different types of wood. DIY conditioners are cheaper and can be tailored to your needs.
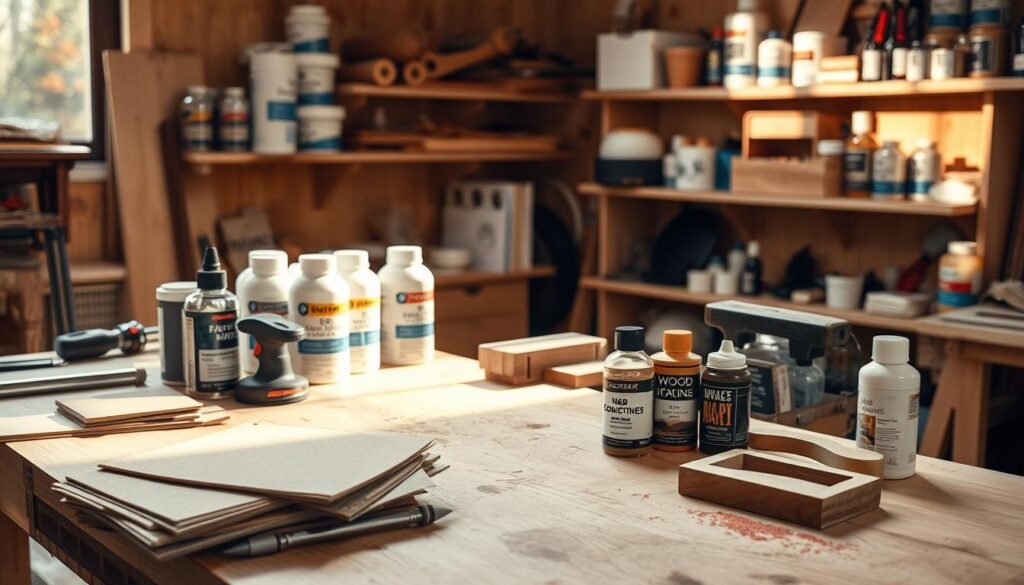
Porous woods need special care with pre-finishing treatments. Using a wood conditioner fills in the pores for a smooth finish. Always follow the manufacturer’s instructions for application and drying times for the best results.
When Water-Based Finishes Require Extra Steps
Water-based finishes are loved for their ease and quick drying. But, they might need extra steps on certain woods. Applying a wood conditioner before using a water-based finish can lead to a more even and professional look.
Understanding and using the right pre-finishing treatments can greatly improve your wood finish’s quality and durability. Whether you’re working with porous woods or using water-based finishes, the right treatment makes a big difference in achieving a professional finish.
Choosing the Right Finish for Your Project
The right finish can make your woodworking project stand out. But how do you pick the best one? With many choices, knowing what each finish offers is key.
When picking a finish, think about the environment. Some finishes release harmful chemicals that can pollute the air. Choosing low-VOC or eco-friendly options can help. Also, different finishes have different strengths, like how well they last and how they handle sunlight.
Durability Factors for Different Applications
The finish’s durability depends on the project’s use. For example, a dining table needs a tougher finish than a wall decoration. Knowing how your project will be used helps choose the right finish.
Creating Burnt Wood and Rustic Finishes
Want a burnt wood or rustic look? Techniques like shou sugi ban or special stains can help. These finishes add beauty and protect the wood.
Natural and Eco-Friendly Finishing Options
Natural and eco-friendly finishes are becoming more popular. Beeswax, linseed oil, and plant-based polyurethane are good choices. They’re great for projects where you care about the environment.
By considering these points, you can pick a finish that looks good and works well. It’s all about finding the right balance for your project.
Application Techniques That Guarantee Success
To get a smooth, even finish, knowing different application techniques is key. The right method can greatly improve your wood finishing project’s quality.
Eliminating Brush Marks and Achieving Flow
Brush marks are a common problem in wood finishing. Use a high-quality brush with synthetic bristles for thin, even coats. Work in a well-ventilated area and keep a consistent temperature for a smooth finish.
Choosing between HVLP (High Volume, Low Pressure) and airless systems depends on your project. HVLP is great for detailed work and offers more control. Airless systems work best for large, flat surfaces.
French Polishing Basics for Beginners
French polishing uses thin layers of shellac for a high-gloss finish. Start with a clean, sanded surface. Apply the polish in small, circular motions, letting each layer dry before adding the next.
Mastering these techniques ensures a professional-quality finish. This enhances the beauty of your projects.
Best Wood Finishing Products for Professional Results
To get a professional wood finish, you need to pick the right products. The market has many wood finishing products. Each one has its own features and uses.
Choosing between oil-based and water-based stains is key.
Oil-Based vs. Water-Based Stain Recommendations
Oil-based stains give a rich, lasting finish. But, they dry slowly and clean up is harder. Water-based stains dry fast and clean up easy. Yet, they might not have the same color depth.
Best Products for Different Project Types
Different projects need different finishes. For making furniture, an oil-based stain is often best. But, for smaller tasks, a water-based stain might be better. Also, using wood wax finish DIY for protection or matte wood finish for a simple look can make your project stand out.
Color Wash and Weathering Products
Color wash and weathering products are great for a distressed look. They add character to your woodwork, making it look aged. These products are perfect for restoring old furniture or creating a rustic piece.
Knowing about the different wood finishing products and their uses helps you pick the best one. This ensures your project looks professional.
Troubleshooting Common Wood Finishing Problems
Troubleshooting is key for woodworkers aiming for top-notch finishes. Even with careful planning, problems can pop up during finishing.
Woods That Require Special Attention
Some woods are more likely to have finishing issues. For example, oak’s high porosity means it needs extra finish coats for a smooth look. Knowing your wood’s traits helps avoid and fix problems.
Common issues include uneven sheen, orange peel texture, and finish runs. For uneven sheen, a light sand and more finish can fix it. Orange peel texture might need a different finish or application method.
When to Strip and Start Over vs. Quick Fixes
Deciding between stripping and starting over versus quick fixes is important. Minor flaws might get a quick fix, but big problems often need a full strip and restart.
Understanding how to tackle common problems saves time and improves finishes. Whether it’s the right rescue method or knowing when to start fresh, being ready is essential for success.
Advanced Finishing Techniques for Distinctive Results
Woodworkers looking to make their projects stand out need to learn advanced finishing techniques. These methods help craftsmen go beyond the usual and get unique results.
Creating Authentic-Looking Wear Patterns
To add character to your woodwork, try creating wear patterns that look real. Use a mix of distressing and sanding to control the wear. This way, you can make your piece look aged to perfection.
Glazing and Toning Methods
Glazing and toning enhance a wood finish’s color and depth. Apply a glaze or tone over a base coat for a rich, multi-dimensional look. These techniques need a steady hand and knowledge of color theory.
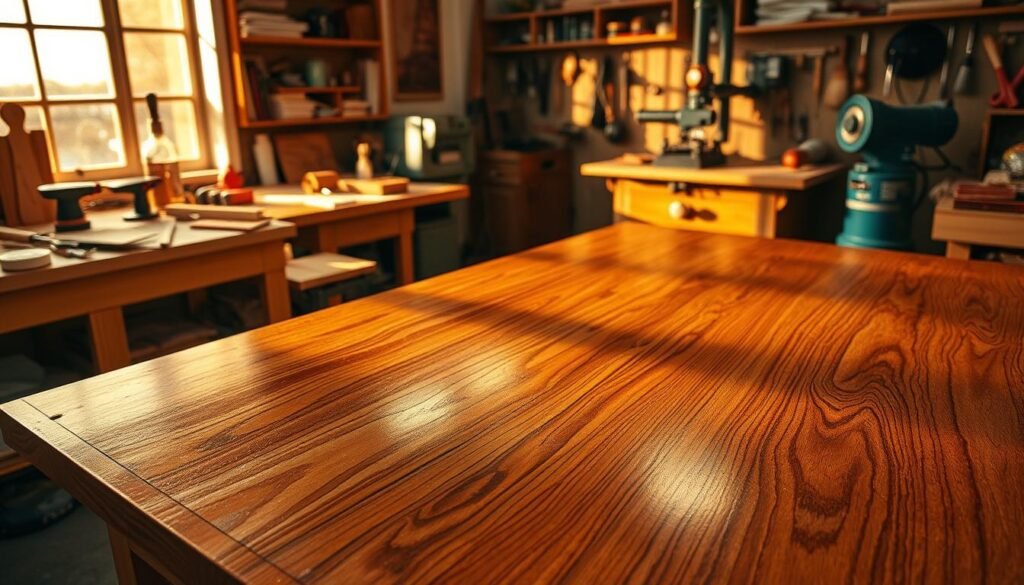
For a unique look, try metallic wood grain effects. Apply metallic finishes to highlight the wood grain, creating a striking effect. It takes patience and practice but is worth it.
Creating Charred Wood Siding Finishes
Charred wood siding is a modern trend, giving a dramatic, weathered look. Wood is charred and then treated to prevent further damage. This creates a siding with a deep texture and unique look.
Using these advanced techniques in your woodworking can make your projects stand out. They offer professional and eye-catching results.
Conclusion: Bringing Professional Quality to Your Woodworking Projects
Getting a professional wood finish is possible if you know the basics and use the right methods. By learning wood finishing secrets and using the right tools, you can improve your woodworking projects’ quality.
To get a top-notch finish, pay attention to sanding, pre-finishing, and picking the right finish. These tips will make your wood look beautiful and last long.
By using the advice from this article, you’ll be on your way to a professional woodworking finish. Whether it’s a small DIY project or a big woodworking job, these techniques will help you achieve a finish you’ll be proud of.

