Turning a wood table top into something special with epoxy resin is exciting. It makes the wood last longer and gives it a shiny, professional look. With the right steps, you can make your own epoxy resin wood table project look amazing.
Using a top-notch epoxy resin kit, like the TotalBoat Clear Epoxy Bar & Table Top Kit, makes it easier. This guide will show you how to do it step by step, so your finish will be perfect. Whether you need a detailed tutorial or just some basic tips, this article is here to help you get great results.
Understanding Epoxy Resin for Wood Table Projects
Epoxy resin is a popular choice for wood table projects. It offers a durable and glossy finish. It’s made of two parts: resin and hardener. When mixed, they create a hard, plastic-like material.
Using epoxy resin on wood table tops has many benefits. It protects against scratches and spills. It also adds a deep, glossy finish to the wood. Choosing the right epoxy resin is key to a great result.
To apply epoxy resin to a wood table, follow some important steps. First, prepare the surface well. Then, mix the epoxy correctly. Apply it in a well-ventilated area. By knowing the basics and following these steps, you can get a beautiful and durable finish for your wood table.
Essential Materials and Tools You’ll Need

Applying epoxy resin to a wood table top needs careful preparation and the right safety gear. First, gather the necessary materials and tools for a safe and successful application.
Respiratory Protection
Working with epoxy resin releases harmful fumes. A respirator is key to protect your respiratory system. Choose one with organic vapor (OV) cartridges to filter out epoxy fumes effectively.
Skin contact with epoxy resin can cause irritation and allergic reactions. Wear protective gloves made of nitrile or butyl rubber. These are resistant to epoxy chemicals. Make sure your gloves fit well to prevent skin exposure.
With the right protective gear, you can focus on achieving a beautiful finish for your wood table top.
Preparing Your Workspace for an Epoxy Project
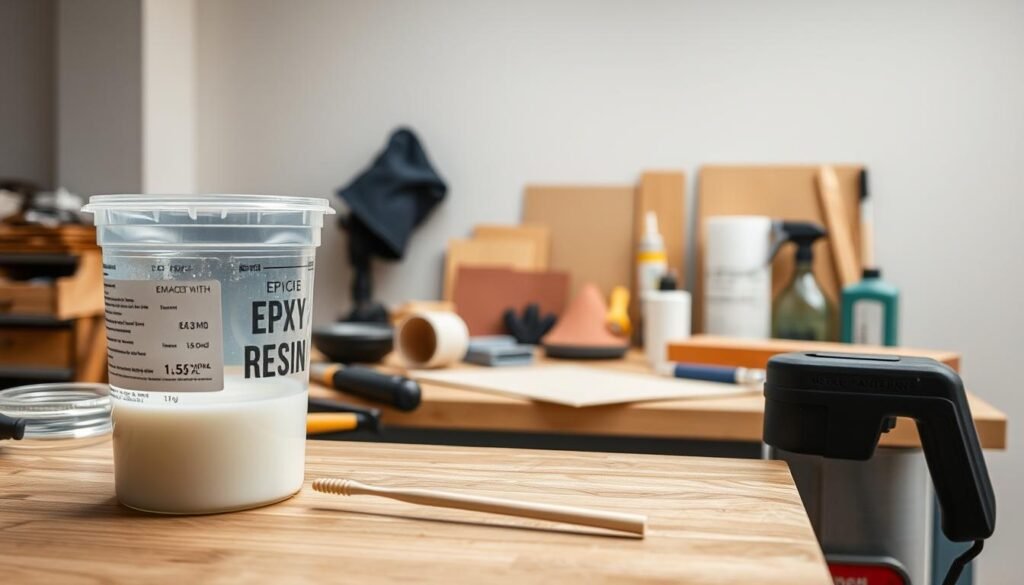
A well-prepared workspace is key to a successful epoxy resin application. Before starting, make sure your area is clear of clutter. Also, cover it with protective materials to avoid damage.
Floor Protection Strategies
It’s important to protect your floors from epoxy resin spills. Use a durable, waterproof material like plastic sheeting or a drop cloth. Secure it with tape to keep it in place during the project.
Also, consider using a protective floor mat or old sheets around your workspace. This will catch any accidental drips or spills. It makes cleanup easier and prevents floor damage.
By taking these precautions, you’ll protect your floors. You’ll also make the epoxy resin application process smoother and less stressful.
Wood Preparation: The Foundation of Success
The success of an epoxy resin finish depends on good wood preparation. Making sure the wood surface is ready is key for a great epoxy resin application.
Before you apply epoxy resin, the wood needs to be clean, dry, and free of dust. Any wood flaws can mess up the epoxy’s stickiness and look. So, sanding and filling the wood well is vital for a smooth finish.
Wood stabilizers help strengthen weak or cracking wood. If your wood table top has cracks or seems unstable, using a stabilizer before epoxy can make it last longer.
Applying a wood stabilizer stops more cracks and makes the surface better for the epoxy. It’s a smart move that makes your epoxy-coated wood table look and last better.
How To Apply Epoxy Resin To Wood Table Top for Beginners
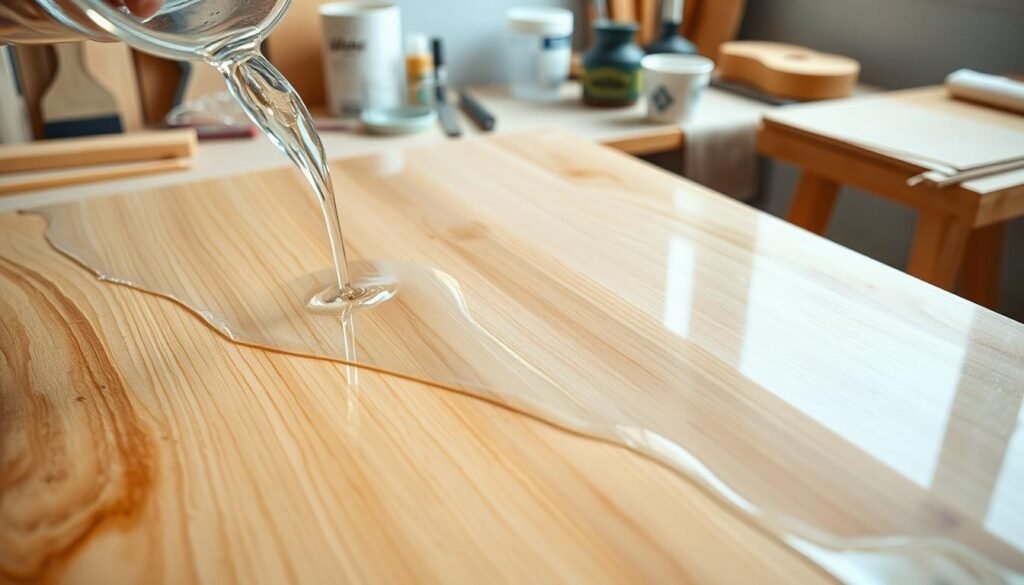
Applying epoxy resin to a wood table top can lead to stunning results. For beginners, it’s important to understand the basics.
Start by preparing your workspace. Make sure you have all the materials and tools you need. The TotalBoat Epoxy Bar & Table Top Kit is perfect for beginners. It comes with a heat gun for applying the resin.
To remove bubbles from the epoxy resin, you can use a torch or a heat gun.
Using a Torch vs. Heat Gun
A torch gives you precise control over bubble removal with its concentrated flame. A heat gun, on the other hand, offers a broader, gentler heat. It’s less intimidating for beginners.
When using either tool, move it slowly and steadily. This helps remove bubbles without creating new ones. Remember, practice makes perfect, so don’t get discouraged by early results.
If you’re new to epoxy resin, start with a small project. This will help you build confidence. Once you get more comfortable, you can tackle bigger projects like a wood table top.
Creating Decorative Effects in Your Epoxy Table
Turning a wood table into a work of art means trying out different epoxy resin effects. One standout method is making a geode-inspired design.
Geode and Ocean Wave Techniques
The geode technique uses colored epoxy resin to look like real geodes. Adding metallic powders or pigments gives it a crystal-like look. To make a geode epoxy table, first get your wood ready and apply a clear epoxy base coat.
The ocean wave effect is also eye-catching. It involves layering blue and white epoxy resin to look like ocean waves. You can add white or black pigments for foam or depth. Using tools, you can make the resin look like waves.
Both geode and ocean wave techniques let you be creative and express yourself. Trying out different colors, pigments, and ways to apply the resin can make your epoxy table truly unique. It will show off your personal style.
Managing Bubbles: The Biggest Challenge
Working with epoxy resin can be tricky, mainly because of bubbles. These bubbles can mess up the look of your wood table top, making it look amateurish.
To tackle bubbles, knowing how they form is key. They can pop up during mixing or when the resin and hardener react.
Removing bubbles at the right time is vital. It’s best to do it before the epoxy resin hardens. A heat gun or torch can help by applying gentle heat, which lets the air out.
Make sure to work in a well-ventilated area when using a heat gun or torch. Also, keep the heat moving to prevent the epoxy from curing too fast or unevenly.
By understanding why bubbles form and using the right methods to remove them, you can get a smooth, bubble-free finish on your wood table top.
Working with Epoxy Edges and Overflows
Getting started with epoxy resin edge control means preparing well and using the right tools. When you apply epoxy resin to a wood table top, managing the edges is key. This prevents overflows and gives you a smooth finish.
Using silicone barriers and tape is a great way to control epoxy resin edges. These tools keep the epoxy resin in place, stopping it from overflowing beyond your desired area.
Using Silicone Barriers and Tape
Silicone barriers and tape are great for sealing the edges of your wood table top. By putting them around the edges, you can keep the epoxy resin from spilling over onto other surfaces.
This method helps prevent epoxy resin overflow. It also makes your finish look cleaner and more professional.
Curing Process: Patience is Key
The epoxy resin curing process can take a while, but it’s key for a great project. The time it takes depends on the type of epoxy resin. It’s important to be patient to get a strong and beautiful finish.
To make sure your epoxy resin project cures right, protect it from dust and debris. Use a dust-proof cover or a cardboard box. Also, keep your workspace at a steady temperature and humidity for the best curing.
By following these tips, you can get a professional-looking finish. Don’t touch or handle the project until it’s fully cured to avoid damage.
Finishing Touches for a Professional Look
The final touches on your epoxy resin wood table can make all the difference. A well-finished epoxy resin surface not only looks great but also protects it. This is key for a professional look.
Sanding is a critical step for a smooth, glossy finish. There are two main methods: wet sanding and dry sanding. Knowing the difference is important for choosing the best method for your table.
Wet Sanding vs. Dry Sanding
Wet sanding uses water or a lubricant to sand the epoxy resin surface. This method reduces scratches and prevents sandpaper clogging. It’s great for removing small imperfections and getting a high-gloss finish.
Dry sanding, without any lubricant, is used for bigger imperfections or shaping. But, it can cause more scratches. You might need to wet sand again for a smooth finish.
Both wet and dry sanding have their uses in epoxy resin finishing. By picking the right method or using both, you can get a top-notch finish. This will make your wood table look amazing.
Maintenance and Care for Epoxy Resin Tables
Epoxy resin tables need special care to stay durable and look great. Regular upkeep keeps your table in top shape and makes it last longer.
Cleaning your epoxy resin table is easy. Use mild soap and water for a safe clean. Stay away from harsh chemicals and rough cleaners, as they can harm the epoxy.
Safe Cleaning Products for Epoxy
Choosing the right cleaning products is key for your epoxy resin table. Mild soap, water, and soft cloths are best. For stubborn stains, a gentle cleanser without abrasives works well. Always test a small area first to avoid damage.
By following these easy tips, you can keep your epoxy resin table in great shape. Regular care ensures your table stays beautiful and useful for many years.
Conclusion: Enjoying Your Beautiful Epoxy Wood Table
Your epoxy resin wood table is now ready. It’s time to enjoy the hard work you put into it. With the right care, your table will last for many years, becoming a favorite in your home.
Applying epoxy resin to a wood table top is a challenge. But the beautiful result is worth it. You’ve made a durable and stunning piece that shows off your skill.
To keep your table looking great, regular care is key. Avoid extreme temperatures and use felt pads on the legs to prevent scratches. Clean it with mild soap and water. These steps will help your table stay beautiful for years.
Enjoying your epoxy resin wood table is more than just looking at it. It’s about sharing it with loved ones. Gather around, share meals, and make memories that will last forever.


