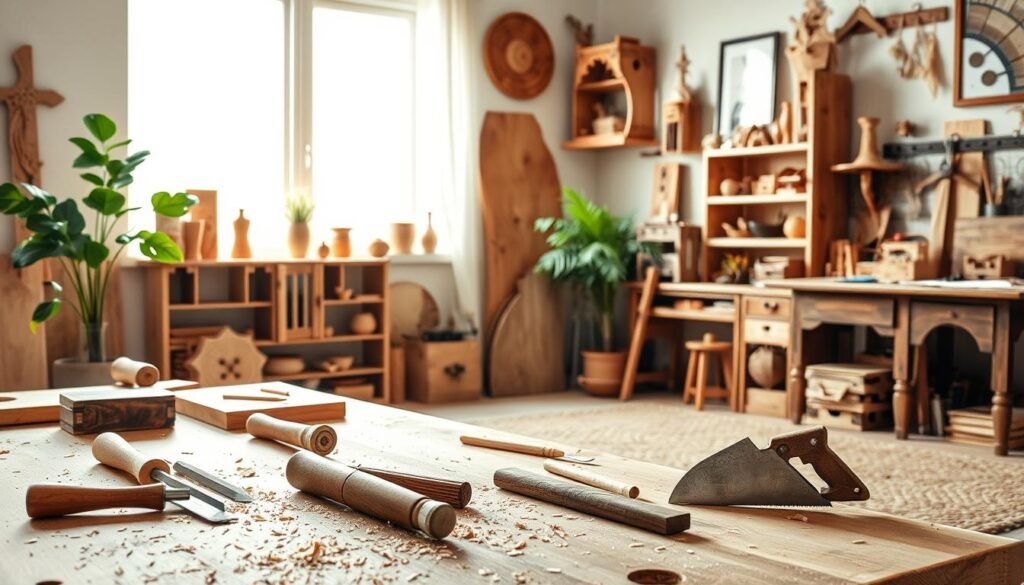
Wood carving is a mix of art and skill. It can seem scary for beginners, but it’s fun and rewarding once you start.
Starting with wood carving might look hard, but it’s easier with simple tips and the right tools. This guide will help you begin your wood carving journey. It offers essential tips and projects to kickstart your creative path.
Learning the basics and mastering techniques will help you create stunning pieces. These pieces will show off your creativity and growing skills.
The Art of Wood Carving: A Timeless Craft
Wood carving has been loved for thousands of years. It turns raw wood into beautiful art. This ancient craft lets artists share feelings, tell stories, and make useful items.
Over time, wood carving techniques have changed. They’ve been shaped by many cultures. Today, wood carving can be anything from detailed relief carvings to three-dimensional sculptures. This versatility has made it popular among artists and fans.
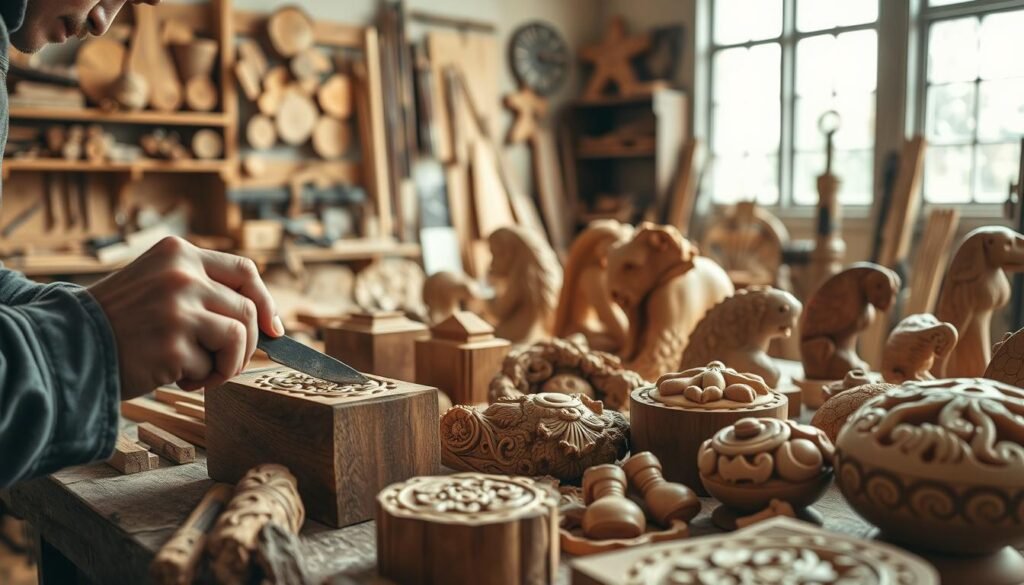
Wood carving is special because it combines beauty with usefulness. Artists can make stunning pieces that look great and work well. Abstract wood carving, for example, lets artists explore new shapes and textures.
Wood carving is more than just making things. It’s a way to express oneself and keep cultural traditions alive. By learning different techniques, artists can bring their ideas to life. This adds to the long history of this timeless craft.
Essential Wood Carving Tools for Beginners
Starting with wood carving means getting the right tools first. The tools you choose greatly affect your project’s quality. It’s all about the tools.
Wood carving tools have specific jobs. You’ll need knives, gouges, and chisels. A wood carving starter kit has these basics, helping beginners get started.
Gouges and Chisels
Gouges and chisels are key for wood carving. Gouges help remove wood and make smooth curves. Chisels are for detailed cuts and fine details.
Knowing your gouges and chisels is important. Flat gouges are for quick wood removal, while bent gouges are for detailed designs. Chisels vary in width for different tasks, from rough cuts to fine details.
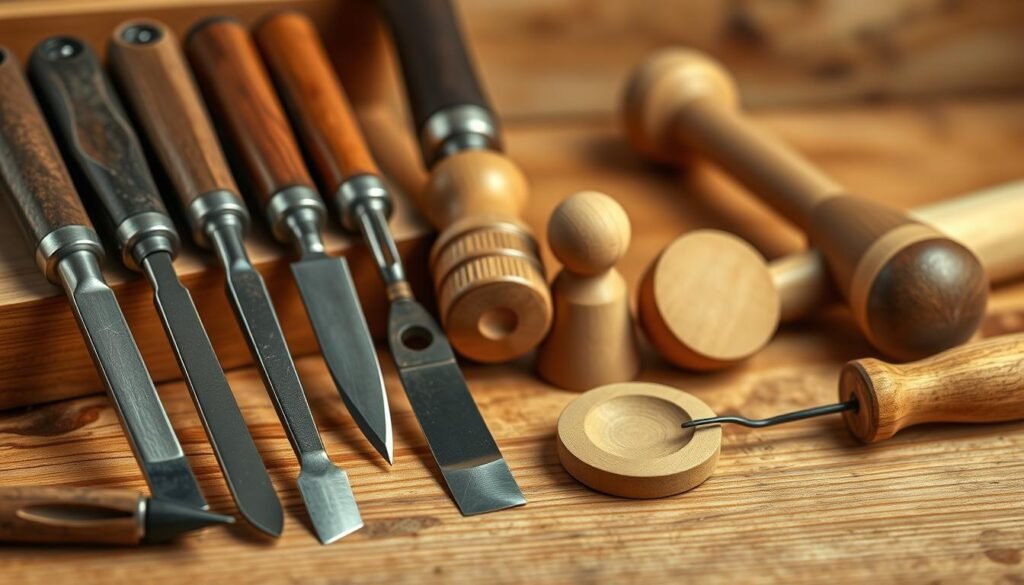
Getting a quality wood carving starter kit is smart. It gives you the tools you need and teaches you about each one. As you get better, you can add more tools to your collection.
In short, the right tools are essential for wood carving. By learning about and using gouges and chisels, beginners can create beautiful art.
Choosing the Right Wood for Beginners
Starting your wood carving journey means learning about the different types of wood. Beginners should pick soft, easy-to-carve wood to make learning fun.
Softwoods like pine and basswood are great for beginners. Pine is cheap and easy to find. Basswood is soft and has a fine grain, perfect for detailed designs.
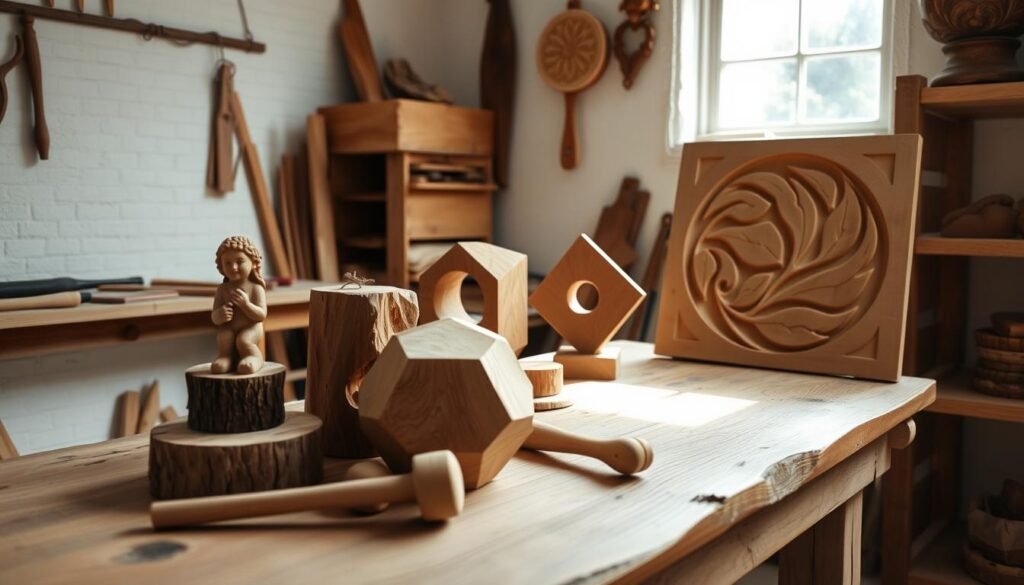
Hardwoods, such as oak and maple, are denser and harder for beginners. But, they have beautiful grain patterns that can make your carvings stand out.
For simple projects, try cedar or cypress. These woods are soft, pleasant-smelling, and pest-resistant.
When choosing wood, avoid pieces with knots or cracks. Make sure the wood is the right size for your project. This way, you can carve your design without wasting wood.
Knowing about different woods helps you choose the best for your projects. This ensures your wood carvings look exactly as you imagined.
Setting Up Your Wood Carving Workspace
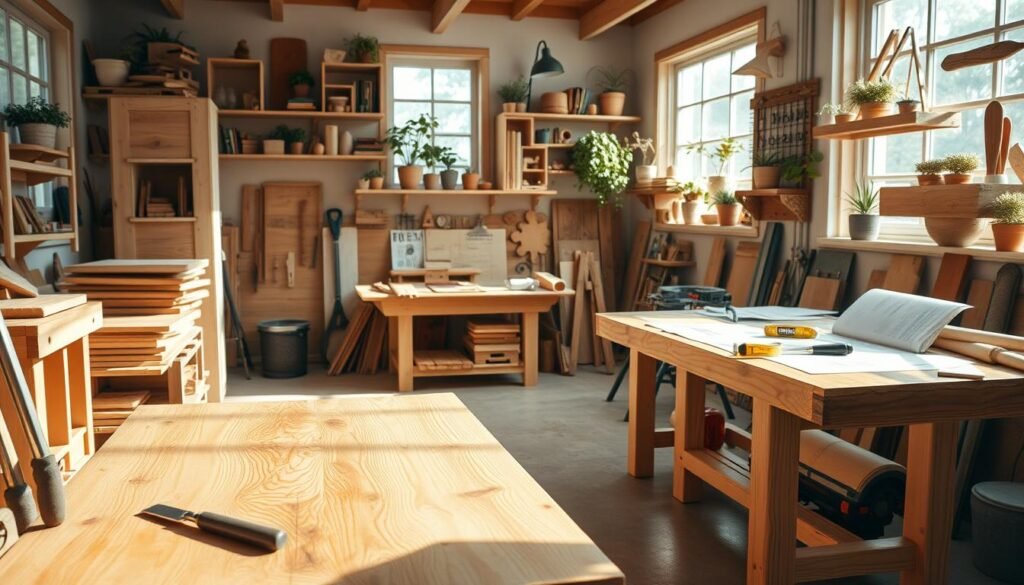
Wood carving needs a dedicated space that’s safe and efficient. To start, set up a workspace where you can focus on your craft without distractions.
A well-organized workspace is key for both productivity and safety. Start by picking a specific area for wood carving. Make sure it’s well-ventilated and has enough light. This helps you stay focused and avoids accidents.
Workspace Organization
Organizing your tools and materials is essential for an efficient workspace. Use storage containers or a tool chest to keep your tools handy. Labeling your tools saves time when you need to find something.
Keeping your workspace clean is also important. Clean your tools and workspace regularly to prevent wood shavings and dust buildup. This improves safety and makes your wood carving experience better.
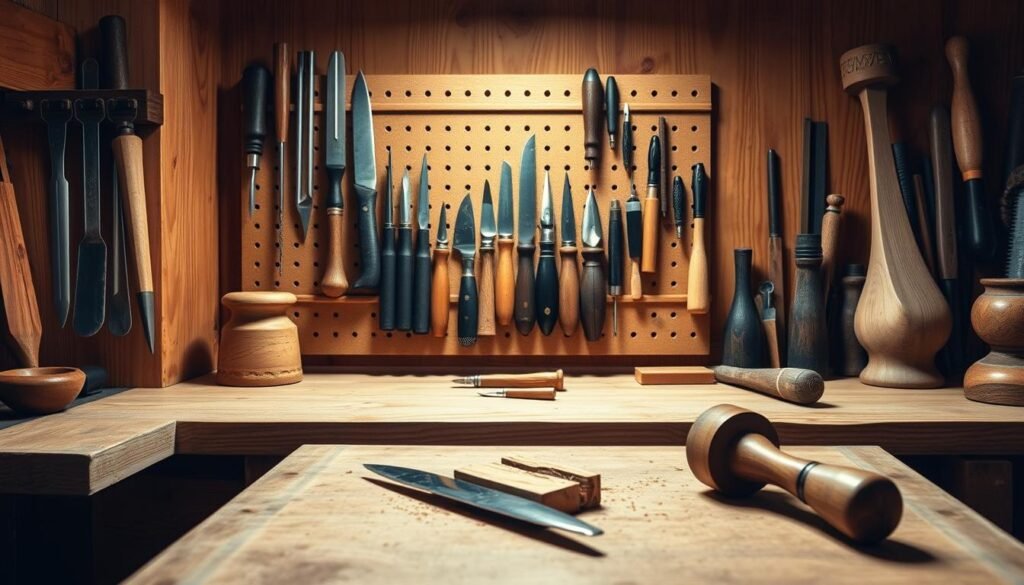
By following these tips, you can create a workspace that’s both functional and enjoyable. A well-set-up workspace is the base for successful wood carving. It lets you focus on improving your skills and making beautiful pieces.
For more wood carving tips and to explore simple projects, check out resources and communities dedicated to this craft.
Safety First: Protecting Yourself While Carving
To enjoy wood carving safely, knowing safety tips is key. Wood carving uses sharp tools and wood, which can be dangerous if not handled right.
Wearing the right protective gear is a must. This includes safety glasses or goggles to protect your eyes from wood chips. A dust mask keeps you from breathing in wood dust. Gloves protect your hands from cuts and splinters.
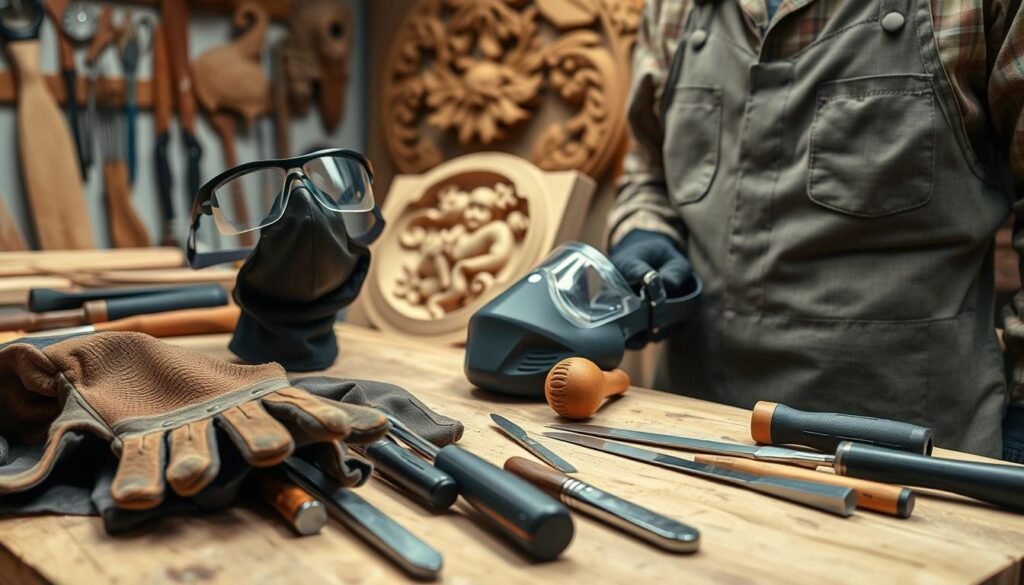
Keeping your workspace clean and organized is also important for safety. Clutter can cause accidents, like tripping over tools or wood. Make sure your work area is well-lit so you can see what you’re doing.
Always keep your tools sharp. Dull tools are more dangerous because they need more force, which can lead to losing control. Also, be careful with your body position to avoid accidents.
By focusing on safety and following these tips, you can reduce risks and enjoy wood carving. Remember, safety is an ongoing effort that needs constant attention.
Beginner’s Guide to Wood Carving: Easy Tips, Tools & Projects to Get Started
Starting your wood carving journey can be both thrilling and scary. But with the right help, beginners can do great. Wood carving lets you show your creativity and make your ideas real. It’s key to learn the basics first, like the tools you need, choosing the right wood, and staying safe.
First, get to know the essential wood carving tools. You’ll need a carving knife, gouges, and a mallet. Even though good tools cost more, they last longer and work better. You don’t need to buy everything at once. Start with the basics and add more as you get better.
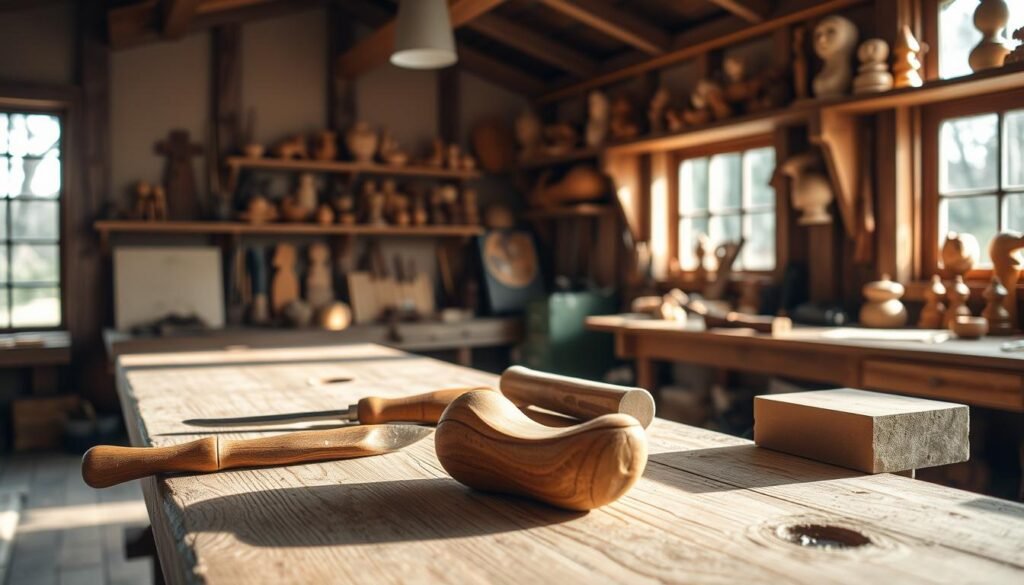
For wood carving projects, start with simple ones. Try making wooden spoons, decorative boxes, or small figures. These projects help you learn different skills like cutting and shaping. As you get better, you can tackle harder projects.
Looking for wood carving ideas beginner projects? Try making a simple wooden leaf or a basic shape. These projects are easy and help you learn the basics. Also, trying different wood carving ideas beginner can spark new ideas and techniques.
In short, starting wood carving takes patience, the right tools, and a desire to learn. Follow easy tips, get the right tools, and practice with simple projects. Remember, the best way to get better is to keep practicing and learn from your mistakes.
5 Essential Wood Carving Techniques for Beginners
Wood carving becomes exciting when you learn the basics. Knowing these techniques is key to making stunning wooden pieces. For newbies, getting these basics right is the first step to becoming good at this ancient craft.
Making precise cuts is a must in wood carving. You need the right tools and to know how to hold them. The trick is to use gentle, controlled strokes. This lets the tool do the work, not your strength.
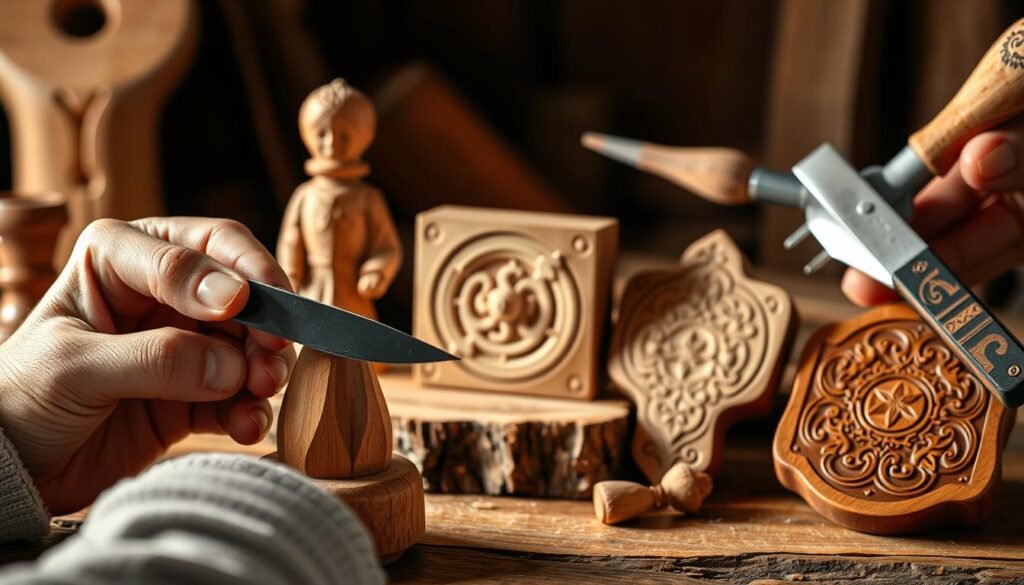
Whittling is a perfect start for beginners. It’s about carving wood with a knife, making simple shapes or patterns. You can go from basic designs like a wooden spoon to complex figures like animals or detailed designs.
It’s also important to know how to work with different woods. Each wood type has its own grain direction and hardness. Picking the right wood for your project is key to getting the look you want.
Relief carving is another must-know technique. It’s about carving a design into a flat wood piece, making it stand out. This skill takes patience and practice to get right.
Knowing how to use various carving tools, like gouges and chisels, is vital. Each tool has its own use. Learning how to use them well is essential for detailed designs.
Chip carving is another basic skill. It’s about removing small wood chips from a flat surface to make patterns. This technique needs precision and control to get the pattern right.
By mastering these 5 essential wood carving techniques, beginners can build a strong foundation. This lets them create beautiful wooden items. With time and effort, the world of wood carving opens up to endless possibilities.
10 Easy Wood Carving Projects for Beginners
Easy wood carving projects are great for beginners. They let you learn without feeling too stressed. Starting simple helps you grow more confident and skilled.
Here are 10 easy wood carving projects for beginners:
1. Simple Wooden Spoon: This project is practical and easy. It helps you get used to your tools.
2. Carved Wooden Coasters: These coasters are useful and simple to make. They let you practice your carving skills.
3. Wooden Decorative Box: Make a beautiful box to hold small things. It improves your carving and assembly skills.
4. Carved Wooden Animals: Turn your favorite animals into carvings. It’s a fun way to work on details.

5. Wooden Wall Art: Create wall art that shows your style. Try out different patterns and designs.
6. Custom Wooden Picture Frame: Make a special frame for your favorite memories. It’s a chance to work on precision and details.
7. Wooden Figurines: Create small figurines, either from your imagination or based on real figures. It helps you improve your carving techniques.
8. Ornamental Wood Carvings: Make detailed ornaments for decoration. It’s a way to practice carving complex designs.
9. Wooden Kitchen Utensils: Carve more than just spoons. You can make spatulas and cutting boards too.
10. Personalized Wooden Signs: Craft signs for your home or as gifts. It’s a chance to work on lettering and design.
These projects not only improve your skills but also give you beautiful, useful items. You can use them at home or as gifts.
Popular Wood Carving Styles to Explore
Wood carving styles range from traditional to modern, each with its own charm. They span from detailed and ornate to simple and sleek. This variety makes wood carving a rich field for creativity.
Traditional or folk art wood carving is known for its rustic appeal and timeless designs. It often showcases complex patterns and motifs that honor cultural traditions. Modern wood carving, by contrast, may include abstract elements. This creates unique pieces that speak to today’s tastes.
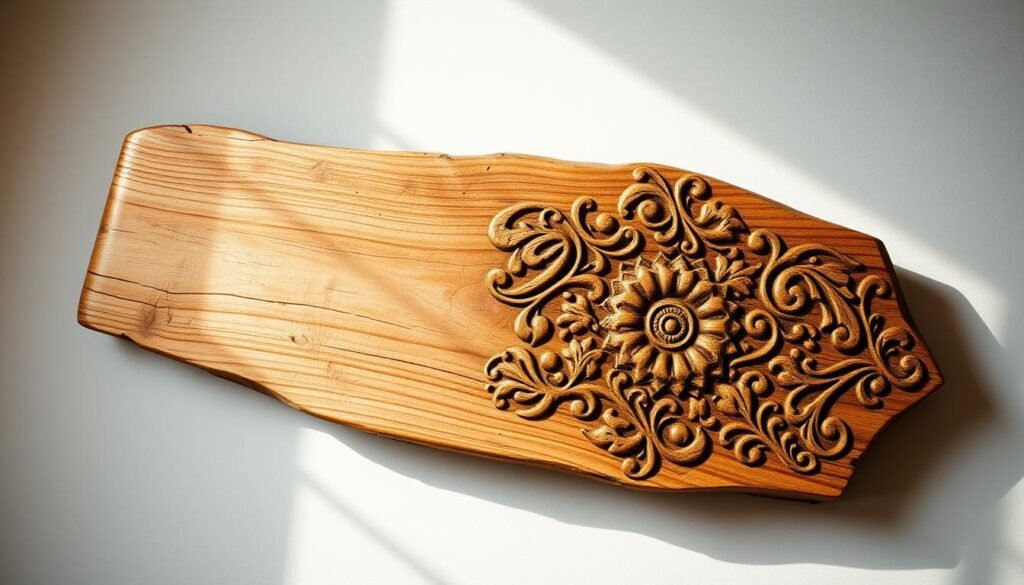
Abstract wood carving is all about exploring wood’s possibilities. It lets artists play with shapes and textures. This style can lead to pieces that are both beautiful and thought-provoking.
Other styles, like relief and chip carving, use different techniques to achieve distinct looks. Relief carving creates raised images on flat panels. Chip carving, on the other hand, uses small wood chips to make geometric patterns.
Trying out these styles can help you discover what you love most. It can also spark new ideas and enhance your wood carving skills.
Power Tools in Wood Carving: Dremel and Beyond
Power tools have changed wood carving, making it more precise and efficient. They offer something traditional methods can’t. Many woodworkers find new ways to be creative with power tools.
Dremel is a top choice for wood carving. It’s versatile and precise, perfect for detailed work. You can use it for grinding, sanding, carving, and engraving with different attachments.
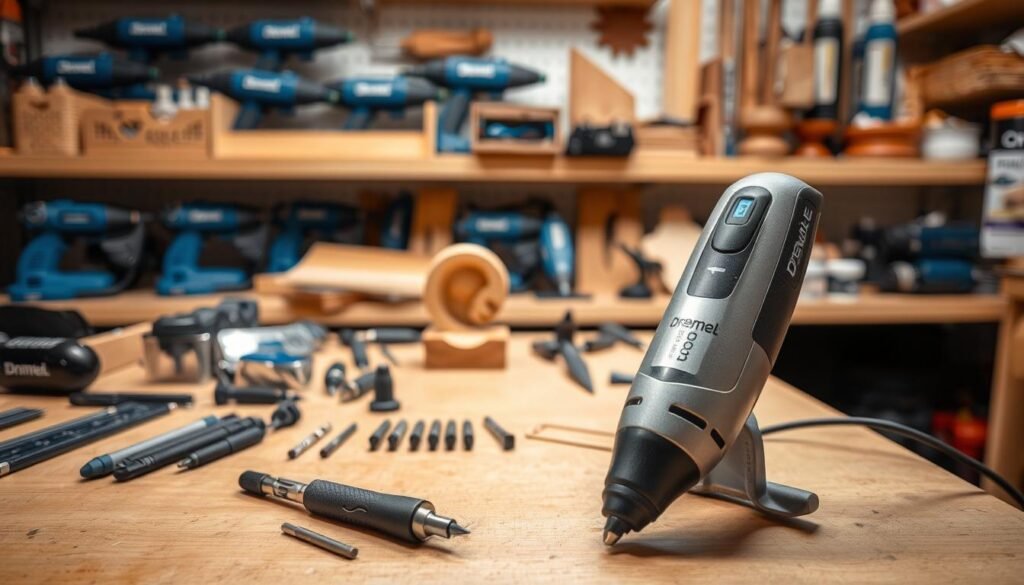
Using power tools like Dremel in wood carving has many benefits. They make the process faster and allow for more detailed designs. This is great for beginners who want to achieve professional results easily.
But, it’s important to use power tools safely. Wear safety glasses and gloves, and make sure your workspace is well-ventilated. Learning how to use these tools properly is key to mastering wood carving.
There are other tools for wood carving too, like rotary carvers and jigsaws. Each tool has its own strengths and can create different effects. Trying out different tools and techniques can help woodworkers find new ways to express themselves.
Finishing Your Wood Carvings
Finishing your wood carvings is a key step that needs patience and detail. The look and life of your carving depend on the finish.
The first step is sanding. It smooths the wood, removing rough spots. Start with coarse-grit sandpaper and move to finer grits for a smoother finish.
Sanding improves the look and gets the wood ready for a finish. You can stain, varnish, or oil it. A smooth surface is key for even application.
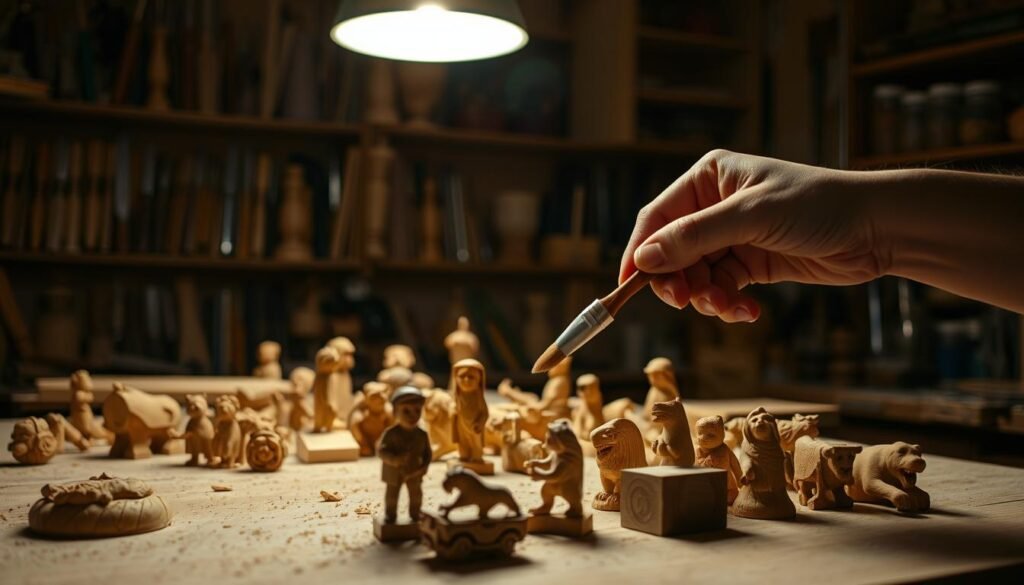
After sanding, polishing enhances your carving’s look. Polishing adds a polish to the sanded surface, highlighting the wood grain.
The polish you choose depends on the wood and finish you want. Options include wax, shellac, and polyurethane. Each has its own use and drying time, so follow the instructions.
In conclusion, sanding and polishing are rewarding steps. They can make your carvings look professional. With patience and practice, you can achieve great results that show off your skill.
Tool Maintenance and Care
Keeping your wood carving tools in top shape is key. Regular care makes them last longer and work better. It also keeps you safe while carving.
Sharpening your tools is a must. Dull tools are not only less effective but also riskier. They need more force, which can lead to accidents. Sharpening regularly keeps your tools sharp and your work easier.
Storing your tools right is also important. Keep them in a dry, safe spot to avoid damage and rust. A tool roll or case helps keep them organized and easy to find, making your work more efficient.
Cleaning and checking your tools regularly is also a must. Clean off any debris and look for wear signs. This helps prevent issues and keeps your tools working well.
By following these maintenance tips, you’ll have a safer and more productive wood carving experience. Taking care of your tools is an investment in your craft. It lets you work with precision and confidence.
Common Beginner Mistakes and How to Avoid Them
Wood carving has its own learning curve. Knowing common beginner mistakes can greatly improve your skills. As you begin, being aware of these can prevent frustration and make learning more enjoyable.
One big mistake is not using the right tools. Using a tool that’s too big or too small can cause poor results and safety issues. To fix this, get a good set of basic tools and learn how to use them right.
Another mistake is not securing your workpiece properly. This can cause accidents and poor carvings. Always make sure your workpiece is held tight with clamps or a vise.
Tips for Improving Your Wood Carving Skills
To get better at wood carving, practice often and be patient. Start with simple projects and then move to more complex ones. Watching tutorials and taking classes can also give you valuable insights and techniques.
Avoiding common mistakes in wood carving means being informed, prepared, and patient. By knowing the pitfalls and following tips from experts, you can enjoy a fulfilling and creative journey in this traditional craft.
Wood Carving Communities and Resources
The world of wood carving is full of communities and resources to help you grow. Whether you’re just starting or have been carving for years, finding others who love it as much as you do is very rewarding.
Online forums are a great place to begin. Sites like Woodworking Talk and Woodcarving Illustrated have forums where you can ask questions and share your work. You’ll find many experienced wood carvers ready to help and offer advice.
There are also many online resources, including YouTube tutorials and specialized websites. These cover everything from basic techniques to complex projects. They help you keep improving your skills.
By joining these wood carving communities and using the online resources and tutorials, you can make your wood carving journey even better. You’ll create beautiful pieces along the way.
Conclusion: Starting Your Wood Carving Journey
Starting your wood carving journey can be very rewarding. You get to make beautiful pieces and learn a new skill. With the right tools, techniques, and safety, you can dive into the world of wood carving.
This guide has shown you the basics of wood carving for beginners. You learned about the essential tools, choosing wood, and basic techniques. Setting up a safe workspace and keeping your tools in good shape will help you make impressive carvings.
Now, you’re ready to start your wood carving journey. Begin with simple projects and get more confident. Then, try different styles and techniques. With patience and practice, you’ll soon be making beautiful wood carvings.
So, get started, gather your tools, and explore the world of wood carving. Starting wood carving is just the beginning of a creative journey that can bring joy and satisfaction.

