Looking for a fun way to spend time with your kids? Handmade crafts are perfect for this. They boost creativity and confidence in children. Plus, they help solve problems and feel proud of their work.
Working on boho decor together is a great way to bond. Woodworking projects improve kids’ fine motor skills and hand-eye coordination. With simple projects, you can help your children’s imagination shine.
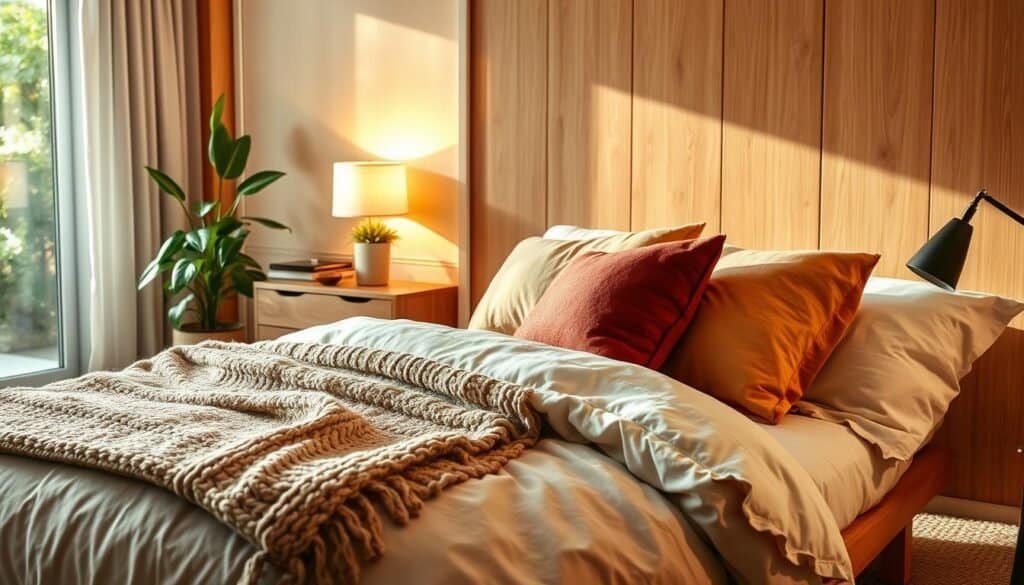
The Magic of Boho Wood Crafting with Children
Boho wood crafting lets kids show their creativity. They can improve their fine motor skills and imagination through DIY projects. These projects use natural materials.
This activity is more than just making something pretty. It’s about exploring different textures and colors. Kids learn about materials and how to use them.

Doing rustic boho wood crafts is great for kids. It boosts their creativity and problem-solving skills. Working with wood also teaches them about nature and sustainability.
Woodcraft projects for kids can be simple or complex. This makes them fun for kids of all ages and skill levels. It helps kids feel proud of their work.
Boho wood crafting with kids is very rewarding. It encourages creativity, confidence, and a love for nature. It’s a fun activity for the whole family, creating memories together.
Essential Tools and Materials for Kid-Friendly Wood Projects
Woodworking is a great way for kids to be creative. It teaches them important skills like problem-solving and patience. They also learn about hand-eye coordination.
When kids start woodworking, safety is key. You need to choose tools and materials that are safe for them.

Kids should start with basic tools. This includes a kid-friendly hammer, small handsaws, sandpaper, and chisels. These tools should have safety features like soft grips and rounded edges.
For kid-friendly projects, you’ll need different types of wood, wood glue, nails, and non-toxic finishes. The wood should be soft but strong enough for projects.
Begin with simple projects and move to harder ones as they get better. This helps them build skills and confidence. It also boosts their creativity and self-expression.
Driftwood Dreamcatchers with Natural Elements
You can make a beautiful driftwood dreamcatcher with your kids using natural elements. This DIY project is fun and teaches kids about creativity and nature.
To begin, gather driftwood from a beach or park. Choose sturdy pieces for your dreamcatcher’s base. You’ll also need feathers, twine, and small items like shells or beads.

First, clean and prepare the driftwood. Then, help your kids wrap twine around it to create a web-like structure. They can add feathers, shells, and beads to make it unique.
This project is great for teaching kids about driftwood crafts and the importance of natural elements in art. It’s a fun way to spend time together and create something beautiful.
By making driftwood dreamcatchers, kids learn to be creative and improve their fine motor skills. It’s a fun, educational activity for the whole family.
Wooden Bead Garlands with Tassels and Feathers
Getting kids to make wooden bead garlands with tassels and feathers is a great way to bond. It’s a fun DIY project that boosts their creativity. They learn about textures, colors, and patterns too.
To begin, gather some basic materials: wooden beads, tassels, feathers, string or twine, and crafting tools like scissors and a needle. You can find these at craft stores or online.

First, thread the wooden beads onto the string. Kids can pick their favorite beads and thread them. When you reach the right length, add tassels and feathers. This is where they can get creative with where and how to place them.
Once done, hang the garland in a window or on a wall. It adds a bohemian flair to your home. This project is both a fun DIY activity and a way to make your space unique.
Wooden bead garlands with tassels and feathers are perfect for decorating. Encourage kids to try out different patterns and designs. This way, each garland will be special and unique.
Hand-Painted Wooden Coasters with Geometric Designs
Let your child’s creativity shine with a fun DIY project: hand-painted wooden coasters with geometric patterns. This activity boosts their artistic skills and gives you beautiful, useful pieces for your home.
First, grab plain wooden coasters from a craft store. Make sure they’re smooth by sanding them. Then, pick up acrylic paints and brushes in various sizes. You can choose from simple chevrons to complex mandalas for your designs.

Paint your chosen geometric design on the coasters. You can use stencils for precise patterns or let your kids’ imagination guide their brushstrokes. This is a great chance to teach them about shapes and colors. After painting, add a clear coat to protect the design and give it a shiny finish.
This project is a blast for kids and a way to make personalized gifts or home decor. Your child’s creativity and your teamwork will shine through in these unique, hand-painted wooden coasters.
DIY wood projects like these help your kids improve their fine motor skills, creativity, and confidence in art. Hand-painted wooden coasters with geometric designs are a fulfilling project that combines art, usefulness, and quality time together.
DIY Boho Wood Crafts Kids Can Help With: Macramé and Wood Wall Art
Wood and macramé come together in wall art projects. These projects let kids dive into DIY crafting. Macramé, with its knotting and cord-making, is a key part of boho decor. It’s a fun, educational activity for kids.
You’ll need some basic stuff: wooden dowels, cotton rope, scissors, and wooden beads or shells. Macramé is all about simplicity and creativity. Kids can help with measuring, cutting, making patterns, and decorating with wood.

A simple macramé project for kids is a wall hanging. It uses a wooden dowel and cotton rope. Teaching kids to make knots and patterns boosts their fine motor skills and patience.
When kids get better at macramé, you can try more complex projects. You can add wooden elements or mix materials like feathers and fabric. This makes the project more interesting and challenging.
Working on macramé and wood wall art is a great way to bond with kids. It teaches them about handmade crafts, patience, and creativity. It also helps them solve problems and think creatively.
Rustic Branch and Twine Picture Frames
You can make beautiful rustic branch and twine picture frames with your kids. This project is great for teaching them about crafting and DIY.
To begin, gather a few branches, twine, a picture frame, glue, and scissors. You can find branches in your backyard or a nearby park. It’s a fun outdoor activity too.

First, clean and dry the branches. Then, cut them to fit your picture frame. Use glue to attach the branches to the frame, making a rustic border. While the glue dries, let your kids wrap twine around the frame. This adds texture and charm.
This project is both fun and educational. It teaches kids about measurements and following instructions. Plus, they learn the joy of creating something with their own hands. Working together, you’ll make memories that last forever.
After the glue dries, hang your picture frame in a special place. It’s a beautiful way to show off your child’s artwork or a favorite family photo. It also adds a personal touch to your home decor while spending quality time with your kids.
Hanging Wooden Plant Shelves with Rope Details
Building hanging wooden plant shelves with rope details is a fun DIY project. It mixes woodworking with a bohemian style. It’s a great way for kids to learn woodworking and the value of plants.
You’ll need some basic materials: wooden planks, rope, a drill, and hanging hardware. You can use new or reclaimed wood for a rustic look. Reclaimed wood adds a unique charm.

Begin by cutting the wooden planks to the right length. This teaches kids about measuring and using power tools safely. After cutting, sand the shelves to make them smooth.
Then, add the rope details. Drill holes in the corners and thread the rope through. The rope makes the shelves look good and helps hang them. Adjust the rope length for the perfect hanging height.
Putting the shelves together is easy. Attach the hanging hardware to the ceiling or a strong beam. Make sure it can hold the shelf and plants. This project teaches kids about making things by hand and responsibility.
Once done, hang your plants and admire your work. This DIY project brings greenery into your home and strengthens your bond with your kids.
Natural Wood Wind Chimes with Clay Accents
Making wind chimes with natural wood and clay is a fun way for kids to learn about woodcraft. It sparks their imagination and teaches them about texture and sound.
You’ll need natural wood, clay, string, and basic tools to start. This project is simple and lets kids explore different shapes and textures.

First, prepare the wood pieces. You can paint them with eco-friendly paint for color. Then, have kids shape the clay into beads, shapes, or animals for the wind chimes. This is fun and helps improve their fine motor skills.
After the clay dries, tie the wood and clay together with string. Let kids arrange them to create a unique sound and look. This teaches them about design harmony and balance.
When you hang the wind chimes, they’ll make beautiful sounds. You’ll also have a piece of art made with your kids’ creativity and effort.
This project is a great way to spend time with kids. It’s fun and educational, teaching them a new skill and boosting their creativity and confidence.
Wood Slice Art with Pyrography and Paint
Kids can show their creativity with wood slice art. They can use pyrography and paint. This project is fun and lets them try different artistic ways with natural materials.
Pyrography is burning designs onto wood or other materials. Kids can make patterns or shapes with a pyrography pen. But, it’s important to watch them because the pen can get very hot.

After adding designs with pyrography, kids can use paint. They can use acrylic or watercolor paints to add color. This mix of pyrography and paint makes a unique piece of art that shows off their creativity.
Tips for Creating Wood Slice Art with Kids
To make this project fun and safe for kids, here are some tips:
1. Use pre-cut wood slices to avoid sharp tools.
2. Show kids how to use the pyrography pen safely. Let them practice on a scrap piece of wood first.
3. Encourage kids to try different pyrography techniques and paint colors.
By following these steps and tips, kids can make beautiful wood slice art. This project boosts their creativity and teaches them about DIY wood projects.
Woven Stick Wall Hangings with Natural Fibers
A woven stick wall hanging is a stunning piece of rustic boho wood craft that kids can make. It mixes natural materials with a bohemian style, making a unique home decor item.
To begin, collect straight sticks or branches of the same length. You can find them in your backyard or a nearby park. Clean and dry the sticks before starting the project.

Then, you’ll need natural fibers like cotton rope, jute twine, or hemp cord. These will be used to weave the sticks together. This creates a strong and attractive wall hanging.
Start by tying the sticks together at one end with the natural fiber. Then, weave the fiber around the sticks, making a pattern or design. You can try different weaving methods to get the look you want.
After you finish weaving, tie off the ends. Hang your woven stick wall hanging where you like. This project adds bohemian charm to your home and is a fun activity for kids.
By letting kids help, you teach them about handmade crafts and natural materials. The result is a beautiful, rustic boho wood craft piece to show off in your home.
Wooden Bead Mobiles with Driftwood and Shells
Driftwood, shells, and wooden beads make a stunning mobile that kids can make and love. It’s a fun way to bond with your kids and teach them about nature’s beauty.
First, collect your stuff: wooden beads, driftwood, shells, a strong string or wire, and some basic tools. This project is easy and lets you play with different shapes and textures.

Start by threading wooden beads onto the string, spacing them out for a nice look. Then, add the driftwood and shells. You can tie them on or use hot glue for a better hold.
While making the mobile, let your kids get creative. They can pick beads, arrange driftwood, and place shells. This helps them be creative, improves their fine motor skills, and hand-eye coordination.
After finishing, hang your mobile in a window or from the ceiling. Watch how the light passes through the beads and natural elements. It’s a beautiful sight that everyone will enjoy.
Making wooden bead mobiles with driftwood and shells is a great DIY project for kids. It’s a mix of art, nature, and quality time. It shows off your child’s creativity and imagination.
Conclusion: Growing Creativity and Confidence Through Handmade Crafts
Working on handmade crafts with kids is very rewarding. It boosts their creativity and confidence. The DIY boho wood crafts in this article are fun and educational.
Projects like driftwood dreamcatchers and wooden bead garlands teach kids about creativity and patience. They also learn to express themselves. These activities help kids grow and offer quality time with loved ones.
As kids work on these projects, they feel more confident and proud of what they make. DIY boho wood crafts are a great way to encourage kids to be creative. They help kids appreciate the value of handmade crafts for life.