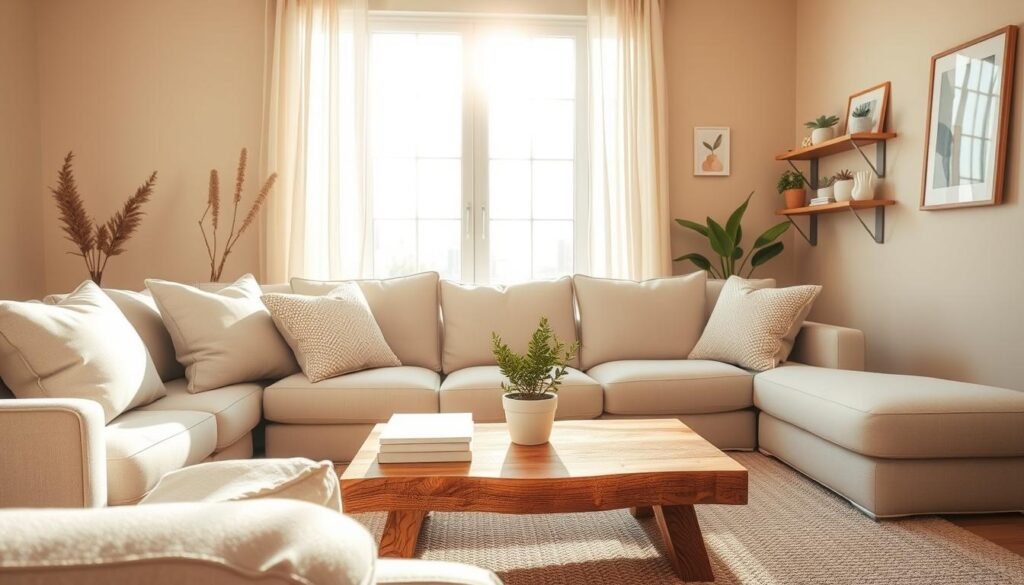
Adding DIY home decor ideas to your space makes it uniquely yours. It also adds value over time. Whether you want to make your home more functional or add storage, affordable diy home projects are a smart choice.
Easy diy projects can change your home in big ways. They range from simple woodworking to major renovations. These home improvement projects help you reach your goals without spending a lot. They’re a great way to use your time wisely.
Looking into different DIY home projects can help you find the best way to improve your home. Our guide will show you various projects to start your next DIY project.
1. Custom Built-In Shelving and Storage Solutions
With a little creativity, you can turn any wall into a beautiful storage solution. It complements your home décor. Custom built-in shelving and storage solutions are not only functional but also add elegance to any room.
Measuring and Marking
The first step in creating your custom shelving is measuring and marking the wall. Accurate measurements are key to ensure your shelving fits perfectly and is level.
- Measure the width and height of the wall where you plan to install the shelving.
- Mark the spot where the shelves will be placed, taking into account the height and spacing between them.
- Use a level to ensure your marks are straight and even.
Frame Construction
Once you have your measurements and markings, it’s time to construct the frame for your shelving. A sturdy frame is essential for supporting the weight of the shelves and their contents.
- Cut the wood according to your measurements.
- Assemble the frame using screws or nails, ensuring it is square and sturdy.
- Attach the frame to the wall, using appropriate fixings for the type of wall you have.
Finishing Touches
The final stage involves adding the shelves and finishing touches. A well-finished shelving unit can greatly enhance the room’s aesthetic.
- Sand the shelves and frame to smooth out any rough edges.
- Apply a finish, such as paint or varnish, to match your home décor.
- Install the shelves, and add any decorative trim or molding as desired.

By following these steps and paying attention to detail, you can create a beautiful and functional storage solution. It adds value to your home.
2. Handcrafted Wood Furniture for Every Room
Handcrafted wood furniture brings a personal touch to your home. With the right guidance, you can make pieces that are both useful and beautiful. DIY furniture projects let you add your unique style to every room.
Design Considerations for Living Room Furniture
When making living room furniture, think about the room’s layout, your style, and what you need. Choose pieces that fit the room and your decor. For example, a slim sofa works well in small spaces, while a sturdy coffee table can be the room’s centerpiece.
- Measure the room and think about how people move through it.
- Pick a style that shows who you are.
- Think about what each piece needs to do.
Material Selection and Costs
The material you choose affects the cost and quality of your furniture. Solid hardwoods like oak and maple are strong and look great, but they cost more than softer woods. It’s important to find a balance between your budget and your design dreams.
- Learn about different woods and their qualities.
- Look at prices and see what’s available.
- Think about how sustainable your choices are.
Coffee Tables with Storage
Coffee tables with storage are both useful and stylish. They can have drawers, shelves, or cabinets to meet your needs. Here’s a simple guide to get you started:
- Measure your space to find the right size.
- Pick a design that matches your decor.
- Choose materials that are easy to work with and last long.

An entryway bench is a great addition to any home. It’s a place to sit, remove shoes, store coats, or show off decorative items. When making an entryway bench, think about its height, depth, and storage needs. A well-made bench can be a highlight in your entryway.
- Plan the dimensions based on your entryway’s size.
- Decide on the storage options, such as baskets or shelves.
- Choose a finish that matches your home’s style.
By following these tips, you can make beautiful, useful handcrafted wood furniture for every room. Whether it’s a coffee table, entryway bench, or living room sofa, your DIY projects will show off your style and skill.
3. Bathroom Storage Towers and Linen Cabinets
Bathroom storage towers and linen cabinets keep your bathroom tidy and calm. They also make your bathroom look better.

- Wood (you might need plywood, solid wood, or MDF)
- Screws and nails
- Wood glue
- Paint or stain (optional)
- Decorative trim (optional)
- Saw (circular or handheld)
- Drill
- Sandpaper
Construction Steps
Building your storage tower or cabinet involves several steps:
- Measure the Space: Measure the area for your storage unit to fit perfectly.
- Cut the Wood: Cut the wood as needed for your design.
- Assemble the Frame: Use screws and nails to build the frame.
- Add Shelves and Doors: Install shelves and doors as designed. Make sure they’re level and aligned.
- Finish and Decorate: Sand the unit, then paint or stain if you want. Add trim for a nice finish.
By following these steps and using the right materials, you can make a useful and stylish storage solution. It will improve your bathroom’s look and feel.
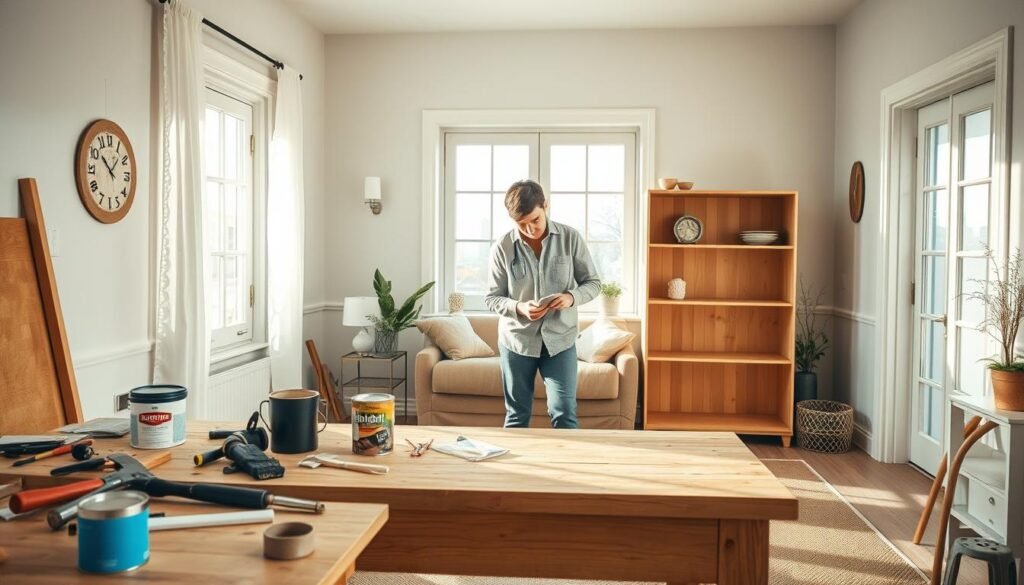
4. DIY Home Projects That Really Feel Worth the Time and Effort
DIY projects let you make your home truly yours. They require creativity and hard work. Whether you’re new to DIY or experienced, the right project can change your space.
Beginner to Advanced Project Progression
Start with simple projects to build confidence and skills. Beginner-friendly DIY projects include painting a room or making a simple shelving unit. As you get better, you can tackle more complex tasks like custom cabinetry or furniture restoration.
- Simple painting projects to refresh your walls
- Building basic shelving units for extra storage
- Creating decorative wall hangings with personal touches
- Upgrading to more complex projects like custom furniture
Tools Worth Investing In
The right tools are key to successful DIY projects. Investing in quality tools leads to better results and more fun. Must-have tools include a reliable drill, high-quality screwdrivers, and a versatile saw.
- A cordless drill for versatility and convenience
- A set of screwdrivers for various tasks
- A high-quality saw for precise cuts
- A level to ensure accuracy and precision

By moving from simple to complex projects and using the right tools, your DIY projects will be rewarding. This approach improves your skills and adds value to your home.
5. Wall-Mounted Organization Systems
Wall-mounted systems are a smart way to keep your home neat. They use wall space that’s often wasted. This makes your living area more organized and free of clutter.
Benefits of Wall-Mounted Organization include saving floor space, cutting down on mess, and adding a modern look. These systems are great for small homes or apartments where space is tight.
Floating Shoe Rack Designs
Floating shoe racks are a favorite for keeping shoes tidy. They also make your entryway or closet look better.
- Modern floating shoe racks come in many designs, from simple to fancy.
- They can be made from wood, metal, or glass.
- Some have extra features like hooks for bags or accessories.

When setting up a wall-mounted system, think about your wall type. Each wall needs a different setup to be secure and stable.
- For drywall, use anchors to spread the weight and stop screws from pulling out.
- For concrete or brick, use masonry bits and the right fasteners.
- For plaster, find the studs and use screws that go through plaster and into the stud.
By following these installation tips and picking the right system, you can have a more organized and stylish home. Whether it’s a floating shoe rack or another system, make sure it’s both useful and looks good.
6. Rustic Wood Picture Frames and Decorative Accents
Rustic wood picture frames and decorative accents can make your home feel more inviting. They add warmth and coziness, perfect for any room. This makes your space feel welcoming and unique.
Using Reclaimed and Pallet Wood
Using reclaimed and pallet wood adds character to your DIY projects. Reclaimed wood comes from old buildings, fences, or structures. It has a rich history and unique texture. Pallet wood is eco-friendly and cost-effective, making it great for decorative pieces.
- Reclaimed wood adds a story to your decor
- Pallet wood is eco-friendly and cost-effective
- Both materials can be distressed for a rustic look
Distressing Techniques
Distressing techniques enhance the rustic appeal of your wood pieces. You can sand down the wood to show its natural texture. Or, use a wire brush for scratches or apply a distressed finish with paint or stain.
- Sanding: Smooths out the wood while maintaining its rustic charm
- Wire brushing: Adds texture and character to the wood
- Distressed finish: Gives the wood a worn, aged appearance

By adding these DIY projects to your decor, you can create a unique and personalized look. It reflects your style and makes your home special.
7. Outdoor Curb Appeal Enhancements
Welcome guests to your home with a stunning wooden welcome sign and planter box design. Boosting your home’s outdoor curb appeal can increase its value and charm. We’ll show you how to make a beautiful wooden welcome sign that also serves as a planter box. Plus, we’ll share tips on getting a weather-resistant finish.

A wooden welcome sign with a planter box design is a great DIY project. It can make your home’s outdoor look better. Here’s what you’ll need:
- High-quality wood (e.g., cedar or pine)
- Weather-resistant screws and hinges
- Decorative paint or stain
- Planters or a planter box
First, design your welcome sign. Think about its size, shape, and text. You can add a planter box below it or make it part of the design. Use materials that won’t get damaged by the weather.
Weather-Resistant Finishing
Getting a weather-resistant finish is key for outdoor decor. To keep your wooden welcome sign and planter box safe from the elements:
- Apply a waterproof sealant to the wood
- Use a weather-resistant stain or paint
- Regularly check and keep up the finish
By doing these steps, you can make a lovely and lasting wooden welcome sign. It will make your home’s outdoor curb appeal better. This DIY project adds a personal touch and impresses your guests.
8. Room Decor Upgrades That Transform Spaces
Make your space special with DIY decor that shows off your style. A few simple changes can totally change a room. We’ll look at DIY projects like handmade wall art and custom shelving displays to boost your room’s look.
Handmade Wall Art
Making handmade wall art adds a personal touch. You can use canvas, wood, or metal for unique pieces. Try a gallery wall with prints or a statement piece with different textures and colors.

Custom shelving displays add storage and style. Build shelves from reclaimed wood or go for a modern floating shelf. Use them to show off decorative items, books, or family photos, making your space welcoming.
These DIY decor upgrades can give your space a fresh, new look. Whether you want a cozy or modern feel, DIY room decor lets you make your space your own.
9. Kitchen and Dining Area Improvements
Kitchen and dining area improvements are more than just looks. They also make your home more functional. These areas are where families come together and memories are made. So, making them welcoming and practical is key.
Updating your kitchen and dining areas can be done with DIY projects. Two easy yet effective projects are removing cabinet doors and installing floating shelves.
Removing Cabinet Doors Safely
Removing cabinet doors can make your kitchen feel more open. Start by taking off the hinges. Use a screwdriver to remove the hinges from both the door and the cabinet frame.
- Support the door as you remove the final screws to prevent it from falling.
- Set the doors aside and store the hinges and screws in a labeled bag for reinstallation if needed.
- Consider repainting or refinishing the cabinets after removing the doors to enhance their appearance.
Installing Floating Shelves
Floating shelves add storage and display space in your kitchen or dining area. You’ll need a level, a drill, and wall anchors to install them.
- Measure the space where you want to install the shelves and mark the wall with a pencil.
- Use a level to ensure your marks are straight, then drill pilot holes for the wall anchors.
- Insert the anchors and screw in the brackets that will support your floating shelves.
- Place the shelves onto the brackets, ensuring they are secure and level.

By doing these DIY projects, you can greatly improve your kitchen and dining areas. Whether you want to modernize your space or add personal touches, these improvements will have a lasting effect.
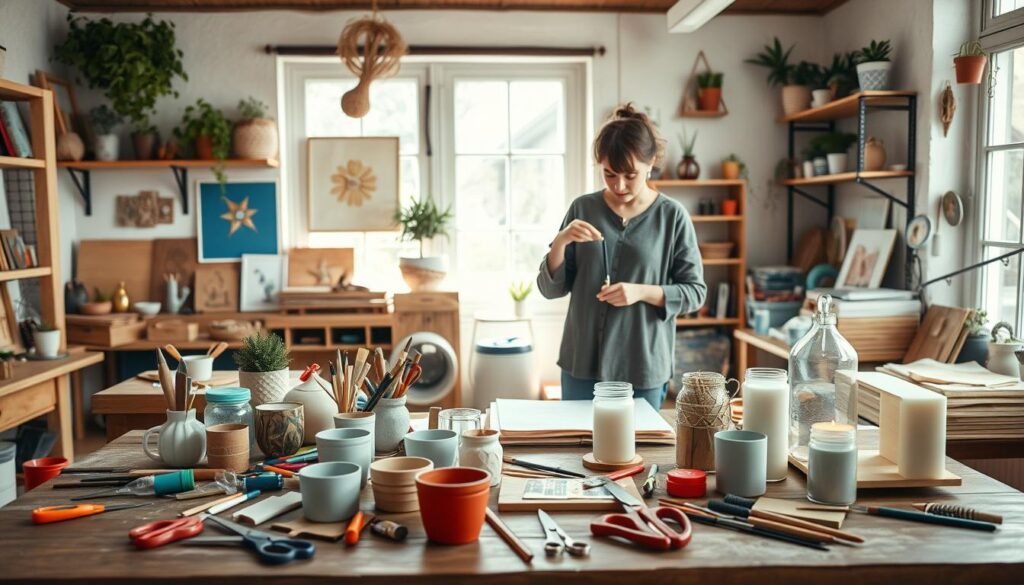
10. Small Woodworking Projects for Skill Building
If you want to get better at woodworking, start with simple projects. These projects need only a few tools. They’re great for building your confidence and making useful items for your home.
Simple Wood Projects with Minimal Tools
Starting with simple wood projects is a good way to begin. These projects need minimal tools, which is perfect for beginners. Here are some ideas:
- Building a simple cutting board
- Creating a wooden coat rack
- Making a wooden picture frame

Working with 2×4 lumber is also a good way to improve your skills. These projects are bigger than simple ones. They help you make useful items for your home. Some 2×4 projects DIY ideas include:
- Building a wooden bench
- Creating a shelving unit
- Making a wooden planter box
By doing these small woodworking projects, you’ll get better and make something useful for your home. Remember, start small and keep at it.
11. DIY Furniture Plans and Free Resources
Quality DIY furniture plans can boost your woodworking skills. With the right plans, you can make custom pieces that match your style and needs.
Finding Quality DIY Furniture Plans
To begin your DIY furniture project, you need reliable plans. Look for resources with detailed instructions and measurements. Free DIY plans websites are a good starting point. Make sure the plans have a materials list and step-by-step guides.
Key features to look for in DIY plans include:
- Detailed cut lists
- Assembly diagrams
- Finishing instructions
Understanding Woodworking Project Blueprints
Woodworking project blueprints are key to understanding your project’s scope and complexity. These blueprints show the project’s visual layout, including measurements and assembly details.
When looking at blueprints, focus on the scale and materials needed. This helps you prepare well for your project.

Couch tables and console designs are popular DIY projects. They can enhance your living room’s functionality and style. When planning, think about the size, material, and design that suits your space best.
Some popular designs include:
- Reclaimed wood console tables
- Modern minimalist couch tables
- Rustic wooden storage consoles
Bedroom Furniture Builds
Building bedroom furniture is a rewarding DIY project. You can make everything from bed frames to dressers. Creating your own furniture lets you customize the style and size for your bedroom.
When planning your bedroom furniture, think about materials and design that match your decor. Look for plans with detailed instructions and consider the skill level needed.
By using quality DIY furniture plans and free resources, you can make beautiful and useful pieces for your home.
12. Conclusion
DIY home projects have many benefits. They can make your home more functional and beautiful. They also give you a sense of pride and accomplishment.
By doing DIY projects, you can make your home truly yours. It shows off your personality and style.
There are many DIY projects to try. You can add custom storage, make your own furniture, or improve your home’s look. With the right tools and creativity, you can make your dream home a reality.
In conclusion, we hope this guide has inspired you. Whether you’re experienced or new to DIY, there’s a lot to explore. Start your next DIY project with confidence and enjoy the journey of making your home beautiful.