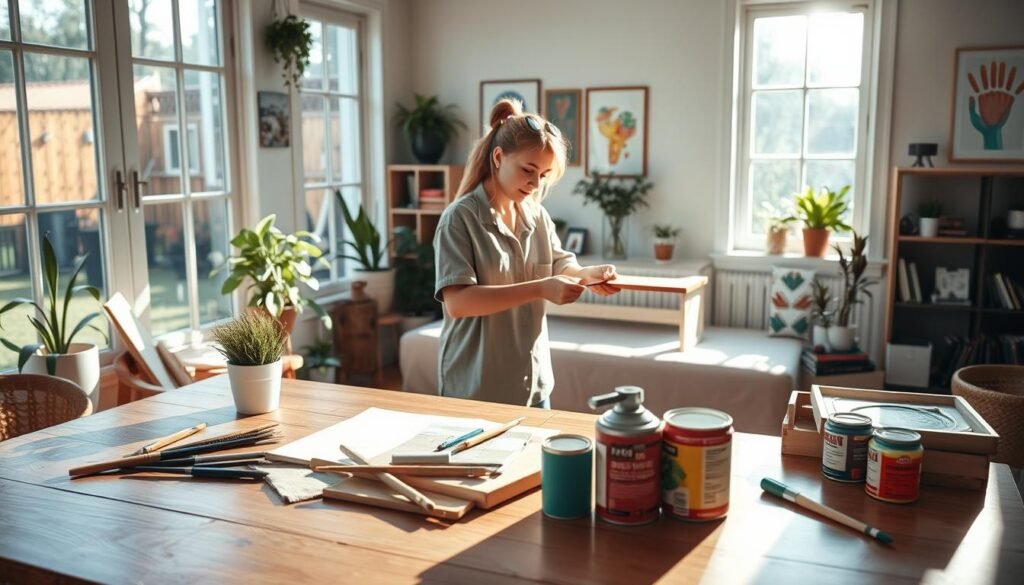
Turning your home into a better place is easier than you think. Simple DIY projects can make your daily life easier and more enjoyable. They make your home more efficient and beautiful.
Start making your home better with easy home diy ideas. You can organize your kitchen, tidy up your living room, or improve your outdoor areas. There are many simple diy projects for home that need little skill and materials you can find at home improvement stores.
Adding these home improvement projects to your routine can make your home more comfortable. It not only makes your life better but also increases your home’s value.
Transform Your Home with Functional DIY Upgrades
DIY upgrades can make your home better and cheaper. Simple projects can change how your home looks and works.
DIY projects can be as simple as painting or moving furniture. They can also add useful decorations. These changes make your home look better and work better for everyday life.
Key Benefits of DIY Upgrades
- Cost-effective: DIY projects are often budget-friendly, reducing the need for expensive professional services.
- Customization: You can tailor DIY upgrades to fit your specific needs and preferences.
- Personal satisfaction: Completing DIY projects can be incredibly fulfilling and gives a sense of accomplishment.
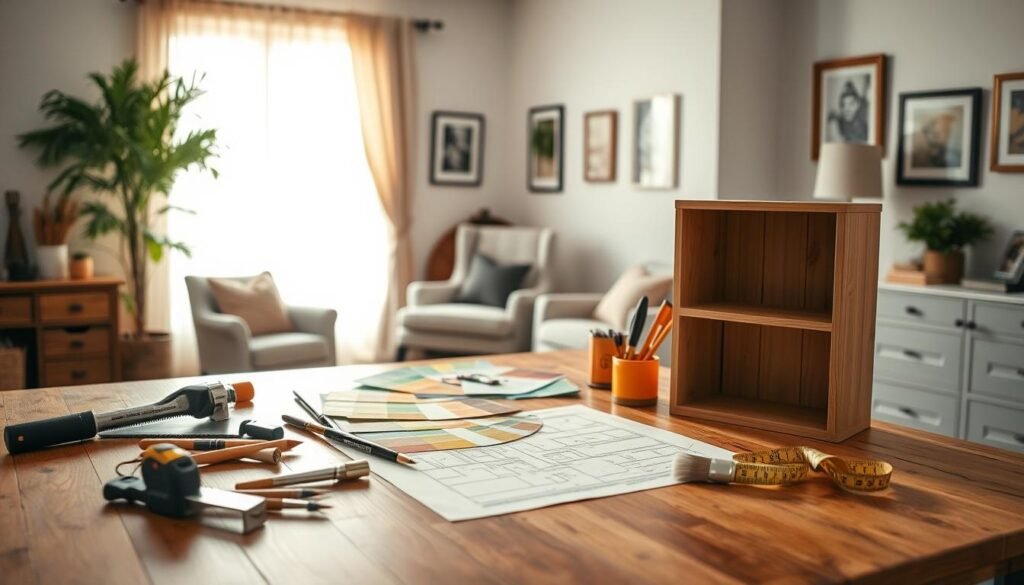
Popular DIY upgrades include adding shelves for storage or making a home office. You can also give old furniture a new look. These ideas work for different rooms and needs in your home.

Think about what you need for your DIY project. Consider the materials, your skills, and how it will change your home. With creativity and basic DIY skills, you can make your home more useful and welcoming.
Wall-Mounted Shoe Rack for Clutter-Free Entryways
Make a great first impression with a wall-mounted shoe rack. A messy entryway can ruin your home’s vibe. But, a DIY shoe rack can turn it into a stylish, organized spot.
Building a DIY shoe rack is easy and saves money. It keeps your entryway tidy by using wall space. It’s great for those who want shoe storage ideas that look good and work well.

To begin, gather materials like 2×4 lumber, a drill, and wall anchors. You’ll measure, cut, assemble, and mount the rack. Here’s how:
- Measure your entryway wall to figure out your shoe rack’s size.
- Cut the 2×4 lumber into the needed pieces for the frame and shelves.
- Put the frame together and attach the shelves, making sure they’re even.
- Secure the shoe rack to the wall with wall anchors for stability.
Creating a clutter-free entryway boosts your home’s look and makes life easier. A wall-mounted shoe rack keeps shoes organized and your entryway neat.
This DIY project makes your home more organized and welcoming. Adding a DIY shoe rack to your to-do list can make a big difference in your space.
DIY Couch Side Table from 2×4 Lumber
With just a few simple tools and some 2×4 lumber, you can build a stylish and functional DIY couch side table. It’s perfect for beginners. You’ll need minimal materials and can finish it over a weekend.
To start, you’ll need the following materials:
- 2×4 lumber (for the legs, frame, and shelf)
- Wood screws
- Wood glue
- Sandpaper
- Wood finish (optional)
The beauty of this2×4 lumber projectlies in its simplicity. You can customize it to fit your needs.

- Cut the 2×4 lumber into the required pieces for the legs, frame, and shelf.
- Assemble the frame using wood screws and glue.
- Attach the legs to the frame, ensuring stability.
- Add the shelf and sand the entire piece to smooth out any rough edges.
- Apply a wood finish if desired to match your living room decor.
By following thesecouch table plans, you’ll have a functional side table. It adds storage and style to your living room.
One of the advantages of building your own DIY couch side table is customization. You can adjust the size, add features like drawers, or change the finish to match your furniture.
Building a DIY couch side table from 2×4 lumber is a fun and rewarding project. It enhances your living room and gives you a sense of accomplishment. With these simple steps and materials, you can create a functional piece that reflects your personal style.
Bathroom Linen Tower for Towel and Supply Storage
A cluttered bathroom can be frustrating every day. But, a DIY linen tower can help keep towels and supplies organized. It’s a simple way to make mornings less stressful.
The Importance of Bathroom Organization
An organized bathroom looks better and makes mornings easier. Having a place for towels and supplies saves time. You won’t have to search for what you need.
To make a linen tower, you’ll need:
- 3/4 inch plywood or MDF for the shelves
- 1×4 lumber for the frame
- Wood screws
- Wood glue
- Sandpaper
- Paint or stain (optional)
Here’s how to build your linen tower:
- Cut the 1×4 lumber to the right length for the frame.
- Put the frame together with wood screws and glue.
- Cut the plywood or MDF for the shelves.
- Attach the shelves to the frame with wood screws.
- Sand the whole thing to smooth out any rough spots.
- Paint or stain the tower to match your bathroom.

By following these steps, you can make a useful and stylish linen tower. It’s a great DIY project to improve your bathroom’s look and organization.
DIY Home Projects That Make Daily Life Easier For Everyone: Kitchen Drawer Dividers
Kitchen drawer dividers are a simple DIY project that can make your kitchen better. They help organize your drawers, reducing clutter and making cooking easier.
Benefits of Organized Kitchen Drawers
Organized kitchen drawers have many advantages, including:
- Easier access to utensils and cooking tools
- Reduced clutter and mess
- Improved kitchen safety
- Enhanced cooking experience
To make kitchen drawer dividers, use wood or plastic. Measure your drawers and cut the material to fit. You can also add a decorative touch with paint or stain.

- Regularly clean and dust your drawers
- Reorganize your dividers as needed
- Keep frequently used items easily accessible
By using kitchen drawer dividers, you can have a more efficient kitchen. This DIY project is a great way to improve your cooking and make daily life easier.
Custom Charging Station to Tame Cable Clutter
A clutter-free home is within reach with a custom-built charging station. It keeps your devices charged and your cables managed. Cable clutter is a common issue that can make your living room or workspace look disorganized.
Building a DIY charging station is a simple project. It can significantly improve your home’s organization. By having a designated spot for charging your devices, you can keep your cables and chargers in one place, reducing clutter.

To start, you’ll need a few basic materials. You’ll need a wooden crate or a plastic container, power strips, and some cable management tools. You can customize your charging station to fit your needs, whether it’s for your living room, bedroom, or home office.
- Choose a container that fits your space and style.
- Install power strips and cable organizers to keep everything tidy.
- Add a label or sign to identify the charging station.
By creating a custom charging station, you’ll not only reduce cable clutter. You’ll also make it easier to find the cables you need when you need them. This simple DIY project is a great way to improve your home’s cable management. It keeps your devices charged and ready to use.
Under-Sink Pull-Out Storage System
Building an under-sink pull-out storage system is easy and effective. The space under the sink is often wasted and can get messy. But, with a good pull-out system, you can use this area well and keep things tidy.
Benefits of Under-Sink Pull-Out Storage
- Maximizes under-sink space
- Reduces clutter and keeps bathroom essentials organized
- Easy access to stored items
- Customizable to fit your specific storage needs
To begin, you’ll need a few things. You’ll need a wooden drawer or a pull-out unit, slides, and basic tools like a drill and screws. The size of your unit depends on how much space you have under your sink.

- Measure the under-sink area to determine the size of your storage unit.
- Cut the wooden drawer or storage unit to the required size.
- Attach the slides to the storage unit and the cabinet.
- Install the storage unit under the sink, ensuring it slides in and out smoothly.
By following these steps, you can make a useful under-sink pull-out storage system. It will improve your bathroom’s storage and make your daily items easy to find.
Rustic Wooden Picture Frame Wall Display
Creating a rustic wooden picture frame wall display is a great DIY project. It adds a personal touch to any room. You can show off your favorite memories and enhance your home decor with rustic charm.
To begin, pick the right materials. Choose reclaimed or distressed wood for that rustic look. You can pick from pine or cedar, depending on the texture and color you want.
Designing the display means deciding how to arrange the frames. You can choose a symmetrical layout for a formal look or a random pattern for something eclectic. Think about the size and shape of the frames and the wall space.

Building the frames needs basic DIY skills. Use your chosen wood to make sturdy frames. Add a personal touch with twine, nails, or other decorations.
When hanging the display, plan carefully for the best look. Use a level and a pencil to mark the wall. Make sure the arrangement is balanced and looks good.
By following these steps, you can make a stunning rustic wooden picture frame wall display. It adds warmth and character to your home. This DIY project is both functional and a great way to display your cherished memories.
Welcome Sign with Built-In Planter Box
Welcome your guests in style with a DIY welcome sign that includes a built-in planter box. This project adds a personal touch to your home’s entrance. It also boosts its curb appeal with a touch of greenery.
Benefits of a Welcome Sign with a Planter Box
- Adds a personal touch to your home’s exterior
- Enhances curb appeal
- Provides an opportunity to showcase your gardening skills
To start this project, you will need the following materials:
- Weather-resistant wood for the sign and planter box
- Paint or stain for finishing
- Gardening soil and plants of your choice
- Nails, screws, and a hammer or drill
Step-by-Step Construction Guide
- Design your welcome sign and planter box, considering the size and the type of plants you want to use.
- Cut the wood according to your design and assemble the sign and planter box.
- Finish the wood with paint or stain to protect it from the elements.
- Attach the planter box to the sign, ensuring it is secure and level.
- Fill the planter box with soil and plant your chosen greenery.

By following these steps, you can create a beautiful and inviting welcome sign with a built-in planter box. It will greet your guests warmly and add to your home’s charm.
Tips for Maintenance
- Regularly water and care for the plants in the planter box.
- Repaint or restain the sign as needed to maintain its appearance.
- Consider using plants that are resistant to the local climate conditions.
Floating Shelves for Kitchen and Bathroom Organization
Floating shelves in the kitchen and bathroom are a simple DIY project. They add storage and a sleek, modern look. This can make these areas more functional and appealing.
Benefits of Floating Shelves: Floating shelves are great in kitchens and bathrooms where space is limited. They offer a place to store essentials, keeping countertops clear. Plus, they can display decorative items, adding a personal touch.

When picking materials for your shelves, think about the area’s humidity and use. For bathrooms, choose materials like glass or treated wood to resist moisture. In kitchens, opt for easy-to-clean materials like metal or solid surfaces.
Installing Floating Shelves: A Step-by-Step Guide
- Measure the space for your shelves, considering width and height.
- Choose the material and design based on the room’s decor and needs.
- Use a level to ensure the shelves are straight, and mark the wall for brackets.
- Drill into the wall, insert anchors if needed, and screw in the brackets.
- Place the shelf on the brackets, making sure it’s secure and level.
By following these steps, you can make beautiful, functional floating shelves. They’re perfect for storing kitchen utensils or bathroom toiletries. Floating shelves are a versatile and stylish solution.
Custom Closet Organization with Adjustable Shelving
Creating a custom closet organization system with adjustable shelving is a big change for homeowners. It makes your closet more useful and increases your home’s value. A tidy closet cuts down on clutter, making your day easier.
To start your DIY closet organizers, measure your closet. Note its width, height, and depth. Think about what you need to store. This helps you design a system that fits your needs.
Designing Your Closet Organization System
When planning your closet organization ideas, think about adjustable shelving, double rods, and drawers. Adjustable shelving lets you change the storage space as you need. You can give more room to items like sweaters or coats.
- Assess your storage needs
- Choose materials for shelving and rods
- Plan the layout for maximum efficiency
To bring your design to life, start with the shelving. Use strong brackets and make sure the shelves are even. For adjustable shelving, a track system is great. It lets you move shelves up or down easily.

After setting up the shelving, add rods for hanging clothes. Double rods give you more space, perfect for small closets. Also, think about drawers or shelves for folded items and accessories.
Building your custom closet organization system is a fulfilling DIY project. It meets your storage needs and adds a personal touch to your home. With adjustable shelving and a good design, you’ll have a closet that’s both useful and stylish.
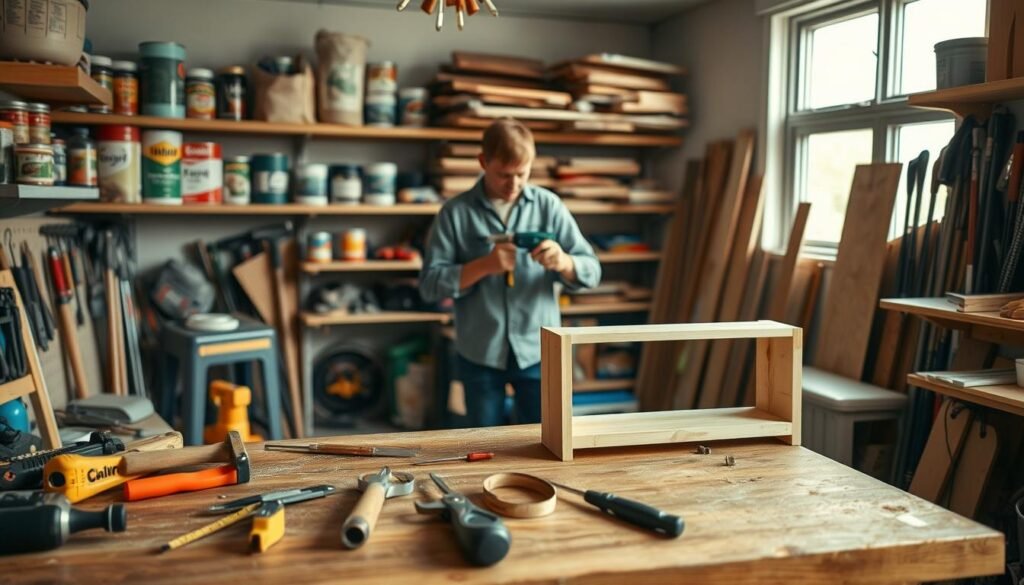
Pegboard Tool Wall for Garage or Workshop
Turn your garage or workshop into a top-notch space with a pegboard tool wall. It’s perfect for organizing tools, equipment, and accessories. This keeps them handy and boosts your workspace efficiency.
Benefits of a Pegboard Tool Wall
A pegboard tool wall brings many advantages, including:
- More storage space
- Better tool organization and visibility
- Improved workspace efficiency
- Customization to fit your needs
To set up a pegboard tool wall, you’ll need a pegboard, hooks, and a mounting system. You can pick from materials like plywood or MDF. Choose hooks that match your tools.

Plan your pegboard tool wall layout before installation. Think about the tools you’ll store and how often you use them. Sketch a design on grid paper or use software for a digital layout.
Tips for Installing a Pegboard Tool Wall
- Pick a strong wall for your tools and pegboard.
- Measure the wall space to fit the pegboard well.
- Use a level to make sure the pegboard is straight.
- Secure the pegboard to the wall with a good mounting system.
By following these steps and tips, you can make a pegboard tool wall. It will improve your garage or workshop organization. This makes it easier to find tools and boosts your productivity.
Conclusion
DIY home projects can really make your living space better. They can make your home more organized and efficient. Projects like wall-mounted shoe racks and custom closet systems show how easy it is to improve your home.
Adding these DIY projects to your home can make it more welcoming. Whether you’re fighting clutter or just want to add your own style, there are many options. DIY projects can help you achieve a more organized and efficient home.
When planning your next home improvement, think about how organization can help. Start your DIY project today. See how a well-organized home can change your life.