Making your own DIY live edge shelves is a fun woodworking project. With basic tools, you can turn a beautiful wood piece into unique home decor.
First, pick the right wood. Then, prepare it for your shelves. Lastly, put everything together. Easy steps help you get great results, even if you’re new to woodworking. This guide will show you how to make your own live edge shelving, from picking the wood to finishing the project.
Whether you’re experienced or just starting, this project is a great way to dive into live edge woodworking. It adds a personal touch to your home.
What Are Live Edge Shelves?
Live edge shelves bring the outdoors into your home. They show off the natural edge of the wood. This makes each shelf a unique piece of art.
These shelves celebrate the wood’s natural beauty. They have organic curves and untouched edges. This style is perfect for those who love rustic, natural decor.
Key Characteristics of Live Edge Shelves:
- Unique, natural edge that adds character to any room
- Organic shapes and curves that reflect the wood’s original form
- A blend of modern and rustic elements that creates a distinctive look
Making live edge shelves can be a fun DIY project. With a live edge woodworking tutorial, you can create something beautiful. It adds storage and becomes a room’s centerpiece.

With simple tools for live edge shelving, you can shape and sand the wood. This requires careful planning and detail. But the end result is worth it.
Looking to add nature to your space? DIY live edge shelving is a great choice. It fits well with many decor styles.
How to Build Live Edge Shelves Using Basic Tools
Building live edge shelves is easy with the right tools and safety steps. First, gather all the tools and equipment you need.
Hardware Requirements
You’ll need some key tools for your project. A circular saw or hand saw is for cutting wood. A drill is for screw holes, and a sander smooths the wood. Good tools make a big difference in your project’s quality.
- Circular saw or hand saw
- Drill
- Sander
- Clamps
Safety Equipment
Always put safety first when using power tools and wood. You’ll need safety glasses, a dust mask, and gloves. Wear safety gear always when working on your shelves.
- Safety glasses
- Dust mask
- Gloves
With your tools and safety gear ready, start your project. Prepare your live edge slab as planned. Make sure to measure and cut accurately for the right shelf size.

By following these steps and using the right tools, you can make stunning live edge shelves. Work carefully and patiently for a professional look.
Finding and Selecting the Perfect Live Edge Slab
Finding the right slab is the first step to making stunning live edge wood furniture. A live edge slab is wood cut to show its natural edge. This makes each piece truly unique.
When looking for the perfect slab, think about the wood type you need. Different woods have different looks and strengths. For raw edge shelves, you might want wood that’s strong and looks good.

- Check the slab for any flaws or damage.
- Make sure the slab’s size and thickness fit your project.
- Think about the look you want for your rustic wood shelving.
Choosing the right slab is key to making your rustic shelving ideas come to life. Take your time and look at several slabs before deciding.
By picking the perfect slab, you’re on your way to making beautiful live edge wood furniture. It will add natural elegance to any room.
Preparing Your Live Edge Wood
Before you start building your live edge shelf, it’s key to prepare the wood right. This step is vital to make sure your rustic wall shelves look great and last long.
Preparing your live edge wood involves several important steps. First, clean the wood well to get rid of dirt or debris. Use a soft-bristled brush or a cloth to gently wipe it down.
- Inspect the wood for any cracks or splits that may need to be filled.
- Check for any signs of warping or twisting.
- Look for any nails, screws, or metal fragments that need to be removed.
Next, dry the wood if it’s not already dry. Live edge wood that’s properly dried is less likely to crack or warp. You can use a kiln or air dry the wood, depending on what you have.

For more ideas on DIY live edge wood projects, check out The Sawdust Man’s website. It has lots of creative and inspiring projects.
After your wood is clean and dry, you might need to apply treatments. This can include using a wood sealant or finish to protect it from pests and decay. It also enhances the wood’s natural beauty.
By following these steps, you’ll be on your way to making a stunning live edge shelf. It will add natural beauty to any room.
Step-by-Step Guide to Shaping and Sanding
Turning your live edge slab into a beautiful shelf is a journey of shaping and sanding. This process brings out the wood’s natural beauty and gives it a smooth finish. It’s perfect for showing off your favorite decor items.
Shaping your live edge wood is the first step to making a stunning rustic floating shelf. Start by looking at the slab’s natural curves and edges. Use a jigsaw or bandsaw to remove any rough edges or splinters. Be careful to follow the wood’s natural shape.

Hand sanding is key to getting a smooth finish. Begin with coarse-grit sandpaper (about 80-100 grit) and move to finer grits (220-240 grit). Always sand with the wood grain to avoid scratches.
- Use a sanding block to keep the sandpaper flat and prevent uneven surfaces.
- Wipe away dust and debris between sanding stages to inspect your progress.
- For tight spaces, use a sanding tool with a flexible shaft.
Power Sanding Methods
For bigger surfaces or to speed up sanding, try a power sander. There are belt sanders and orbital sanders, each with its own benefits.
- Belt sanders are good for removing a lot of material quickly but need careful handling to avoid gouging the wood.
- Orbital sanders are best for smoothing surfaces and are great for fine grit sanding.
- Start with a coarse grit and move to finer grits for the best results.
By following these steps, you can make a beautiful spa like home decor piece or a unique diy wood bathroom decor item. Your live edge shelf will be both functional and stunning. It will show off your craftsmanship and attention to detail.
With patience and practice, your live edge shelf will become a centerpiece in your home. It will reflect your personal style and creativity. Whether you want a rustic look or a polished finish, the details of shaping and sanding are key.
Finishing Options for Live Edge Shelves
The finishing touches on live edge shelves can really make them stand out. The right finish not only protects the wood but also highlights its unique features.
For those who love reclaimed wood home decor, picking the right finish is key. You might choose a natural oil like tung oil or linseed oil. These oils go deep into the wood, making it durable and water-resistant.
Waxing is another great option. It creates a barrier against moisture and adds a soft glow to the wood. If you prefer a modern look, consider a polyurethane or varnish finish. These provide a hard, durable surface that lasts through daily use.
If your live edge shelves fit into a hunters bathroom ideas theme, choose a finish that matches the rustic vibe. A dark stain or weathered wood finish can enhance the look.
In bathrooms, it’s important to pick a finish that can handle the humidity. Wood shelves in bathroom settings need a moisture-resistant finish. Look for a waterproof sealant or a finish made for bathrooms.
To make unique bathroom shelves, try different finishing techniques. Mixing a natural oil finish with wax can add protection and shine.

For more ideas on using reclaimed wood, check out these 8 stunning reclaimed wood DIY home decor projects. They offer creative ways to use your live edge shelves in your home.
The right finish depends on your style and project needs. By choosing wisely, your live edge shelves will remain beautiful and functional for years.
Mounting Methods for Secure Installation
Choosing the right mounting method is key for a live edge shelf installation. These shelves, made from beautiful walnut wood, bring modern rustic charm to any room. This includes the bathroom.
There are several mounting techniques to consider. The method you choose depends on the wall type, shelf weight, and support needed.
Common Mounting Methods:
- French Cleats: Great for heavy live edge shelves. You attach a bracket to the wall and a cleat to the shelf.
- Hidden Brackets: Perfect for a minimalist look. These brackets are attached to the wall and hidden by the shelf.
- Direct Wall Mounting: Good for lighter shelves. This method involves drilling directly into the wall to secure the shelf.
For a modern rustic bathroom shelves or live edge shelves bathroom installation, pick hardware that fits the design. It should also provide sturdy support.

Make sure the live edge shelf is level and securely fastened. This prevents accidents. By picking the right mounting technique, your walnut shelves will last for years.
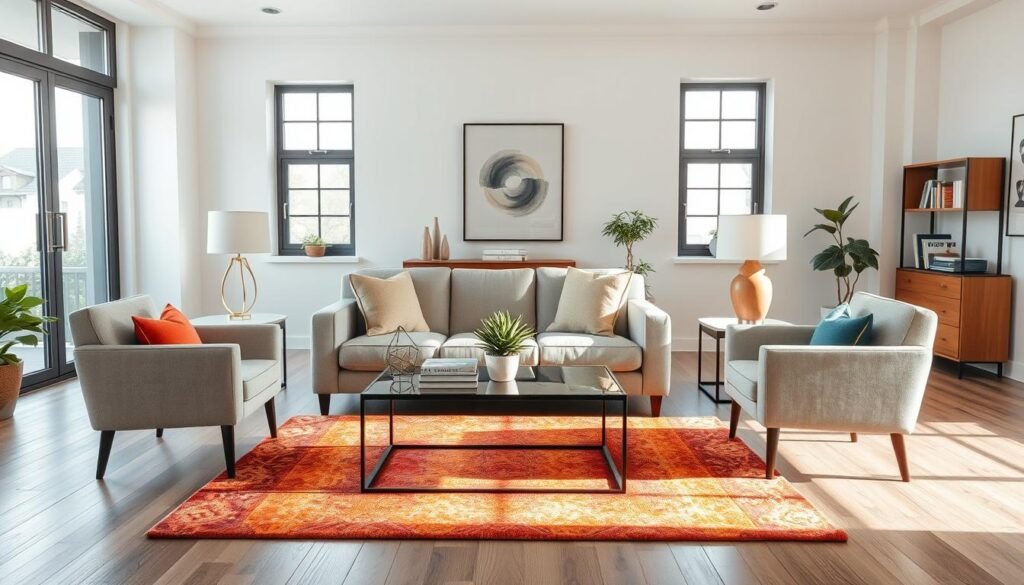
Styling Your Live Edge Shelves in Different Rooms
Looking to change up your kitchen, bathroom, or living room? Live edge shelves are a great choice. They can fit into many styles, making your space look unique.
These shelves add a natural vibe to any room. In the living room, they’re perfect for showing off vases, sculptures, or photos. They bring warmth and coziness. For a rustic feel, pair them with stone or brick.

In the kitchen, pipe shelves from live edge wood add an industrial vibe. They’re great for cookbooks, utensils, or favorite cookware. Add metal lighting or a metal backsplash for a complete look.
Bathrooms look elegant with live edge shelves. They’re perfect for toiletries, towels, or decor. For a calming feel, pair them with bamboo or woven baskets.
Here are some tips for styling yourDIY shelves:
- Mix different textures and materials for a nice display.
- Show off personal items like family photos or heirlooms.
- Balance your items across the shelf for a good look.
- For kitchen decor ideas, see our guide on warming up your kitchen with simple wood.
Adding live edge shelves to your decor makes any room welcoming and unique.
Conclusion: Enjoying Your Handcrafted Live Edge Shelves
Making your own live edge shelves is a fun and rewarding project. It adds a personal touch to your home’s design. You can display your favorite items or family photos, making your space unique.
Whether in the bedroom, living room, or hallway, your live edge furniture will spark conversations. Admire your work and think about sharing it with friends and family. Or post it on social media to inspire others.
Enjoy your new shelves and the unique beauty of the live edge wood. Take pride in creating something with your own hands. Appreciate the special character it adds to your home.