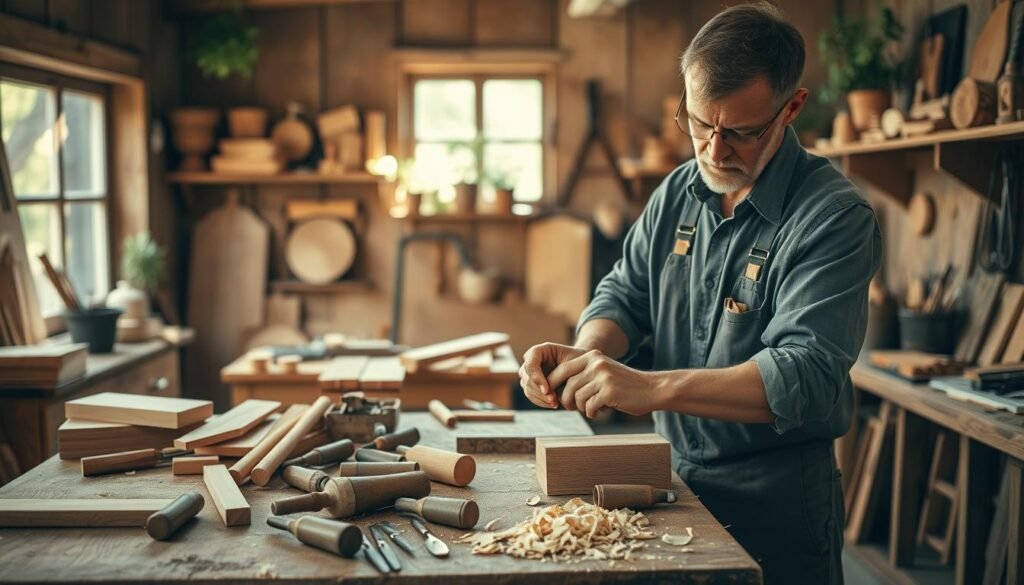
Want a fun and rewarding weekend? Try some easy woodworking projects. You’ll need just a few tools and basic materials to make something special.
Whether you’re experienced or new to woodworking, there are many projects you can finish in a few hours. You can make useful items like shelves and tables or pretty things like picture frames and birdhouses.
We’ll look at five weekend woodworking projects great for beginners or a quick creative fix. These projects are fun, rewarding, and easy to do. You’ll love making something with your own hands.
The Joy of Weekend Woodworking
Woodworking on weekends is a great way to relax and express yourself. It lets you use your hands and show off your creativity. This hobby is perfect for those who love to work with wood.
Woodworking is also great for reducing stress. It’s like a meditation, helping you clear your mind and feel less anxious. Plus, making something with your own hands is incredibly rewarding.
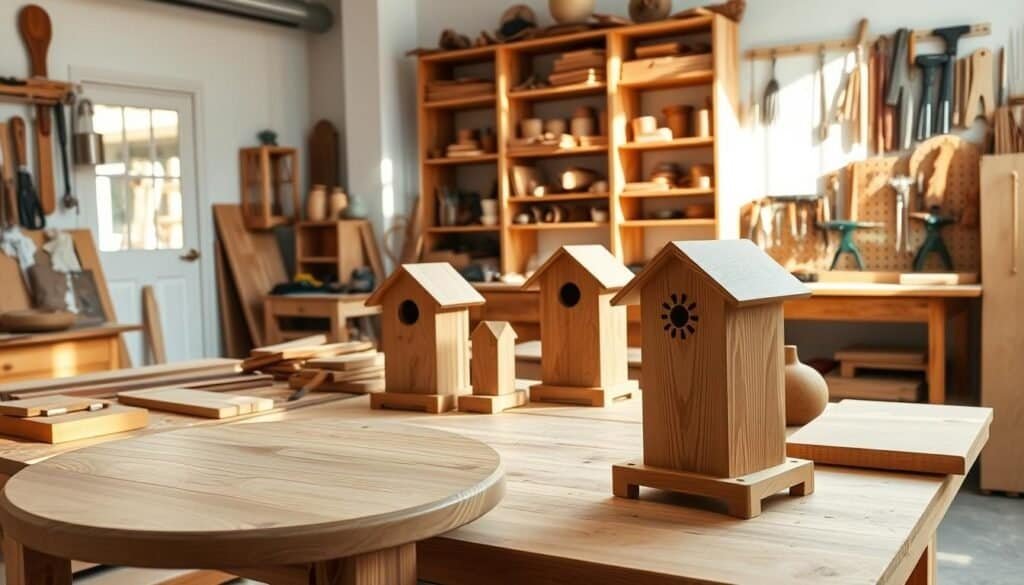
Quick DIY projects are great for busy weekends. They teach you new skills and let you make useful or pretty things for your home. You can make anything from a simple shelf to a wooden planter.
Looking for new woodworking ideas can spark your next project. You can try making rustic furniture or detailed wooden decorations. As you get better, you can tackle more challenging projects and keep improving.
Woodworking on weekends is all about creativity, calm, and getting things done. It makes your home more beautiful with things you made yourself. It also makes you feel better overall.
Essential Tools for Quick Wood Projects
To start simple woodworking projects, you need the right tools. Woodworking can seem daunting, but the right tools make it easier. Here, we’ll look at the key tools for quick wood projects.
Measuring and Marking Tools
Measuring and marking tools are the base of woodworking. You’ll need a tape measure, combination square, and pencil. These ensure your wood is measured and marked right, avoiding mistakes.
Cutting and Shaping Tools
Cutting and shaping tools help shape your wood. A handsaw or power saw, like a circular saw, is key for straight cuts. Chisels and hand planes are great for fine-tuning and smoothing wood.
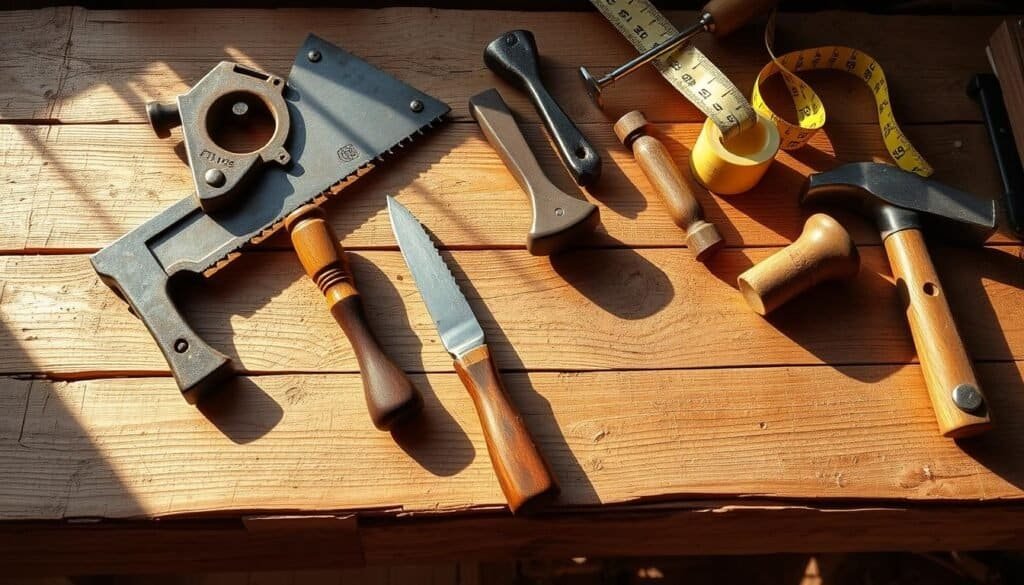
Assembly tools are vital for putting your project together. Clamps, glue, and a hammer are must-haves. They help make your project strong and well-built.
Must-Have Power Tools
For simple wood projects, some power tools are a must. A drill press, circular saw, and sander are essential. They help you make precise cuts and smooth finishes, speeding up your work.
Nice-to-Have Power Tools
While not essential, some power tools are nice to have. A router, jigsaw, and impact driver are useful for more detailed projects. They let you explore more creative options in woodworking.
Having the right tools for simple woodworking projects is key. Whether you’re new or experienced, the right tools are essential for success.
Selecting the Right Materials
Choosing the right wood is key for your project’s look and durability. The right wood can make your DIY project stand out. This is true whether you’re making small wood projects to sell or unique scrap wood projects.
Softwoods vs. Hardwoods
Softwoods, like pine and cedar, are softer and less dense than hardwoods. They are often cheaper and great for projects where weight matters. Hardwoods, such as oak and maple, are denser and last longer. They’re perfect for projects needing strength and durability.
Plywood and Manufactured Boards
Plywood and manufactured boards are made from wood layers pressed together. They are stable and less likely to warp. These materials are affordable and good for many projects, from furniture to shelves.
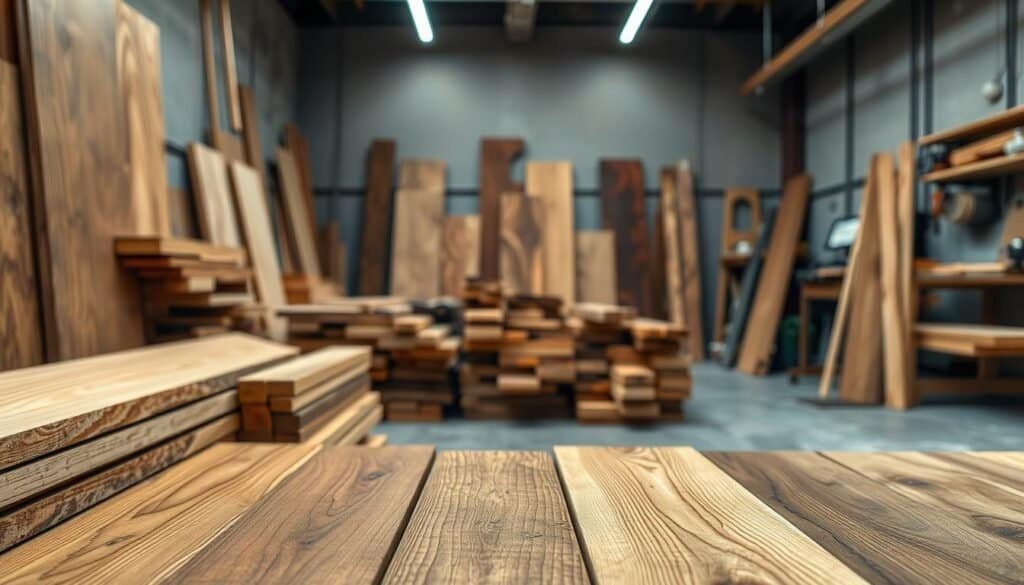
Reclaimed and pallet wood are great for projects wanting character and sustainability. Reclaimed wood comes from old buildings, fences, or structures. It has a unique history and look. Pallet wood, from pallets, adds a rustic feel to DIY projects.
Lumber Yard vs. Big Box Stores
You can buy materials from local lumber yards or big box stores. Lumber yards have more wood species and expert advice. Big box stores are convenient and often cheaper. Think about your project’s needs and budget when choosing where to buy.
Knowing about different wood materials helps you make better choices. This is true for both experienced woodworkers and beginners. The right materials are essential for professional-looking results.
Safety First: Protecting Yourself During DIY Projects
When you start DIY wood projects, like makingwood creationsorscrap wood ideasfor your home, safety is key. It’s important to keep your workspace safe to avoid accidents and injuries. This way, you can enjoy making something beautiful for yourDIY home decor.
Wearing the right safety gear is a must. This includes safety glasses, ear protection, and a dust mask. Safety glasses protect your eyes from sawdust and debris. Ear protection keeps your hearing safe from loud power tools. A dust mask is important to avoid breathing in dust and particles when working with wood.

Using tools safely is also very important. Always read the manual before using a new tool. Make sure you’re using the right tool for the job. Keeping your tools sharp and well-maintained can also prevent accidents, as dull tools are more likely to slip and cause injury.
Keeping your workspace organized is just as important. A messy workspace can lead to tripping hazards and accidents. A clean and organized workspace not only improves safety but also makes you more productive and efficient when working on wood creations or other DIY projects.
By focusing on safety, you can enjoy making DIY home decor items, like decorative pieces from scrap wood ideas, without worrying about getting hurt. Remember, a safe workspace is essential for successful and fun DIY projects.
Planning Your Weekend Wood Projects
To make the most of your weekend, planning your woodworking projects is key. You need to set clear goals, pick the right projects, and make a realistic schedule.
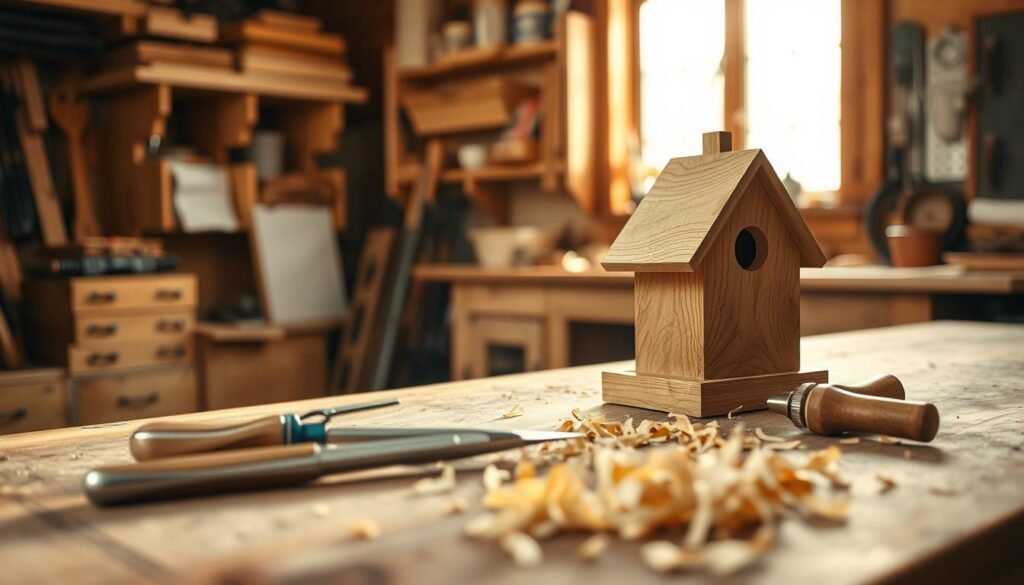
When picking a project, think about your skill level and what materials you have. Small woodworking projects like a simple birdhouse or scrap wood crafts are fun and rewarding. For a bigger challenge, try DIY pallet projects to turn old pallets into useful home items.
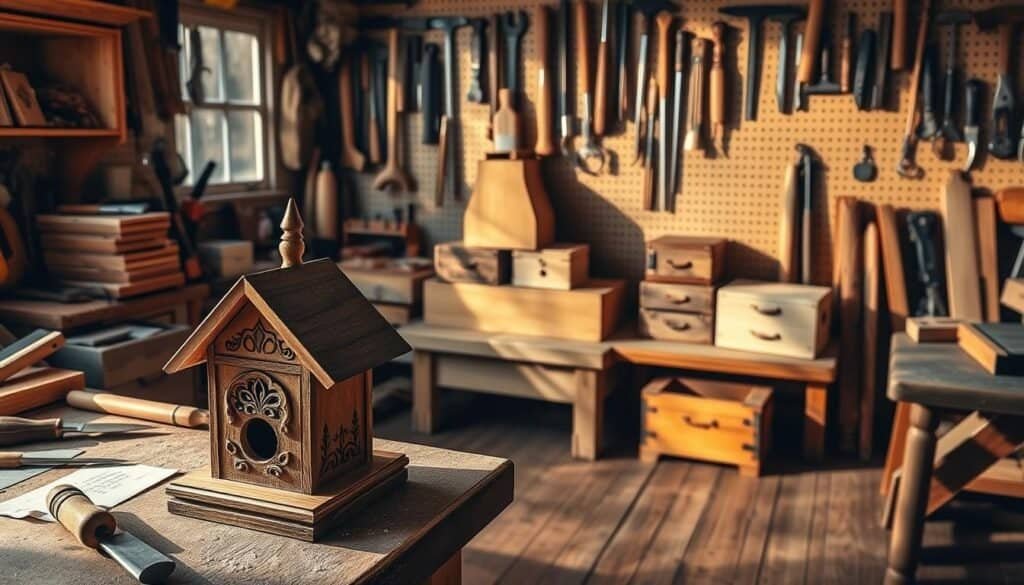
Creating a schedule is also important. Break your project into smaller tasks, like preparing materials, assembling, and finishing. Set specific times for each task to keep on track.
By planning well, you’ll have a productive and fun weekend. Whether you’re experienced or new to woodworking, a clear plan helps you reach your goals and use your time wisely.
Project 1: Rustic Floating Shelves
Creating rustic floating shelves is a simple DIY project. They add storage and style to any room. With basic tools and reclaimed wood, you can make something beautiful and useful.
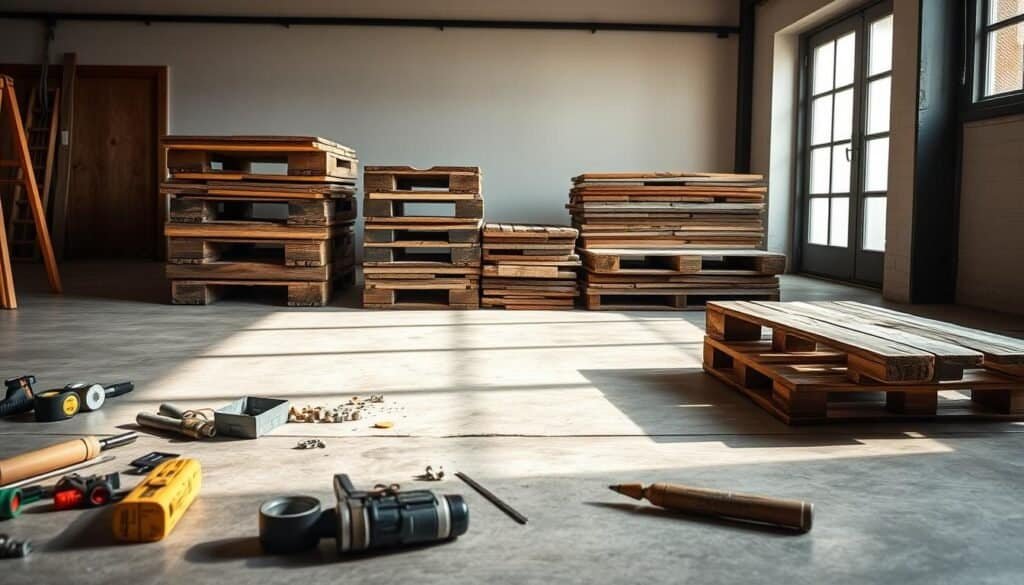
Start by cutting the wood to the right length. Measure the space for the shelves and cut the wood. Use reclaimed or pallet wood for a rustic look. It’s eco-friendly and adds character.
When cutting, use the right saw for your wood. A circular saw or hand saw works well. Always wear safety goggles and keep hands away from the blade.
Creating the Mounting System
The mounting system keeps your shelves secure and level. Attach brackets or corbels to the wall for support. For a floating look, use hidden brackets.
Find the wall studs first. Use a stud finder to mark their location. Then, attach the brackets to the wall with screws that reach the studs.
Assembly and Installation
After cutting and mounting, assemble and install your shelves. Attach the brackets to the shelf, making sure they’re evenly spaced and secure.
Place the shelf on the brackets, ensuring it’s level. You might need to adjust the brackets for perfect levelness. Then, attach the shelf to the brackets with screws or nails.
With these steps, you can make rustic floating shelves. They add warmth and character to any room. Use pallet ideas to make the most of your materials and enjoy your DIY project.
Project 2: Farmhouse-Style Coffee Table
Building a farmhouse-style coffee table is a great DIY project for the weekend. It adds a rustic charm to your living room. Plus, it’s perfect for relaxing and socializing.
First, design your coffee table. Think about its size, material, and style. Use solid wood like oak or pine for that farmhouse look.
Building the Table Top
The table top is key. Choose the right wood boards and arrange them for the width you want. Use glue and screws to hold them together for a flat surface.
After assembling, sand the top to smooth out any rough spots. This step is vital for a professional finish.
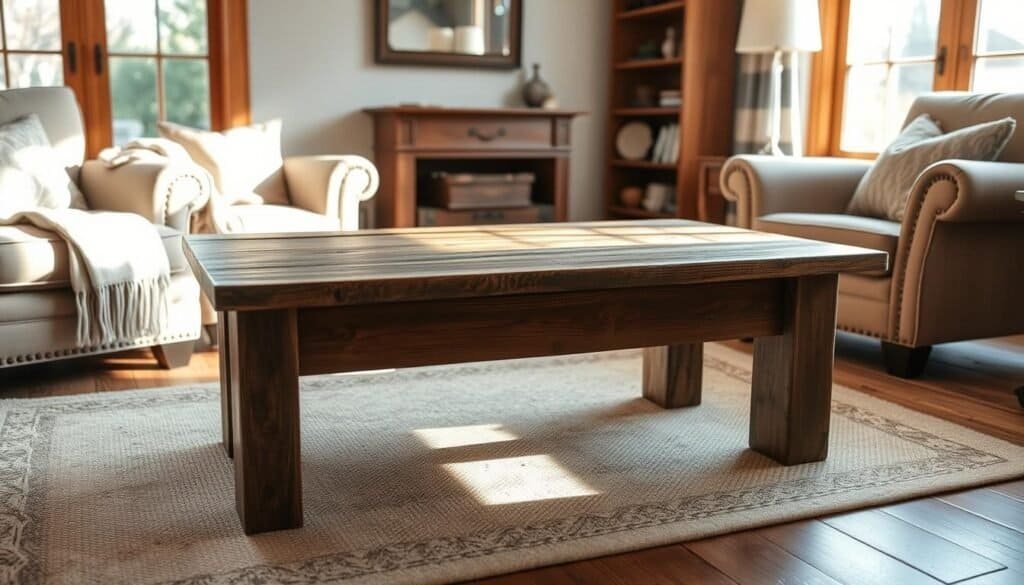
The base supports the table top. For a farmhouse look, keep the base simple but sturdy. Use wooden legs and a frame that matches the table top.
Assemble the base with mortise and tenon joints or screws. Make sure it’s stable and can hold the table top and items on it.
Assembly and Reinforcement
Now, put the table top and base together. Use screws or brackets to attach them securely.
Add extra support between the legs or use metal brackets. This helps prevent the table from wobbling or sagging.
Finish your coffee table with stain or paint, then apply a protective coat. This makes it last longer.
By following these steps and using the right materials, you’ll have a beautiful, functional piece of furniture. It will be the highlight of your living room.
Project 3: Wooden Plant Stand
Make a stunning wooden plant stand with just a few materials. It’s great for adding a handmade touch to your home.
You’ll need wooden legs, a plank for the platform, screws, and a drill. For a rustic look, use reclaimed or distressed wood.
Creating the Legs
The legs are the base of your plant stand. They need to be the right height and stable. Cut four legs to the height you want, making sure they’re even.
Use screws and a drill to attach the legs together. Make sure the corners are tight and the base is strong.
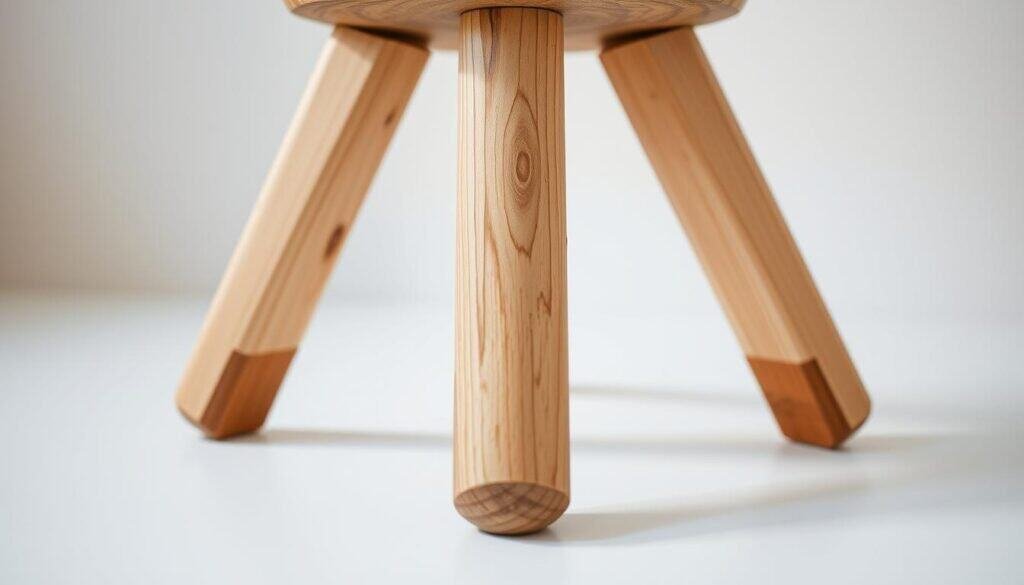
The platform is where your plants will rest. It should be sturdy and the right size. Cut your plank to size and sand the edges.
Attach the platform to the legs with screws. Make sure it’s level and secure. You might need extra support, depending on the size and weight of your plants.
Assembly and Stability Tips
Now, put your legs and platform together. Check that the stand is stable and level.
To make it even more stable, add a crossbeam or a heavier base. This helps prevent the stand from tipping, even with bigger or heavier plants.
With these steps, you can make a beautiful wooden plant stand. It’s a great DIY project to start with.
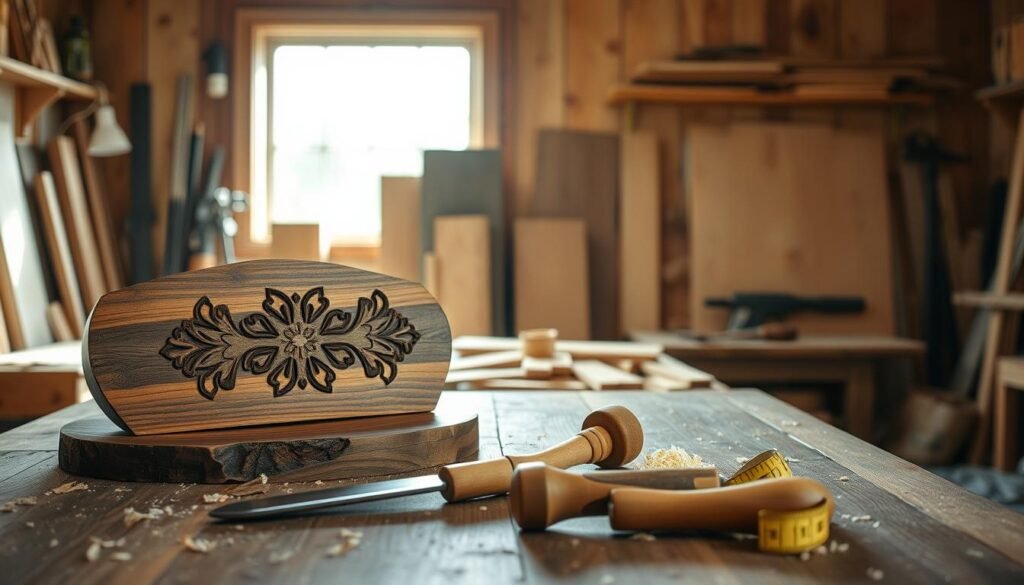
Project 4: Decorative Wooden Wall Art
Add elegance to your home with decorative wooden wall art. It’s a simple yet impactful DIY project. Perfect for beginners, it’s a great way to enhance your living space with a unique piece of art.
Decorative wooden wall art can match any style or theme. It’s versatile for homeowners. You can create a piece that fits your existing decor, whether it’s rustic, modern, or traditional.
Preparing the Wood Pieces
To begin, prepare your wood pieces. Choose wood that fits your design and skill level. Softwoods like pine or cedar are good for beginners.
Cut the wood into the sizes and shapes you need. Make sure your wood is smooth and free of splinters. Sanding is key to preparing it for assembly and finishing.
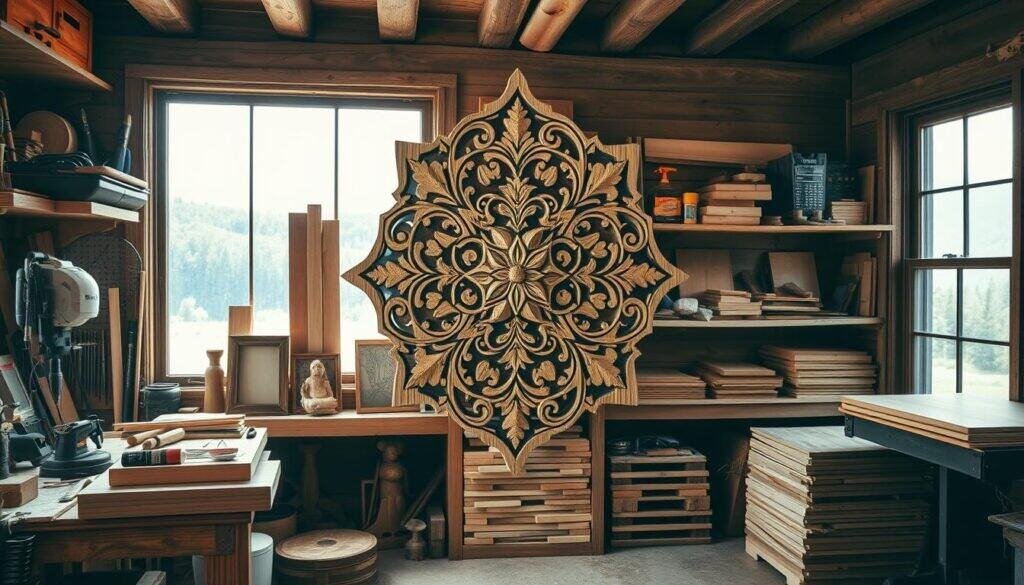
The design is key in easy woodworking projects. You can design your own or use a template. Think about the theme, size, and color to match your home decor.
For decorative wall art, try different patterns, shapes, and textures. This is where you can show your creativity and make it unique.
Assembly and Mounting
With your design and wood ready, it’s time to assemble. Use adhesives and fasteners to hold the pieces together. Make sure it’s sturdy and can hold its own weight.
After assembling, attach a hanging mechanism to the back. Make sure it’s level and securely fastened to the wall. This prevents accidents.
By following these steps, you can make beautiful decorative wooden wall art. It’s a great way to explore your creativity and improve your DIY skills.
Project 5: Simple Outdoor Garden Bench
Create a serene spot in your garden with a handcrafted bench, a perfect weekend project. This simple outdoor garden bench is not only a great addition to your outdoor space. It’s also a wonderful example of simple wood projects that can be completed over a weekend.
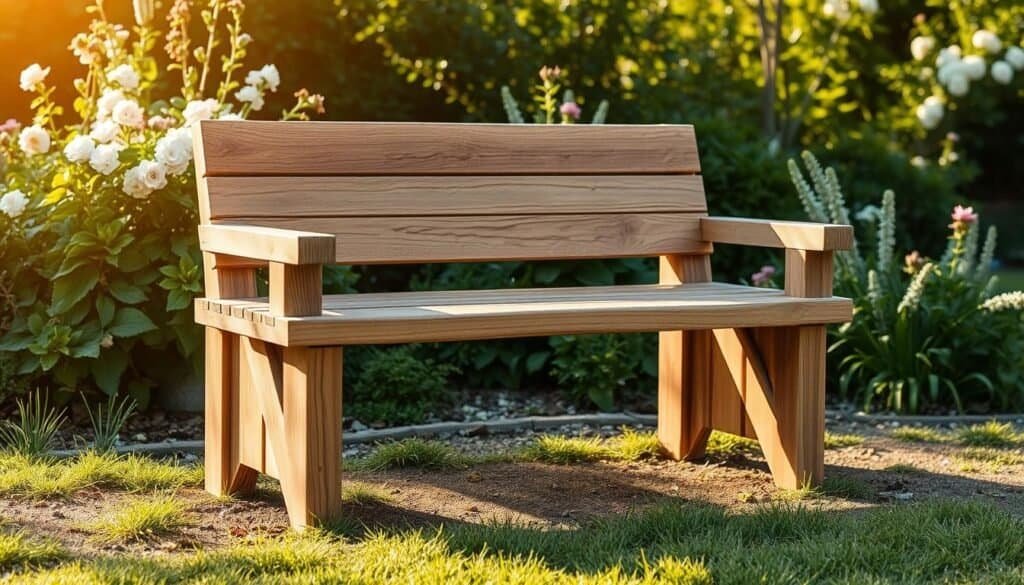
The seat of your garden bench is its most critical component, providing the surface for sitting. To build the seat, start by cutting two wooden planks to the desired length. For a standard bench, you might choose planks that are 48 inches long. Use high-quality wood that can withstand outdoor conditions. If you’re working with scrap wood projects, ensure the pieces are sturdy and properly treated.
Assemble the seat by attaching the planks to the frame using screws or nails. Make sure the surface is smooth and even, providing a comfortable seating area.
Constructing the Legs and Supports
The legs and supports are critical for the stability and durability of your bench. Cut four legs to the appropriate height, typically around 18 inches for a standard garden bench. Attach these legs to the seat frame, ensuring they are evenly spaced and securely attached.
For added stability, include supports between the legs. These can be simple wooden brackets or more decorative elements, depending on your design preference.
Assembly and Reinforcement
Once the seat and legs are prepared, it’s time to assemble the bench. Start by attaching the legs to the seat, then add any additional supports or decorative elements. Use weather-resistant screws or nails to secure the parts together.
To reinforce the bench, consider adding a backrest or armrests, not only for comfort but also for additional structural integrity. If you’re planning to sell your creations as small wood projects to sell, these extra features can add value.
Apply a weather-resistant finish to protect your bench from the elements. This could be a sealant, stain, or paint, depending on your desired look and the type of wood used.
With these steps, you’ll have a beautiful and sturdy simple outdoor garden bench. It’s perfect for enjoying your garden or as a unique piece for small wood projects to sell.
DIY Wood Projects: 5 Quick Builds for Weekend Success
Whether you’re a seasoned woodworker or just starting out, these weekend woodworking projects are sure to inspire. We’ve found five fantastic DIY wood projects that can be finished over a weekend. They’re perfect for beginners or seasoned craftsmen looking for new ideas.
The projects include rustic floating shelves, a farmhouse-style coffee table, a wooden plant stand, decorative wooden wall art, and a simple outdoor garden bench. Each project is easy to do with basic tools and materials. They’re great for a weekend DIY project.
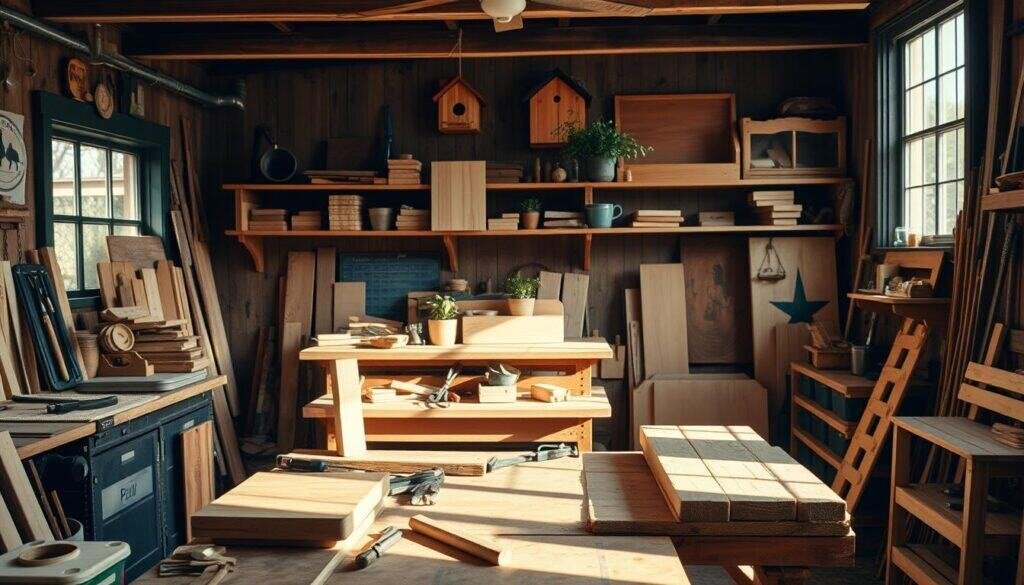
These DIY wood projects not only make your living space better but also give you a sense of accomplishment. By finishing these projects, you’ll get better at woodworking and feel more confident. This will help you tackle more complex projects later on.
As you start your next woodworking project, remember to stay safe and follow instructions carefully. Enjoy the process. With these weekend woodworking projects, you’re on your way to becoming a skilled woodworker. You might even turn your hobby into a side business.
Troubleshooting Common Woodworking Problems
Troubleshooting is a key skill for woodworkers. It helps turn problems into successful projects. Issues like warping, cracking, and assembly errors can happen with any project.
Warping often occurs when wood dries unevenly or is stored wrong. To avoid warping, store wood flat and keep it away from extreme temperatures or humidity. If wood warps, try adding moisture or using clamps to fix it.
Cracking is another problem, usually from wood drying too fast or being stressed. To stop cracking, season your wood well and avoid sudden environment changes.
Assembly errors can be prevented by checking your measurements and plans before starting. Using the right tools and a good plan can help avoid mistakes. This leads to successful projects.

Working with scrap wood ideas means being ready for surprises. Sometimes, what looks like a problem can become a project’s unique feature. Knowing how to solve common problems can improve your woodworking skills and make the process more enjoyable.
Finishing Techniques for Beautiful Results
To make your scrap wood crafts look great, you need to learn different finishing techniques. These techniques are key to the final look of your small woodworking projects.
Staining is a popular method. It highlights the wood’s natural beauty, showing off its grain and texture. Pick a stain that matches your wood and project goals for your diy home decor.
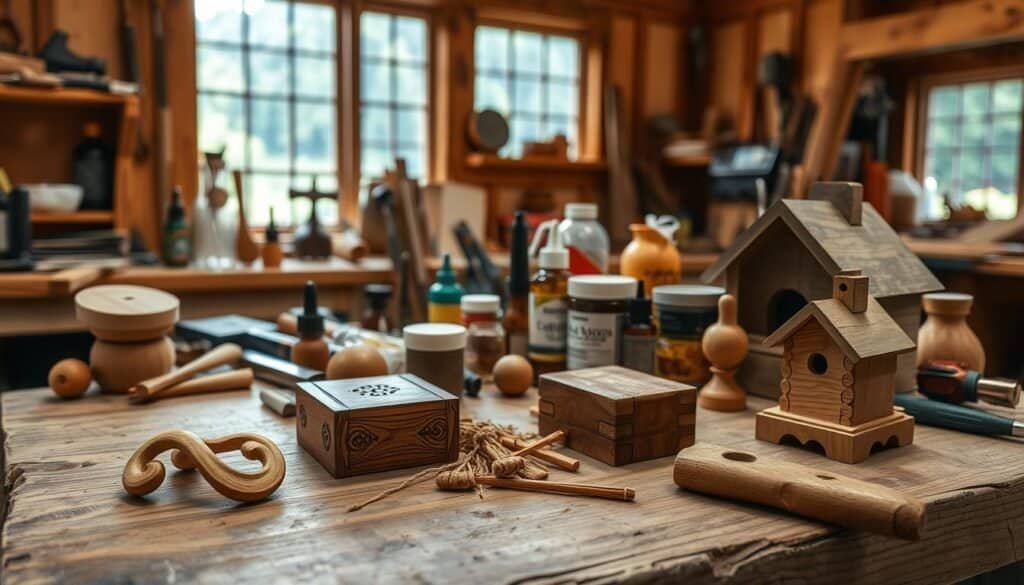
Painting is also a great option. It lets you add color and personality to your projects. For a rustic vibe, try distressing the paint after it dries.
Varnishing is important for protection. It gives your work a durable finish that lasts. Apply varnish in thin layers, letting each dry before adding the next, for a glossy finish.
Learning these finishing techniques can take your small woodworking projects and scrap wood crafts to the next level. They’ll become beautiful pieces that improve your home decor.
Turning Your Hobby Into a Side Business
Turning your woodworking hobby into a side business can be very rewarding. It lets you share your creations with more people. Online marketplaces and social media make it easy to sell your handmade items, like diy pallet projects or unique pallet ideas.
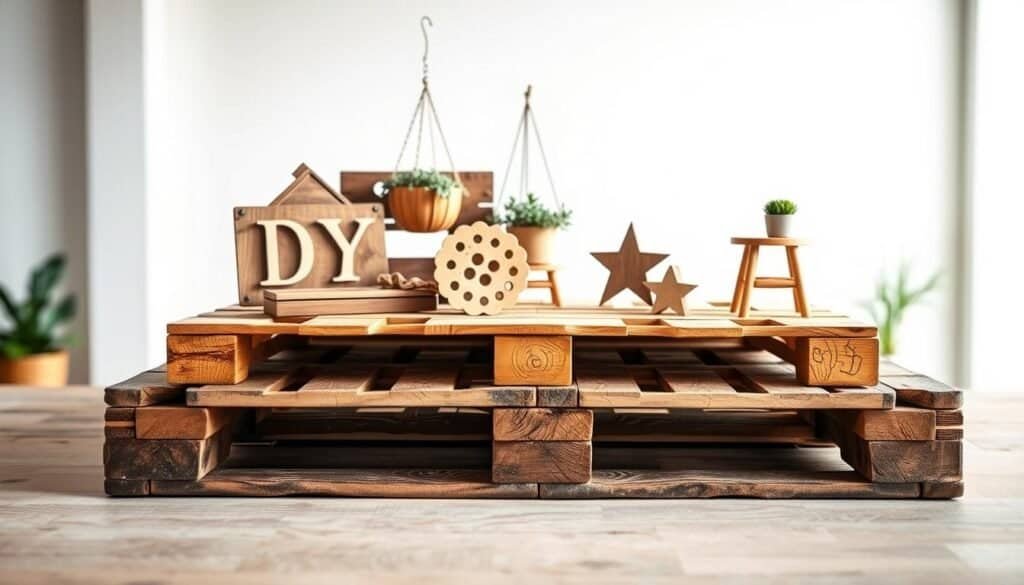
To start, find your niche in woodworking. Are you good at making decorative items “into the woods” style, or do you make functional furniture? Once you know your niche, you can build a brand for your products.
Marketing is key to making your hobby a side business. Use social media to show off your work and talk to possible customers. It’s also important to price your items right. Look at what similar products sell for online to set fair prices for yours.
You can sell your products in many ways, like on Etsy or eBay, or on your own website. Don’t forget about local craft fairs or woodworking events. They’re great for showing your products and getting local customers.
Conclusion
DIY wood projects can make your home look great. They range from easy pallet projects to complex furniture. These ideas are perfect for anyone, whether you’re experienced or just starting.
Follow the safety tips and planning advice from earlier. Try different materials and techniques to make each project special. Soon, you’ll be making beautiful furniture.
Keep exploring and trying new things in woodworking. With the right tools and creativity, your DIY projects can become amazing pieces of art. They will show off your personal style.

