Looking for a stylish way to separate your living areas? Wooden partitions are a great choice. They add elegance and help define different spaces in your home.
DIY wood room dividers can make your space cozy and functional. You can customize them to fit your needs, perfect for open-plan areas.
Explore 10 creative room divider ideas. They’ll inspire you to make your own wood partition projects and change your living space.
The Art of Space Definition: Why Room Dividers Matter
Room dividers are more than just decorations. They are tools that change a room’s feel. By adding a room divider, you can make different areas in a room. This creates separation without big changes.
Good room divider design can make a room look better. For example, a wooden divider can warm up a living area. A simple screen divider can add modern style to a bedroom. When picking living room divider ideas, think about the room’s style to match.
Space divider ideas vary from simple to complex. They can separate a room into different uses. You can use them to make a home office, a reading area, or to hide mess. Room dividers are great for homes that need to be flexible.
Choosing the right room divider decor is important. It depends on the room’s use and the mood you want. A wooden divider can bring rustic charm to a dining area. A modern divider can make a living room look sleek. The right divider can make your home look and work better.
In summary, room dividers are smart and stylish for dividing spaces at home. Whether you need room divider design ideas or space divider ideas, the right divider can change a room’s feel and function.
DIY Wood Room Dividers: Creative Ideas to Define Your Space
Creating DIY wood room dividers lets you show off your creativity while defining your space. Wood adds warmth and a natural look to any room. It’s perfect for making room dividers.
Wood is very versatile for DIY projects. You can stain, paint, or leave it natural to match your decor. Wooden dividers can fit any space, big or small, to create cozy areas.
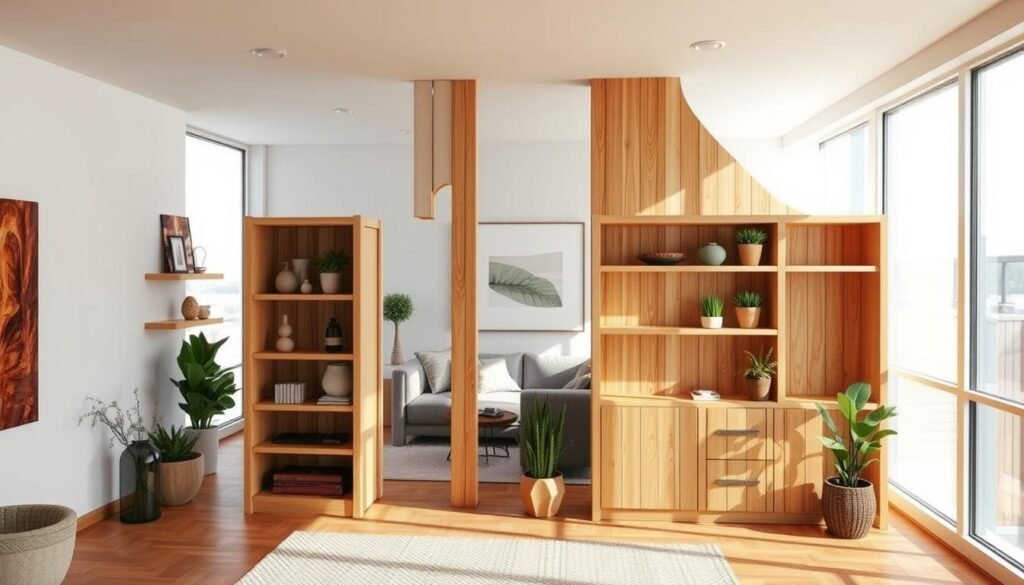
Here are 10 creative DIY wood room divider ideas. You’ll find everything from rustic pallet wood dividers to elegant geometric screens. These ideas will inspire you to make unique and useful room dividers.
There are many options, like reclaimed wood and rope screens, to wooden lattice and floating panels. DIY wood dividers mix style and function, improving your home’s feel.
Whether you’re experienced or new to DIY, these ideas will help you make stylish and practical wooden screens. Using wood in your design lets you create room partitions that show off your style.
Essential Tools and Materials for DIY Wood Room Dividers
To start a DIY wood room divider project, you need the right tools and materials. The quality and choice of these elements are key to your project’s success.
Power Tools vs. Hand Tools
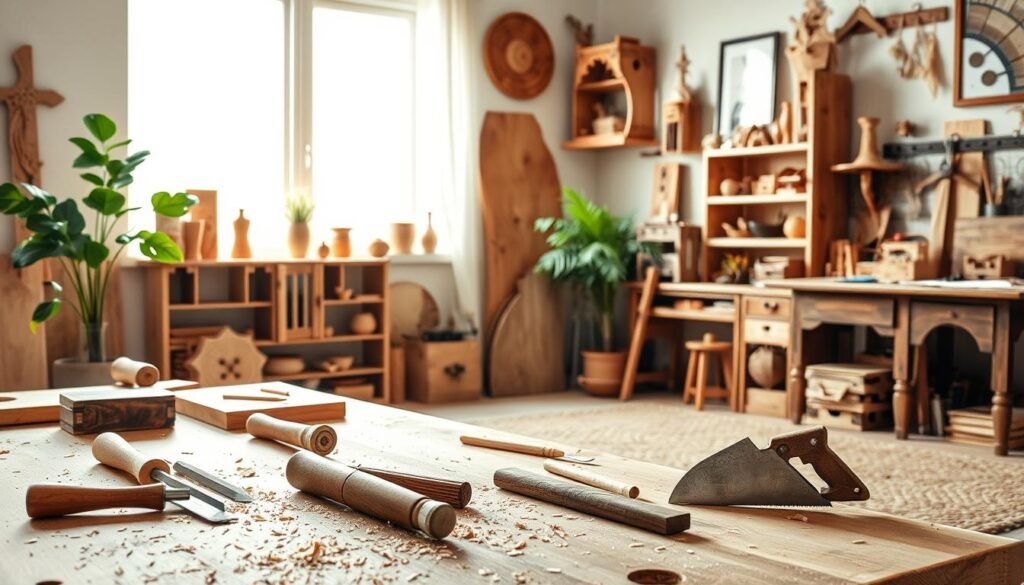
Power tools like circular saws and drills make cutting and shaping wood easier and more precise. Hand tools, such as chisels and hand saws, are better for detailed work or when using reclaimed wood.
Using both power and hand tools will give you the best results for your DIY wood room dividers.
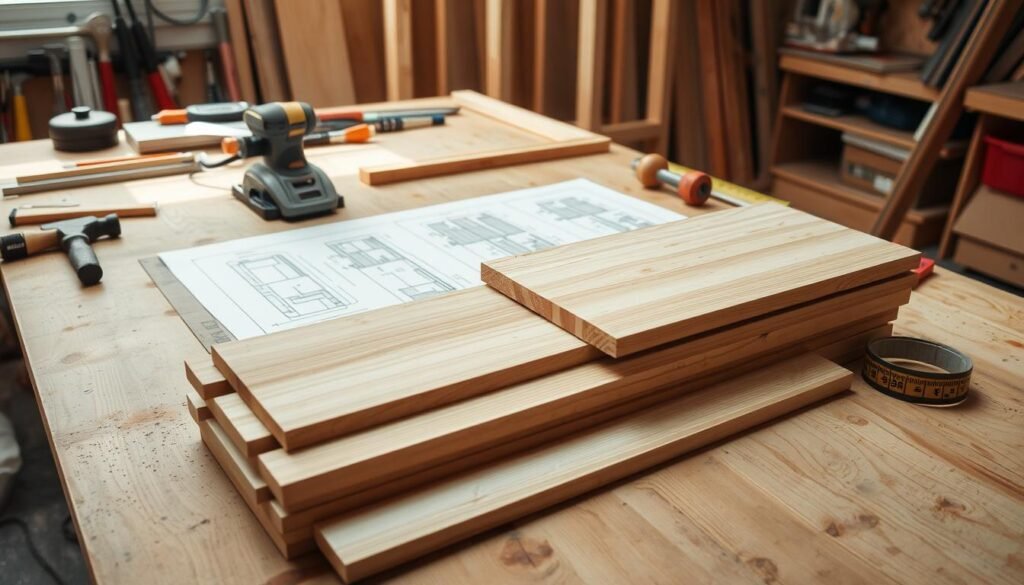
When working on DIY projects, safety is very important. You’ll need safety glasses, ear protection, and a dust mask. These protect you from debris and noise, keeping your workspace safe.
Softwoods vs. Hardwoods
Choosing between softwoods and hardwoods depends on what you want your divider to look like and how long it will last. Softwoods, like pine, are cheaper and can give a rustic feel. Hardwoods, such as oak, are more durable and have a finer grain.
Reclaimed and Upcycled Options
Using reclaimed or upcycled wood adds character to your divider. These materials often have a unique history that can make your divider look even better.
By picking the right tools and materials, you can make a beautiful and useful DIY wood room divider. It will make your living space look great.
Planning Your DIY Wood Room Divider Project
Before starting your DIY wood room divider, plan carefully. Measure the space where it will go. Consider the height, width, and depth.
Think about the look you want for your room. Choose a style, material, and color that match your decor. Your divider should add beauty to your space.
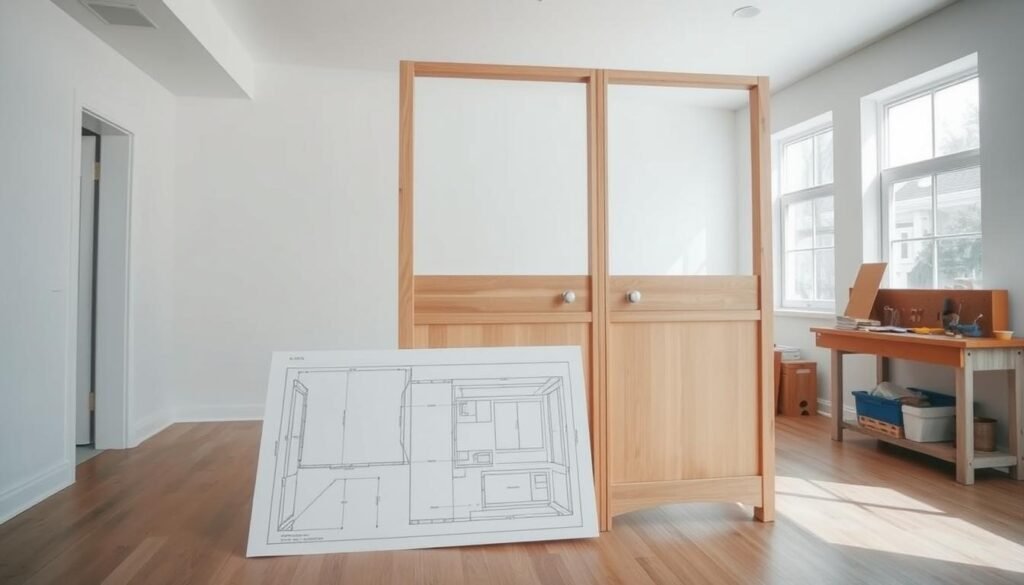
Choose materials and design that fit your dream room. You might prefer a modern or rustic look. This choice will change your room’s feel.
Also, think about what your divider will do. Will it hide a workspace, create a cozy spot, or add texture? Knowing its purpose helps you decide on design and materials.
With good planning, your DIY wood room divider will be both beautiful and useful. It will make your living space better and show off your style.
Idea1: Rustic Pallet Wood Room Divider
Creating a rustic pallet wood room divider is a smart move. It brings style and function to your space. This DIY project adds a rustic charm and defines different areas in your home.
To begin, find good-quality pallets that can be easily broken down. You’ll also need wooden planks, a drill, screws, and a hammer. Adding a fluted glass partition or other decorations can make your divider even more special.
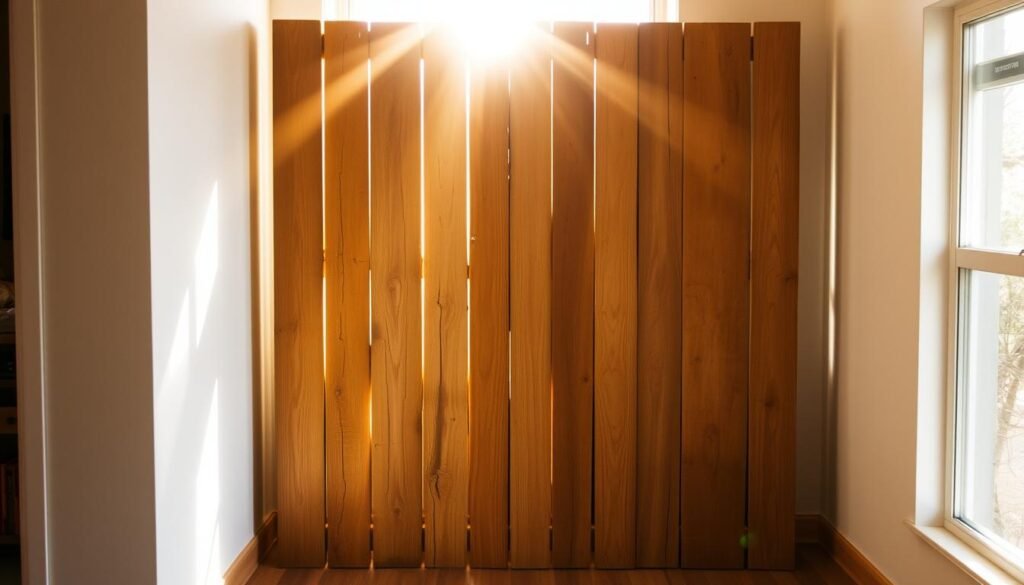
First, take apart the pallets and cut the wood into the right sizes. Build the divider’s frame using the wooden planks. Make sure it’s strong enough to stand on its own. Then, attach the pallet wood slats to the frame, leaving gaps for a rustic feel.
This DIY project lets you get creative with the design. You can leave the pallet wood as is or stain it to fit your decor. Adding some decorative items or plants around the divider can make it even more appealing.
After you’re done, your rustic pallet wood room divider will be both functional and stylish. It’s a simple way to divide a big room into cozy, organized spaces.
Idea2: Geometric Wooden Screen Divider
Adding a geometric wooden screen divider can make your space look better. It brings sophistication and is useful as a home decor solution.
This divider is great for saving space. It fits any room size and style, perfect for modern homes.
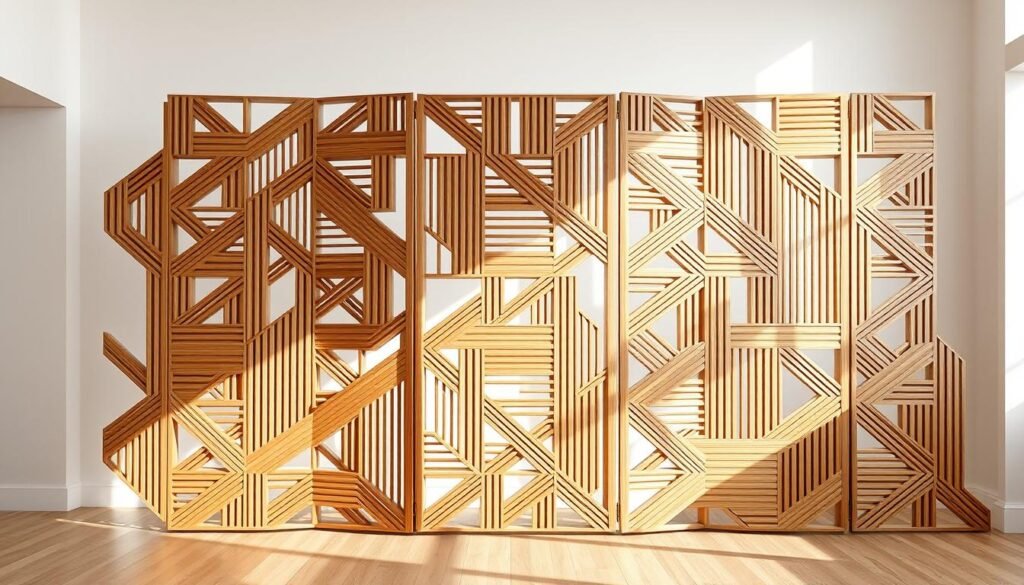
To make a geometric wooden screen divider, plan your design first. Think about the size, shape, and pattern you want. Use different types of wood and geometric patterns to match your decor.
Building it involves cutting and putting together the wooden pieces. Use wooden slats and shapes to make a screen that looks good.
This divider is very versatile. It can divide a room, giving privacy and intimacy. It also makes your space more interesting.
Using a geometric wooden screen divider in your home is smart. It’s both useful and stylish. This DIY solution adds elegance to your living area.
Idea3: Bookshelf Room Divider with Storage
A DIY bookshelf room divider is perfect for those who want function and style. It not only divides a space but also offers lots of storage. You can keep books, decorations, and more organized.
First, pick the right materials for your bookshelf. Solid wood or engineered wood are good choices for durability and a natural look. The size of your bookshelf depends on the space and how much storage you need. A typical divider has 3 to 5 shelves, giving you lots of room for storage and display.
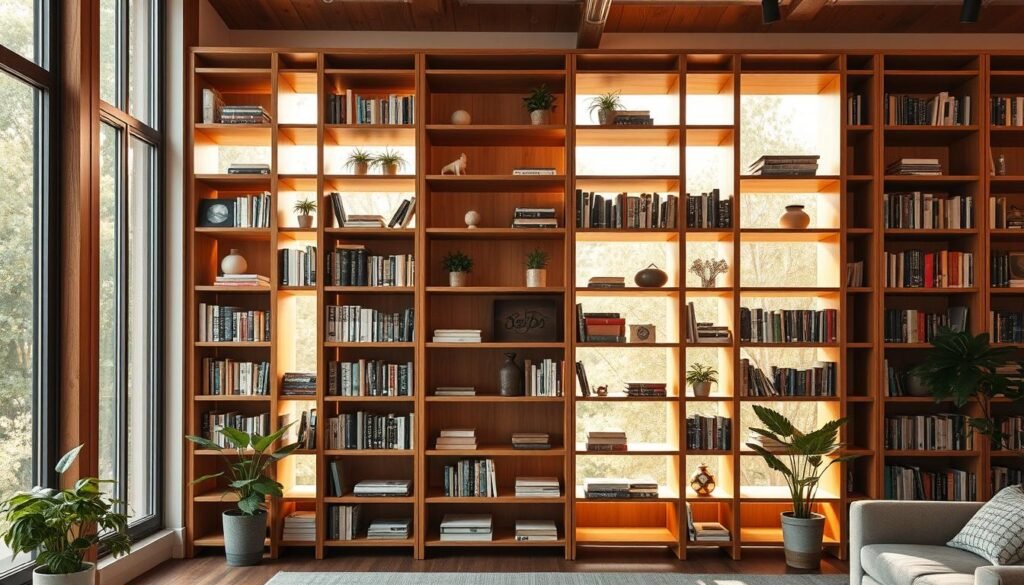
When designing, think about the width and depth of your shelves. A wider bookshelf offers more storage but might make the space feel cramped. A narrower one is more discreet but limits storage. You can also add different compartments or cubbies for varied storage needs.
Make sure your DIY wood room dividers are sturdy. Adding a back panel helps keep the bookshelf stable and prevents it from tipping. Finishing touches like staining or painting can make your bookshelf look great. It will match your home’s style perfectly.
Adding storage to your bookshelf design keeps things organized and makes the room look better. A bookshelf room divider does more than just divide a space. It adds a functional and decorative element to your home.
Idea4: Hanging Wooden Slat Divider
Building a hanging wooden slat divider is a fun DIY project. It adds both function and style to your home. This divider not only defines spaces but also brings warmth and character.
To begin, gather wooden slats from a local store or old pallets. They should be the same thickness and length for a uniform look. You’ll also need a strong rope or chain and dowels or screws for assembly.
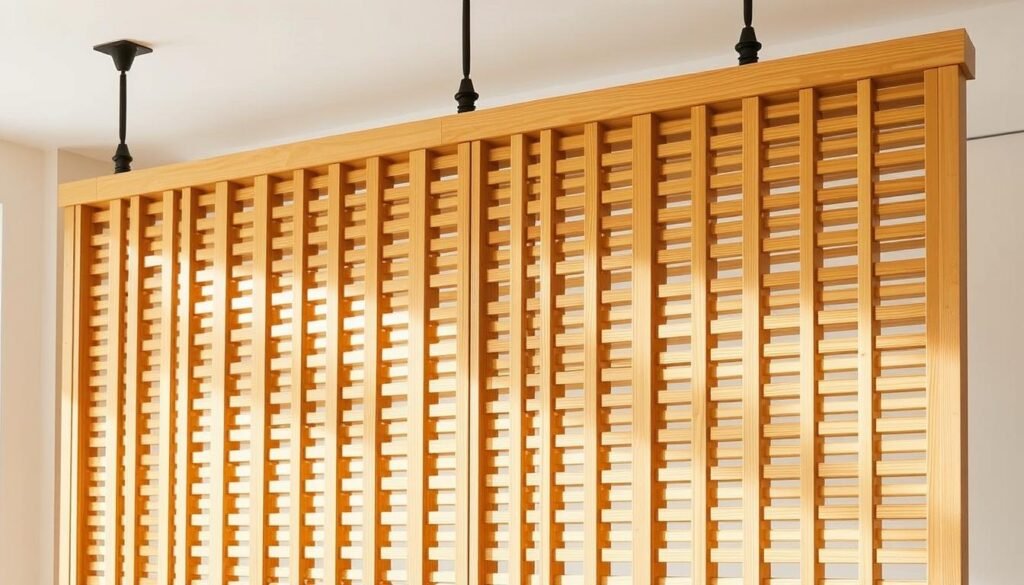
First, arrange the slats in a pattern you like. Then, space them evenly with dowels or screws. After that, hang the divider from the ceiling with the rope or chain. This creates a stunning divider for your living room.
This divider is not only good-looking but also flexible. You can change the slat spacing and pattern as needed. It’s a great DIY project that matches any room’s style.
In summary, a hanging wooden slat divider is a smart and creative way to divide your home. With the right materials and some DIY skills, you can make a divider that improves your living room’s look and function.
Idea5: Reclaimed Wood and Rope Screen
A reclaimed wood and rope screen divider is a creative way to define spaces in an open-plan area. It adds rustic charm and serves as a functional DIY decor solution. Combining reclaimed wood with rope creates a divider that adds texture and warmth.
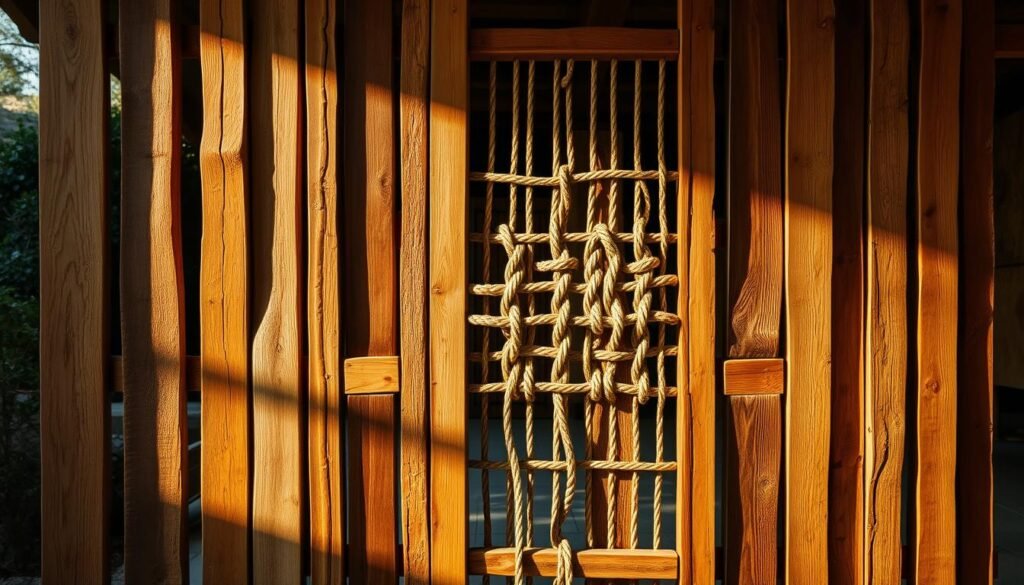
To start, gather reclaimed wood planks and sturdy rope. The wood gives your divider history and character, while the rope adds an organic feel. First, build a simple frame with the reclaimed wood, making sure it’s sturdy enough to stand alone.
Then, weave the rope between the wooden slats to make a screen. This adds visual interest and filters light, creating a warm ambiance. You can adjust the rope’s tension to control how much light passes through.
Reclaimed wood’s unique texture and patina add character to your divider. Pairing it with rope enhances the natural and earthy feel, perfect for cozy rooms.
When designing your divider, think about your space’s overall look. You can stain or paint the wood to match your decor, or keep it rustic. Adjust the rope’s thickness and tension to get the look you want.
This DIY project is a great way to define your space and is eco-friendly. A reclaimed wood and rope screen divider makes a unique and functional piece that beautifies your home.
Idea6: Wooden Frame with Fabric Inserts
A wooden frame with fabric inserts makes a room divider both useful and stylish. This DIY project lets you make your space special. It also divides the area effectively.
First, pick the wood for your frame. Oak or pine gives a rustic feel, while engineered wood offers a smoother look. The frame’s size depends on where you’ll put the divider.
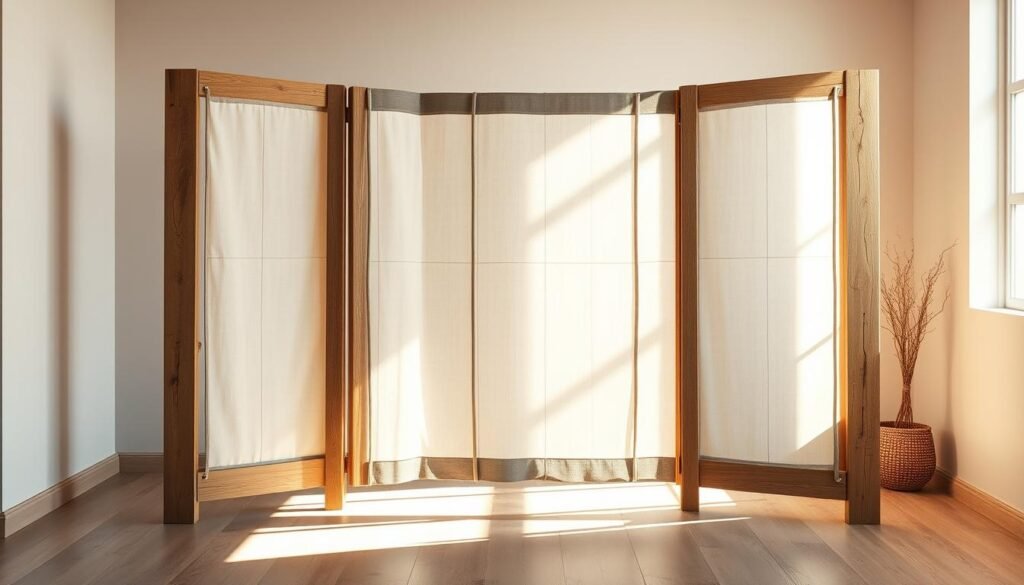
Then, choose fabrics that match your room’s style. You can pick from cotton, linen, or velvet. These fabrics add color, texture, and control light and privacy.
Building the frame means measuring, cutting, and joining wood. Use screws, nails, or glue based on your design and wood type. After the frame is built, attach the fabric with a staple gun or by sewing a sleeve.
This DIY divider is more than just useful. It’s also a decorative piece that boosts your room’s look. By picking the right fabric and wood, you create something unique that shows off your style.
Idea7: Sliding Barn Door Room Divider
Make a stylish room divider with a sliding barn door, ideal for open-plan spaces. This DIY project brings rustic charm and acts as a great DIY space definition solution.
You’ll need wooden planks, a sliding barn door hardware kit, and decorative items like metal straps or wooden handles. Choose materials that match your furniture and wall style for a wooden partition design that looks good.
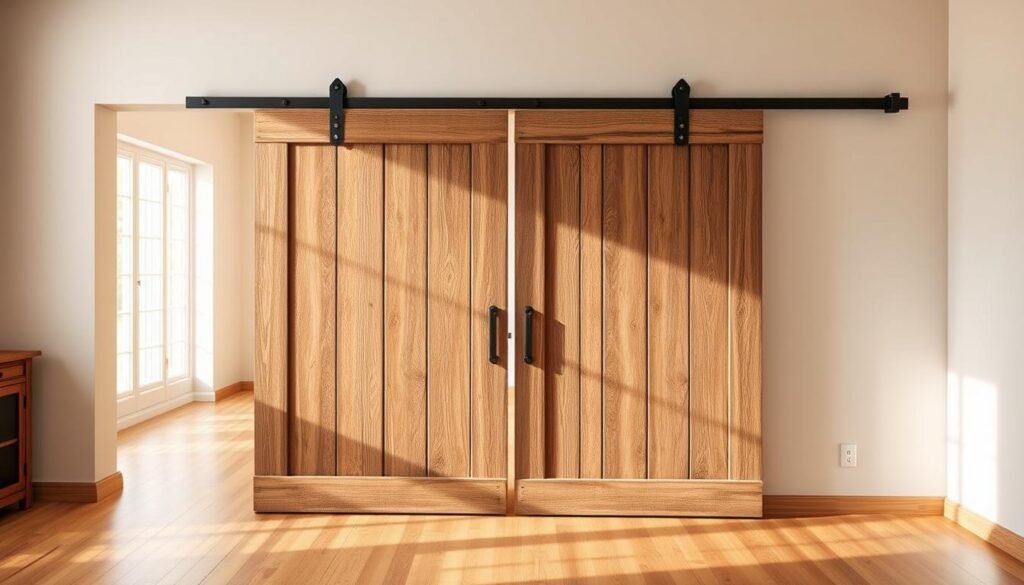
Begin by building the barn door. Measure and cut the wooden planks to fit your sliding barn door. Put the planks together into a sturdy door frame that slides well.
Then, set up the sliding barn door hardware kit as the instructions say. This means attaching the track to the ceiling and fitting the door hangers to the barn door. Make sure the track is level and fixed well for a smooth living room divider ideas.
After installing the hardware, hang the barn door and check its movement. You might need to tweak it for smooth sliding. Add decorative touches like metal straps or a wooden handle to make it look better.
A sliding barn door room divider is not just useful but also makes your home look unique. It’s a flexible DIY space definition option that suits many decor styles, from modern to rustic.
By doing this, you’ll get a beautiful and useful wooden partition design for your living area. It’s perfect for dividing a big room or adding visual appeal. A sliding barn door room divider is a smart living room divider ideas.
Idea8: Wooden Lattice Screen Divider
Looking for a unique room divider? A wooden lattice screen divider is a great pick. It not only divides spaces but also adds beauty to your room.
This divider is made by arranging wooden slats in a lattice pattern. It lets air flow and keeps areas separate. It’s perfect for adding character to your space.
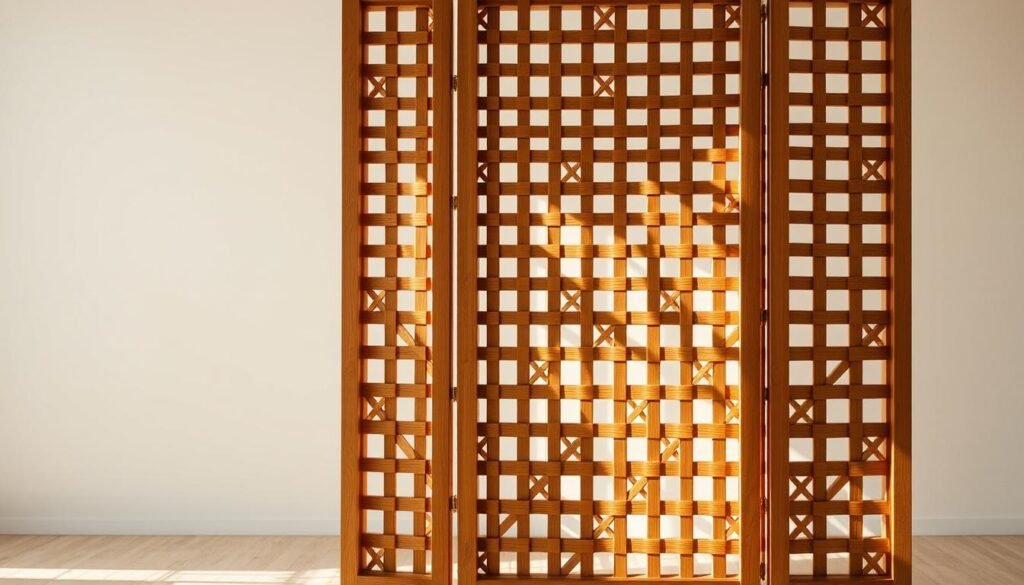
To make one, you’ll need wooden slats, a saw, a drill, and wood screws. Cut the slats to the right length, then screw them together in a lattice pattern. You can adjust the size to fit your room.
This divider is also great for saving space. It doesn’t take up much room. You can put it in a corner or against a wall, perfect for small spaces.
Wooden lattice screen dividers are very versatile. You can stain or paint them to match your decor, or keep them natural for a rustic look. You can also add plants or decorations to the lattice for more interest.
Idea9: Floating Wooden Panel Divider
Adding a floating wooden panel divider to your home can make it look better. It’s a modern way to separate areas in an open-plan space. This method keeps the room feeling open and free.
To make a floating wooden panel divider, pick the right materials first. You’ll need wooden panels and a way to hang them. The size and thickness of the panels depend on your design and the space you have. Thinner panels work well for a simple look.
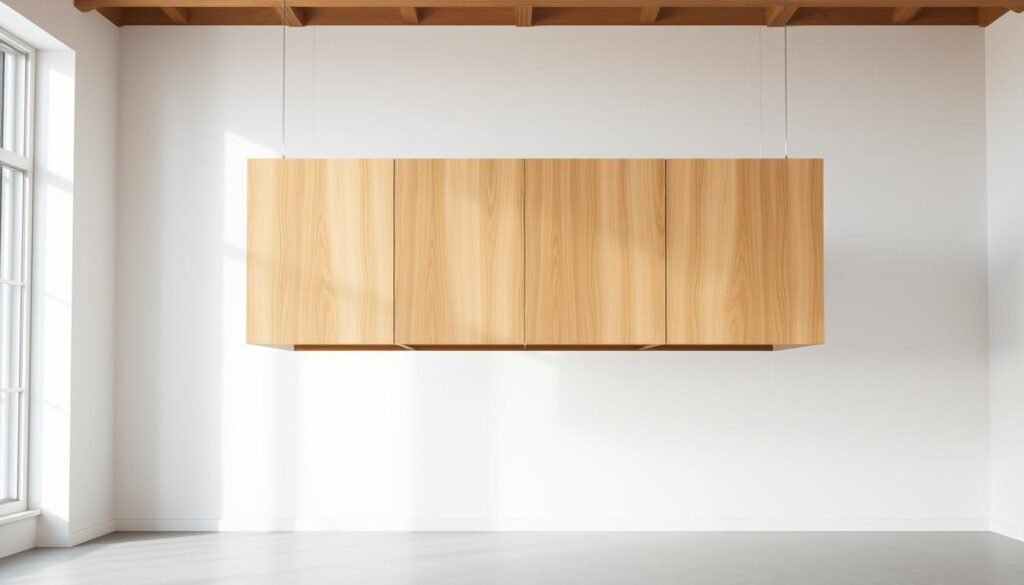
You can design your divider to match your room’s style. You can keep the wood natural or add a finish that matches your furniture. You can also add lights or decorations to make it stand out more.
When installing, make sure the hanging mechanism is strong. Use good hangers and attach them well to the ceiling. This keeps the divider safe and level.
A floating wooden panel divider is more than just a divider. It’s a stylish piece that can change your room’s look. It’s great for dividing a living area from a workspace or adding interest to a big room. It’s a versatile and chic option.
In summary, a floating wooden panel divider is a modern way to divide rooms. It looks sleek and keeps your space feeling open. By choosing the right materials and design, you can make a divider that’s both beautiful and useful.
Idea10: Wooden Plant Stand Room Divider
Building a wooden plant stand room divider is a great way to make your space look better. It adds greenery and is very functional. It’s also a fun DIY project.
To begin, gather the needed materials. You’ll need wooden planks, a drill, screws, a saw, and plants and planters. Using reclaimed or eco-friendly wood makes it even more special.
The design of your divider can be simple or complex. It depends on what you like and the size of your space.
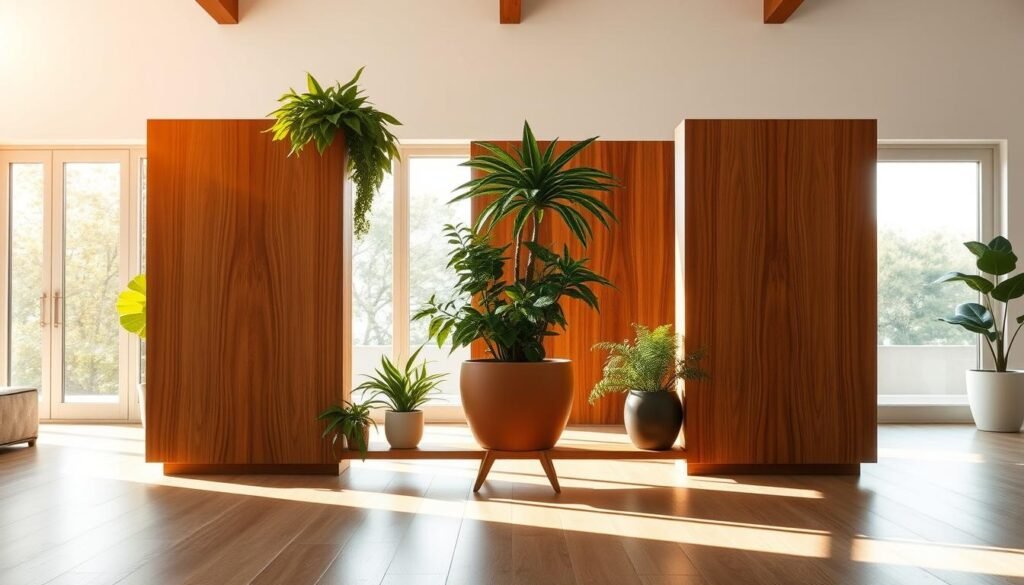
First, cut the wood to the right length for your divider. Then, use screws and a drill to build the frame. Make sure it can hold the plants and decorations.
After the frame is built, add the plant stands. You can use wooden crates or planters, or make your own. Place the plants to make the divider look good and separate the areas.
This divider does more than just define space. It also adds a natural element to your living room. It’s a creative way to use room divider ideas in your decor.
By following these steps, you can make a beautiful and useful wooden plant stand room divider. It will add a unique touch to your home.
Finishing Touches: Staining, Painting, and Decorating Your Divider
After building your DIY wood room divider, it’s time for the final touches. These details will make your divider stand out. The look of your divider can change how your room feels.
Stains and Sealers
Staining your divider brings out the wood’s natural beauty. Pick a stain that fits your room’s colors. Then, seal it with a clear coat for protection and shine.
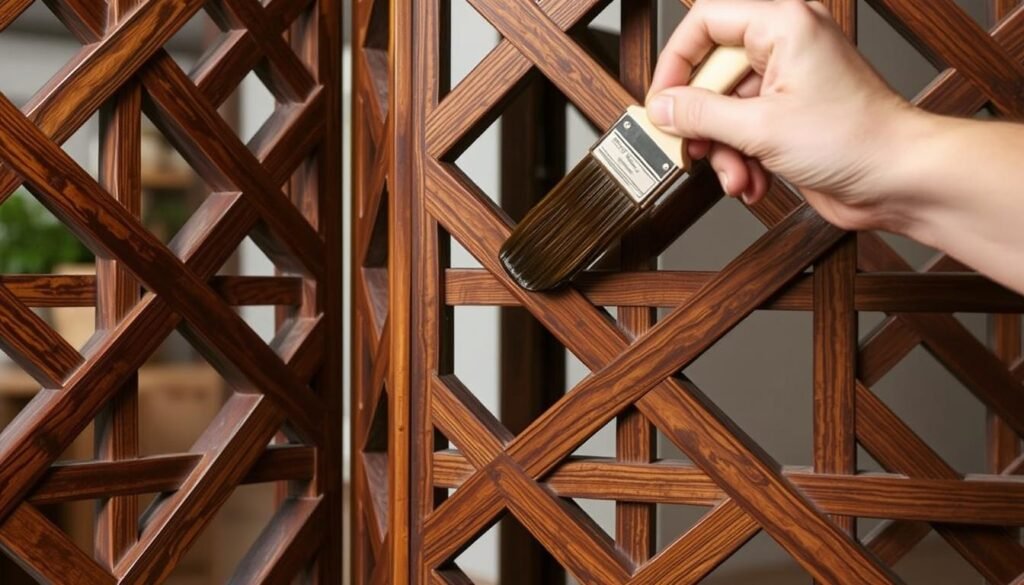
For a bolder look, paint your divider. Choose a color that matches or contrasts your room. You can also add decoupage or stencils for a unique flair.
Hardware and Accent Pieces
Adding hardware or accents can really make your divider pop. Think about decorative hinges, handles, or knobs. You can also mix in materials like metal or glass for extra interest.
Lighting Integration
Adding lights to your divider can be amazing. Try LED strip lights behind the slats or string lights for a cozy feel. It makes your divider look great and adds a useful feature.
With these finishing touches, your DIY wood room divider will become a beautiful part of your room. It will add both style and function.
Maintenance and Care for Your Wood Room Dividers
Keeping your wood room dividers looking good and working well is key. Regular care makes them last longer and look better. It keeps them useful for many years.
Start by dusting them often with a soft cloth. This stops dust from causing scratches and damage. For deeper cleaning, use a damp cloth with a gentle wood cleaner. Stay away from harsh chemicals that can harm the wood.
Polishing your wooden partition design now and then keeps it shiny. Choose a good wood polish that matches your divider’s finish. Follow the instructions to apply it, using a soft cloth to buff it gently.
If your divider gets damaged, fix it right away. For small scratches, a touch-up marker or a bit of wood stain works well. But, bigger damage might need a pro or new panels.
By following these care tips, your DIY wood room dividers will stay beautiful and useful for years. They’ll remain a lovely part of your home’s decor.
Conclusion
DIY wood room dividers are a creative way to define your living space. They add warmth and character to your home. By using them, you can make separate areas in a room without losing style or function.
This article has shown you many creative room divider ideas. You can make your space look good and work well. From rustic pallet wood to geometric screens, the choices are vast.
Choosing the right DIY wood room divider can make your home feel better. It keeps your space open and flowing. Whether you need to separate areas or create a cozy spot, these dividers are a stylish choice.

