Adding greenery to your home is now stylish and fun. Making your own wooden planters brings a personal touch to your decor. It also shows off your favorite plants. With basic tools and woodworking skills, you can make beautiful hanging planters.
Our guide is for both DIY experts and beginners. It covers various hanging planters tutorial and home decor projects. By making your own wooden hanging planters, you beautify your space and enjoy plant care.
The Rising Popularity of Wooden Hanging Planters in Home Decor
Wooden hanging planters are becoming a big hit in home decor. They bring warmth and coziness to any room. Plus, they let you show off your style with creative planter ideas.
These planters are loved for blending well with indoor plants. You can hang them from ceilings or place them on walls. They add depth to your room’s look. Plus, you can customize them to match your home’s style.
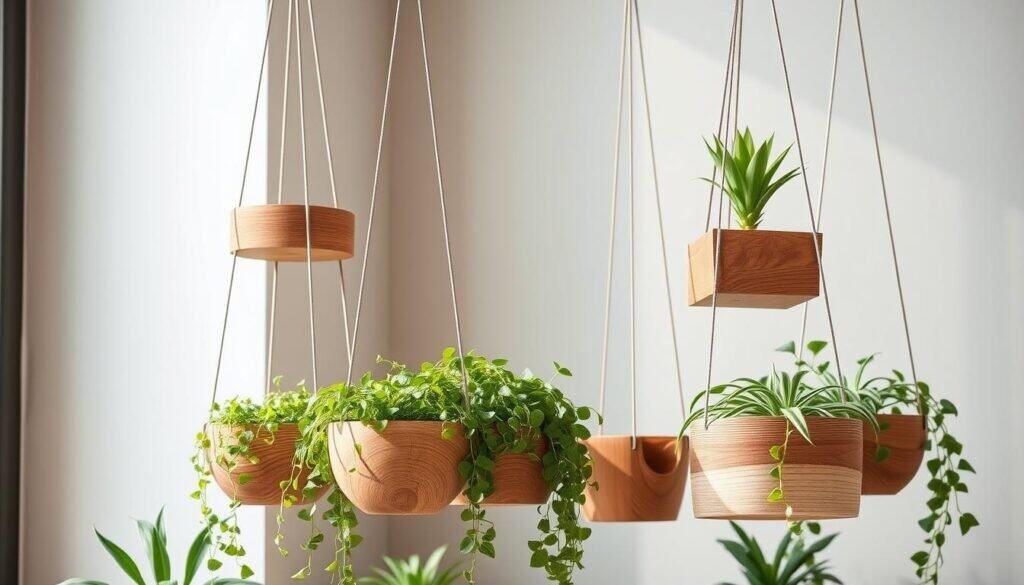
Making your own wooden hanging planters is a fun project. You can choose the design, size, and wood type. This way, your planter will perfectly match your home’s decor. Whether you want a rustic or modern look, you can make it happen.
Wooden hanging planters are becoming a staple in home decor. They mix function and beauty, making them perfect for adding to your indoor plants. They’re a great choice for anyone wanting to enhance their home’s look.
Essential Tools and Materials for DIY Wooden Hanging Planter Projects
Before starting your wooden hanging planter, make sure you have all the tools and materials. The right tools help you work efficiently and safely. Here’s what you’ll need to begin.
Measuring and Cutting Tools
You’ll need a tape measure to measure your wood accurately. For cutting, choose between a hand saw for precision or a power saw for speed.
A drill is key for making holes for hanging. You’ll also need a drill bit set for different screw sizes. Sandpaper is vital for smoothing the wood, removing splinters, and getting it ready for finishing.
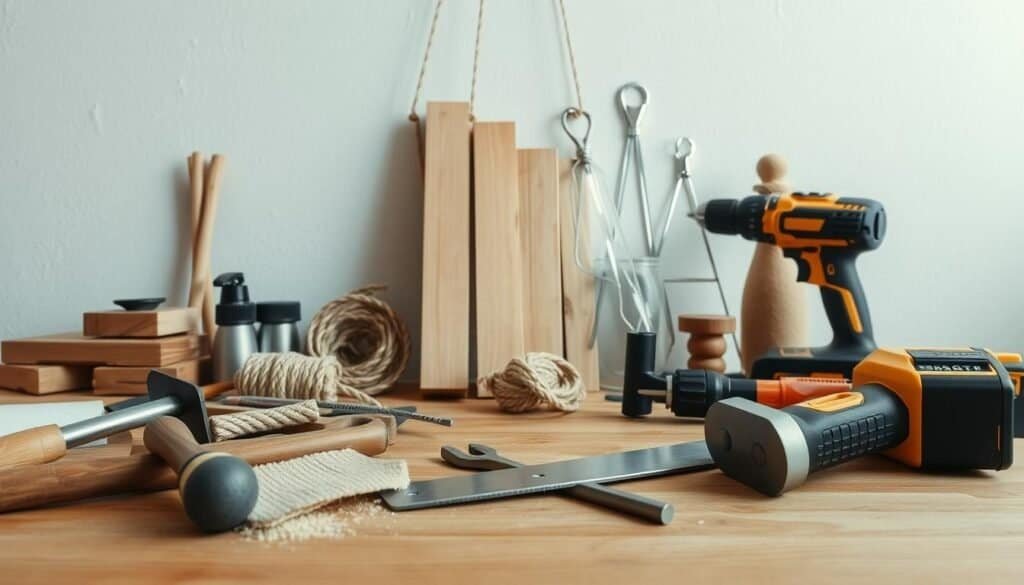
The type of wood you pick is very important. Cedar and pine are good choices for outdoor planters because they last long and don’t rot easily. You’ll also need screws, a rope or chain for hanging, and a waterproof sealant to keep your planter dry.
For a decorative touch, consider adding a finish or stain to your planter. Think about the style and theme you want for your hanging plants.
Outdoor planters need to be weather-resistant. Make sure your materials and finishes can handle the outdoors to make your planter last longer.
With the right tools and materials, you’re ready to make a beautiful and useful DIY wooden hanging planter.
Basic Woodworking Skills You’ll Need to Master
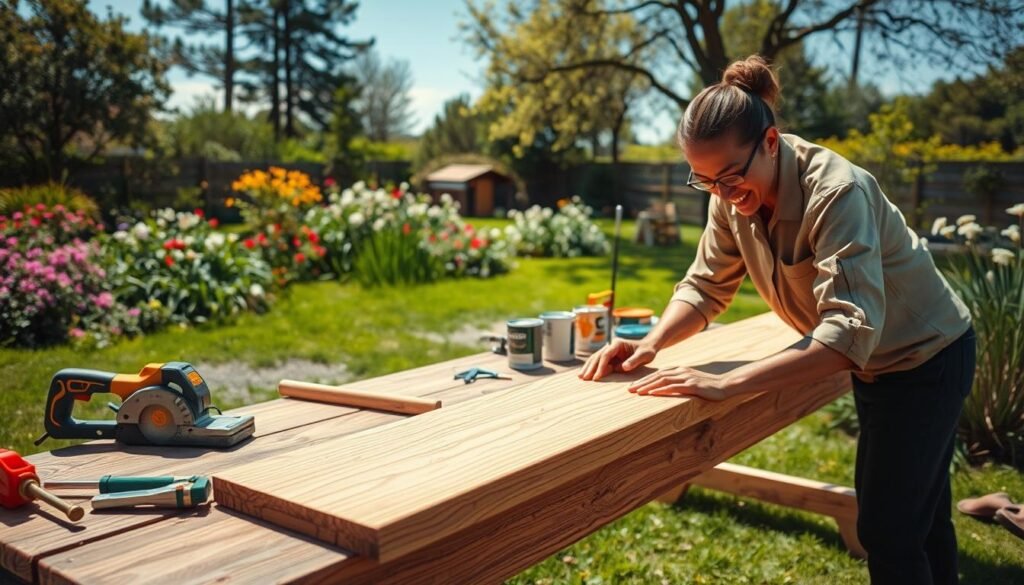
Learning basic woodworking skills is key to making a stunning DIY wooden hanging planter. You’ll need to know how to measure, cut, and put wood together. This will help you make a planter that looks great and works well.
Measuring is very important in woodworking. It makes sure your pieces fit right together. Use a combination square and a tape measure to measure well. When cutting wood, a sharp saw blade is best to avoid splinters. You can use a table saw or a circular saw for straight cuts.
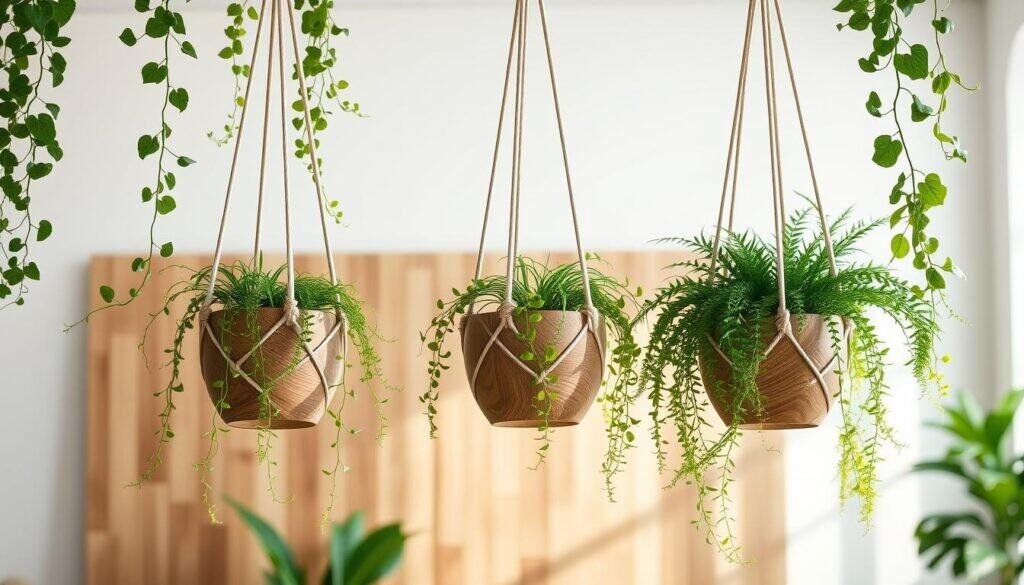
Putting the wood together needs patience and care. Use wood glue and nails or screws to hold the pieces in place. Clamping the pieces while the glue dries helps make a strong bond. Sanding the wood after assembly gives it a smooth finish.
When making hanging planters, think about the wood type and finish. Cedar and pine are good choices because they’re durable and look nice. You can also add a stain or paint to match your home’s style.
With these basic woodworking skills, you can make beautiful hanging flower pots or dish gardens. They will add elegance to your home.
Minimalist Geometric Wooden Hanging Planter
Looking for a stylish way to show off your plants? A minimalist geometric wooden hanging planter is perfect. It’s great for those who love clean lines and simple designs.
To make your own, you’ll need some basic tools and materials. You’ll need wooden dowels, a wooden or MDF board, a drill, and rope or twine for hanging.
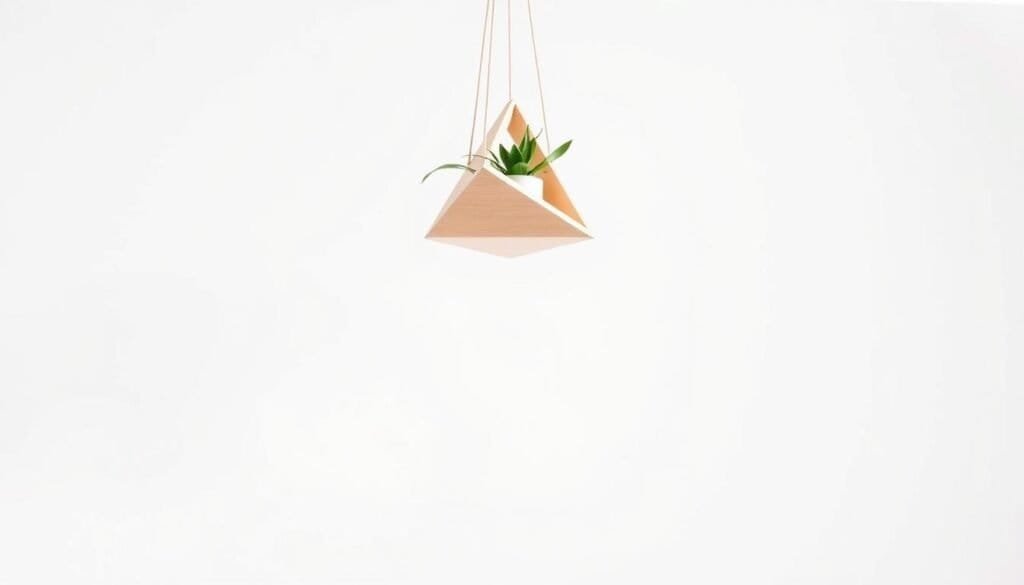
Start by cutting the dowels into the right lengths for your design. For a simple planter, use dowels to make a triangle or hexagon. Use wood glue or small nails to hold the dowels together, making sure it’s strong.
Then, cut the wooden or MDF board to fit your planter box. Attach the box to the dowel frame, making sure it’s secure and balanced. You can add a wood finish or paint to protect and enhance the wood.
Adding the Finishing Touches
After assembling, add your plants and hang the planter. Think about the height and location to make it look great.
This DIY project lets you create a beautiful, modern flower pot. It’s a fun way to add greenery to your home.
By following these steps, you can make a stunning minimalist planter that shows off your style. It’s a great DIY project for anyone, whether you’re new or experienced.
Rustic Rope-Suspended Wooden Box Planter
Make a stunning boho planter with a rope-suspended wooden box. It’s great for hanging your favorite plants. This design mixes wood’s natural beauty with rope’s warmth, adding rustic charm to your home.
You’ll need a wooden box, rope, and basic tools to start. Choose reclaimed wood for a rustic look or new wood for a polished finish. Stain the new wood to your liking.
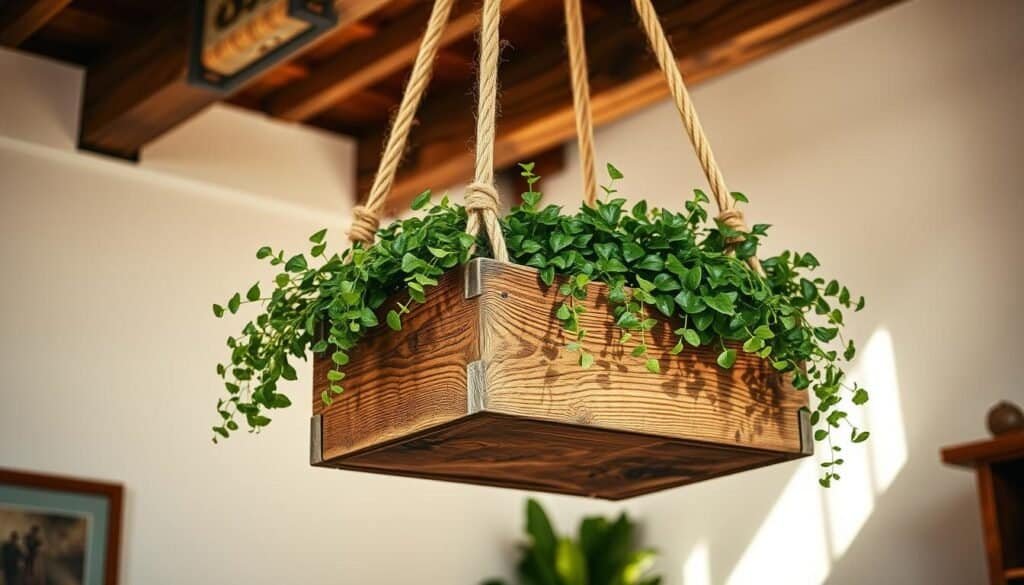
The rope adds both support and style. Pick from cotton or jute rope to fit your decor. For a boho vibe, try a macrame pot hanger DIY to create patterns.
Assemble the box, attach the rope, and hang it securely. This project needs basic woodworking skills. But the result is worth it. It’s perfect for plants and adds a unique touch to any room.
Caring for the planter is easy. Hang it near a window with a diffuser for filtered sunlight. Treat the box with sealant to protect it, and replace the rope as needed.
A rustic rope-suspended wooden box planter brings natural beauty to your home. It’s ideal for a boho planter or a unique plant display. Its wood and rope mix creates a standout piece for any room.
Modern Wooden Ring Hanging Planter Design
Enhance your home with a modern wooden ring hanging planter. It’s a mix of style and usefulness. It suits those who like simple designs, making it perfect for modern homes.
To make this planter, you’ll need a few things. You’ll need a wooden ring, rope or twine, a pot, and basic tools. The ring can be from oak or pine, depending on what you prefer.
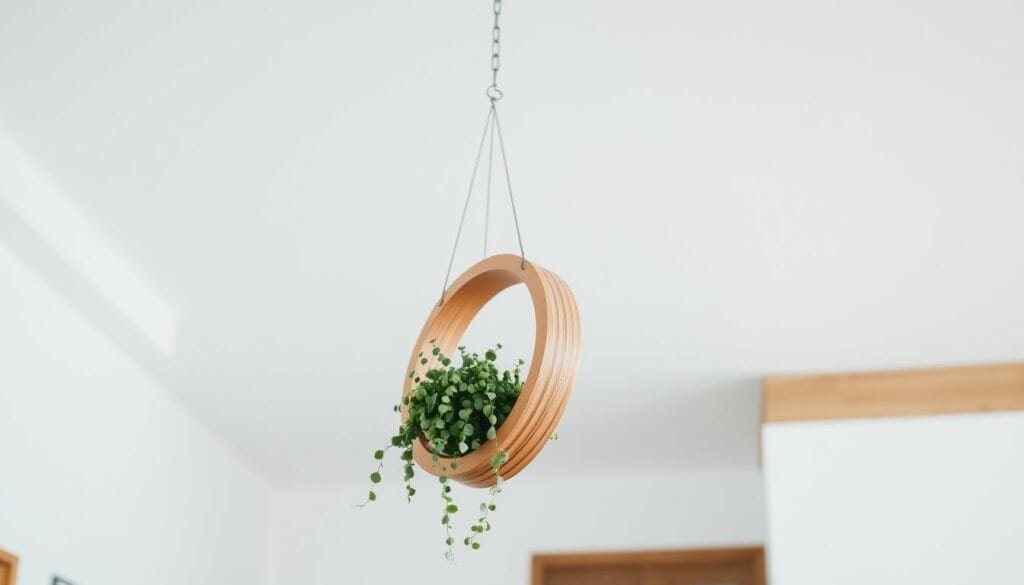
Start by getting the wooden ring ready. Sand it to make it smooth and apply a finish to protect it. While the finish dries, prepare the hanging part. Use a strong rope or twine for a neat look. Tie a knot to hold the pot and plant’s weight.
Then, attach the pot to the ring. You can use wire or a macrame technique for a detailed look. For an easy setup, use adjustable chains or hooks.
After setting it up, hang your planter in a good spot. It could be your living room or balcony. It’s not just a stylish piece but also brings plants into your home.
With these steps, you can make a beautiful, useful planter. It adds elegance to any room. This project is great for DIY fans or beginners, letting you show your creativity and improve your home.
Tiered Wooden Hanging Planter for Multiple Plants
Looking for a cool way to show off your plants? Try making a tiered wooden hanging planter. It’s a mix of style and practicality, perfect for small spaces.
You’ll need some basic stuff like wooden dowels, planters, a drill, and rope. Pick the right size and number of planters based on your space and plants. You can keep it simple or stain it to match your home, like an Urban Outfitters planter.
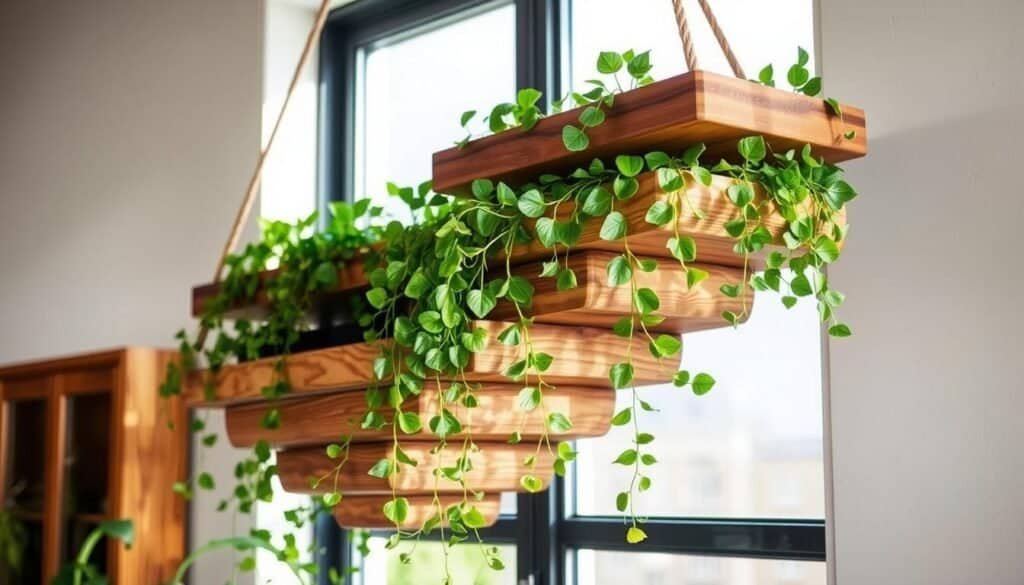
First, get your planters ready. Sand new wood to smooth it out. Add a finish to protect it and make it look better. You can also add glass or metal pieces for extra flair, but it’s up to you.
Next, build the tiered frame. Drill holes in dowels to hold the planters. Use screws or nails to attach the planters to the frame, making sure they’re balanced and secure.
Now, hang your planter. Pick a strong rope that can handle the weight of soil and plants. Hang it where it gets the right amount of light for your plants.
Making a tiered wooden hanging planter is a fun DIY project. It adds beauty to your home and shows off your plants in a unique way. With some creativity and basic woodworking skills, you can make something that reflects your style.
Reclaimed Wood Macrame and Wood Combination Planter
Combining reclaimed wood with macrame makes a unique planter. It adds a bohemian touch to your home. This eco-friendly DIY project is great for upcycling old wood.
You’ll need reclaimed wood, macrame cord, wooden dowels, and basic tools. The wood will make the planter’s box. The macrame cord will create a sturdy hanger.
Start by cutting the wood into pieces for your planter box. Sand them to remove rough edges. You can choose a simple shape or something more complex.
Then, use dowels and glue to assemble the box. Make sure it’s strong enough for soil and plants. After, varnish the wood to protect it and highlight its beauty.
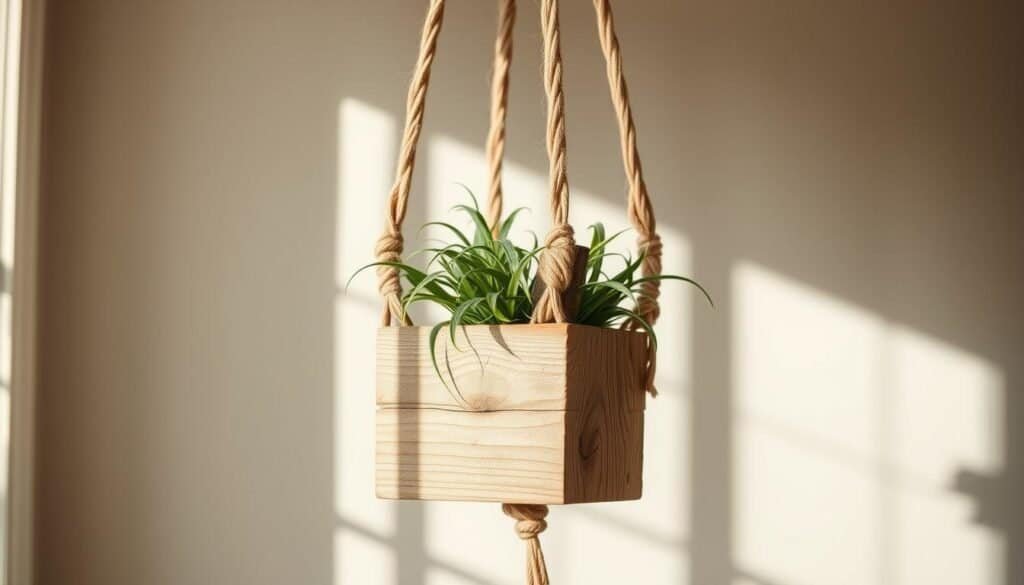
Now, make the macrame hanger. Cut a piece of cord, fold it, and start knots. You can find patterns online or create your own.
This planter is great for trailing plants or adding greenery to a stained glass window. It brings an urban outfitters style to your indoor plant decor.
By mixing reclaimed wood and macrame, you make a unique planter. It’s eco-friendly and stylish. This DIY project adds personality to your home while promoting sustainability.
DIY Wooden Hanging Planter Projects for Stylish Homes: Advanced Designs
Advanced DIY fans can make their wooden hanging planters stand out with complex designs and new materials. Using unique textures and shapes, you can make pieces that really catch the eye and boost your home’s look.
Try mixing different woods and stains for a bold look. Dark-stained wood with light finishes creates a striking contrast. Adding metal or rope can make your planter look more refined and stylish.
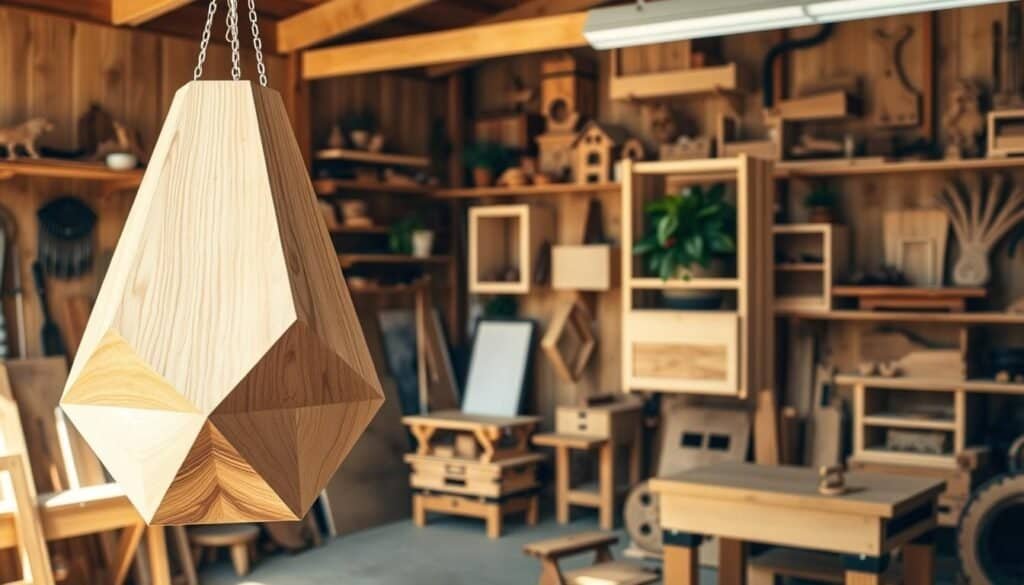
When making advanced DIY wooden hanging planters, think about where they’ll go. Consider the room’s style and how much light it gets. This helps pick the right design and materials to match your decor and create a cozy feel.
Adding house plants to your home does more than just look good. It purifies the air and makes your space feel more welcoming. Creating a room with plants shows off your creativity and personal style.
To really impress, try out creative woodworking projects. Like making detailed carvings or using special joinery. These skills help you make unique pieces that show off your skill and care.
Wall-Mounted Wooden Planter Grid System
If you have little space, a wall-mounted wooden planter grid is a smart choice. It lets you show off many plants without taking up floor space. This is ideal for small homes or apartments.
To begin your hanging planters tutorial, gather some basic items. You’ll need wooden planks, a drill, screws, a level, and rope or wire for hanging. The grid’s size will depend on your space and how many plants you want to display.
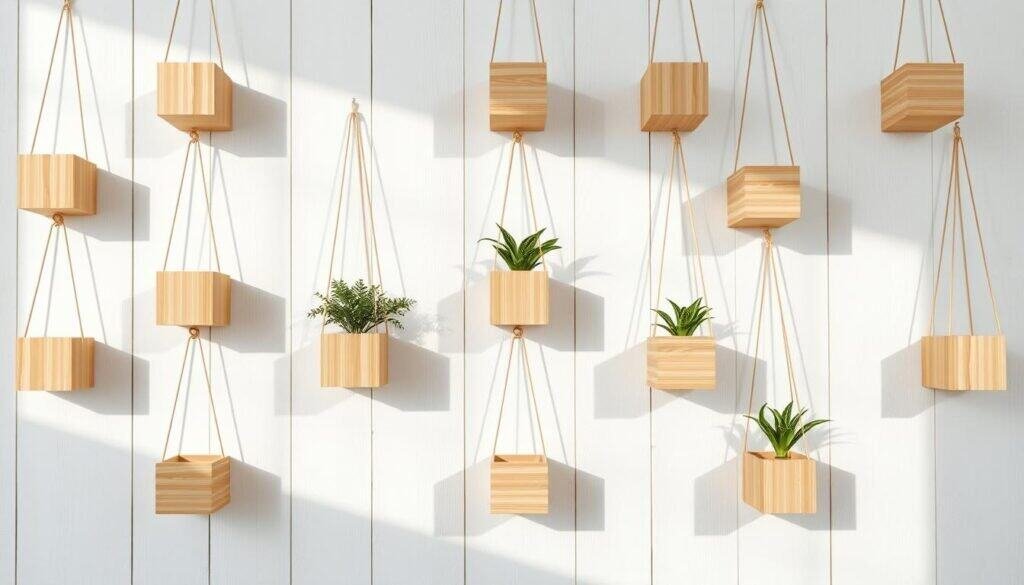
First, measure and cut your wooden planks to the right size for your grid. Then, screw the planks together to make a sturdy grid. You can choose a simple or complex design, based on your home decor projects idea.
Attach the grid to the wall using screws or brackets that can hold its weight. Ensure it’s perfectly level to avoid any tilting. Next, add your plants to the grid, using pots that fit well in the grid cells. Mixing different plants can make a beautiful display, showing off modern hanging planters.
This stylish planter idea brings greenery to your walls and acts as a living art piece. By following these steps, you can make a stunning wall-mounted wooden planter grid that shows off your style and fits your home decor.
Try out various plants, pot sizes, and grid designs to make your wall-mounted planter grid special. This project is a fun way to be creative with your home decor projects. The result is both useful and eye-catching.
Bamboo and Wooden Hybrid Hanging Planters
Bamboo and wooden hybrid hanging planters are stylish and eco-friendly. They mix bamboo’s natural beauty with wood’s warmth. This creates a unique planter.
To make one, you need bamboo stalks, wooden dowels or planks, macrame cord or twine, and a planter pot. You can pick a simple design or add decorations to match your home.
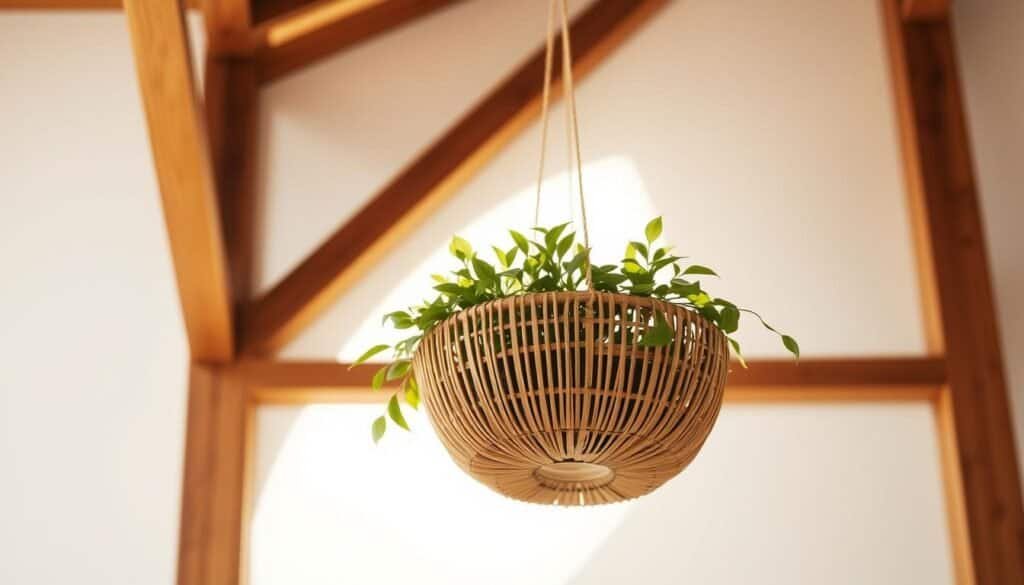
First, cut the bamboo and wood to the right lengths. Then, build the frame and attach the pot with a macrame hanger or twine. This DIY lets you tailor the size and design to your space.
Using bamboo and wood is good for the planet. Both are eco-friendly and come from responsible sources. Choosing this planter boosts your home’s look and supports green practices.
To make it even more personal, try different woods and bamboos. You can also add materials like rattan or seagrass. This makes a stunning, easy-to-make planter that brings natural beauty to any room.
Troubleshooting Common Issues with DIY Wooden Planters
DIY wooden planters are a fantastic way to bring greenery into your home. But, you might face some common problems. It’s important to tackle these issues to keep your planters looking good and working well.
Water damage is a big issue with wooden planters. Wood can rot if it gets too wet. To stop this, apply a waterproof coating inside your planter before adding soil and plants. You can also use a waterproof sealant or a liner to protect the wood.
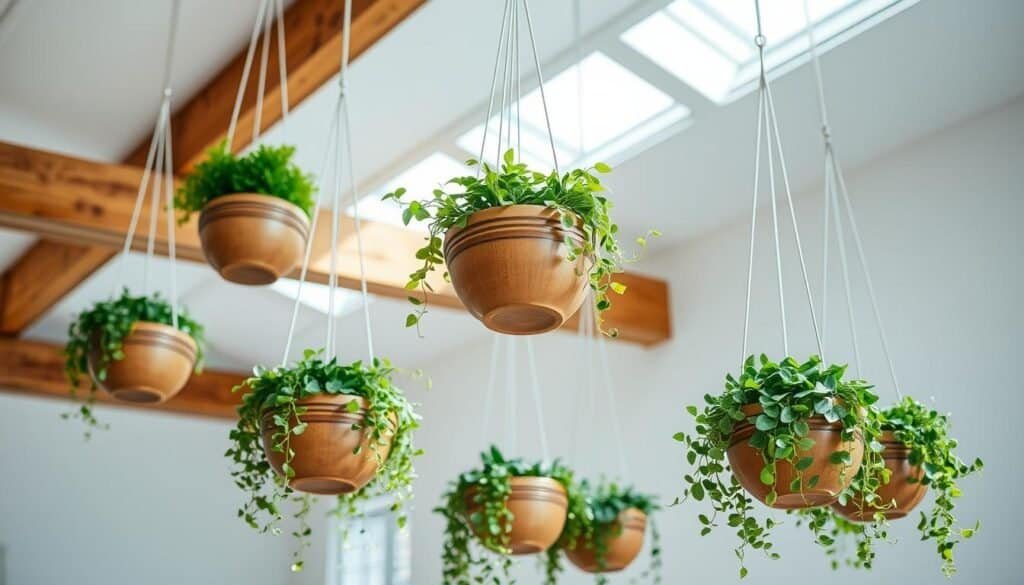
Drainage is another problem. If water stays in the soil, it can harm the roots. To fix this, drill holes in the bottom of your planter. Adding small rocks or broken pottery at the bottom helps with drainage and keeps the soil in place.
Outdoor planters face challenges from the weather. Using durable woods like cedar or teak helps. Also, a weather-resistant finish can protect your planter from the elements.
Choosing the right plants for your hanging planter is important. Pick plants that do well in hanging baskets and the conditions you provide. This could be indoor light or outdoor weather.
For outdoor planters, picking the right style and material is key. Make sure your planter matches your outdoor decor. Also, hang it securely to support the weight of the planter and its contents.
Creating a beautiful dish garden in your planter can make it stand out. Mix different textures and colors for a stunning look. You can use one type of plant or many.
By solving these common problems and adding thoughtful design, your DIY wooden hanging planters will last for years.
Conclusion
Creating DIY wooden hanging planters is a great way to add style to your home. With the right tools and materials, you can make beautiful and useful planters. These planters can show off your personal style.
In this article, we’ve looked at different wooden planter DIY projects. We’ve seen minimalist geometric designs, rustic rope-suspended planters, and modern wooden ring hanging planters. We also gave a hanging planters tutorial to help you start your next project.
Adding DIY wooden hanging planters to your home can make it look better and feel unique. These projects are great for both DIY experts and beginners. They offer a creative way to express yourself and show off your personality.
So, start making your own wooden planter DIY projects today. With these ideas and tutorials, you’ll be on your way to a beautiful and stylish home. Your home will reflect your taste and style.

