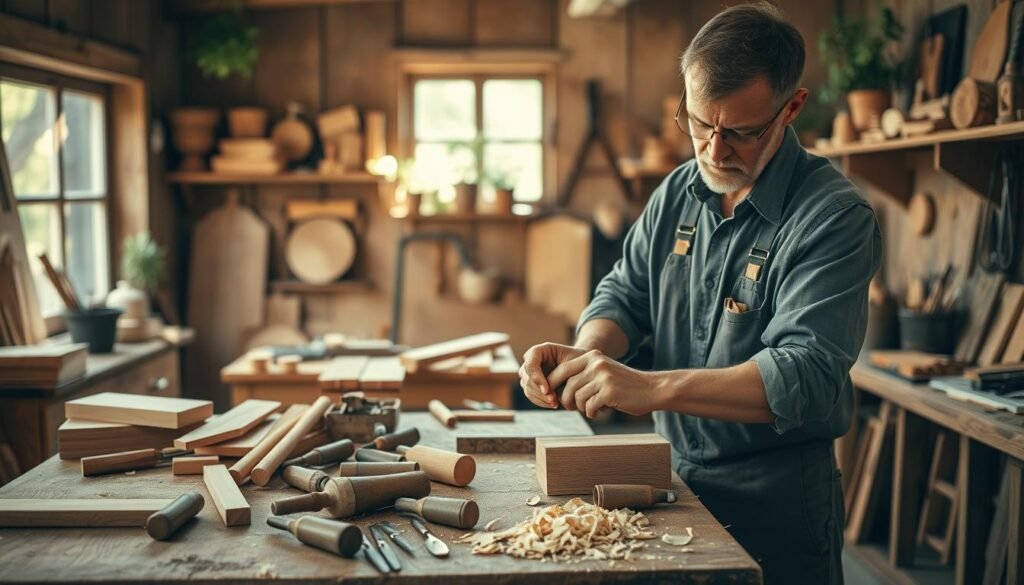
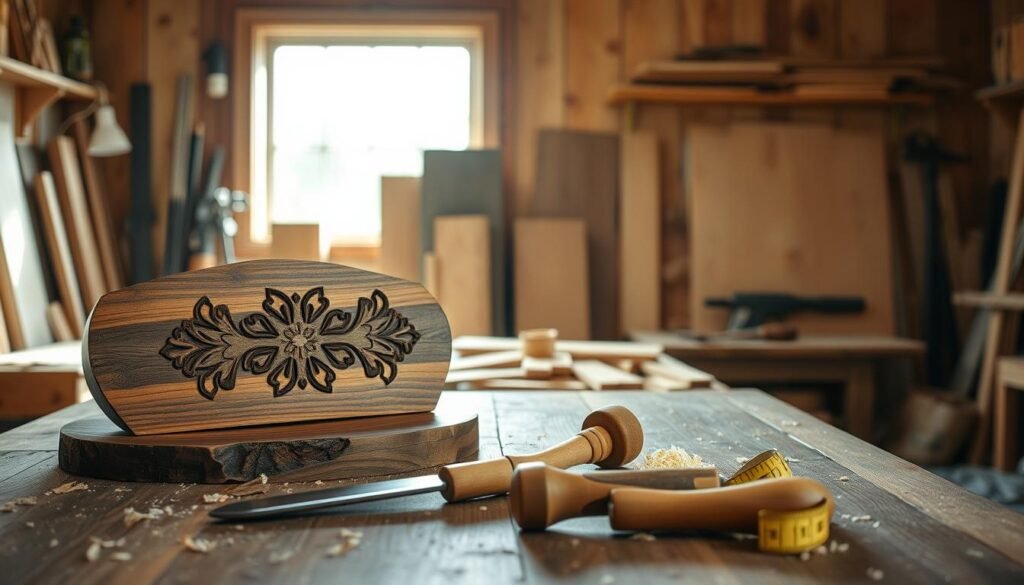
Making something by hand is very rewarding. It’s even more special when it’s a handmade serving board given as a gift.
There’s a unique joy in giving a personalized gift. It’s special because it’s one-of-a-kind and shows you care. Woodworking gift ideas are great because they’re both useful and beautiful.
Working on DIY wooden serving board projects lets you make the gift just right for the person. It becomes a truly unique and meaningful gift.
The Timeless Appeal of Handcrafted Wooden Serving Boards
In today’s world of mass-produced items, handcrafted wooden serving boards are truly unique. They bring warmth and character to any space. Each board is a piece of art, showing the skill and care of the craftsman.
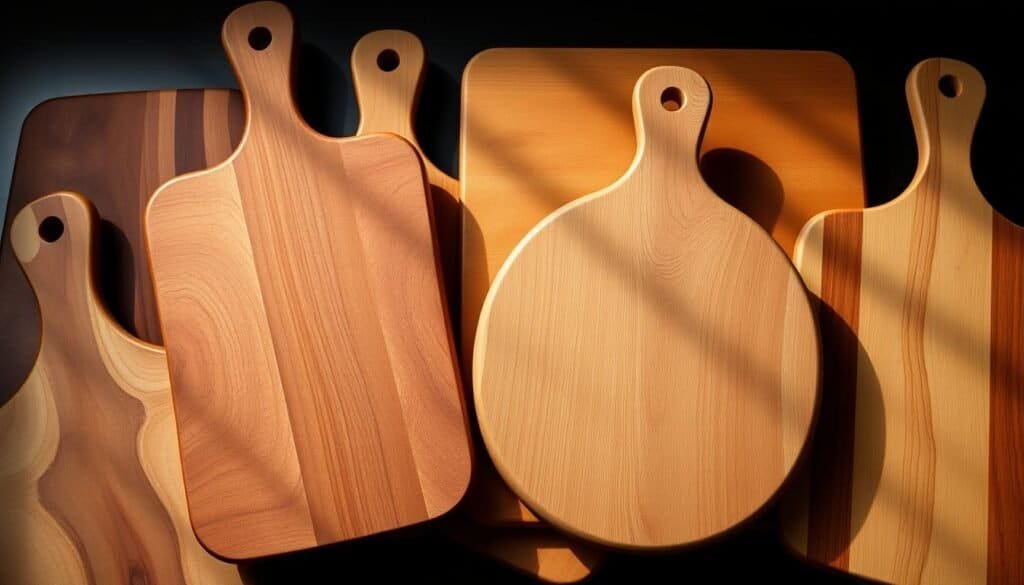
What makes these boards special is their imperfections. Unlike mass-produced items, they have unique marks and characteristics. This makes each board one-of-a-kind.
The Beauty of Imperfection
These imperfections are not just pretty; they hold deeper meaning. They show the human touch and the story behind each piece. A knot in the wood or a slight finish variation adds to the board’s charm.
Handcrafted wooden serving boards are also durable. They can last for generations, becoming family heirlooms. Their lasting quality shows the craftsmanship and materials used.
Using a handcrafted wooden serving board at your table adds warmth and authenticity. It connects you to the past while creating new memories. Whether for a casual dinner or a special occasion, these boards spark conversations.
Selecting the Perfect Wood for Your Serving Board Projects
Choosing the right wood for your serving board is key. It affects both how long it lasts and how it looks. The wood you pick can change how your board looks and works.
Think about what makes wood good for serving boards. Look for durability, resistance to scratches and stains, and the ability to handle different temperatures.
Characteristics of Ideal Wood
Ideal wood for serving boards has certain traits. It should be hardwood for lasting durability and resistance to wear. Maple, walnut, and cherry are favorites because of their density and grain patterns.
Cedar is also becoming popular for serving boards. It’s not just durable but also has a nice scent and fights pests. 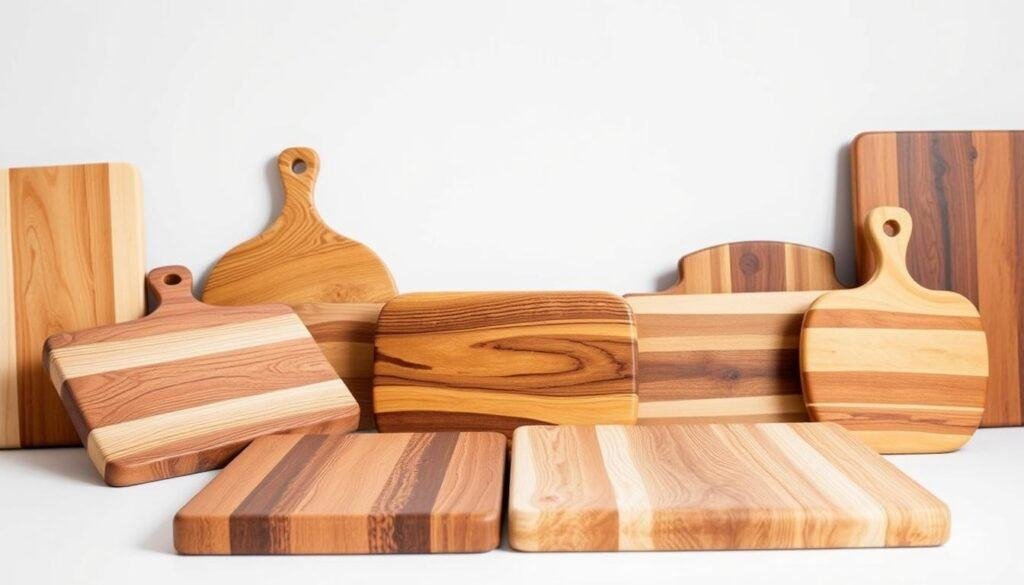 Looking into cedar ideas can inspire you to create something unique and useful.
How easy the wood is to work with matters, too, for DIY projects. Woods that are simple to cut, shape, and finish are best for beginners. Softwoods, though less durable, are great for those just starting out in woodworking.
In the end, the best wood for your serving board depends on your needs, skill level, and what you want it to look like. By thinking about durability, looks, and ease of use, you can find the perfect wood for a beautiful and practical serving board.
Basic Rectangular Serving Board: The Perfect Starter Project
A basic rectangular serving board is both useful and a great first woodworking project. It helps you learn the basics while making something you can use every day.
Think about the size you need for your serving board. It’s usually 12 to 18 inches long and 8 to 12 inches wide. Make it 3/4 inch thick for stability and easy use.
Simple Construction Techniques
To make your serving board, cut the wood to size first. Use the right tools and safety gear. Sand it well, starting with coarse grit and moving to finer ones for a smooth finish.
When putting it together, glue the wood pieces if you’re using more than one. Clamp them until the glue dries to get a strong bond.
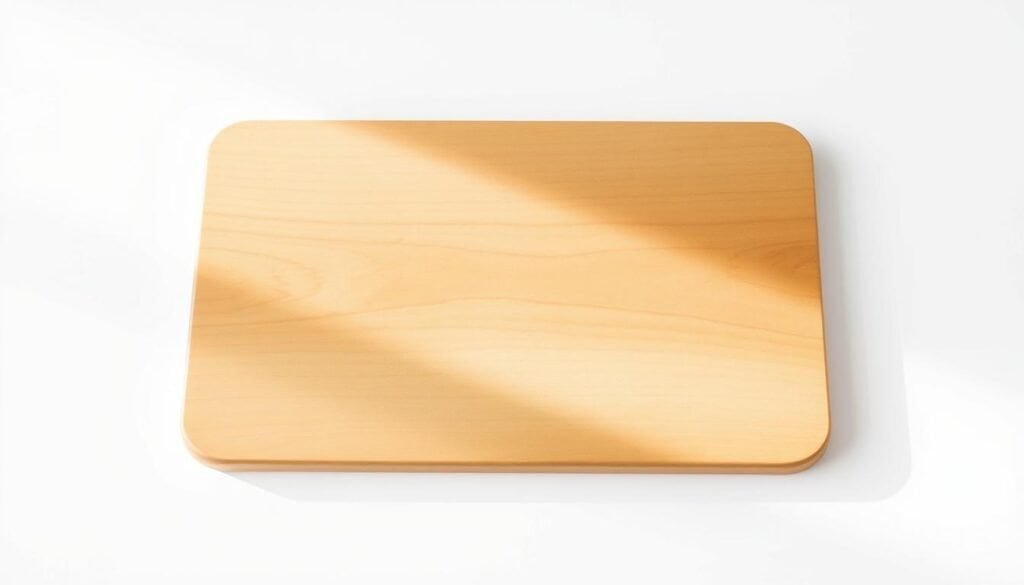
After it’s built, apply a food-safe finish to protect and beautify the wood. Cleaning it regularly and oiling it now and then will keep it looking good.
Making a basic rectangular serving board is a fulfilling DIY project. It’s not only useful but also helps you improve your woodworking skills. With simple steps and careful planning, you can make a beautiful, lasting serving board.
Rustic Live Edge Charcuterie Boards with Natural Character
Rustic live edge charcuterie boards are changing the way we entertain. They mix natural beauty with practical use. These boards bring the outdoors inside, making any event feel cozy and welcoming.
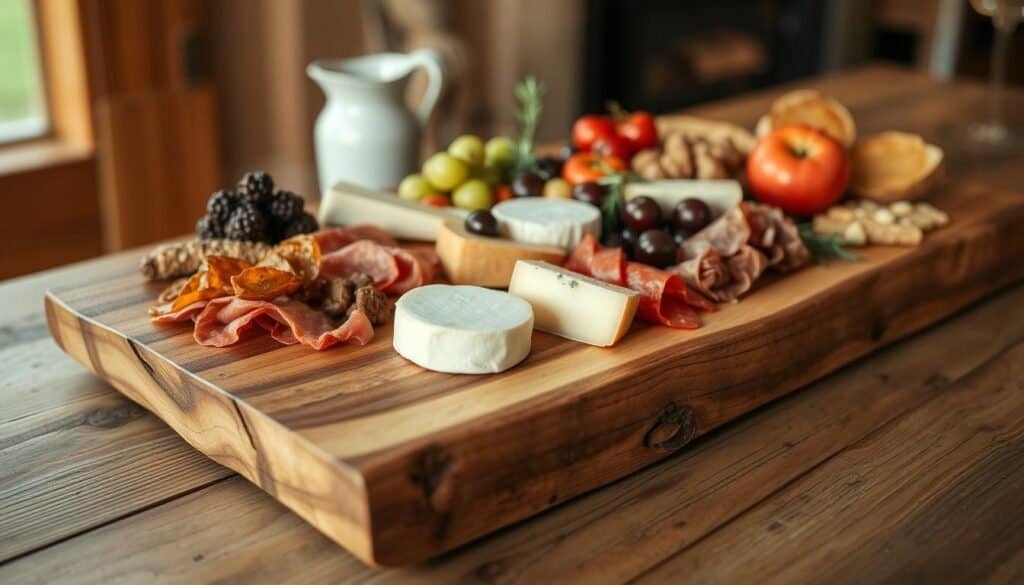
Live edge wood adds organic elegance to any space. It’s important to value its unique features and the story it tells. Each piece of wood is special, showing off nature’s marks and the passage of time.
Working with Live Edge Wood
To keep live edge wood’s natural look, you need to know how to work with it. Start by picking the right wood, one that highlights its natural edge. When preparing the wood, be gentle to keep its charm intact.
Making a rustic live edge charcuterie board involves several steps. You’ll need to debark, clean, and apply a food-safe finish. The goal is to keep the wood’s beauty while making it safe for food.
Embracing live edge wood’s unique qualities lets you craft a board that’s both beautiful and useful. Whether you’re experienced or new to DIY, making a rustic live edge charcuterie board is a fun and rewarding project.
DIY Wooden Serving Board Projects: Personalized Gift Ideas for Special Occasions
A handmade wooden serving board is a unique gift for special times. It’s perfect for weddings, anniversaries, or holidays. It becomes a cherished keepsake.
Adding engravings or wood burning crafts makes the board special. You can put names, dates, or messages on it. This makes it a one-of-a-kind gift.
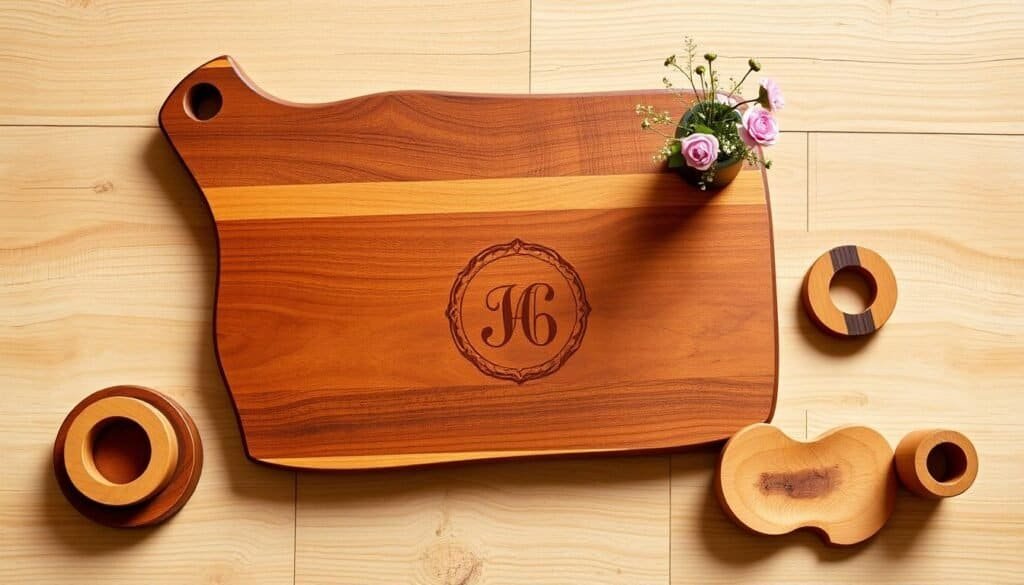
Think about the occasion and the person when making your board. Choose wood that fits the event or the person’s taste. For a rustic look, use reclaimed wood. For something modern, pick a smooth wood.
You can also add a personal touch to the design. A message or the person’s name makes it more intimate. Consider adding features like handles or a juice groove for extra use.
The finishing touches are key. Use a food-safe finish to protect the wood and ensure it’s safe for food. This makes your gift stand out as high-quality and thoughtful.
Creating a personalized serving board shows you care. It’s a way to say you value the occasion and the person. Your effort makes the gift truly special.
Geometric Pattern Inlay Serving Boards
The art of inlaying geometric patterns into serving boards mixes old skills with new designs. It’s a special way to make your kitchenware stand out. By placing wood or other materials into small spaces, you create detailed designs that make the board look amazing.
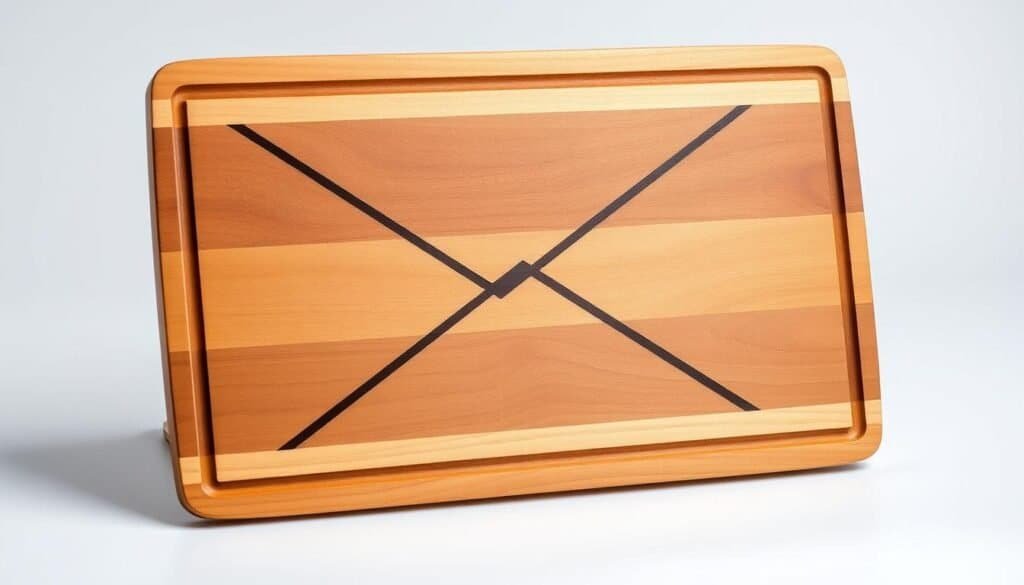
First, pick the wood for your project. Think about the base and the inlay pieces. Different woods have different colors and patterns, so you can get many looks. After picking your materials, design your geometric pattern. You can go for simple shapes or complex ones, based on your skill and what you want.
Inlay Techniques
Creating geometric pattern inlay serving boards needs the right techniques. One way is to use a router or chisel to make the spaces for the inlay. Then, cut the inlay to fit perfectly and glue it in place. Getting a snug fit is key for a top-notch finish.
Another method is combining hand-cut joints with inlay for more detailed designs. This takes patience and precision but leads to stunning patterns. The success of these projects depends on the accuracy of your cuts and the quality of your materials.
Geometric pattern inlay serving boards are not just useful; they’re also pieces of art. They show off the maker’s skill and creativity. Whether you’re experienced or new to woodworking, these projects are a great way to dive into wood art.
Epoxy River Serving Boards: Combining Wood and Resin
Wood and epoxy resin come together to make stunning serving boards. These boards are both useful and eye-catching. Woodworking fans and DIYers love them for their mix of natural wood and glossy resin.
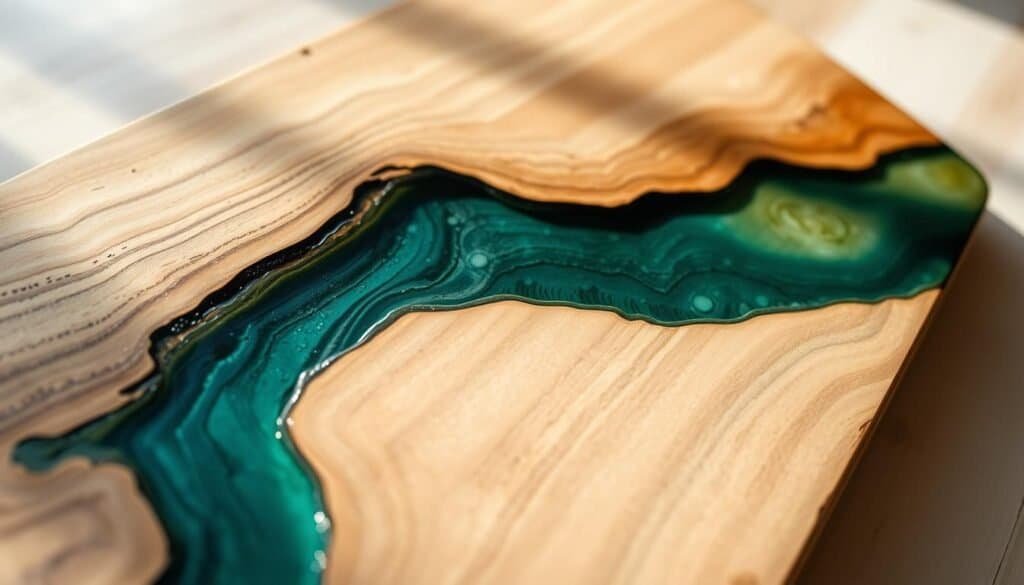
Making epoxy river serving boards needs skill and patience. But with the right steps and safety, you can get amazing results. First, set up your workspace. Make sure it’s well-ventilated and clean. Wear gloves and eye protection when working with epoxy.
Creating the Epoxy River Effect
To get the epoxy river look, plan and pour carefully. You’ll need a mold to shape the resin. The mold must be level and steady to avoid spills.
After preparing your mold, mix the epoxy resin as the instructions say. You can add colors or pigments for a personal touch. Pour the mix into the mold, letting it flow around the wood to create the river look.
Once the resin is dry, sand and finish the board. This makes it smooth and shiny. It also makes it safe for food. With practice, you can make beautiful epoxy river boards that will wow everyone.
Personalization Techniques Beyond Wood Burning
Wood burning is a favorite for making wooden serving boards personal. But, there are many other ways to add a special touch. These techniques can make your DIY projects stand out and feel truly unique.
One great way to make your wooden serving boards special is through engraving.
Engraving and More
Engraving lets you add detailed designs and text to your boards. You can engrave names, dates, or messages. This makes the board a thoughtful gift.
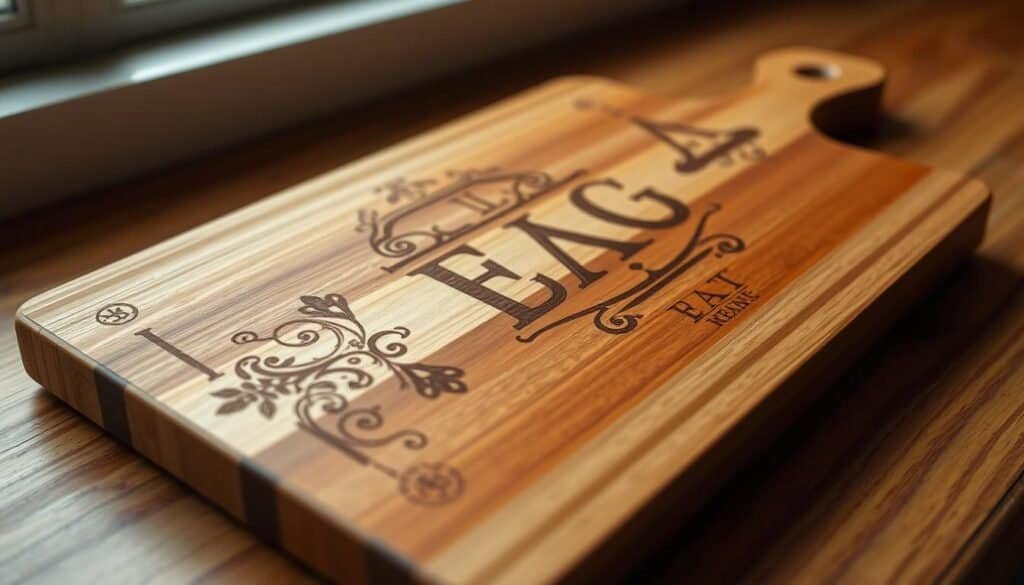
There are more ways to personalize your boards, like painting and decoupage. Painting brings bright colors and designs. Decoupage lets you add detailed cut-out images. You can mix these methods for a board that’s all your own.
When making customized gifts, think about the finish too. A food-safe finish protects the wood and makes the board look better. You can choose from oils or waxes, depending on what you want.
Exploring different personalization techniques can lead to unique and meaningful gifts. Customized wooden serving boards are perfect for any occasion or just to show you care.
Wood Burning Techniques for Custom Serving Boards
To make custom serving boards, knowing wood burning techniques is key. Wood burning, or pyrography, lets you add special designs, names, or messages. This makes your boards truly unique.
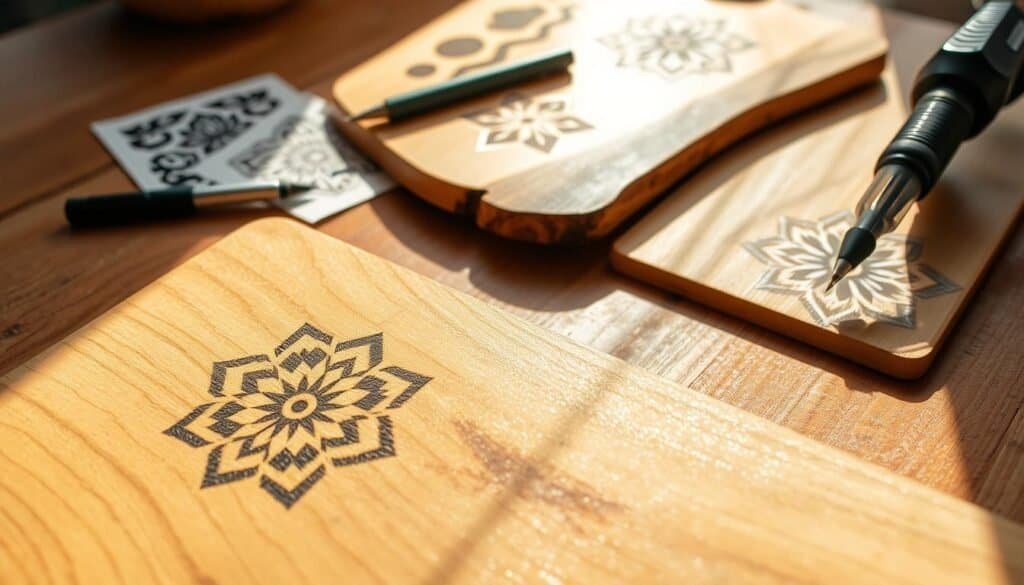
First, pick the right wood burning tool. You’ll find simple, temperature-controlled units and more complex machines with different tips. Always wear protective gear like gloves and safety glasses when using these tools.
With the right tool and safety gear, start practicing basic wood burning. Learn to control the temperature and stroke for different effects. Choose the right wood type for clean burns.
Advanced Wood Burning Techniques
For those who’ve got the basics down, advanced techniques can enhance your custom boards. You can create detailed designs, layer burn effects, and try different woods for unique textures and colors.
Advanced techniques need precision and patience. Try making detailed patterns or portraits on your boards. Mixing wood burning with woodworking techniques like inlay or carving makes your pieces stand out. They’re great for personalized gifts or keepsakes.
Whether you’re new or experienced, adding wood burning to your custom serving board projects can add a new level of creativity and personal touch.
Multi-Functional Serving Boards with Built-In Features
Adding built-in features to your serving board can elevate your hosting game. These boards are made to simplify and enhance your entertaining. They’re perfect for any event, from dinner parties to casual get-togethers.
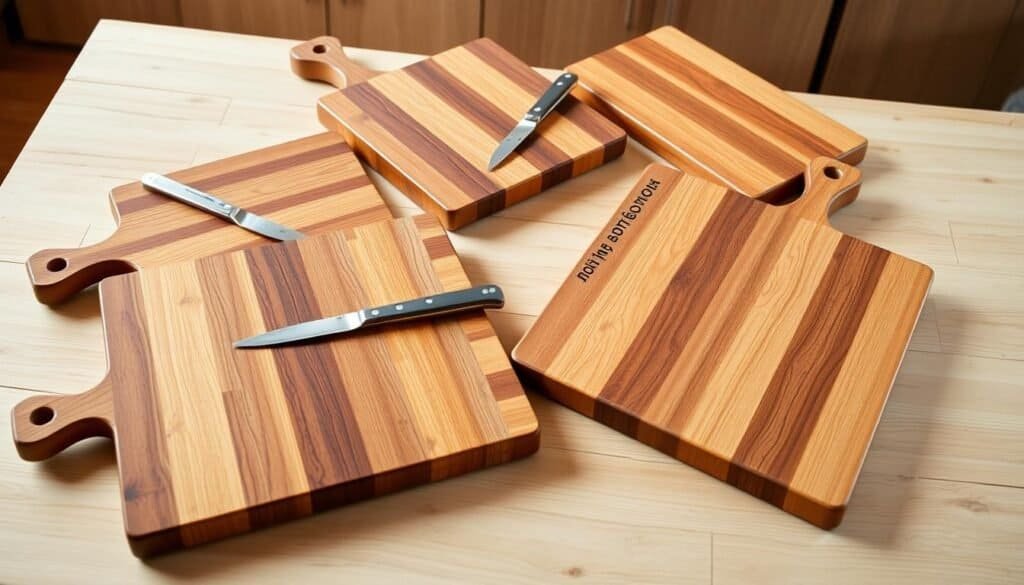
These boards serve more than one purpose. For example, a board with built-in compartments keeps food types separate. A board with a built-in cheese knife or handles adds convenience and style.
Incorporating Built-In Features
Think about what features you need on your board. Handles make it easier to carry. Compartments or dividers organize your food. You might also want a built-in knife or utensils.
To make your board stand out, mix materials and features. Metal or glass adds sophistication. Personal touches like engravings or custom designs make it unique.
Creating a multi-functional serving board is about combining looks and usefulness. It becomes a beautiful centerpiece for your events. Whether you’re experienced or new to DIY, these projects are a great way to express your creativity and improve your hosting skills.
Upcycled and Reclaimed Wood Serving Board Projects
Reclaimed wood has unique imperfections, making each serving board special. Using upcycled and reclaimed wood adds history and character. It also helps the environment by reducing waste.
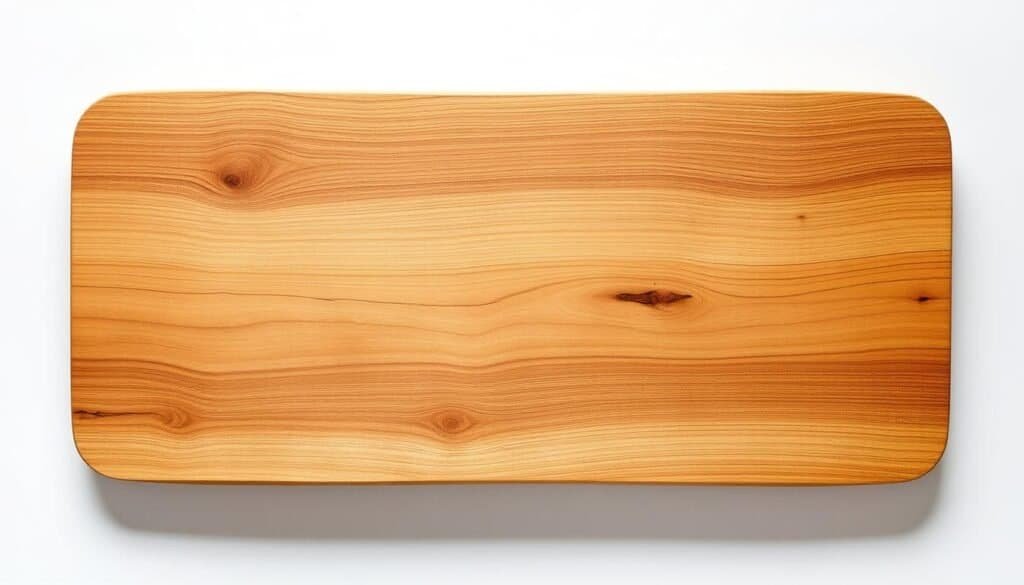
Finding materials for upcycled serving boards is exciting. You can look for reclaimed wood in old barns, pallets, or discarded furniture. Always check the wood for damage or rot before starting your project.
Working with Reclaimed Wood
Working with reclaimed wood can be challenging due to its imperfections. The wood might have cracks, nail holes, or other defects. But, these flaws can make your serving board more unique. You can leave them as is or fill them with epoxy for a smoother look.
Using reclaimed wood is good for the environment. It reduces the need for new lumber and helps save forests. Plus, turning old wood into serving boards gives it a new life, preventing it from ending up in landfills.
To make a beautiful serving board, start by cleaning and preparing the wood. Cut it to the right size and shape. Then, apply a food-safe finish to protect and enhance the wood. With creativity, you can transform scrap wood into a stunning serving board that will be the highlight of any event.
Food-Safe Finishes and Maintenance for Wooden Serving Boards
To keep your wooden serving board in top shape, choose a food-safe finish and follow some maintenance tips. A well-finished board looks great and is safe for food.
When picking a finish, go for food-safe options. Mineral oil, beeswax, and water-based polyurethane are good choices. They protect the wood and keep your board safe for food. Stay away from chemical-based finishes that can harm your health.
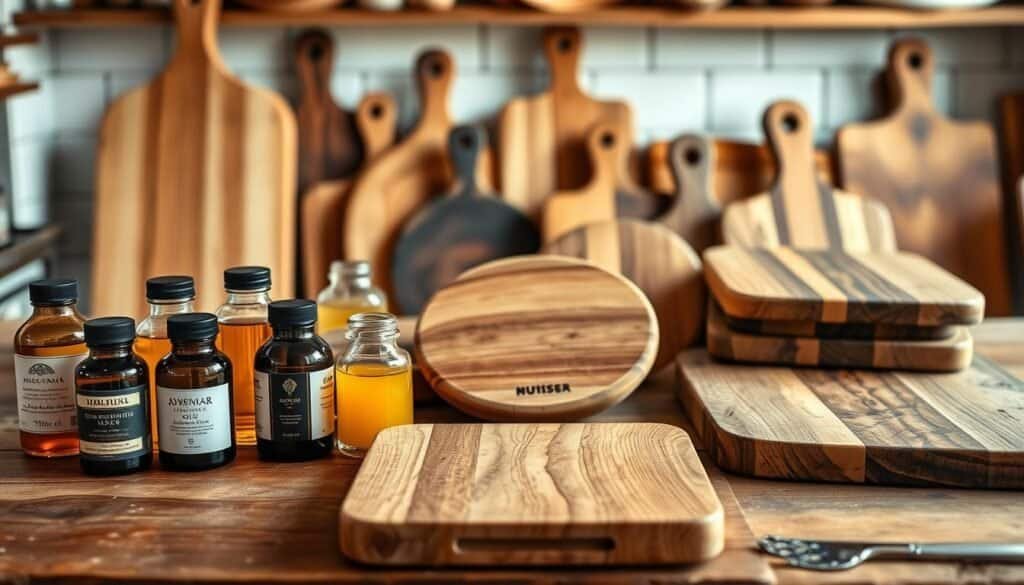
Regular care is essential for your wooden serving board. Clean it with mild soap and water, dry it well, and apply a food-safe finish now and then. For tough stains or scratches, use a gentle wood cleaner or sand lightly.
Maintenance Tips
- Clean your wooden serving board with mild soap and water after each use.
- Dry the board thoroughly to prevent moisture buildup.
- Apply a food-safe finish every few months to maintain the wood’s health.
- Avoid exposing your wooden serving board to extreme temperatures or direct sunlight.
By following these tips and using food-safe finishes, your wooden serving board will last for years. Proper care keeps your board safe and extends its life, perfect for serving your favorite dishes.
Conclusion: Crafting Memories with Handmade Wooden Serving Boards
Handmade wooden serving boards are more than just useful items. They are a way to make memories that last forever. By making personalized gifts, you show your loved ones you care. A handmade wooden serving board is a special gift for any occasion.
Sharing Your Creations
When you finish your wooden serving board projects, think about sharing them. You can post your unique crafts on social media or give them as presents. This way, you spread happiness and inspire others to make their own.
Making memories with wooden serving boards is a fulfilling activity. It mixes creativity, usefulness, and a personal touch. So, start making your own unique serving boards today!

