Creating a functional entryway can be tough, mainly when space is tight. A messy entryway can ruin a great first impression. Building a shoe bench is a smart solution. It offers a place for shoes and makes your home feel welcoming.
It’s key to use space wisely in small entryways for a clean home. A shoe bench helps keep shoes organized and your entryway neat. This guide will show you how to make a shoe bench for your small entryway.
These projects add storage and improve your home’s entrance look. Let’s dive into simple DIY ideas to make your entryway better.
The Challenge of Small Entryway Organization
Keeping a small entryway organized is tough, and shoes are often the main problem. With little space, it’s hard to keep the area clean and welcoming.
Finding enough storage for shoes is a big challenge in small entryways. Without a good entryway shoe storage system, shoes can take over. A well-chosen shoe rack for home can change everything, providing a spot for shoes and keeping the area neat.
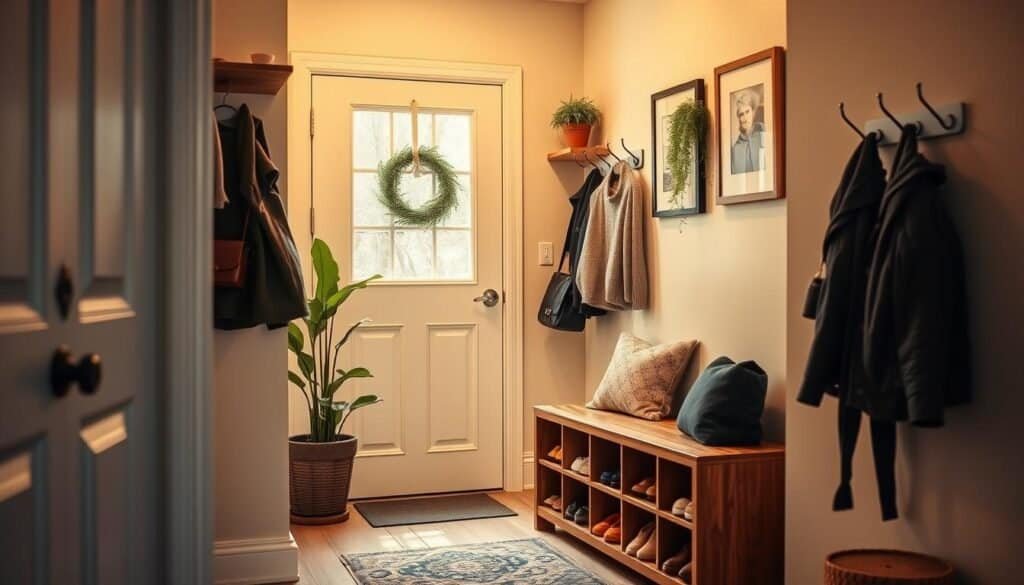
Good small entryway organization needs careful planning and the right storage. By focusing on the entryway’s needs, homeowners can make a space that’s both organized and stylish. The right piece, like a sleek shoe rack or a versatile bench, can greatly improve a clutter-free and inviting entryway.
Why a DIY Wooden Shoe Bench is the Perfect Solution
Making a DIY wooden shoe bench is a smart way to improve your home’s entryway. It adds both style and function. A good shoe bench keeps shoes organized, making the entryway neat.
An entryway bench with shoe storage does more than hold shoes. It also keeps bags and accessories tidy. By making your own bench, you can make it fit your space and needs perfectly.
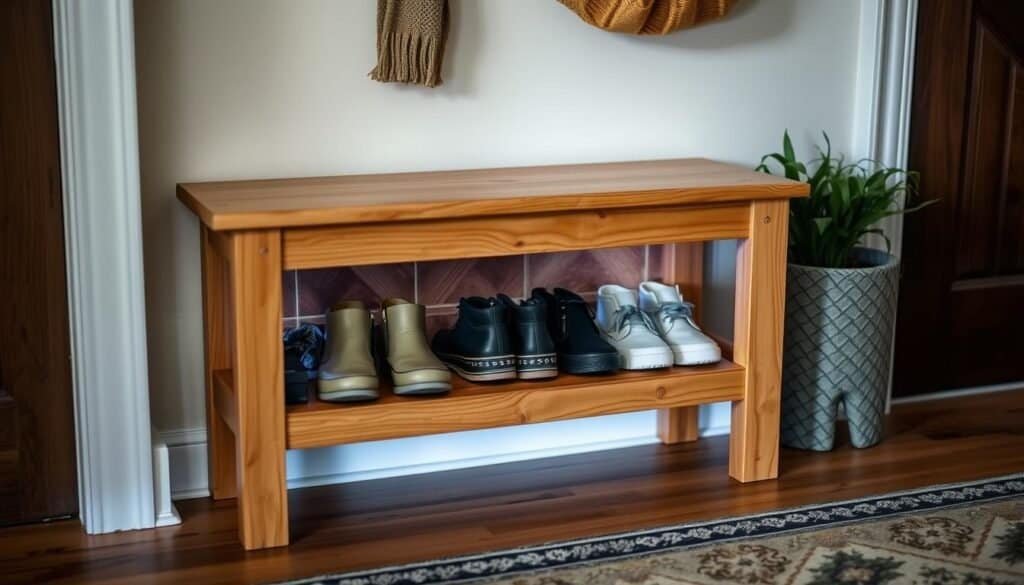
With wooden shoe bench plans, you can build a strong and beautiful bench. It matches your home’s look. The wood also makes the entryway feel warmer and more inviting.
Building a DIY wooden shoe bench saves money compared to buying one. It lets you be creative and add your own special touches. No matter your home’s style, a wooden bench can match it.
Essential Tools and Materials for Your Shoe Bench Project
Starting a DIY shoe bench project means you need the right tools and materials. The quality of these will affect how long your bench lasts and how it looks.
Power Tools vs. Hand Tools
Choosing between power tools and hand tools is key. Power tools like circular saws and drills are great for cutting and putting your bench together fast and accurately. Hand tools, such as chisels and hand saws, give you more control for detailed work.
It’s best to use both power and hand tools for a complete DIY shoe bench project.
Measuring and Marking Equipment
Getting your measurements right is essential for a good DIY project. Make sure you have a good tape measure, square, and marking gauge. These help you make precise cuts and assemble your bench correctly.
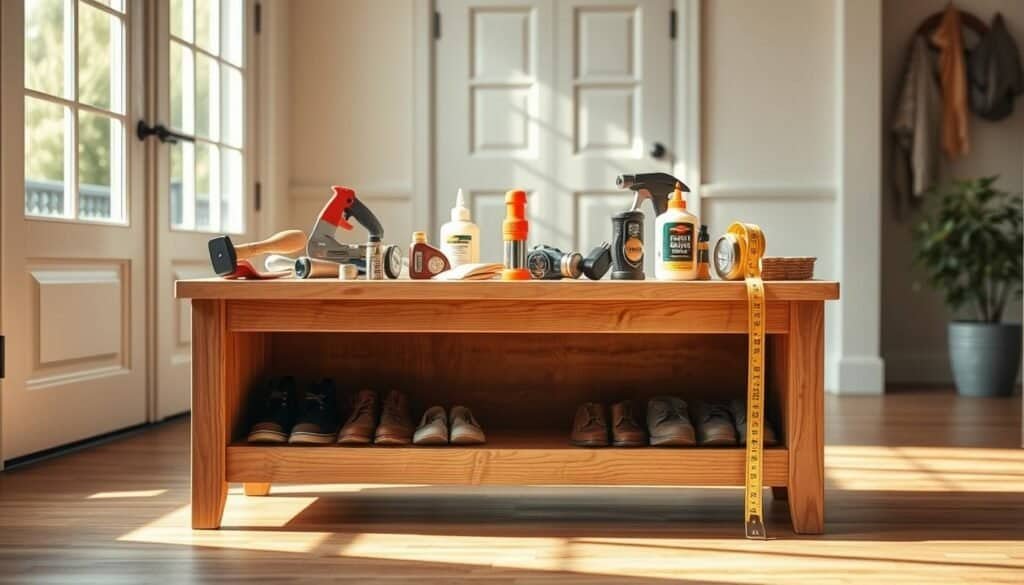
If you’re watching your budget, think about using reclaimed or cheap lumber. Options like pine or plywood are affordable and don’t lose much quality.
Premium Choices
For a top-notch shoe bench, go for materials like solid oak or walnut. These are durable and give your entryway a fancy look.
Choosing the right tools and materials carefully will help you make a shoe bench that’s both useful and stylish. It will meet your needs and tastes perfectly.
Planning Your DIY Wooden Shoe Bench Projects for Small Entryways
Before you start building your DIY wooden shoe bench, it’s key to plan it well. Measure the space where you’ll put the bench. Think about the width, depth, and height you have.
Choosing a design that fits your entryway’s style and meets your storage needs is important. Look for a wooden shoe bench design that stores shoes and maybe has hooks for coats or a shelf for baskets.
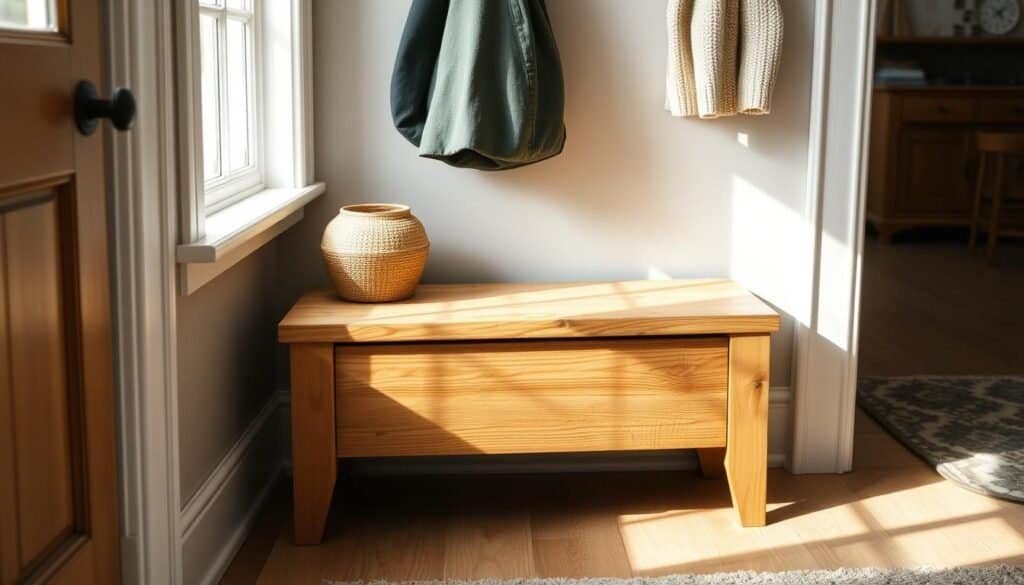
When planning diy shoe bench, think about what materials and tools you’ll need. For a small entryway shoe storage plans, a compact design or a wall-mounted bench might be best to save space.
Make sure your plan includes the wood and finish that will match your entryway. Think about the bench’s features, like a hinged top for storage or drawers for more organization.
By planning your DIY wooden shoe bench carefully, you can make a piece that’s both functional and stylish. It will improve your entryway’s look and organization.
Project1: Minimalist Floating Shoe Bench
In small entryways, a minimalist floating shoe bench can be a game-changer for organization. It’s perfect for DIY enthusiasts who want to add modern elegance to their home. It also helps keep clutter at bay.
Cutting the Wood
The first step is cutting the wood to the right size. For a standard bench, you’ll need a piece that’s 30 inches long, 6 inches wide, and 1 inch thick. Use a table saw or a circular saw for precise cuts. Always measure twice to avoid mistakes.
You’ll also need to cut two small brackets for mounting the bench to the wall. These should be made from a sturdy material to hold the bench and shoes.
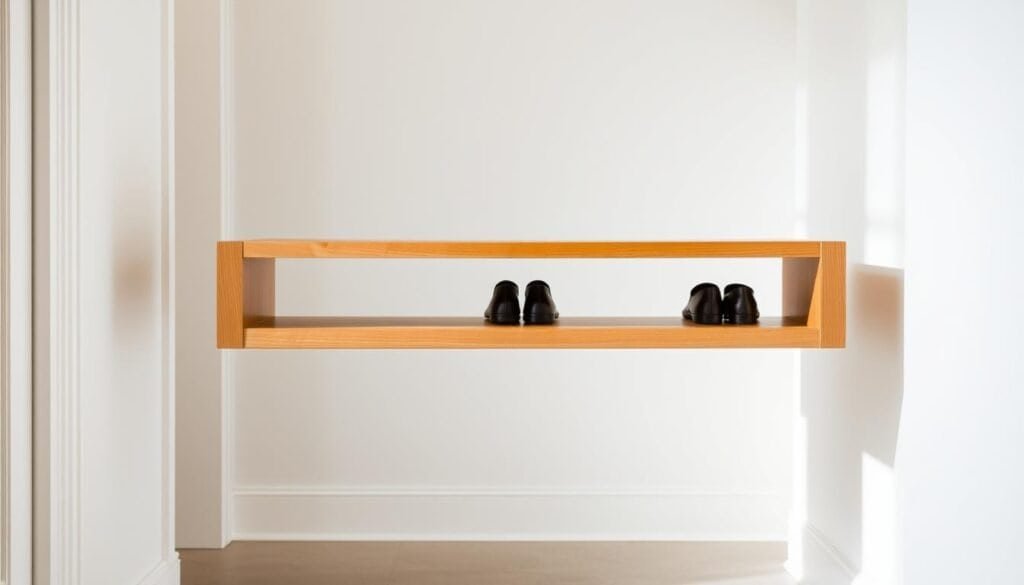
To assemble the bench, attach the brackets to the underside. Place them about 2 inches from each end. Use screws that are long enough to secure the bench but don’t stick out.
Then, sand down any rough edges or surfaces. This step is key for a smooth, minimalist look.
Wall Mounting Techniques
Mounting the bench to the wall is a key step. Use a stud finder to find the wall studs and mark the spot. Make sure the bench is straight with a level, then drill pilot holes into the wall.
Insert wall anchors if needed, for drywall or plaster. Then, screw the bench into place using the brackets. Ensure it’s securely attached to hold the intended weight.
By following these steps, you can make a beautiful and functional minimalist floating shoe bench. It adds a modern touch to your entryway and keeps your shoes organized.
Project2: Rustic Farmhouse Shoe Bench with Cubbies
Building a rustic farmhouse shoe bench with cubbies is a great DIY project. It makes your entryway both functional and charming. It’s perfect for those who love the farmhouse style.
Building the Frame
Start by building the frame of your shoe bench. Use strong wooden planks, like reclaimed or distressed wood, for a real rustic feel. Make sure the frame is square and strong to hold the cubbies and seat.
Creating the Cubbies
The cubbies are key to this shoe bench, giving each pair of shoes its own spot. Measure and cut the dividers to fit the frame well, making uniform cubbies. You can adjust how many cubbies you need based on your storage needs.
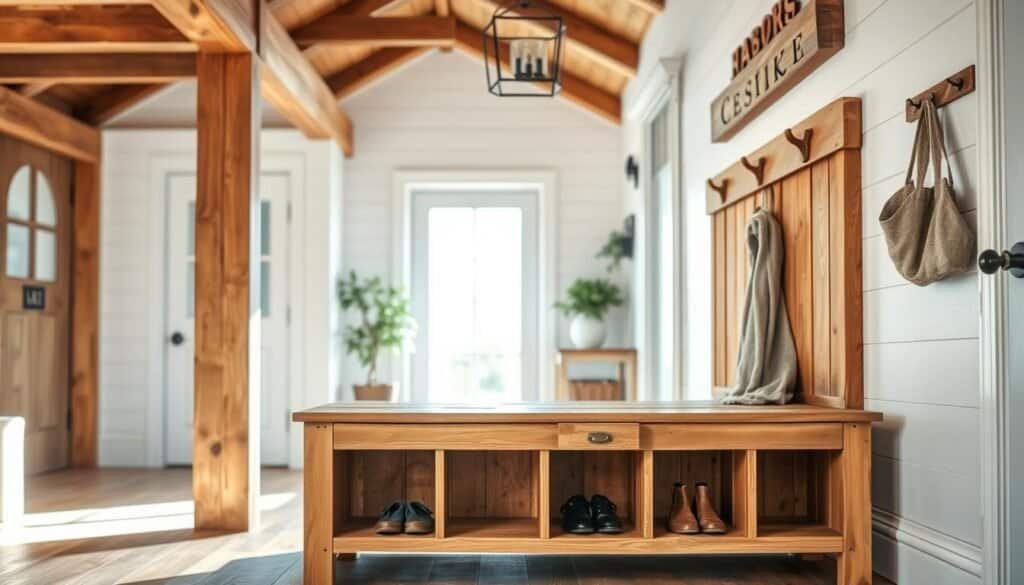
The seat of your bench should be both useful and comfy. Attach a wooden plank or a cushioned seat to the top of the frame. Make sure it’s secure and level. You might want to add a lid for more storage.
Distressing Techniques
To get the rustic look, use distressing techniques on your bench. Sand down rough edges and add a distressed finish with a wire brush or by manually distressing the wood.
Hardware Selection
Pick hardware that fits the rustic farmhouse style, like antique or vintage knobs and hinges. These add to the bench’s look and make it more useful.
By following these steps, you can make a beautiful and useful rustic farmhouse shoe bench with cubbies. It will warm up your entryway and show off your woodworking skills. Plus, it solves your shoe storage problems.
Project3: Modern Shoe Bench with Hidden Storage
Looking to make the most of your entryway? A modern shoe bench with hidden storage is a great DIY project. It’s sleek and practical, perfect for today’s homes.
Constructing the Base
The base of your bench is key. Cut four legs and the frame pieces from solid wood. Use screws or dowels to put them together for a solid base.
Make sure the base is even and strong. It needs to hold the bench and anyone sitting on it. Use a carpenter’s square to check the corners are square.
Creating the Storage Compartment
The storage area hides your shoes. Measure the space under the bench and cut a plywood or MDF panel to fit. Add hinges so the top opens to show the storage.
Building the Hinged Top
The hinged top is essential for your hidden storage bench. Attach the hinges to the top and base for smooth opening. You might want to add a soft-close feature for easier use.
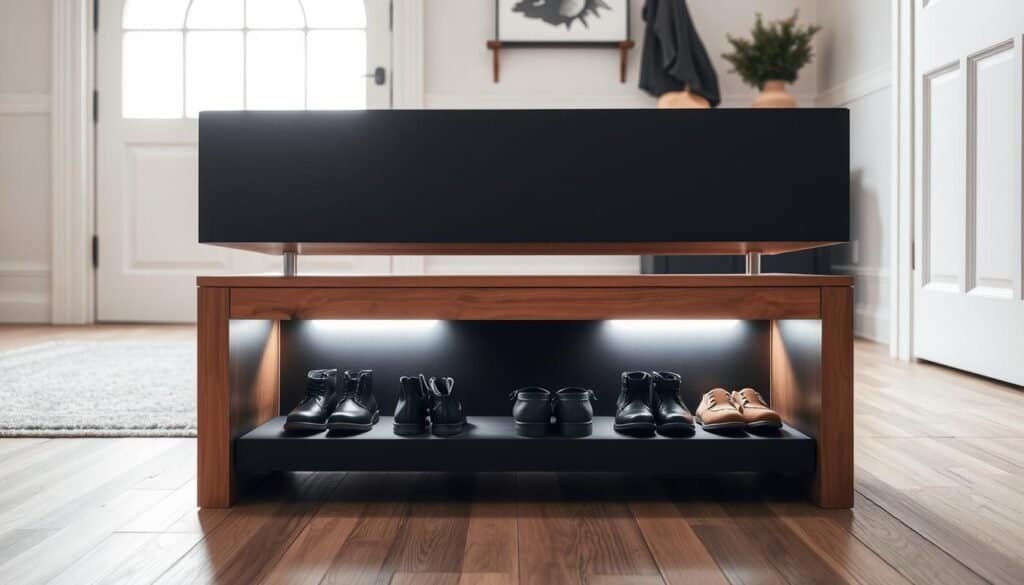
Modern Finishes
Your bench needs a modern look. Choose a sleek stain or paint that fits your entryway. Finish with a clear coat to protect and last longer.
Hardware Selection
The right hardware can make your bench look even better. Pick sleek, simple handles or knobs that match your style. Make sure they’re durable and well-attached.
By following these steps, you can make a stylish and useful modern shoe bench. It will add both beauty and function to your entryway.
Project4: Corner Shoe Bench for Awkward Spaces
Awkward corners in small entryways can be turned into useful shoe storage with a DIY corner shoe bench. It’s ideal for those who want to make the most of their entryway’s space.
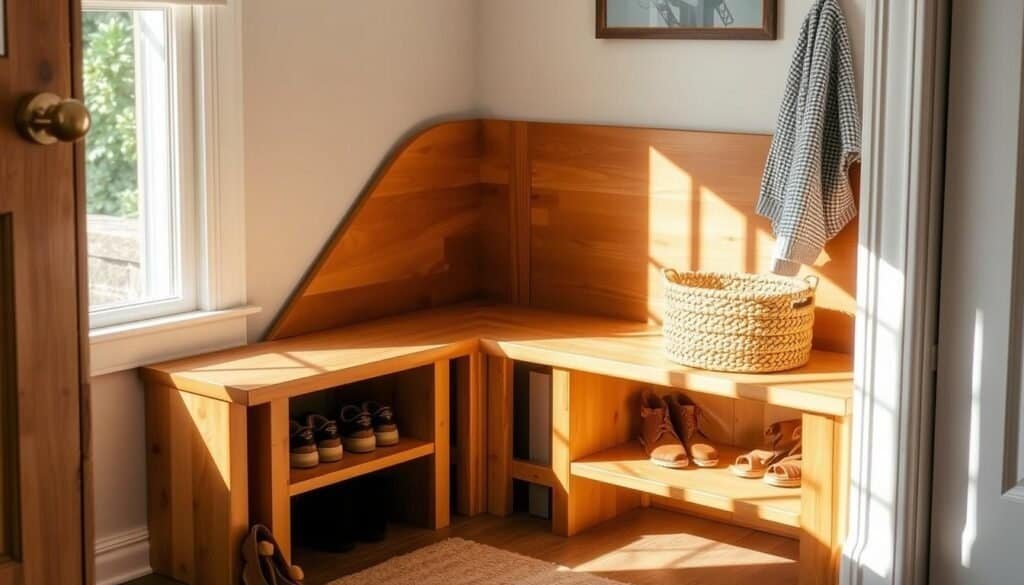
To start, build the angled frame of the bench. You’ll need to measure carefully and cut accurately to fit the corners perfectly. Use a miter saw for clean cuts, and then glue and nail the frame together.
Building the Shoe Storage Area
Design the shoe storage area to fit your needs. Think about the size of your shoes and your entryway’s dimensions. You can add cubbies or shelves for more storage. Use plywood or MDF for the compartments and attach them to the frame.
Constructing the Seat
The seat should be strong and comfy. Choose a solid wood or a cushioned top for comfort. Attach the seat to the frame with hinges for a lift-top storage, or screws for a fixed seat.
Space-Maximizing Add-ons
Adding hooks for bags or jackets, or a small shelf for accessories can help. These features make your bench more useful and keep your entryway tidy.
By following these steps, you can make a corner shoe bench that’s both functional and stylish. It turns an awkward space into a valuable storage area. This DIY project is a smart way to improve your home’s entryway and keep it organized.
Project5: Multipurpose Entryway Bench with Shoe Storage
In this project, we’ll show you how to make a multipurpose entryway bench. It will have a comfy seat and lots of shoe storage. This DIY project makes your entryway more useful and keeps it tidy.
Building the Base Cabinet
The base cabinet is the bench’s foundation. Start by cutting plywood or MDF to the right size. Use screws to put it together, making sure it’s strong enough for the seat and stored items.
Make sure the cabinet is level and attach it to the wall. This keeps it stable and safe.
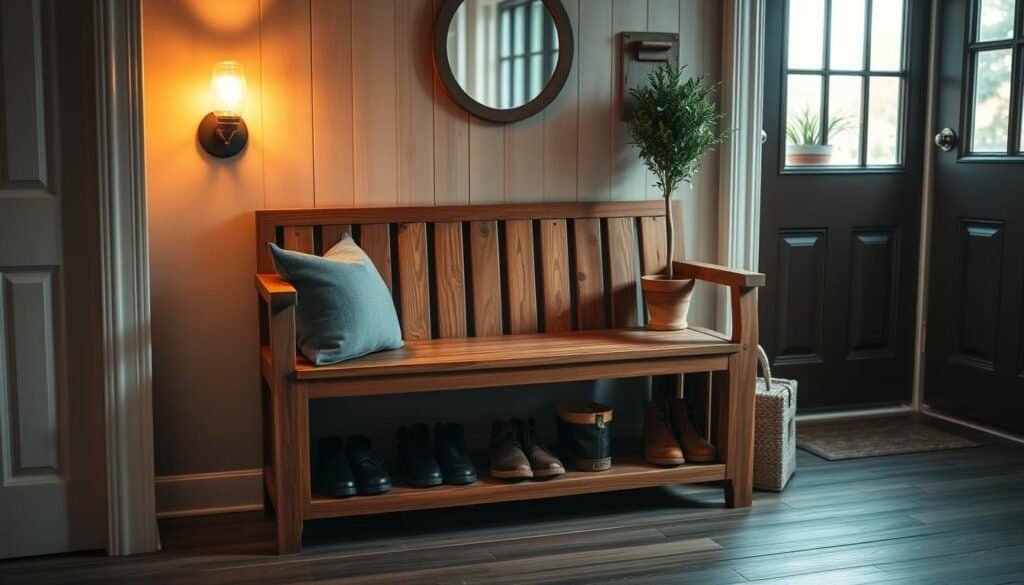
Adding pull-out shoe drawers is a great way to increase storage. Build drawer boxes that fit inside the cabinet. Use soft-close slides for easy drawer opening.
Organize the drawers by type of shoe. This keeps your entryway neat and makes finding shoes easier.
Constructing the Cushioned Seat
The cushioned seat is comfy and looks good. Measure the cabinet’s top to figure out the seat’s size.
Choose a dense foam cushion and cover it with durable fabric. Pick something easy to clean because entryways get a lot of use.
Upholstery Tips
When upholstering, make sure the fabric is tight to avoid wrinkles. Use a staple gun to attach the fabric to the seat. This gives a clean, professional look.
Additional Storage Features
Adding features like hooks for coats or a shelf for baskets can make your bench even more useful. These features help keep your entryway organized and clutter-free.
By following these steps, you can make a beautiful and practical bench. It will meet your needs and improve your home’s entryway.
Finishing Techniques for Your Wooden Shoe Bench
After building your wooden shoe bench, it’s time to add a finish. This step boosts its durability and beauty. The right finish can greatly change how your entryway looks and feels.
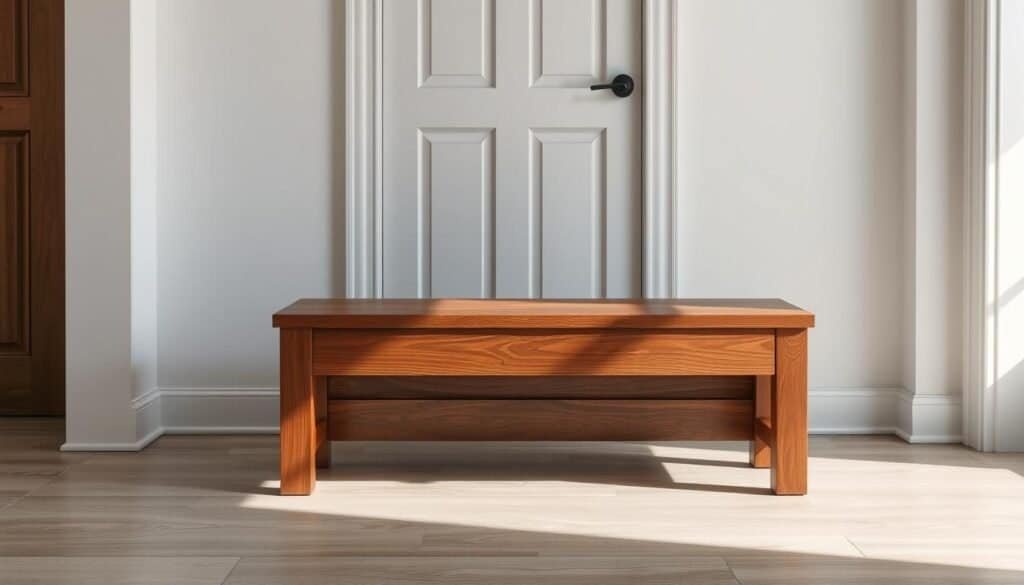
Wood stains are a common choice for shoe benches. They come in many colors and highlight the wood’s grain. Pick a stain that matches your entryway’s color scheme for a perfect match.
Eco-Friendly Alternatives
Looking for something green? Eco-friendly wood finishes are a smart pick. They’re made from natural stuff and are better for indoor air.
Solid Colors
Want a bench that looks the same everywhere? Solid color finishes are perfect. They cover up the wood grain for a clean, modern look.
Distressed and Weathered Looks
For a vintage vibe, try a distressed look. You can sand parts or use special stains to get that worn feel.
Indoor Sealants
Sealants are key to keeping your bench safe from daily wear. They stop scratches and water damage, keeping your bench looking great.
High-Traffic Area Protection
Entryways get a lot of use, so extra care is needed. Use a water-resistant sealant and add felt pads to the bottom. This protects both the bench and your floor.
Choosing the right finish makes your wooden shoe bench both beautiful and long-lasting. It becomes a stylish and useful part of your home for many years.
Creative Storage Solutions to Enhance Your Shoe Bench
To keep your entryway tidy, think about adding creative shoe storage to your bench. A shoe bench is more than a spot to sit and put on shoes. It’s a chance to add storage and keep your entryway neat.
Adding cubbies or shelves under the seat is a smart move. They’re perfect for storing shoes, baskets, or other essentials. You might also want to include hooks or a hanging rack for coats, hats, or bags.
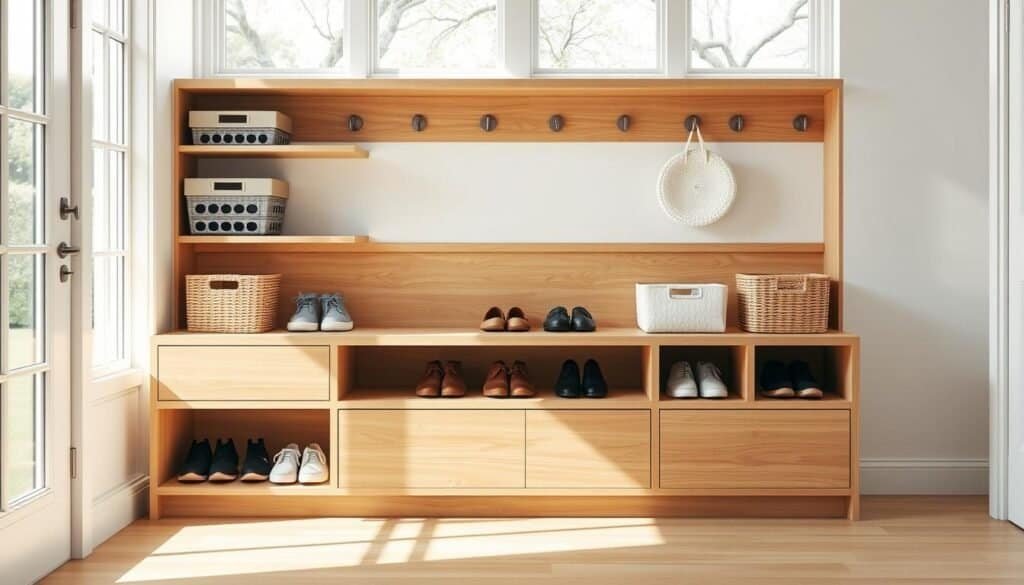
Another smart idea is to include drawers or cabinets in your bench design. This creates a hidden spot for things like shoe care products, gloves, or scarves. Baskets or bins are great for small items like keys or mail.
With these storage ideas, your entryway will stay organized and look great. Whether your entryway is big or small, a well-designed shoe bench with smart storage can make a big difference.
Styling Your Entryway Around Your New Shoe Bench
Adding a new shoe bench to your entryway can really boost your home’s look. A well-designed entryway makes a great first impression. It also sets the tone for the rest of your home.
Think about the style and material of your shoe bench. A modern bench goes well with sleek, minimalist decor. A rustic wooden bench pairs nicely with earthy tones and natural textures.
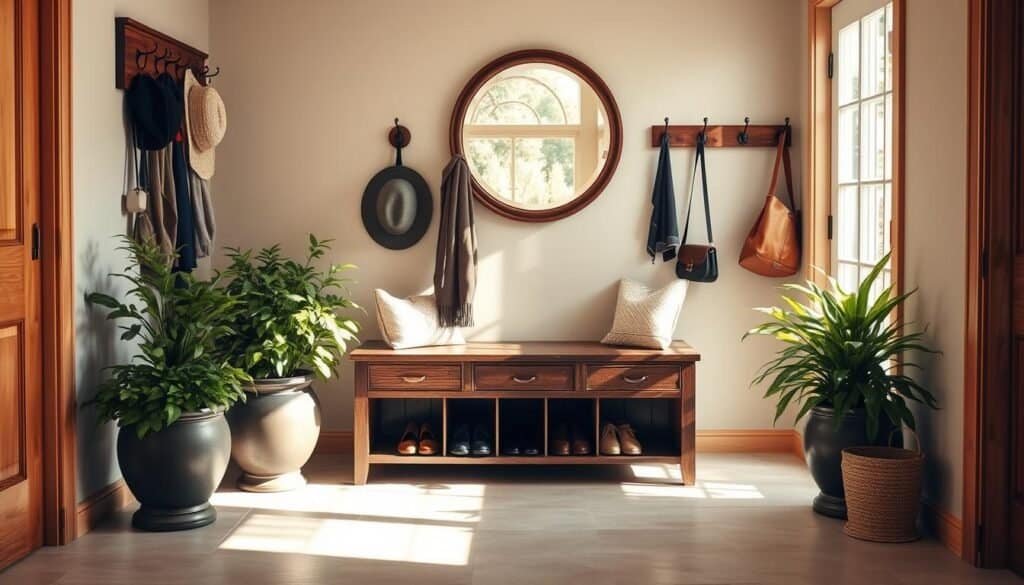
For entryway furniture ideas, add a few key pieces. A console table behind your bench offers more storage and a place for decorations.
Lighting is key. A stylish pendant light or a simple table lamp adds warmth and light. Adding greenery or a vase with fresh flowers brings color and life.
Lastly, think about the overall feel you want in your entryway. Balancing your bench with other furniture and decor creates a welcoming space. It shows off your personal style.
Troubleshooting Common DIY Shoe Bench Challenges
When you start making your DIY shoe bench, you might face some common problems. One big issue is when your bench is not even or stable. Make sure your base is level and your parts are lined up right.
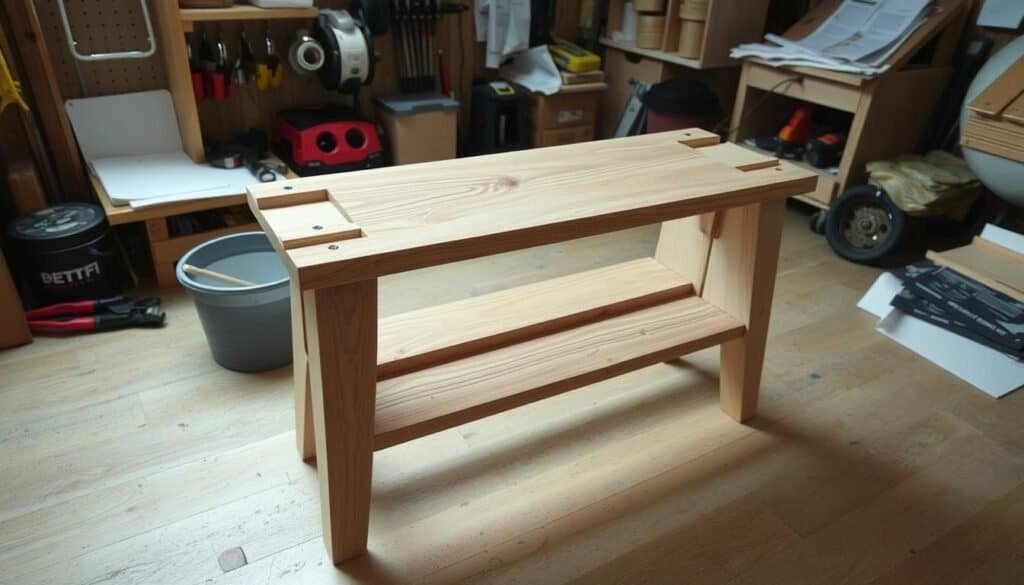
Another problem is finding space for your bench, or dealing with tricky entryways. Think about using a corner bench or one that mounts on the wall to save space. Wood can warp or crack, but you can prevent this by drying and storing your wood well before you start.
For more tips, check out online tutorials or DIY forums. They can help you solve specific problems. Knowing these issues and how to fix them will help you make a great DIY shoe bench.
Fixing your DIY shoe bench takes time and careful attention. With the right tips and a bit of know-how, you can beat common problems. This way, you’ll have a useful and stylish bench for your entryway.
Maintenance Tips for Long-Lasting Wooden Shoe Benches
To keep your wooden shoe bench looking good, regular care is key. It’s about simple steps to keep the wood in top shape and looking great.
Begin by dusting your bench with a soft cloth to get rid of dirt and dust. For a deeper clean, use a mild wood cleaner. Apply it with a damp cloth and dry it right away to avoid water harm.
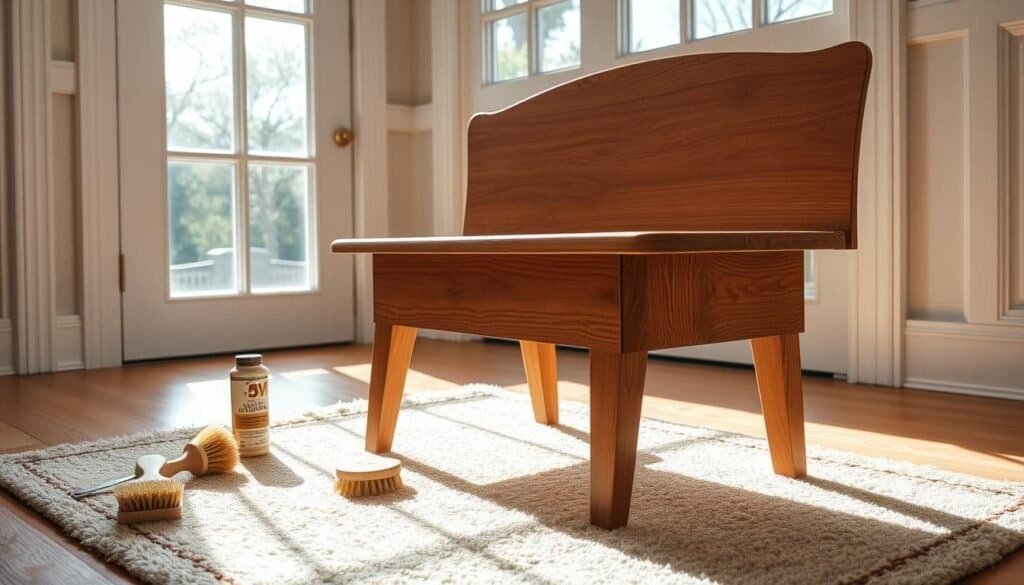
Polishing your bench is also important. Choose a high-quality polish that matches your bench’s finish. Follow the instructions to apply it. This keeps the wood safe and shiny.
To avoid damage, don’t put your bench in direct sunlight or near heaters. This can dry out or fade the wood. Also, use coasters or felt pads on the legs to stop scratches on the floor.
By sticking to these easy care tips, your wooden shoe bench will last for many years. It will stay a beautiful and useful part of your entryway.
Conclusion
Now, you can make your entryway both functional and stylish with DIY wooden shoe bench projects. These projects help you organize your entryway in a way that looks good too.
Building a shoe bench is more than just a place for shoes. It adds warmth and character to your home. You can choose from simple designs or something more rustic, like a farmhouse style with cubbies.
With the right guide and tips, you can make a shoe bench that fits your home’s style. Start your DIY project today. Enjoy a clutter-free and welcoming entryway with great shoe storage.
FAQ
Q: What is the best type of wood to use for a DIY wooden shoe bench?
A: The best wood for a DIY shoe bench depends on your style and budget. Oak, pine, and maple are good choices. They are durable and look great.
Q: How do I measure my entryway for a shoe bench?
A: Measure your entryway’s width, depth, and any obstacles like vents or outlets. Think about the space for seating and storing shoes.
Q: Can I customize my shoe bench to fit my specific needs?
A: Yes, you can customize your DIY shoe bench. Adjust the size, design, and features to match your entryway and taste.
Q: What are some creative storage solutions I can add to my shoe bench?
A: Add cubbies, drawers, shelves, and hooks for storage. You can also include a hinged top or lift-top storage.
Q: How do I protect my wooden shoe bench from wear and tear?
A: Protect your bench with stain or polyurethane and a waterproof coat. Regular cleaning and care will also help it last longer.
Q: Can I build a shoe bench for a very small or narrow entryway?
A: Yes, build a bench that saves space. Choose designs like floating or corner benches for tight areas.
Q: What are some popular designs for DIY wooden shoe benches?
A: Popular designs include rustic farmhouse, modern minimalist, and traditional styles. You can also add unique touches like distressed finishes or decorative hardware.
Q: How do I ensure my shoe bench is sturdy and safe to use?
A: Make sure your bench is sturdy and safe by using quality materials and following proper building techniques. Test it before finishing.

