Transforming DIY projects into professional-looking masterpieces is within reach, thanks to the power of wood stain. Whether you’re building a wooden deck or crafting a piece of furniture, the right wood stain can elevate your creation from ordinary to extraordinary.
With the right techniques and a bit of knowledge, anyone can achieve a professional finish. The key lies in understanding the various wood finish colors and how to apply them effectively. By mastering professional wood staining techniques, you can add depth and character to your DIY endeavors, making them stand out.
Discovering the wood stain secret can revolutionize your approach to DIY projects. It allows you to create pieces that are not only functional but also visually stunning.
Understanding the Impact of Professional Wood Staining
Wood staining is more than just adding color. It’s an art that needs precision and the right techniques. This is how you get a flawless finish.

DIY fans can make their projects look professional with the right staining techniques. It not only makes the wood look good but also protects it. Knowing how to prepare the wood and pick the right stain is key.
To get professional results, you need to know your wood and choose the right stain. With the right techniques, your final product will look amazing.
The Wood Stain Secret That Instantly Makes Projects Look Professional
Take your DIY projects to the next level with professional wood staining secrets. The secret is not just applying any stain. It’s about choosing the right one for your project.
Start by knowing the type of wood you’re working with. Different woods take stain differently. Always test the stain on a small, hidden area first. This step can prevent surprises.

Preparation is key to a professional finish. Make sure the surface is smooth and clean. Professionals often use a wood conditioner for an even base, on softwoods or porous woods.
Choose high-quality stains that fit your project’s needs. Whether you want a dark or light finish, the right stain makes a big difference. With the right product and techniques, your DIY projects will look professional.
Top tips for professionals include working in a well-ventilated area. Always apply stain with the wood grain direction. Wipe off excess to avoid pooling. Follow these tips and secrets for stunning results.
Essential Tools for Professional-Quality Wood Staining
Getting professional-quality wood staining is easier with the right tools. You’ll need a set of essential tools for a flawless finish. These tools make the staining process smoother and more efficient.
First, you’ll need high-quality brushes for wood staining. These brushes are made of synthetic or natural fibers. They work well with wood stain’s viscosity. Look for brushes with flexible tips for smooth, even application.
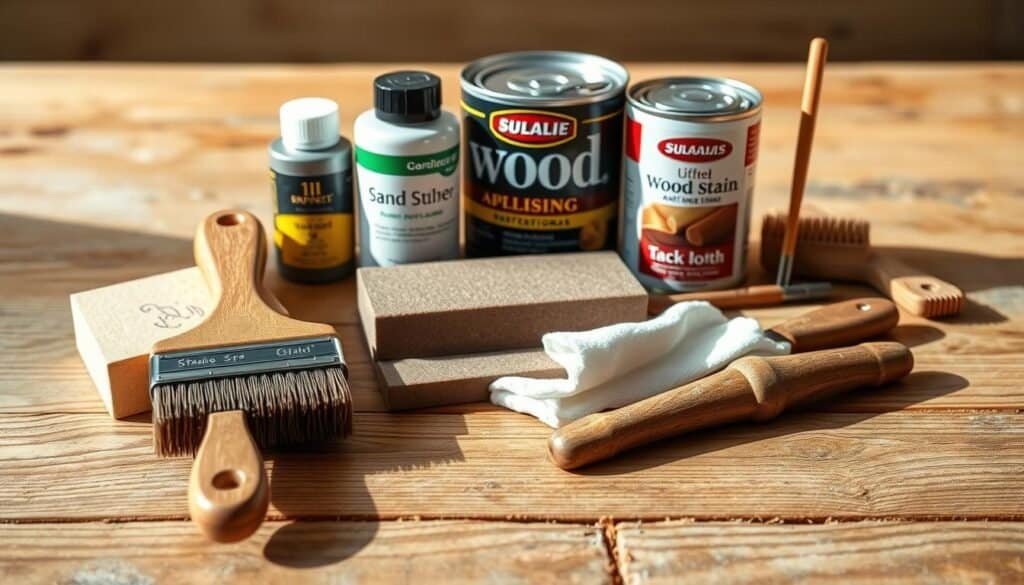
Rags are also key for wood staining. They help wipe away excess stain and create a smooth finish. Use lint-free rags to avoid leaving fibers or debris behind.
Protective gear is essential when staining wood. Gloves protect your skin, and safety glasses shield your eyes from splatters. A mask or respirator is also important, for strong-smelling stains or enclosed spaces.
With these essential tools, you’re on your way to professional-quality results. The right tools make the job easier and improve the finish.
Selecting the Right Wood Stain for Your Project
Choosing the right wood stain is key to getting professional results. The type of wood you’re using is very important. It helps decide which stain is best.
Different woods take stain in different ways. Alder and oak, for example, react differently. Knowing this helps you get the color and finish you want. For alder, picking the right stain can really bring out its beauty.
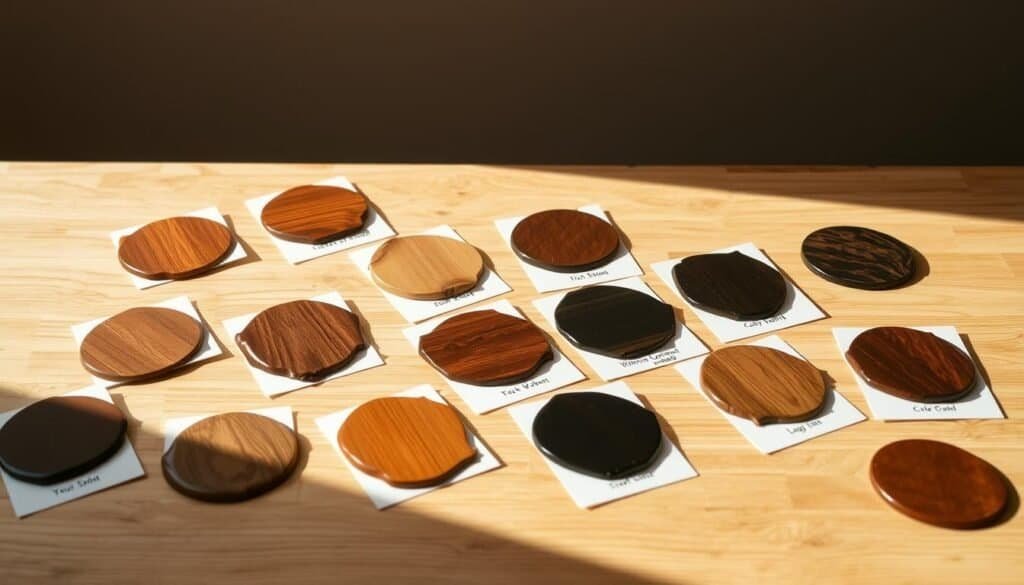
There are many wood stain colors to choose from. You can go for natural colors that match the wood or bold ones that add character. Oak stain, for instance, comes in many shades, from light to dark.
Think about your project’s purpose and the finish you want. Some stains are made for inside use, others for outside. Picking the right one is important for how long it lasts and looks.
By carefully choosing your wood stain, your project will look great and last a long time. Whether it’s alder, oak, or another wood, the right stain makes a big difference.
Wood Preparation Techniques That Professionals Swear By
The secret to a stunning wood finish isn’t just about the stain; it’s about how you prepare the wood. Professionals know that proper wood preparation is key to a flawless finish.
Preparing wood for staining involves several critical steps. First, sanding is essential to smooth out the wood surface. It removes any imperfections or rough spots. This process not only enhances the appearance but also ensures an even stain application.
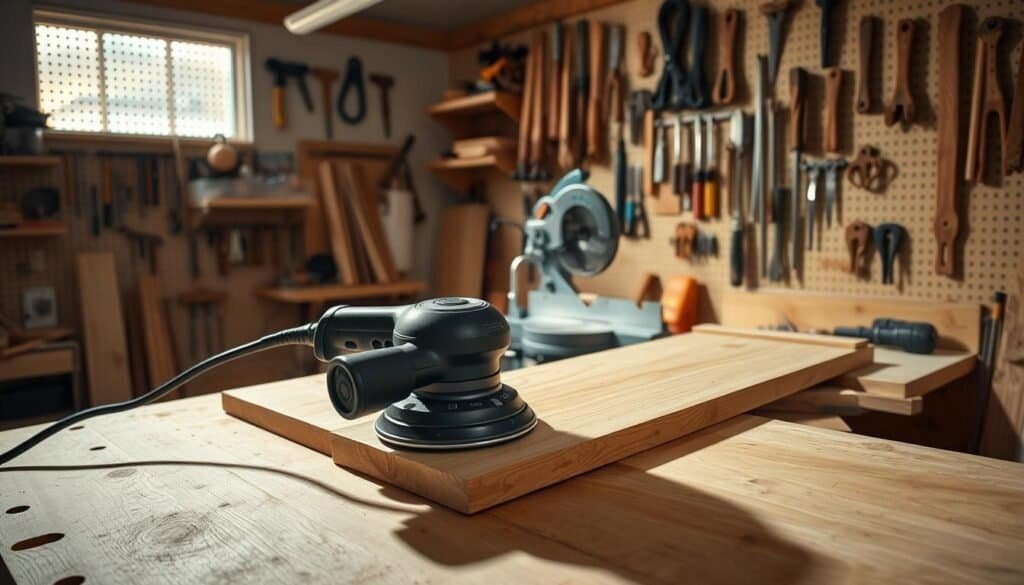
After sanding, filling any holes or gaps with a suitable wood filler is necessary. This step is critical for achieving a seamless finish. Once the filler is dry, sanding again will help to blend the filled areas with the rest of the wood surface.
Cleaning the Wood Surface
Cleaning the wood surface is another vital step in wood preparation techniques. Dust, dirt, or any other debris can interfere with the staining process. Professionals use a tack cloth or a damp cloth to wipe down the surface, ensuring it’s clean and ready for staining.
In addition to these steps, professionals also consider the type of wood they’re working with. Different types of wood may require special preparation techniques. For instance, certain woods may need a conditioner to prevent blotching or uneven color absorption.
By mastering these wood preparation techniques, DIY enthusiasts can significantly improve the quality of their projects. Whether you’re staining a piece of furniture or working on a larger wood project, the key to a professional-looking finish lies in the preparation.
Investing time in properly preparing your wood surface will pay off in the long run. It results in a beautiful, professional-grade finish that enhances the natural beauty of the wood.
The Science of Wood Grain and How It Affects Staining
To master wood staining, you need to understand wood grain first. The natural grain of wood affects how stain looks on it. It’s not just about looks; it’s about how stain absorbs.
Wood grain is the pattern of fibers in wood. Different woods have different grain patterns. This means some areas absorb more stain than others.
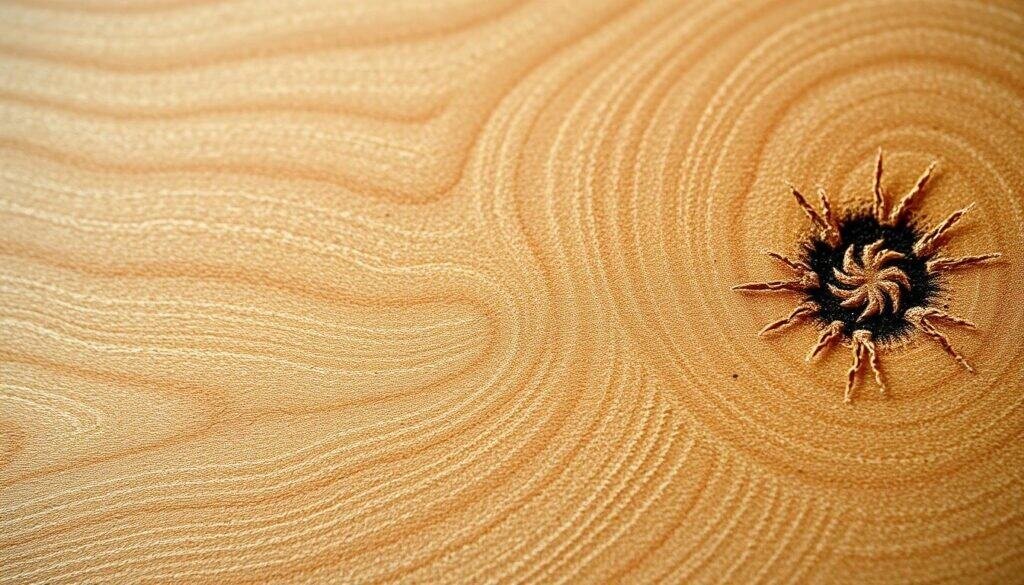
Knowing the wood grain’s direction and pattern is key for even staining. Working with the grain helps achieve a uniform color. Techniques like sanding and choosing the right stain can also help.
Understanding wood grain and stain interaction is essential for great wood staining. Knowing the science behind wood grain helps you control the staining outcome.
Application Methods That Guarantee Even Coverage
To get that perfect, even coat, understanding the various application methods is key. Even coverage is a hallmark of professional wood staining. There are several techniques to achieve it.
Brushing is a common method. Using a high-quality brush that fits the stain type is important. Natural bristle brushes work well with oil-based stains, while synthetic brushes are better for water-based stains. Apply the stain in smooth, even strokes, following the wood grain.
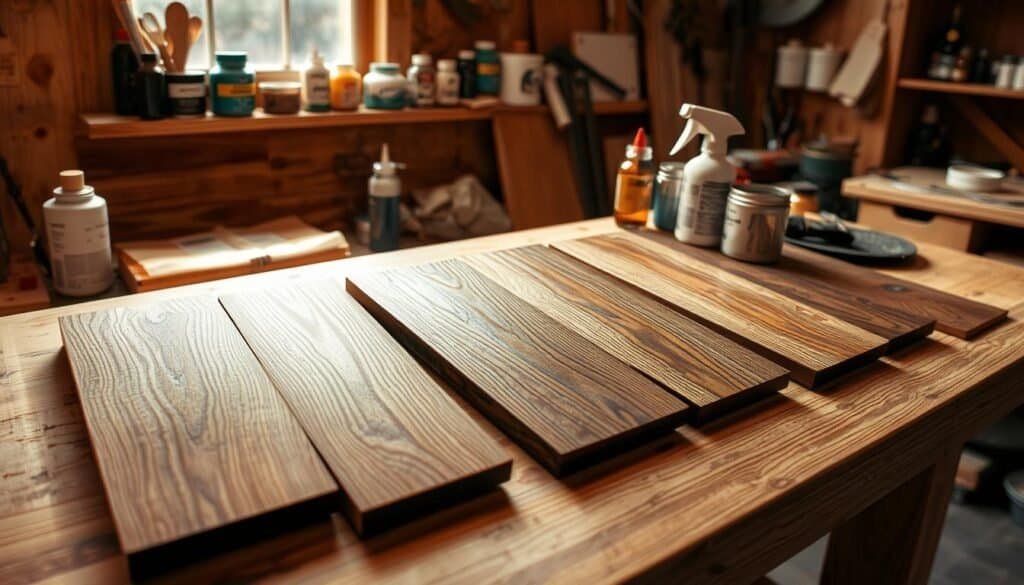
Wiping is another effective technique, great for a subtle, even tone. This method involves applying the stain with a cloth, then wiping away excess to prevent pooling. It’s a more controlled approach for a uniform finish.
Spraying is a method for a very even coat, good for larger or more complex projects. It needs specialized equipment, like a spray gun, and a well-ventilated workspace. The key is to keep a consistent distance and use smooth, overlapping strokes.
Preparation is key, no matter the method. Make sure the wood is clean, dry, and free of dust or debris. This helps the stain adhere evenly. By combining the right technique with proper preparation, achieving that perfect, even coverage is within reach.
Color Manipulation Secrets for Custom Wood Finishes
Want to make your woodwork stand out? Learning to change stain colors is essential. Custom wood finishes let you express your style or match your home’s decor.
Mixing different wood stains is a simple way to get a unique look. You can make many colors and shades not found in standard stains. Start with a base color and add small amounts of another stain until you get the right color.
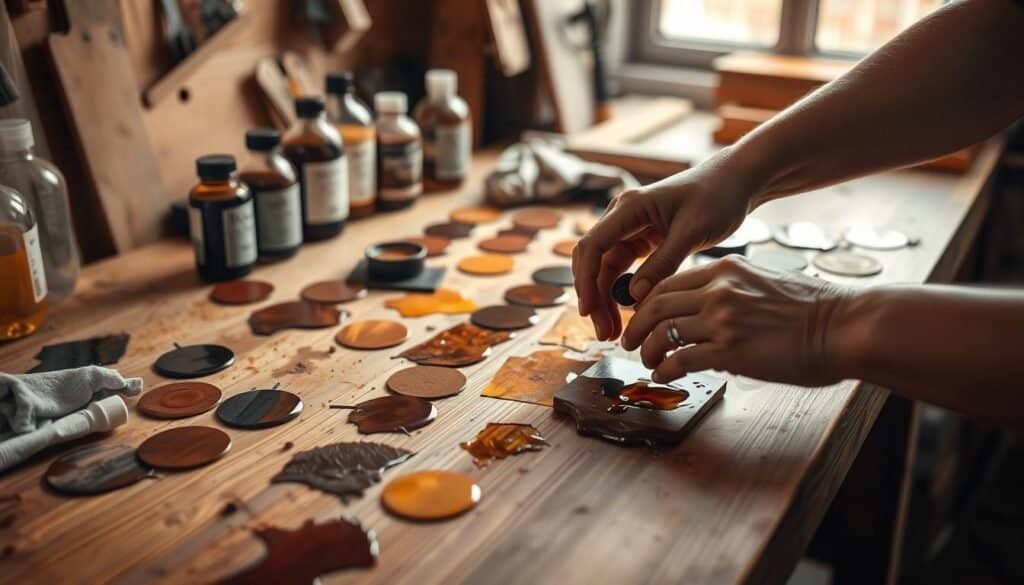
Understanding how stains work with wood grain is also key. Woods like oak have a strong grain that changes how stains look. Try different stains on a sample piece to see the final effect.
Think about the look you want for your wood finishes. Do you want something bold or something more subtle? The right stain colors and techniques can make your woodwork match your vision.
Mastering color manipulation and mixing stains lets you create unique wood finishes. These finishes can make your DIY projects special and add a personal touch to your home.
Timing Techniques: When to Apply and When to Remove
Getting the timing right for wood staining is key to a top-notch finish. It’s all about knowing when to put on the stain and when to take it off. This avoids a messy look.
When you’re applying stain, always follow the maker’s guide on how long to apply it. You should put on a thin, even layer and let it soak into the wood for a bit.

Removing extra stain is just as important. Usually, you’ll need to use a clean cloth to wipe off any extra after the suggested time. This stops the stain from gathering on the surface.
For the right color, you might need to do more than one coat. Make sure each coat dries fully before adding the next. Being patient and knowing the drying time is essential for a great stain job.
By learning the right timing for staining, you can make sure your wood project turns out beautifully. It will look like it was done by a pro.
Sealing and Finishing: The Critical Final Steps
Sealing and finishing are key steps to protect your stained wood and make it look great. After staining your wood, using the right sealant and finish is vital. It ensures your project lasts long and looks professional.
There are many sealants and finishes to choose from, each with its own benefits. Polyurethane is great for its durability and water resistance. Varnish offers a hard, protective layer. The color of varnish can change how your wood looks, from clear to tinted shades.
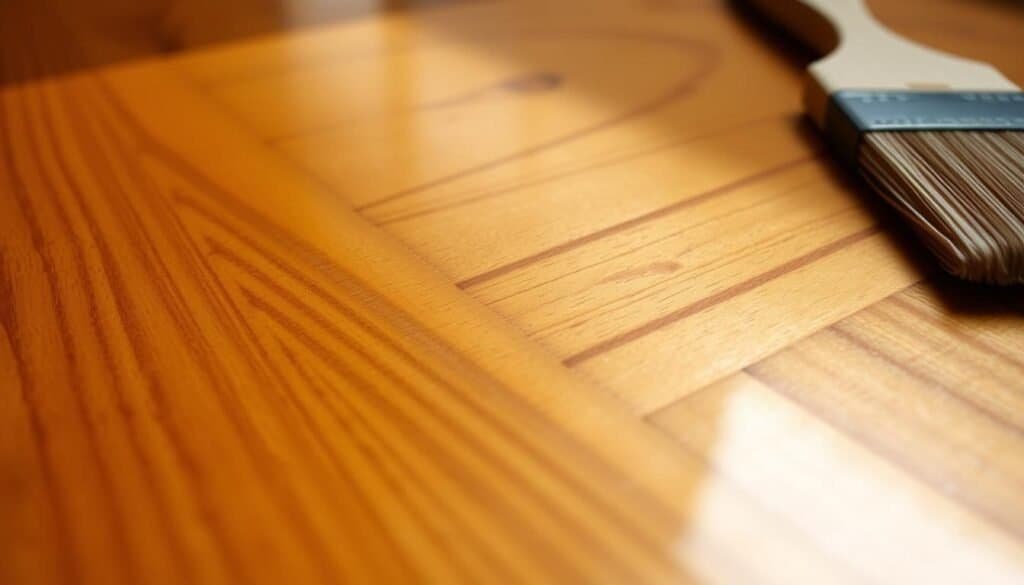
How you apply the finish is as important as what you use. Apply thin, even coats to avoid drips and unevenness. Always follow the instructions for drying times between coats for a smooth finish.
Wood finishing techniques vary based on what you want your project to look like. Some might need a matte finish, while others a glossy sheen. Knowing how to spray, brush, or wipe on the finish can help you get the look you want.
In conclusion, sealing and finishing are not just the last steps. They are essential for the success of your wood staining project. By picking the right sealant and finish and applying them correctly, you protect your project and make it beautiful. This way, it will be a cherished piece for many years.
Troubleshooting Common Wood Staining Problems
Getting a professional finish with wood stain needs the right techniques and knowing how to fix common problems. Issues like uneven color, blotching, and stain not drying can happen even with careful planning.
Uneven color is a common problem. It can be caused by the wood’s porosity or how you apply the stain. To fix this, make sure the wood is ready before staining. Sand it smooth and use a wood conditioner if needed. Also, choose a stain with a built-in conditioner for even color.
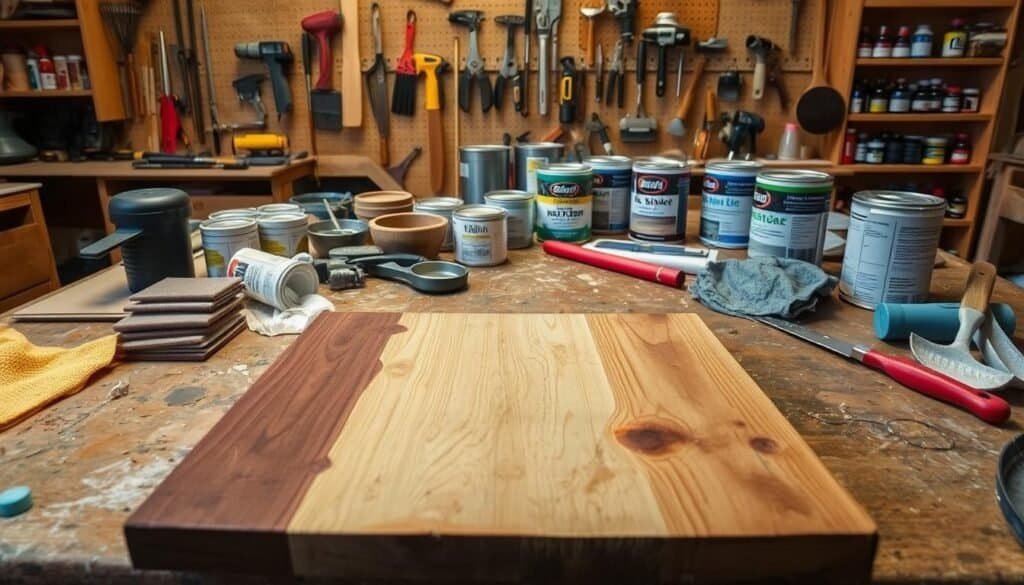
Blotching is another issue, often seen on softwoods like pine. To reduce blotching, use a stain made for softwoods. Also, apply a pre-stain wood conditioner to help the stain stick evenly.
If the stain won’t dry, it might be because of high humidity or too thick a coat. Make sure there’s good air flow and use a fan to dry it faster. If it’s not drying, lightly sand it and apply a thinner coat.
Understanding and solving common staining problems can help you get a professional finish. Whether it’s uneven color, blotching, or drying issues, having the right solutions can help you succeed. This way, you can achieve high-quality results on your wood staining projects.
Enhancing Wood Grain with Special Techniques
The natural beauty of wood is in its grain. There are many ways to make this feature stand out. It’s not just about stain; it’s an art that requires understanding the wood and using special techniques.
One way to highlight the grain is through “wiping stain.” You apply the stain and then wipe off the extra. This method makes the grain pattern more visible. Another technique is “filling the grain,” where you use a filler before staining. This gives a smoother finish and makes the grain more pronounced.
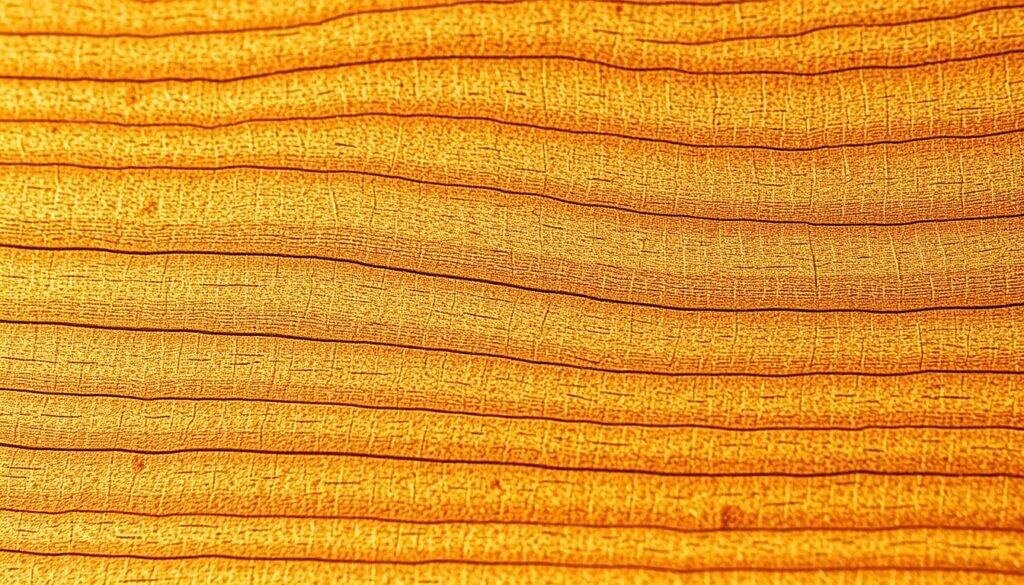
Special staining techniques, like “dry brushing,” can also create unique finishes. Dry brushing involves dragging a almost-dry brush across the stained wood. This picks up some stain, creating a subtle, textured effect that enhances the grain.
For a more dramatic look, woodworkers can try “layering stains.” This means applying multiple layers of stain, letting each dry before adding the next. This method achieves a deep, rich color that highlights the wood grain.
By mastering these techniques, woodworkers can greatly improve the wood grain in their projects. They can create beautiful, unique pieces that show off the natural beauty of the wood.
Distressing and Aging Techniques for Character
To give your wood projects a unique, vintage look, consider distressing and aging techniques. These methods add character to your work, making it stand out. Distressing makes the wood look worn, as if it’s been used for years.
One way to distress wood is by using sandpaper. Gently sanding the surface can give it a smooth, worn look. For a more rugged look, try using a wire brush or a hammer to create dents and scratches.
Applying a wood stain or paint and then wiping it off or sanding it down can also create a layered, aged effect. This adds depth to your project.
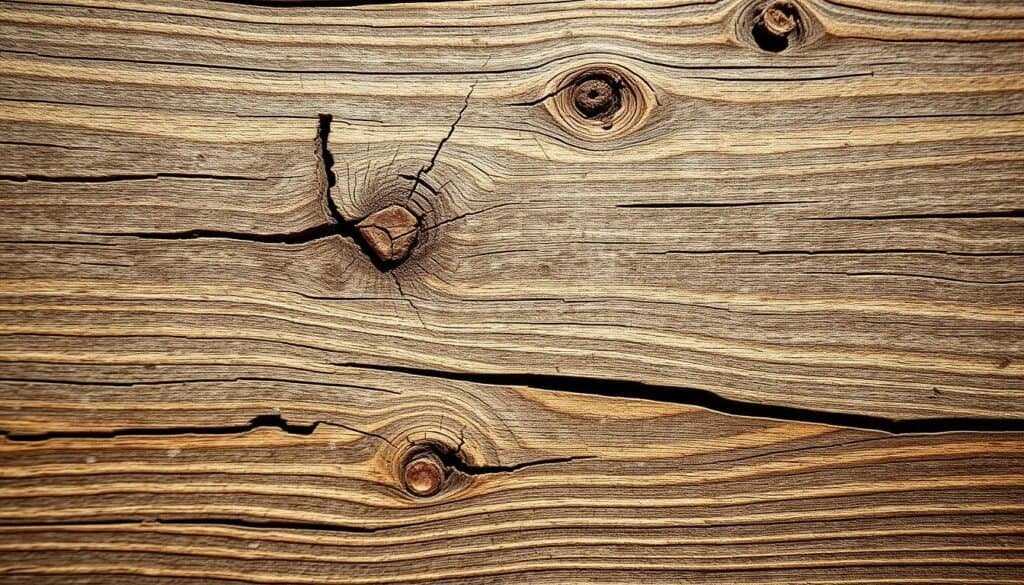
Aging techniques can enhance the distressed look. Wood aging solutions or a patina can make your project look weathered. Layering different stains and finishes can also create a unique, aged wood effect.
By mastering these techniques, you can add character to your wood projects. They’ll look professional and vintage. Experimenting with different methods and tools will help you achieve the look you want.
Whether you’re making furniture, decorative items, or other woodwork, these techniques can make your projects stand out. They add a distinct, aged charm to your work.
Regional Wood Staining Styles and Trends
Wood staining styles vary across different regions, each with its own unique character. These styles are shaped by local culture, architecture, and design preferences.
In the United States, farmhouse stain colors are popular. They are known for rustic and earthy tones. These styles often include weathered wood finishes, adding a nostalgic touch to home decor.
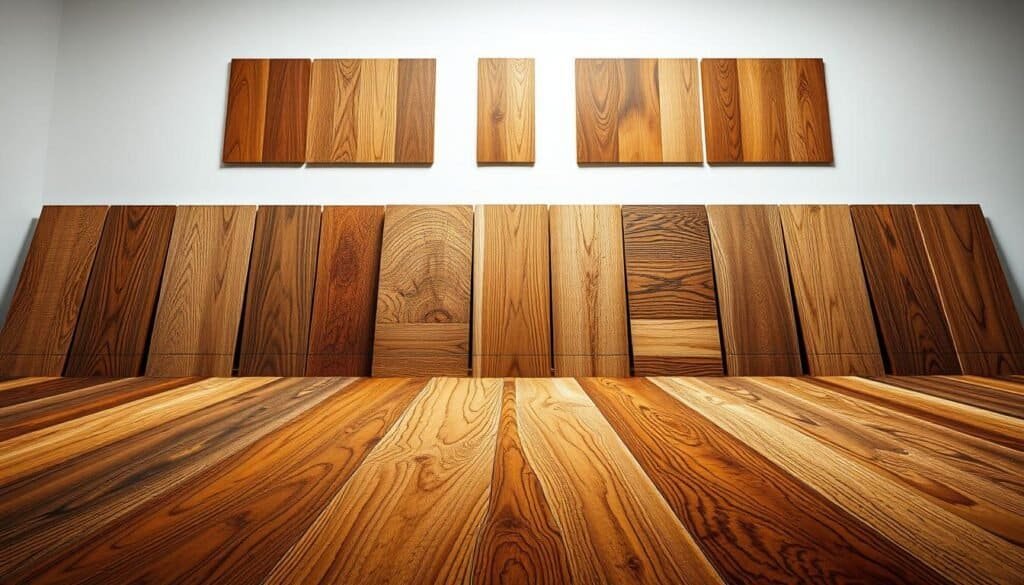
Different regions have their own wood staining trends. Coastal areas often use lighter, airy stain colors to match the sea. In contrast, rustic mountain areas prefer darker, richer stains that reflect the natural landscape.
The variety of different wood stains available offers endless creative possibilities. Whether you want a modern, sleek finish or a traditional, distressed look, there’s a stain for you.
By using these regional wood staining styles in your DIY projects, you can create a look that’s both authentic and beautiful.
Maintaining and Refreshing Stained Wood Projects
To keep your stained wood projects looking their best, regular maintenance is key. This means simple cleaning and checks to stop damage and wear.
For daily cleaning, use a soft, dry cloth to dust the surface. For deeper cleaning, a damp cloth with mild soap works well. But, make sure to dry it well to avoid water damage.
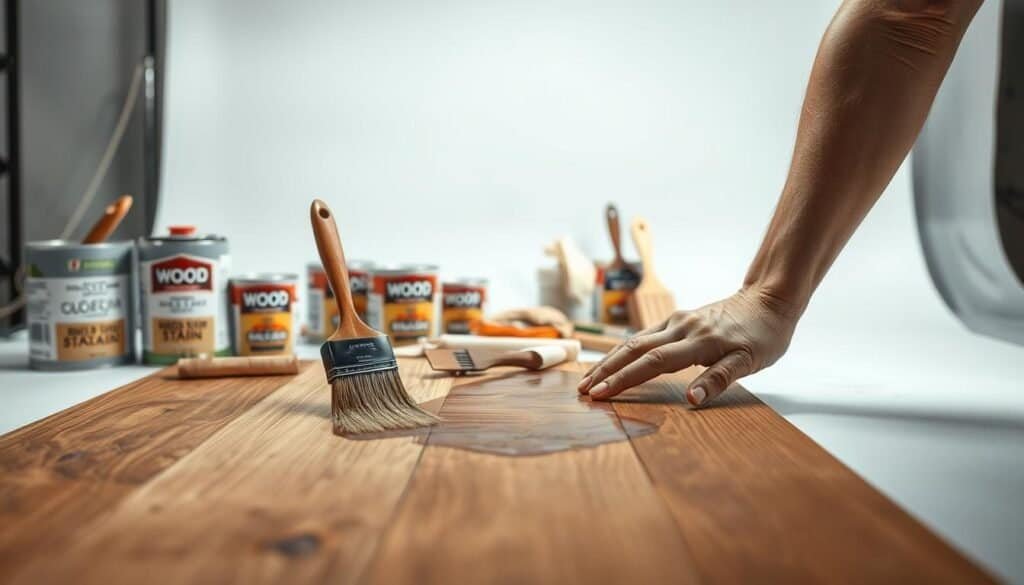
Stained wood may need touch-ups or refreshing over time. If the finish is worn or damaged, lightly sand it first. Then, apply a new coat of stain or finish. This keeps the wood looking good and protects it.
When refreshing stained wood, match the original stain and finish as closely as you can. If you can’t find the exact products, ask a pro at a local hardware store for help. They can guide you to the right alternatives.
Regular care and timely refreshing are essential for your stained wood projects to last longer. By following these easy steps, you can enjoy your stained wood creations for many years.
Conclusion: Mastering the Art of Professional Wood Staining
Mastering wood staining takes practice, patience, and dedication. By learning the techniques and principles in this article, you can make your DIY projects look professional. It’s all about the right wood preparation and application methods.
To get better at wood staining, keep trying new things. Experiment with different stains, techniques, and finishes. Over time, you’ll improve and create stunning projects that show off your skills.
Getting professional results in wood staining means paying attention to details and learning from mistakes. Follow the tips in this article to improve your skills. Soon, you’ll be creating beautiful projects that will impress everyone for years.
