If you love mixing natural wood textures with greenery, this wooden panel wall idea will transform your space. It’s an easy DIY project that adds depth, warmth, and a touch of architectural charm to any room.

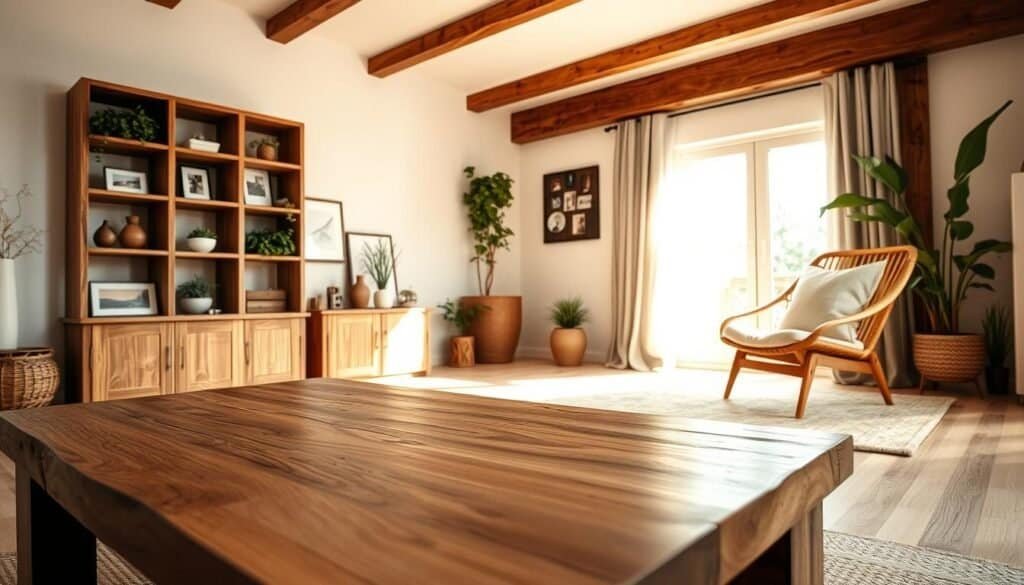
1. Choose the Right Wall and Style

Pick a feature wall that gets good light. Vertical wooden slats or staggered panels create rhythm and height, while horizontal layouts feel wider and calmer.
2. Gather Your Materials

You’ll need wood panels (oak, pine, or walnut look great), brackets for shelves, screws, wall plugs, a drill, and a level. Don’t forget wood finish or stain for a polished look.
3. Mark and Mount the Panels

Start from the center and work outward. Use spacers for even gaps between slats. Secure each panel with screws or adhesive suited to your wall type.
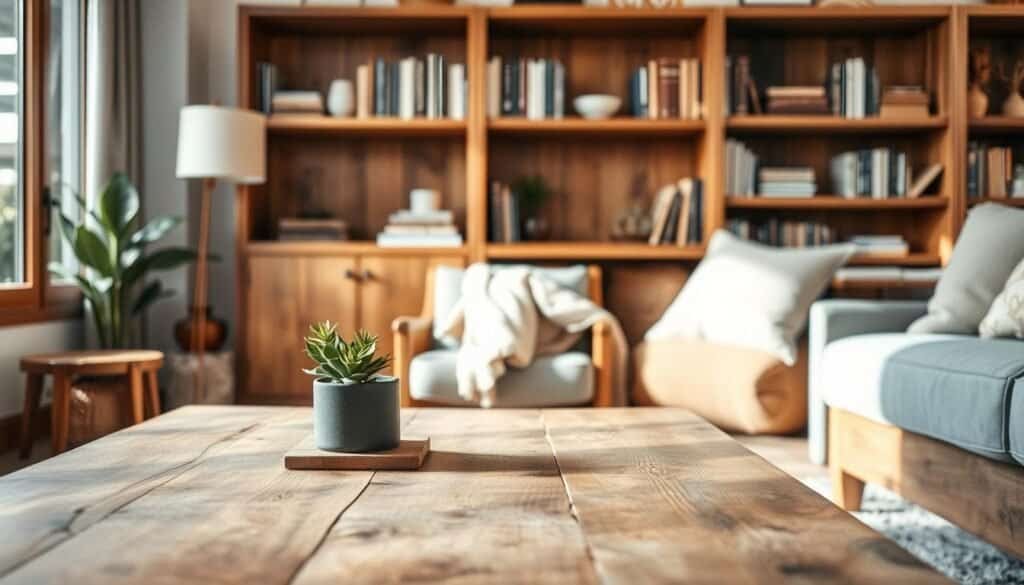
4. Add Floating Shelves

Attach floating brackets directly through the slats into wall studs. Ensure they’re level and spaced for your plants or décor pieces.
5. Decorate with Plants and Accents

Layer different plant heights — trailing vines, succulents, and leafy greens — to bring your new wall to life. Mix in ceramics or frames for contrast.
6. Lighting Makes the Difference

Install hidden LED strips or wall sconces to enhance shadows and texture. The result? A cozy, high-end look with minimal effort.
7. Before & After Reveal

The transformation is dramatic. The wood adds structure, the plants add energy, and the shelves add function.
8. Maintenance Tips

Dust weekly and avoid overwatering plants near the wood. A little care keeps the natural tone rich for years.
9. Small-Space Ideas
Even renters can try this! Use lightweight peel-and-stick slats and no-drill floating shelves for an easy removable upgrade.
✨ Final Thoughts
DIY doesn’t need to be complicated. This wooden panel wall is stylish, sustainable, and completely customizable.