Creating a handmade wooden shelf for your kitchen is a great way to add storage and style. It’s perfect for those looking for a small woodworking project that can make a big impact.
Whether you’re a seasoned DIY enthusiast or a beginner, building a DIY wooden kitchen shelf is achievable. It can enhance your kitchen’s functionality and aesthetic. It’s a chance to explore kitchen shelf ideas that reflect your personal style.
By taking on this project, you’ll not only gain a useful storage solution. You’ll also feel a sense of accomplishment. So, let’s get started on this simple yet rewarding DIY endeavor.
Why a Tiny Wooden Kitchen Shelf is the Perfect DIY Project
For beginners, a tiny wooden kitchen shelf is a great beginner woodworking project. It needs only a few materials but makes a big difference in both looks and function.

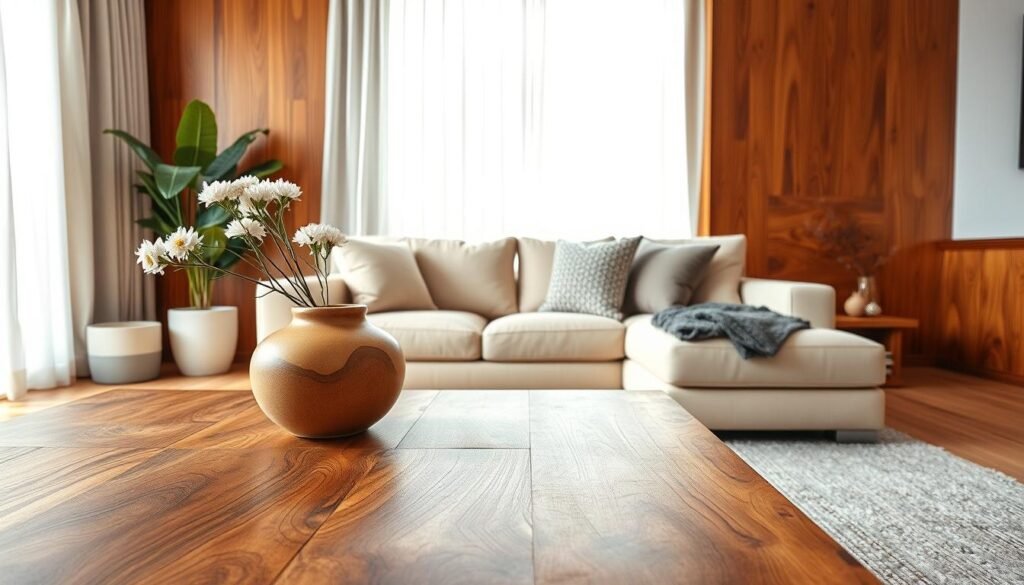
This shelf adds extra storage for spices, cookbooks, or kitchen decor. A simple kitchen shelf design can also make your kitchen look better and more welcoming.
Adding Storage and Style
A tiny wooden kitchen shelf does more than just store things. It adds warmth and character to your kitchen. You can pick a design that fits your kitchen’s style, whether it’s modern, rustic, or traditional. For ideas, check out woodworking projects that can be done in a weekend.
Also, making a DIY kitchen shelf lets you show off your creativity. You can try different wood finishes, designs, and even add wall art ideas. Whether you stain it, paint it, or keep it natural, it will show off your personal taste.
In summary, making a tiny wooden kitchen shelf is a fulfilling DIY project. It adds storage, improves your kitchen’s look, and lets you feel proud of what you made. So, grab your tools and materials, and start this fun project that will become a favorite in your kitchen.
Planning Your Shelf: Design Considerations
Creating a DIY tiny wooden kitchen shelf requires careful planning and design. First, think about your kitchen’s style and how the shelf will fit in. For example, a rustic kitchen might look great with a distressed finish.
Consider what you’ll store on your shelf. This will help you decide on the shelf’s size and number of shelves. Think about the look you want and how it will match your wall decor design.
Measuring Your Space
Before you start building, measure the space for your shelf. Get exact measurements of width, height, and depth. This ensures your shelf fits right and doesn’t take over the space. Think about your kitchen’s size and other decorations, like front porch Christmas decor, to keep things balanced.
Here are some important things to consider when measuring and planning your shelf:
- Measure the width of the wall space available.
- Consider the height from the countertop or other reference point.
- Think about the depth of the shelf and how it will affect the kitchen’s workflow.
Even if your project is about a kitchen shelf, looking at other DIY projects can inspire you. Ideas from making a diy wand or designing pole barn homes interiors can spark creativity.

By planning your shelf’s design and measuring your space well, you’ll make a useful and stylish addition to your kitchen. It will improve your kitchen’s overall look.
Essential Materials for Your DIY Kitchen Shelf
Choosing the right materials is key for a durable and stylish kitchen shelf. The wood type greatly affects the shelf’s look and feel. Solid hardwoods like oak or maple are great for a sturdy and attractive shelf.
For a rustic or decorative look, consider reclaimed wood or woods with unique grain patterns. Adding elements inspired by wood artwork or wooden wall hangings can also add interest.
Other Necessary Materials
- Wood screws and brackets for assembly
- Sanding materials for a smooth finish
- Stain or paint to match your kitchen decor
- Sealant to protect the wood from moisture
- Decorative trim or molding for added detail
Think about your kitchen’s style when picking materials. Modern kitchens might need sleek hardware, while rustic ones might prefer ornate details. You can also get ideas from wood panel art or wooden wall art ideas for a unique look.

By carefully choosing materials and focusing on details, you can make a beautiful and useful DIY kitchen shelf. It will enhance your kitchen’s style.
Tools You’ll Need for This Project
Before starting your DIY tiny wooden kitchen shelf project, gather the necessary tools. The right equipment makes the process smoother and keeps you safe.
You’ll need basic woodworking tools like a saw, drill, sandpaper, and a hammer. A tape measure and square are key for accurate measurements and cuts. They help create a rustic wall art piece that looks good and works well.

When working with power tools and wood, safety is most important. Wear safety goggles, a dust mask, and gloves to protect yourself. This gear is essential for any DIY wooden wall art project, ensuring you can work safely.
Also, think about your workspace. A well-ventilated area and a stable workbench are vital for a safe and efficient space. This is similar to what you’d find in professional salon interior design studios.
- Safety goggles
- Dust mask
- Gloves
- Power tools (saw, drill)
- Basic hand tools (hammer, sandpaper)
With the right tools and safety equipment, you’re ready to create a beautiful wood wall design. It will add a personal touch to your kitchen.
Want a Small Project You Can Feel Proud Of? Make a Tiny Wooden Kitchen Shelf
Building a tiny wooden kitchen shelf is a fun DIY project. It adds a personal touch to your home’s interior wall design. This small addition can greatly improve your kitchen’s look.

A tiny wooden kitchen shelf is more than just storage. It’s also a decorative item that can brighten up your home entrance decor. It shows off your skills and adds warmth to your home.
Showcasing Your Handiwork
After finishing your tiny wooden kitchen shelf, you’ll have a stunning piece of DIY storage furniture. You can proudly display it in your kitchen, living room, or near your home entrance.
This project lets you express your creativity and add a personal touch to your decor home living room. You can stain it to match your furniture or paint it in a bold color. Your shelf will surely spark interesting conversations.
By making something yourself, you feel a sense of pride and accomplishment. So, grab your tools and materials. Start this rewarding project that will make your home look and feel better.
Step-by-Step Construction Guide
We’ll show you how to make a tiny wooden kitchen shelf from start to finish. This modern wood design project is great for adding a touch of woodworking design to your kitchen.
First, get your materials and tools ready as we mentioned before. Then, you can start building your shelf.
Attaching the Supports
Adding supports is key to making your tiny wooden kitchen shelf. These supports will keep the shelf stable, holding your kitchen items. Here’s how to attach them:
- Measure and mark where the supports go on the wall and shelf.
- Drill holes for the screws.
- Put in the screws and tighten them well.
For a more detailed wood art wall decor look, add decorative elements. You can use cnc sculpture to make unique patterns or shapes.

As you build, you’ll see your artistic wood projects take shape. It’s not just about making something useful. It’s also about adding a personal touch to your kitchen.
- Put the shelf together as planned.
- Attach the shelf to the supports, making sure it’s level and secure.
- Adjust the shelf or supports if needed.
By following these steps and focusing on details, you’ll create a beautiful tiny wooden kitchen shelf. It will show off your modern wood design style.
Finishing Your Shelf: Sanding, Staining, and Sealing
After building your shelf, it’s time to make it look great and last long. A well-finished shelf is not just pretty. It also stands up to daily use.
Sanding is the first step. It smooths out any rough spots, getting the wood ready for stain or seal. Start with coarse-grit sandpaper and move to finer grits for a smooth finish.
Key Sanding Tips:
- Always sand along the wood grain to avoid scratches.
- Use progressively finer grits of sandpaper.
- Wipe away dust between sanding stages.
Applying the Finish
After sanding, you can add stain or sealant to highlight the wood’s beauty. Look for wood design ideas to match your kitchen.
For a stained look, apply stain with a brush or cloth, following the instructions. For a natural finish, use a clear coat of polyurethane or varnish.
Steps for Applying the Finish:
- Choose your desired stain or sealant.
- Apply the product according to the manufacturer’s instructions.
- Allow the finish to dry completely before handling the shelf.
For extra protection and shine, apply multiple coats of sealant. Sand lightly between coats. This will protect your shelf from moisture and spills, making it look like woodworking art.

By following these steps, you’ll get a professional finish. Your shelf will look amazing and last long, becoming a stunning interior wood accent wall in your kitchen.
Installing Your New Kitchen Shelf
Installing your new kitchen shelf is the final step. You’ve built your shelf and now need to pick the perfect spot. Make sure it’s securely attached to the wall.
When picking a spot, think about your wood wall design ideas. Consider how your shelf will fit with your kitchen’s layout, lighting, and decor. For more ideas, check out our article on warming up your kitchen with simple wood.

- Find the wall studs with a stud finder to attach to solid wood.
- Use screws or brackets that can hold your shelf’s weight.
- Use wall anchors for extra stability if not attaching to a stud.
A well-secured shelf is safe and looks great. It provides a solid base for your kitchen items and decor. This makes your kitchen feel more personal and welcoming.
For a successful installation, remember:
- Measure carefully to avoid uneven placement.
- Drill pilot holes to prevent wood from splitting.
- Tighten screws firmly to secure the shelf.
By following these steps, your new shelf will be a beautiful and functional addition. The wooden panel texture will add warmth and character. Your kitchen will become a cozy place for cooking and gathering.
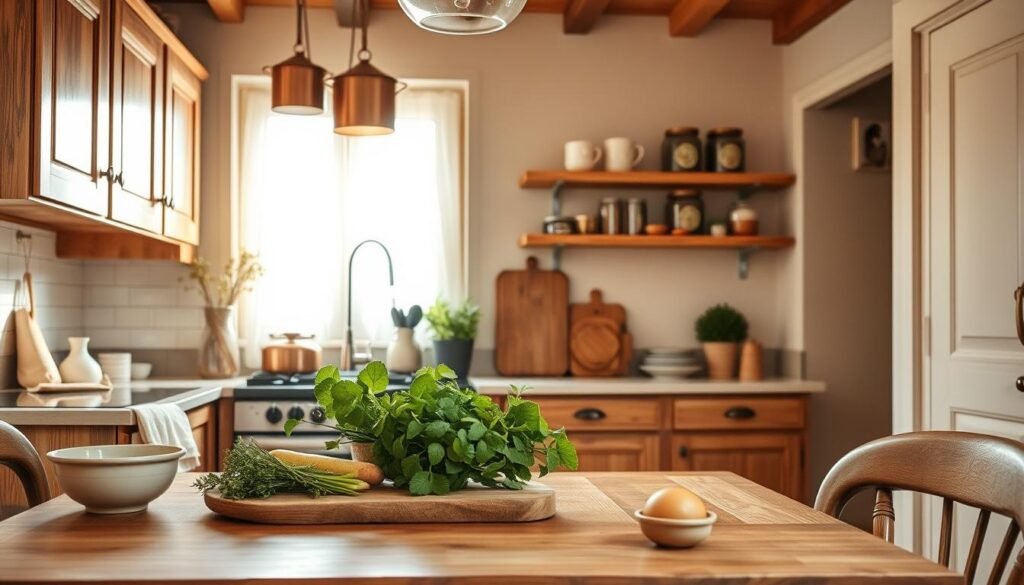
Styling and Decorating Your Tiny Kitchen Shelf
Having a DIY kitchen shelf is fun because you can style it to fit your kitchen. Your tiny wooden shelf is great for showing off your favorite kitchen items and decorations.
To make your shelf stand out, add decorations that match your kitchen’s style. You can display wooden wall art panels or unique wood carvings to add a personal touch.
Adding Decorative Touches
When decorating your shelf, think about balance and harmony. Mix kitchen essentials with decorative items like wooden artwork or small plants for a beautiful display.
- Display your favorite cookbooks or kitchen gadgets.
- Add some greenery with small potted plants.
- Showcase your personal style with decorative items like wooden accent wall pieces or ceramic vases.

By styling your tiny kitchen shelf well, you can make it a beautiful kitchen focal point. Think about adding elements that show your personal style, like a wooden wall design or a unique piece.
Remember, the key is to have fun and be creative. Try different arrangements and items until you find a look that’s just right for you.
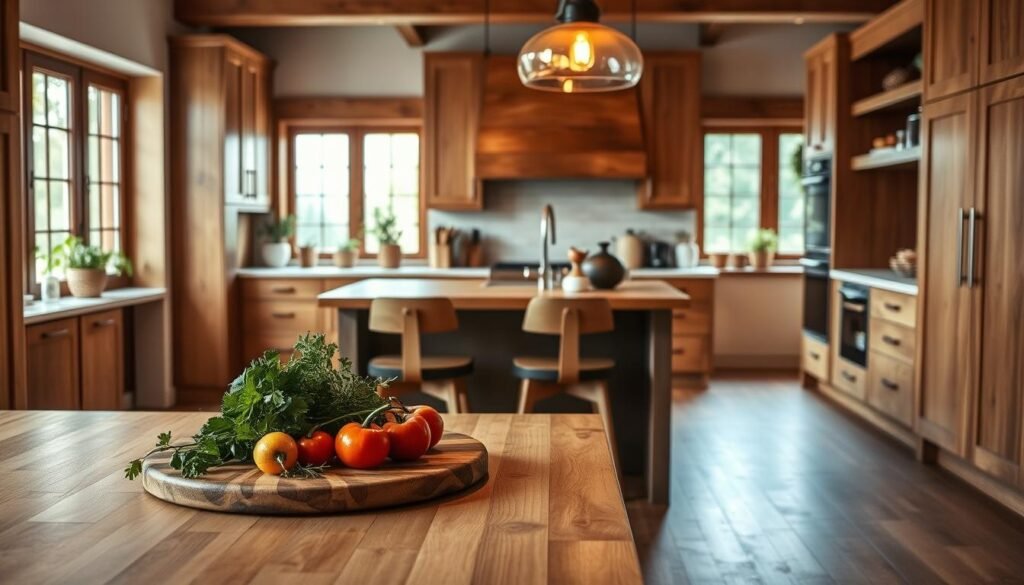
Conclusion: Enjoying Your Handcrafted Kitchen Addition
Your tiny wooden kitchen shelf is now ready, adding warmth and function to your kitchen. The teak wood texture brings natural beauty, matching your kitchen decor. You can display your favorite kitchenware or decorative items, blending modern style with practicality.
The wooden carving design wall art on your shelf adds a personal touch. It makes your shelf unique. As you enjoy your new shelf, think about adding more carved wood wall panels or decor to your kitchen.
Creating something with your own hands is rewarding. Your handmade shelf is more than storage; it shows your craftsmanship. It’s like a piece of wooden carving design wall art.