Woodturning is an ancient art that has been perfected over centuries. It lets craftsmen turn raw wood into stunning pieces. A lathe helps woodworkers achieve symmetry and precision that’s hard to get by hand.
The art of woodturning offers many creative possibilities. You can make functional items like table legs and bowls. Or, you can create decorative pieces that highlight the beauty of the wood grain.
Exploring woodturning ideas can inspire you to try new projects. This will improve your skills with each new piece you make.
Mastering the lathe unlocks the full power of woodturning. It lets you bring your creative ideas to life. Whether you’re new to woodturning or have lots of experience, there’s always room to grow and create.
The Art and Craft of Woodturning
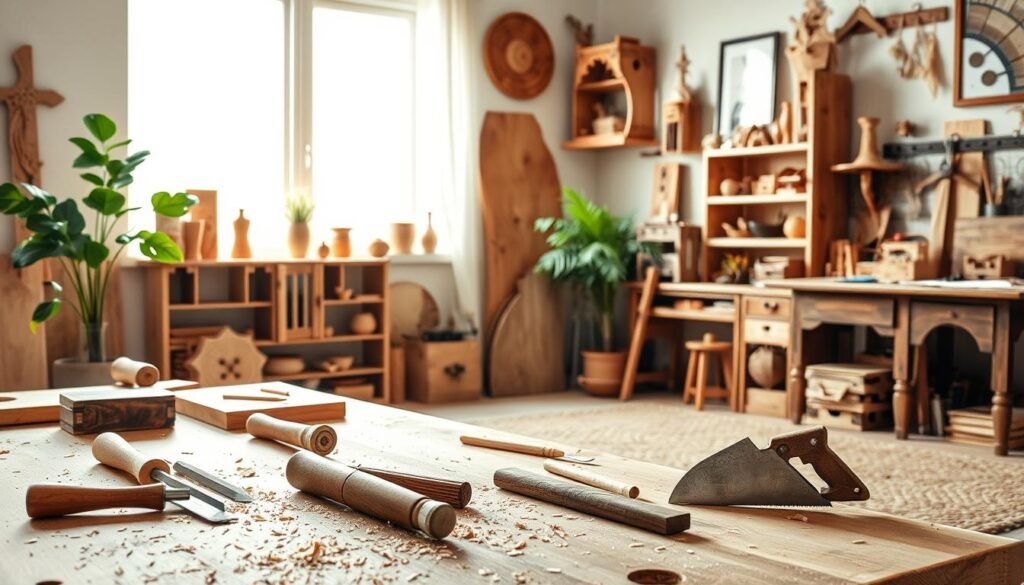
Woodturning has deep roots in ancient times. It has grown into a complex craft that blends art and skill. Craftsmen use a lathe to shape wood into beautiful, symmetrical objects. These can be useful items like bowls or stunning decorative pieces.
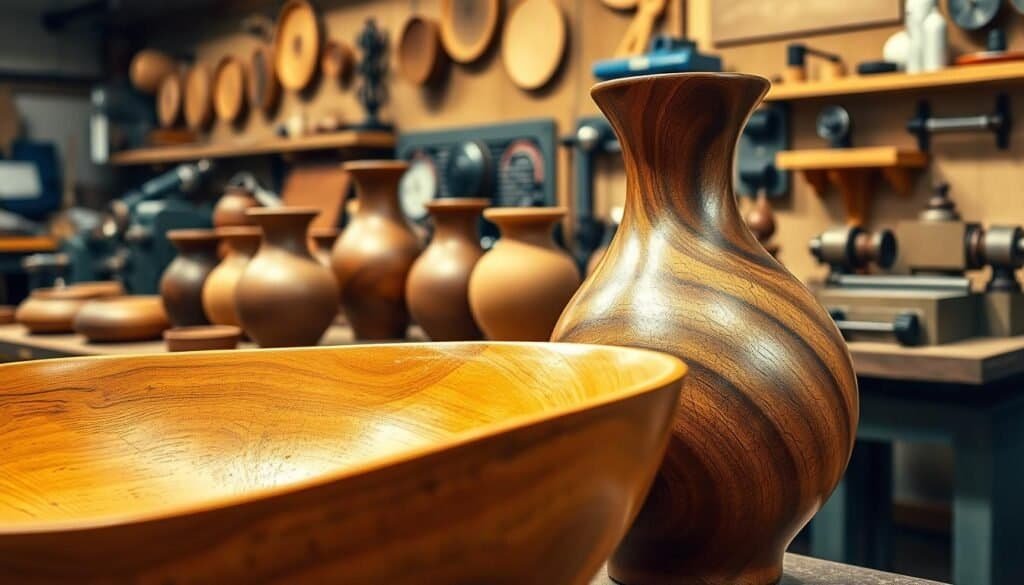
Woodturning lets artists explore their creativity with wood. They learn about different woods and techniques to highlight their beauty. This craft offers endless ways to express oneself, from simple designs to complex wood carvings.
Woodturning is more than making useful items; it’s about creating art. Woodturners often try new woods, shapes, and finishes. This mix of old and new techniques makes woodturning a lively art form.
Woodturning needs patience, skill, and focus. But with effort, anyone can learn and grow. The joy comes from turning raw wood into something beautiful and useful. It’s a fulfilling hobby for those who love working with their hands.
Understanding the Wood Lathe: Parts and Functions
To master woodturning, knowing the wood lathe’s parts and functions is key. A wood lathe helps shape wood into symmetrical, rounded pieces.
The lathe has several important parts. These include the bed, headstock, tailstock, and tool rest. The bed is the stable base. The headstock holds the wood and rotates it.
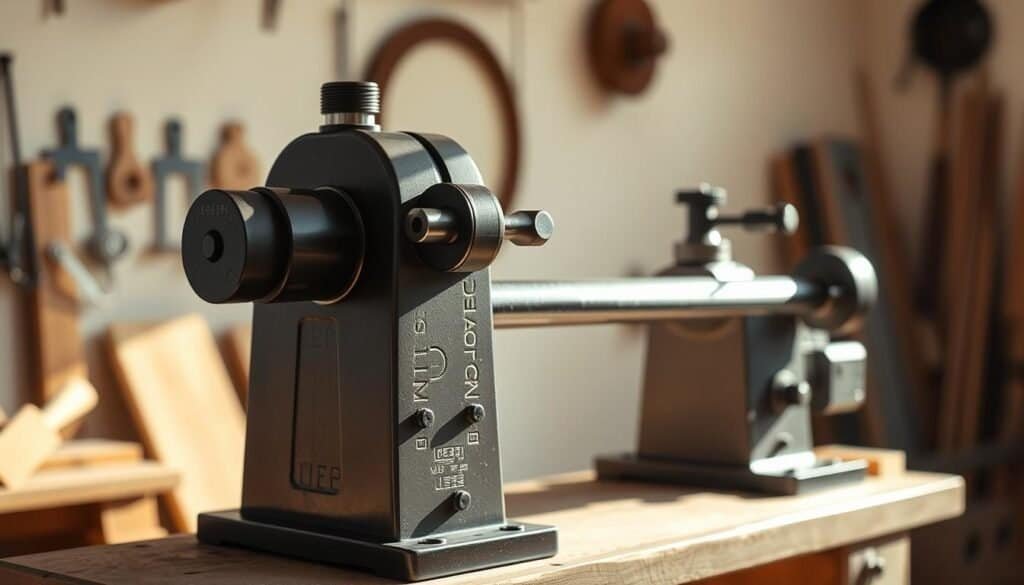
The tailstock supports the wood’s other end, keeping it stable. The tool rest is adjustable. It provides a platform for your tools.
Knowing how these parts work is essential for safe and effective use. For example, setting the tool rest right is critical for precise cuts and safety.
Also, getting to know lathe turning tools and wood lathe accessories can boost your skills. These tools and accessories help achieve specific effects, improve safety, and make work more efficient.
Setting Up Your Woodturning Workshop
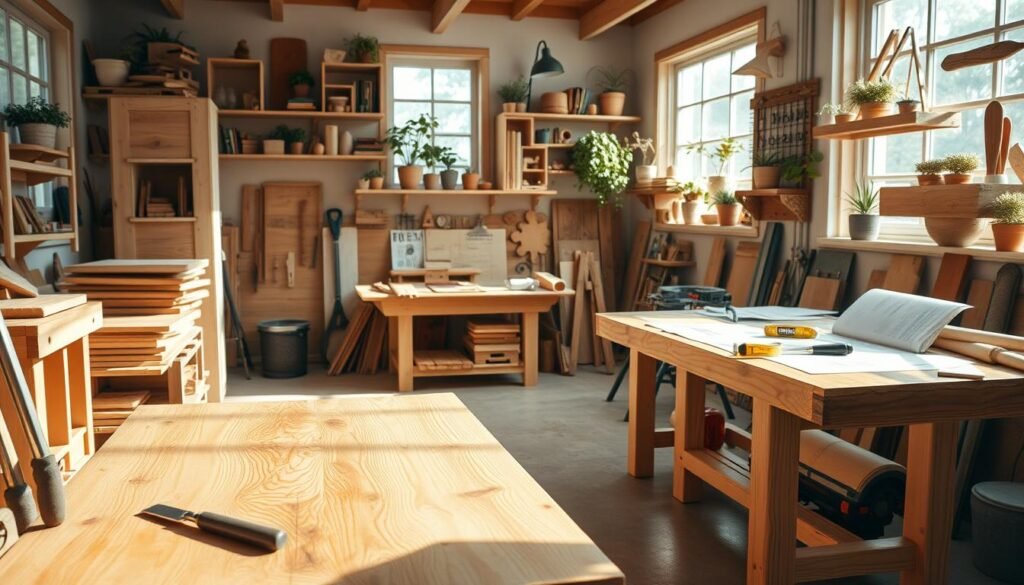
To start your woodturning journey, setting up a well-organized workshop is essential. A dedicated space for your lathe and tools will enhance your efficiency and safety while working on beginner lathe projects.
First, ensure your workshop has adequate ventilation and sufficient lighting. A clean and organized workspace is key for safety and productivity. Organize your tools within easy reach to streamline your workflow when working on wood turning projects for beginners.

When setting up your diy lathe, follow the manufacturer’s instructions for assembly and placement. Ensure the lathe is securely fastened to a sturdy workbench to prevent vibrations and accidents. Keep a fire extinguisher nearby and avoid wearing loose clothing that could get caught in the lathe.
Proper tool organization is also key. Use wall-mounted racks or a tool cabinet to keep your turning tools organized and within reach. This setup will help you focus on creating beautiful wood turnings without unnecessary distractions.
Essential Woodturning Tools for Beginners
For beginners, the right tools are key in woodturning. This craft involves making symmetrical objects on a lathe. The quality of your tools greatly affects your project’s outcome.
Start with basic tools like gouges, chisels, and skews. Gouges help remove large wood amounts, perfect for bowl turning. Chisels are versatile for various cuts. Skews are great for smooth, flat surfaces.
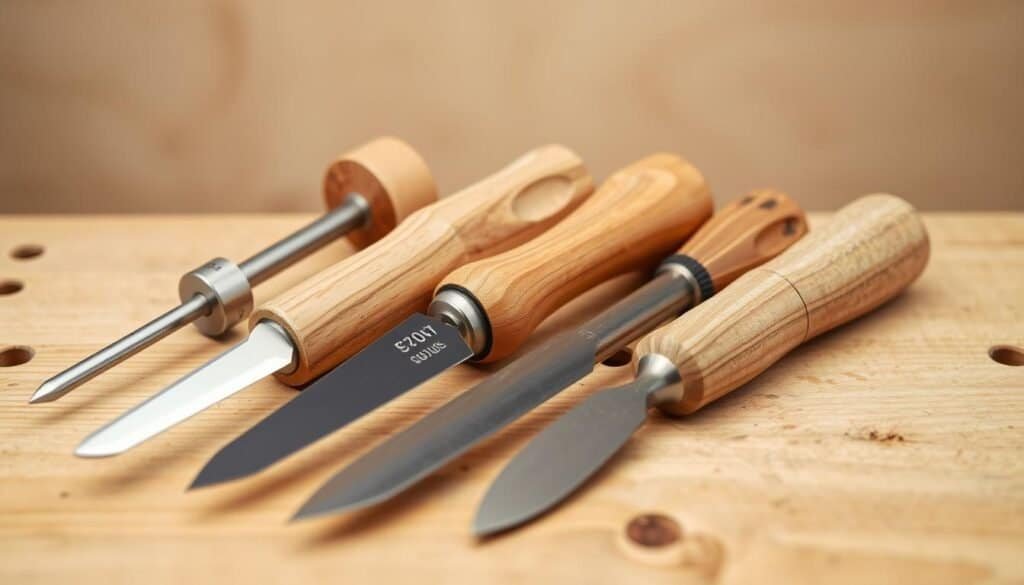
Learning to use these tools well is vital. For example, when doing spindle turning, the tool rest’s position is critical. It should be near the workpiece and adjusted based on the cut type.
Tool Rest Positioning for Different Cuts
The tool rest supports the tool as it cuts wood. For different cuts, its position changes. For rough cuts, it’s below the centerline. For finishing cuts, it’s at or above the centerline.
Proper positioning of the tool rest improves tool control. This leads to smoother cuts and lowers accident risks. It’s a skill that grows with practice, essential for quality woodturning.
By mastering lathe turning tools and tool rest positioning, beginners can enhance their skills. This sets a strong base for tackling more complex projects.
How to Use a Lathe to Create Stunning Wood Turnings
Creating stunning wood turnings with a lathe is more than just knowing how to use it. It also needs creativity and attention to detail. First, you must understand the lathe’s basic parts and how they work.
A typical lathe has a bed, headstock, tailstock, and tool rest. Each part is important for woodturning. The bed is the base, the headstock holds the workpiece, and the tailstock supports the other end. The tool rest is where you place your tools.
Understanding Lathe Speed for Different Operations
Lathe speed is key to getting the right look in your wood turnings. Different tasks need different speeds. For example, roughing out needs a slower speed, while finer details require a higher speed.
Always check your lathe’s manual for speed settings and how to adjust them. Smaller workpieces can be turned faster, while bigger ones need slower speeds for safety and control.
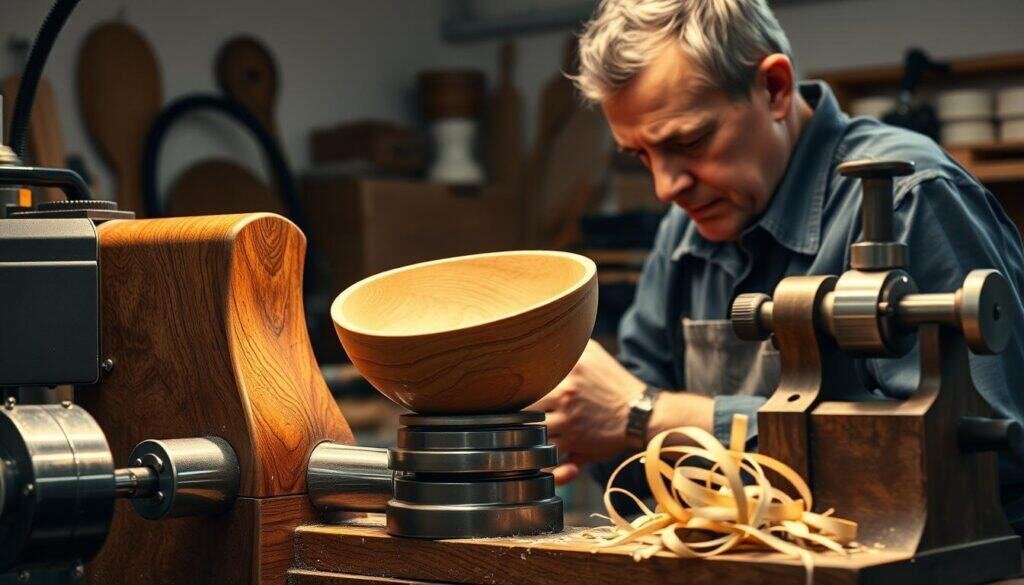
As you get better, you’ll know the best speed for each project. Safety is always first. Wear safety glasses and a dust mask, and keep your area well-ventilated.
Learning the basics of lathe operation and how to use different speeds and techniques will help you create amazing wood turnings. Your creativity and skill will shine through in your work.
Lathe Safety: Protecting Yourself While Turning
Turning wood on a lathe requires safety precautions to avoid injuries. Woodturning is rewarding but can be dangerous without the right safety steps. Knowing how to stay safe is key for a fun and safe woodturning experience.

Wearing the right personal protective equipment (PPE) is a must. Safety glasses or goggles protect your eyes from debris. A dust mask keeps wood dust out of your lungs. And hearing protection helps against the lathe’s loud sounds.
Safe working practices are also important. Make sure your workspace is clean and free from tripping hazards. Wear your hair back and avoid loose clothing to prevent getting caught in the lathe. Always stand firmly and be aware of your position around the spinning workpiece.
Emergency Procedures and First Aid
Even with precautions, accidents can happen. Being ready for emergencies and knowing basic first aid is essential. Keep a first aid kit nearby and know how to treat common injuries like cuts and splinters. If a serious injury occurs, have a plan to get medical help quickly.
By following these safety tips and being ready for emergencies, you can greatly lower the risk of injury while woodturning. Safety is an ongoing effort that needs constant attention and adherence to best practices.
Selecting the Right Wood for Your Projects
The wood you pick for your project is key to its lasting quality and look. In woodturning, the wood’s traits greatly affect the outcome.
Different woods have different hardness, grain patterns, and moisture levels. These are important to think about. Hardwoods like maple and oak are great for their toughness and fine grain. They’re perfect for projects needing precision and stability.
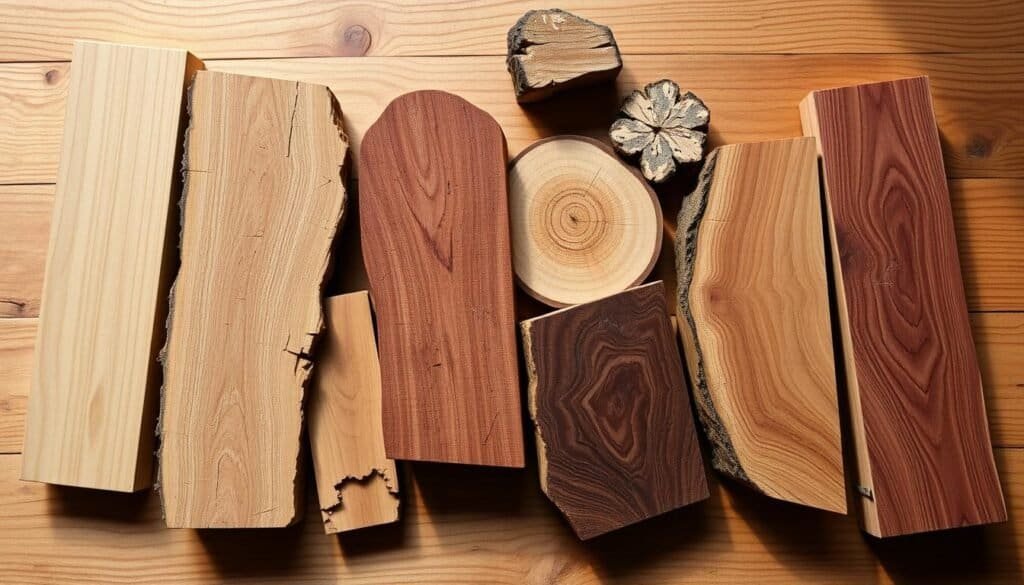
Wood movement and moisture are big deals in choosing wood. Wood grows and shrinks with humidity changes. Knowing this helps avoid cracks or warps in your piece.
To handle wood movement, think about the wood’s moisture. Drying your wood right or using seasoned wood can reduce movement risks.
Choosing the right wood and knowing its natural behaviors lets you make stunning, long-lasting wood turnings.
Mastering Basic Woodturning Techniques
To get good at woodturning, you need to learn the basics. These skills help you make beautiful designs on your lathe.
First, you must learn how to put wood on the lathe right. You need to know about chucks and faceplates. This makes sure your wood is safe and steady.
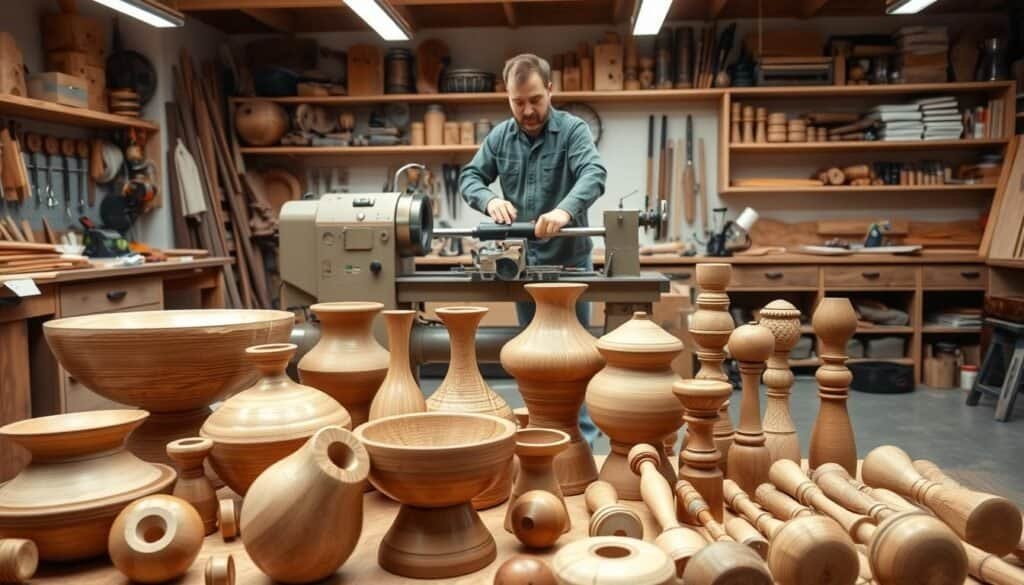
Knowing how to cut wood is key. You’ll learn to use gouges and chisels. It’s about the right pressure and speed for smooth cuts.
Getting your work to look symmetrical is important. This means balancing your piece and making adjustments. It’s vital for things like bowls and vases.
Practice Exercises for Skill Development
Practicing is vital to get better at woodturning. Start with simple tasks like turning a cylinder or making a basic bowl. Then, try more challenging projects as you get better.
Some exercises to try include:
1. Turning many identical cylinders to get better at consistency.
2. Making a bowl with a specific shape to practice symmetry.
3. Using different tools to learn their unique uses.
By doing these exercises, you’ll improve your woodturning skills. You’ll be able to make more complex and stunning pieces.
Spindle Turning Fundamentals
Spindle turning is a key skill in woodturning. It helps create symmetrical, long pieces on a lathe. This skill is vital for making table legs, chair legs, and other furniture parts that need precision and balance.
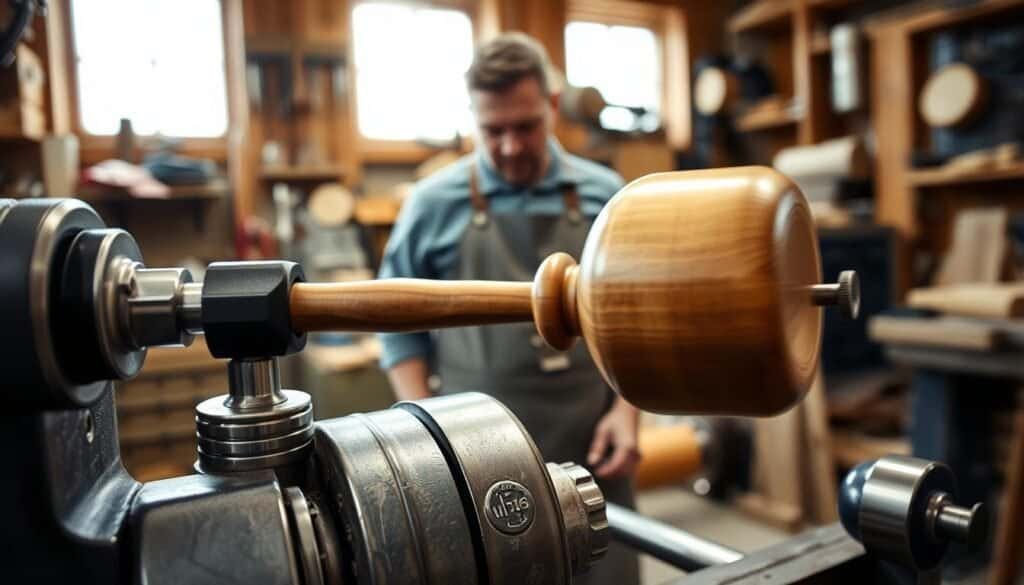
To get good at spindle turning, knowing about tool selection and use is key. The right tools make the job easier and improve the quality of what you make.
Spindle Turning Tool Selection and Use
Choosing the right tools for spindle turning is very important. You’ll need gouges, chisels, and skews for different tasks. For example, a roughing gouge is great for removing extra material. A skew chisel is perfect for fine details and smooth finishes.
The way you use tools in spindle turning is a mix of pushing and pulling along the tool rest. It depends on the cut you want. Learning how to hold and move the tools is essential for making symmetrical and detailed pieces.
By focusing on the basics of spindle turning and practicing with tools, woodturners can improve a lot. They’ll make high-quality, symmetrical pieces.
Bowl Turning: From Log to Finished Piece
The art of bowl turning turns raw wood into beautiful, useful art. It needs skill, patience, and knowing the wood’s traits. These traits shape the final bowl.
To start, the log must be prepared for turning. It’s secured to the lathe and balanced. This prevents vibrations that could harm the process or safety.
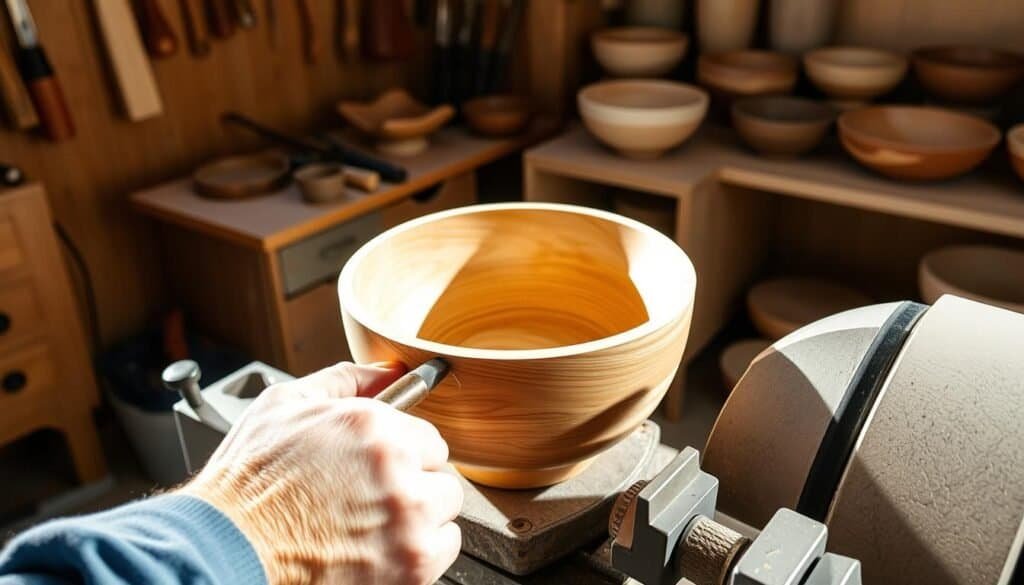
With the log ready, the turning begins. Bark is removed, the outside is shaped, and the bowl is hollowed. Each step must consider the wood’s grain and natural shape.
Working with Green Wood for Natural Edge Bowls
Green wood is used for natural edge bowls. It’s freshly cut and moist, making it soft and easy to work. This allows for bowls with a natural edge, giving them a unique look.
The process involves shaping the green wood and letting it dry. As it dries, it shrinks and might crack. The challenge is to work with these changes to make a beautiful, useful bowl.
Mastering bowl turning, including green wood, lets woodturners create stunning natural edge bowls. These bowls show the wood’s beauty in its most natural form.
5 Beginner-Friendly Lathe Projects to Try
Woodturning opens a world of creativity. Starting with beginner-friendly projects is key. It’s important to begin with projects that are both fun and useful.
Creating practical kitchen tools is a great way to start. These projects improve your woodturning skills. They also make useful items for your kitchen or as gifts.
Practical Kitchen Tools: Honey Dippers and Spoons
Honey dippers and spoons are excellent beginner projects. They need minimal materials and are easy to make. These projects help you learn to handle the lathe and understand grain direction.
Other beginner-friendly projects include turning small decorative items and wooden pens. You can also make candle holders and simple vases. Each project offers unique challenges and learning opportunities.
Always follow safety guidelines and best practices when woodturning. Completing each project boosts your confidence and skill. This prepares you for more complex designs.
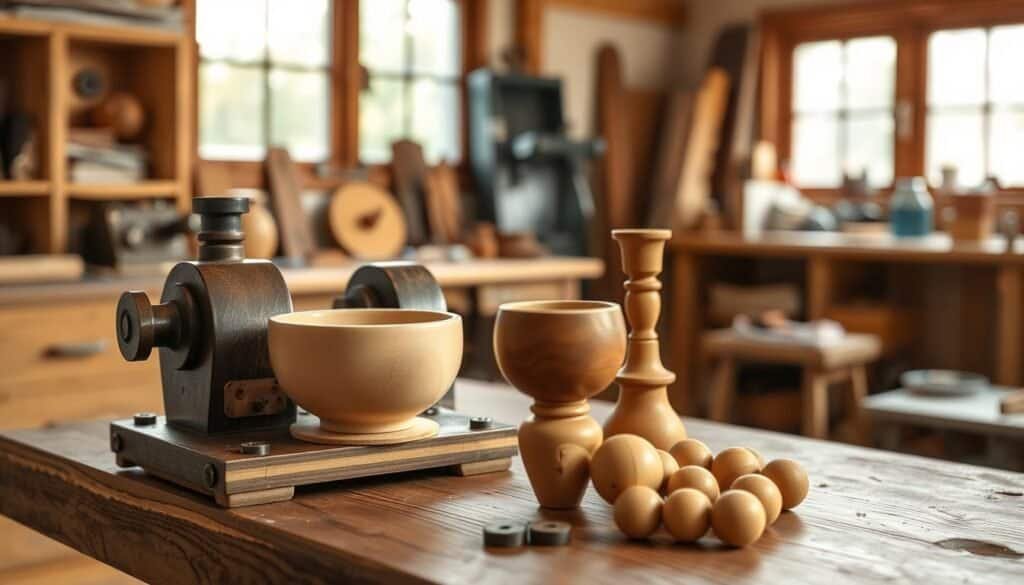
Starting with these beginner-friendly projects will help you master woodturning basics. You’ll be ready for more advanced projects.
Advanced Woodturning Techniques
Woodturners can improve their skills by learning advanced techniques like multi-axis turning. These methods help make their creations more beautiful and functional. They go beyond the basics, creating pieces that stand out.
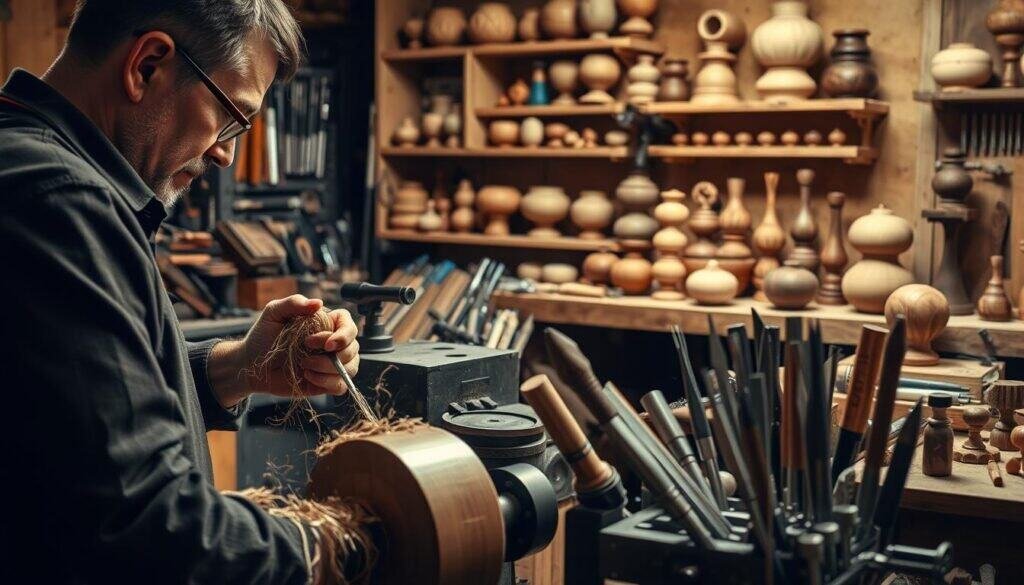
Multi-axis turning is a thrilling technique. It lets woodturners turn wood on multiple axes. This makes it possible to create complex designs that standard techniques can’t achieve.
Multi-Axis Turning for Artistic Effects
Multi-axis turning brings new artistic possibilities to woodturning. It allows craftsmen to shape wood in unique ways. This adds a creative touch to their work.
Using advanced techniques like multi-axis turning makes pieces more visually appealing. It also pushes craftsmen to think outside the box. They explore the full range of what wood can do.
For those eager to improve, trying multi-axis turning and other advanced techniques is rewarding. It leads to creating stunning, artistic woodturnings.
Finishing Your Wood Turnings
The finishing process is key in woodturning to get professional results. Finishing techniques greatly affect your final product’s look.
First, you need to prepare the surface. Sand the wood to a high grit, like 220 or higher. This removes any flaws or tool marks.
Buffing and Polishing for Professional Results
Buffing and polishing are vital for a shiny finish. Buffing uses a buffing wheel with compound to fix small scratches. Then, polishing with a softer wheel and finer polish adds the high shine.
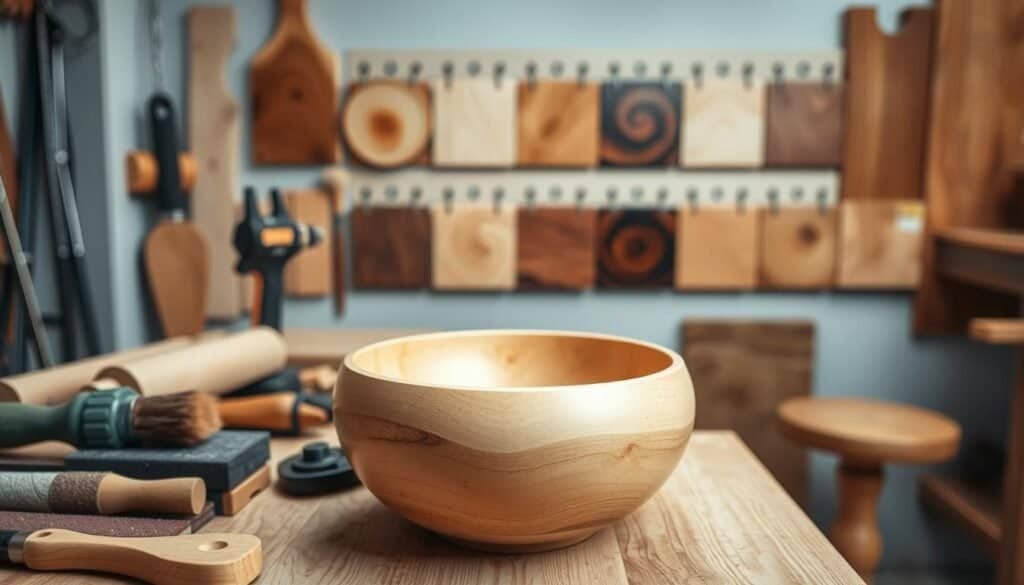
Choosing the right finish is also important. You can use oils, waxes, or polyurethane. Each has its own benefits and how-to. For example, wood oil brings out the grain and looks natural. Polyurethane gives a durable, glossy finish.
Mastering buffing, polishing, and the right finish is essential. Practice and patience help perfect these techniques.
Troubleshooting Common Woodturning Problems
Troubleshooting is key for woodturners. It helps them fix common issues that pop up during turning. Problems like uneven turning, tool chatter, and workpiece vibration can slow down your project.
Uneven turning often comes from an unbalanced workpiece or a dull tool. Make sure your workpiece is balanced and your tools are sharp. This can help a lot. Tool chatter can be fixed by adjusting your tool rest or changing how you cut.
Salvaging Projects When Things Go Wrong
Even with the best planning, projects can go wrong. The trick is to figure out the damage and what to do next. For example, if a piece cracks, you might be able to fix it with some creative changes.

Knowing how to solve common woodturning problems can turn failures into unique pieces. This not only saves materials but also makes your work more interesting.
Conclusion: Your Journey in Woodturning
As you finish this introduction to woodturning, you’re ready to start a creative journey. This journey combines art and technical skill. The woodturning art you’ve seen is just the start, with each project helping you get better.
Your journey will be full of chances to try new woods, tools, and techniques. As you keep learning, you’ll understand woodturning better. This will let you make pieces that are not just useful but also beautiful and special.
This guide’s end is just the beginning of your woodturning adventure. With patience, practice, and hard work, you’ll make amazing pieces. These pieces will show off your skill and creativity, keeping your journey exciting and full of confidence.

