Start your holiday season with a rustic twist by making your own wood slice decorations. These crafts are not only eco-friendly but also add a natural charm to your home. They make your holiday decor truly special.
Wood slices can be turned into stunning ornaments, garlands, and more. These items bring warmth and coziness to any room. This article will show you how to make these DIY wood slice crafts. You’ll learn to create a welcoming and unique atmosphere in your home.
With these rustic ideas, you can make your Christmas decorations truly personal. Your home will feel warm and inviting, thanks to your creativity.
The Charm of Natural Materials in Holiday Decor
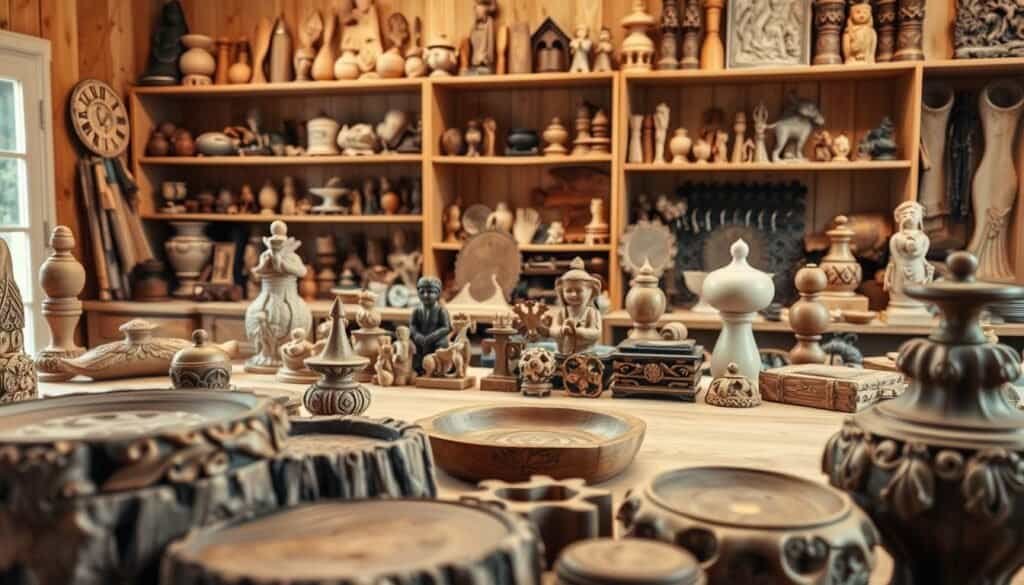
Natural materials in holiday decor bring a sense of simplicity and connection to nature. You can use wood slices, pinecones, and evergreen branches to make beautiful, eco-friendly decorations. These natural Christmas crafts are popular for their unique, rustic look and the warmth they add to your home.
Creating eco-friendly holiday crafts lets you get creative with nature’s materials. Wood slices, for example, can become ornaments, garlands, and centerpieces with simple DIY steps. This approach to Christmas decor encourages reuse and reduces waste, adding a personal touch to your holiday decor.

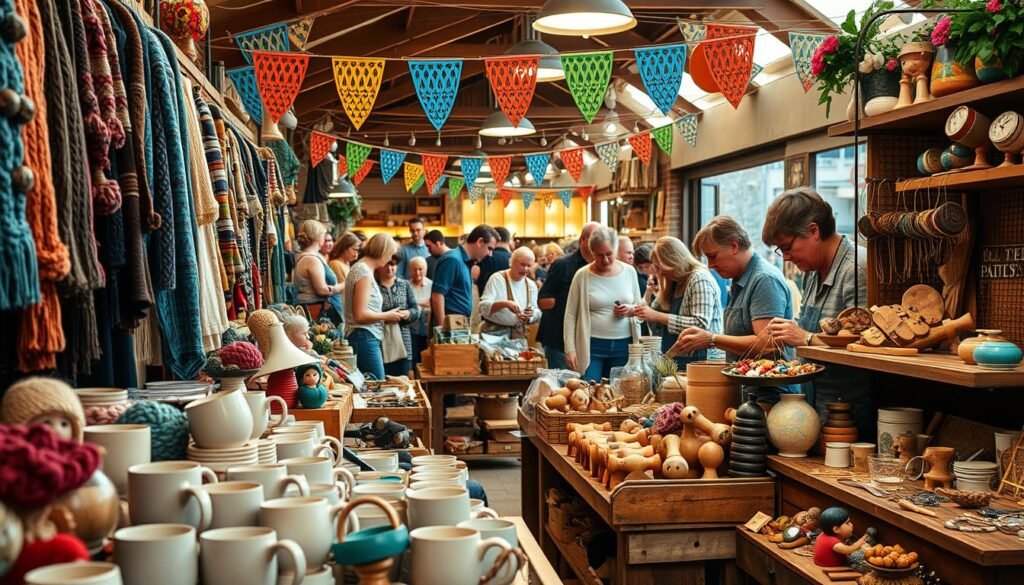
Handmade Christmas crafts from natural materials are a great way to involve your family in the holiday spirit. Activities like painting wood slices or making a festive garland can become special holiday traditions. Plus, using natural materials makes your holiday decor unique and good for the environment.
Using natural materials in your holiday decor creates a warm, inviting atmosphere. It shows off your personal style and commitment to eco-friendly practices. Whether you’re making handmade ornaments or a rustic centerpiece, natural materials will make your holiday season brighter.
Essential Materials and Tools for Wood Slice Projects
The key to a great wood slice project is the materials and tools you pick. To start your DIY wood slice crafts, you’ll need a few basic items.
First, you’ll need the wood slices. You can find them at craft stores, online, or by cutting your own. Think about the thickness and size you need for your project.
Next, you’ll need cutting tools. A craft knife or saw is needed for trimming or cutting. For detailed designs, a jigsaw or coping saw might be better.

Decorative items add a personal touch to your wood slice projects. Use paint, varnish, and twine to make your creations stand out.
Don’t forget safety gear. Wear protective eyewear and gloves when using cutting and power tools to avoid injuries.
Now, think about where to find these materials. Craft stores, online shops, and local hardware stores are good places. Choose materials that fit the look you want for your wood slice crafts.
With the right materials and tools, you’re ready to make beautiful and unique wood slice projects.
Preparing Your Wood Slices for Crafting
Getting your wood slices ready is key to making stunning holiday crafts. It’s important to clean, dry, and prepare them well. This makes sure your crafts look professional.
Start by cleaning your wood slices well. Use a soft-bristled brush or a dry cloth to remove dirt. This step is vital to keep your slices looking great.

Next, dry your wood slices completely. If they’re not dry, they might warp or crack. You can air-dry them or use a drying rack to speed up drying. It’s a critical step in preparing your wood slices.
After drying, treat your wood slices to make them last longer and look better. Apply a sealant or varnish to protect them from moisture. This gives them a beautiful finish, perfect for rustic ornaments.
By following these steps, you’ll be ready to craft with your wood slices. Your holiday crafts will look amazing.
Holiday Crafts from Wood Slices for a Natural Touch
Wood slices can be turned into beautiful holiday decorations. They bring a natural feel to your home. You can make stunning ornaments and centerpieces from them.
Making ornaments from wood slices is easy and fun. Paint or decoupage festive designs on them. Then, add a ribbon or twine to hang them on your tree or use as gift tags.

Creating a wood slice garland is another great idea. Arrange the slices with evergreen branches, pinecones, and ribbons. This garland adds a rustic charm to your mantel or staircase.
For a bigger project, try a wood slice centerpiece. Mix wood slices with candles, evergreen sprigs, and other natural elements. This centerpiece captures the essence of natural Christmas crafts.
These crafts not only make your home look great but also offer a fun activity for the family. They promote eco-friendly and handmade crafting, making your holiday season more sustainable.
Classic Wood Slice Christmas Ornaments
Making wood slice Christmas ornaments is a great way to make your holiday decor special. These ornaments are not only beautiful but also fun to make with your family.
You’ll need some basic things to start, like wood slices, a drill, twine or ribbon, and decorations like paint, glitter, or decoupage. Wood slice ornaments are loved for their rustic look and the many ways you can customize them.
Snowflake and Winter Landscape Designs
One favorite design is the snowflake. You can make detailed snowflakes with paint, decoupage, or laser-cutting. Or, you can paint winter scenes like trees, hills, or holiday characters.

To keep your ornaments lasting, apply a clear varnish or sealant. This protects them from moisture and keeps them beautiful for years. You can also add names or dates for a personal touch, making them extra special.
Wood slice ornaments are perfect for “christmas crafts ideas” or “handmade christmas ornaments.” They mix rustic charm with personal touch, adding a unique touch to your tree.
Adding “snowflake designs” and winter themes makes your ornaments part of a beautiful holiday display. So, start your “DIY christmas ornaments” project and have fun with it.
Festive Wood Slice Garlands and Banners
Make your home festive with handmade wood slice garlands and banners this holiday. Wood slice decorations bring a natural, rustic feel to your decor.
To begin, gather wood slices in different sizes. You can buy them or make your own with the right tools. Once you have your slices, start designing your garland or banner.

Stringing wood slices together is simple. Use twine or ribbon to connect them. You can arrange them evenly or randomly, based on your taste. Adding pinecones, holly, or ribbons can make it look even better.
For a personal touch, add names, dates, or messages to your slices before making your garland or banner. Use paint, markers, or even burn designs onto the wood.
Customizing your garland or banner is easy. Match colors and decorations to your holiday theme. Wood slice garlands and banners fit any style, from classic to modern.
Adding DIY wood slice garlands and banners to your decor adds a personal touch. It also makes your home welcoming for family and friends.
Wood Slice Table Centerpieces and Decor
This holiday season, think about making your table decor stand out with a wood slice centerpiece. These pieces bring a natural, rustic charm to your holiday gatherings.
To make a beautiful centerpiece, pick a few wood slices of different sizes. You can arrange them in a pattern or randomly, based on your style. Adding candles, pinecones, and other decorations can make it even more appealing. Choose decorations that fit your holiday theme for a cohesive look.

For a “christmas crafts for adults” project, add ornaments, holly, or mistletoe to your centerpiece. Ribbons or garlands can help tie everything together. The goal is to balance the wood slices’ natural beauty with your decorations.
When making your “diy christmas centerpieces,” think about the mood you want to create. For warmth, pair wood slices with candles and soft lights. For a lively look, use bright ornaments and decorations.
Rustic holiday decor ideas” often include natural elements like pinecones and evergreen branches. Adding these to your centerpiece can add depth and texture. You can also mix wood slices with materials like burlap, lace, or metallic accents for different textures.
Creating a unique wood slice centerpiece adds a personal touch to your holiday table. Whether you like simple designs or elaborate ones, wood slices offer a versatile base for your creativity.
Rustic Wood Slice Wall Art and Wreaths
Add rustic charm to your holiday decor with wood slice wall art and wreaths. Wood slices make beautiful, unique pieces that bring a natural touch to your home. They’re perfect for adding a stunning focal point or a subtle accent during the holiday season.
To make your own wood slice wall art, start by arranging your wood slices in a pattern or design. You can use one type of wood or mix different ones for a rustic look. Add decorative elements like pinecones, ribbons, or holly for a festive touch.

To create a wood slice wreath, start with a circular base made of wire or foam. Arrange your wood slices around the base, overlapping them for a full look. Add natural elements like evergreen branches, berries, or candles to enhance the wreath.
When arranging your wood slices, think about their size, shape, and texture. You can go for a symmetrical design or an organic, asymmetrical look. Experiment until you find an arrangement that suits you.
To make your wood slice creations special, add personalized elements like monograms, names, or dates. This makes them unique and meaningful, perfect for gifts or keeping as a memento.
Personalized Wood Slice Gift Tags and Favors
This holiday season, make your gifts special with DIY wood slice gift tags and favors. These handmade christmas crafts add a personal touch and rustic charm to your holiday decor.

To begin, gather a few simple materials: wood slices, a drill, twine or ribbon, and a marker or paint. Customize your wood slice gift tags with names, messages, or holiday greetings. This makes your gift a personalized christmas gift that shows you care.
For a more elaborate favor, add a small decoration or charm to your wood slice tags. Use different shapes and sizes of wood slices for a varied look. Package these DIY gift tags in a small bag or envelope with a ribbon for a special treat.
Wood slice gift tags and favors are a thoughtful and charming choice for your gifts or holiday party. They capture the spirit of handmade christmas crafts and will be loved by friends and family.
Wood Slice Holiday Village and Figurines
Turn your home into a winter wonderland with a wood slice holiday village. This DIY project is fun and adds a personal touch to your Christmas decor. It brings a rustic and cozy feel to your home.
To begin, gather wood slices of different sizes for your village. You can paint them for more color and detail. Add glitter, fabric, or small ornaments for extra festivity. The details and arrangement make your display captivating.

Choose a theme for your wood slice holiday village. You might create a snowy town or a festive market. Use wood slice figurines to add animals, people, or decorations that fit your theme.
Let your creativity shine when assembling your display. Place your wood slices and figurines on a mantel or side table. Add lighting or other decorations to enhance the ambiance. A wood slice holiday village is a great DIY project for the holidays.
With wood slice figurines and decorations, your holiday village decor will be warm and inviting. It’s a fun family activity or a unique holiday decoration. A wood slice holiday village will surely delight.
Painting and Decorating Techniques for Wood Slices
Wood slices are great for holiday crafts. They let you use many decorating techniques. You can add color or make detailed designs.
Painting is a popular choice. Use acrylic paints for bright colors or watercolor for a softer look. Always prime the wood first to help the paint stick. This is great for making special ornaments or decorations.

Wood burning is another way to decorate. It lets you make detailed patterns and text. But, it’s important to be careful with wood burning tools.
Safety Tips for Wood Burning
Work in a place with good air flow to avoid breathing in fumes. Wear gloves and safety glasses to protect yourself. Keep a fire extinguisher close and never leave your tool alone.
These techniques can make your wood slices into beautiful holiday crafts. They’re perfect for DIY projects or gifts. You’ll get professional-looking results.
Decorating wood slices makes them look better and adds a personal touch. Try different methods to see what works best for you. Mixing techniques can create a unique look.
Troubleshooting Common Wood Slice Craft Issues
Wood slice crafts can face problems, but knowing how to fix them is key. Whether you’re experienced or new, issues like warping or cracking can be a hassle.
Warping often happens because of uneven drying or humidity changes. To avoid this, dry your wood slices well and keep them in a steady place. If warping happens, try flattening the wood by clamping it between heavy things.

Cracking can also occur, usually from drying too much or too fast. To prevent cracking, keep your wood slices away from extreme heat or dry air. If a crack shows up, use a wood filler or sealant to fix it.
Knowing how to tackle these common problems will help your wood slice crafts look great. With some patience and practice, you’ll make decorations that everyone will admire.
Kid-Friendly Wood Slice Craft Projects
Wood slice crafts are a great way to keep kids busy and creative. They learn about the holiday season and making things by hand. It’s a fun and educational activity for them.
Younger kids can start with simple crafts like painting or decorating wood slices. Older kids can try more complex designs or making ornaments.

Projects like making ornaments, garlands, and gift tags are perfect for kids. You can change the difficulty level and materials for different ages.
Using materials like glitter, ribbons, and paints makes the crafts more fun. It also helps kids improve their fine motor skills and creativity.
Wood slice crafts make the holiday season special for kids. They create memories that last a lifetime.
Preserving and Storing Your Handmade Wood Slice Creations
Handmade wood slice crafts need careful care to keep them looking great. Protecting them from damage is key. This way, they can last for a long time.
Wrap each wood slice in acid-free tissue paper or soft cloth. This keeps them safe from scratches. Keep them in a cool, dry spot, away from sunlight. Sunlight can make them fade or warp.

For storing, use decorative boxes or bins that seal well. This keeps out dust and moisture. Adding labels makes it easy to find what you need and keeps things organized.
By preserving and storing your wood slice crafts well, they’ll last for many holidays. They’ll stay a special part of your holiday traditions.
Conclusion: Embracing Natural Beauty in Your Holiday Decor
As the holiday season comes near, we all want to make our homes warm and welcoming. Using natural materials and DIY projects can bring nature’s beauty into your decor. Wood slice crafts add a unique, rustic feel to your decorations, from ornaments to garlands and centerpieces.
Choosing eco-friendly holiday decorating with natural crafts is a fun, creative way to celebrate. This guide shows you how to make your own Christmas crafts. You can add a personal touch to your holiday decor with these ideas.
Wood slice decorations are perfect for creating a cozy atmosphere or trying a new craft. So, why not give it a try? See how you can add these beautiful, eco-friendly decorations to your holiday decor.