Turning your outdoor area into a beautiful oasis is fun and creative. You can use reclaimed wood to make unique and useful features. These add a personal touch to your space.
With a bit of imagination, scrap wood can become amazing garden decor. This includes rustic planters and decorative trellises. In this article, we’ll show you 10 unique DIY projects for your outdoor decor.
These projects range from simple wood crafts to more complex garden projects. We’ll help you through the steps to make your outdoor decor beautiful.
By using scrap wood, you’ll reduce waste and add character to your outdoor space. Get ready to unleash your creativity and make your garden truly yours.
Transform Your Garden with Reclaimed Wood
Using reclaimed wood in your garden projects is great for the environment. It also brings a special charm to your outdoor space. This wood is full of history and natural beauty, perfect for garden decor.
Reclaimed wood adds a unique charm to your garden. You can make a rustic planter or a decorative path sign. The weathered look gives your backyard decorations a real touch.
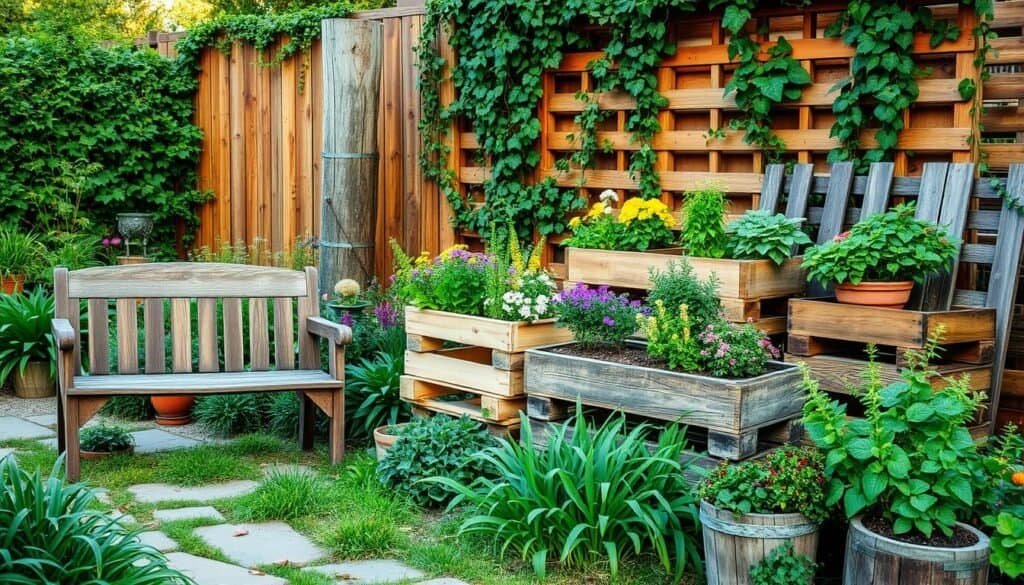
One big plus of using reclaimed wood is its eco-friendly aspect. It reduces the need for new lumber and cuts down on waste. This approach is both good for the planet and saves money.
Adding reclaimed wood to your garden design can create amazing pieces. You can make benches or trellises. With some creativity, your garden can become a beautiful, sustainable oasis.
Reclaimed wood is perfect for DIY projects or for beginners in outdoor woodworking. It’s a versatile material for your creativity. So, explore the possibilities of reclaimed wood and make your garden decor unique and personal.
Essential Tools and Materials for Scrap Wood Projects
Before starting your scrap wood project, make sure you have the right tools and materials. The right equipment makes the process easier and ensures your project looks great and lasts long.
Must-Have Power Tools
Power tools are key for working with scrap wood. A circular saw is great for straight cuts, and a jigsaw is perfect for curves. A drill is essential for screwing pieces together or making holes.
Hand Tools for Detail Work
Hand tools are vital for detailed work. A chisel set helps with precise wood removal, and sandpaper smooths surfaces. Clamps keep pieces in place while gluing.
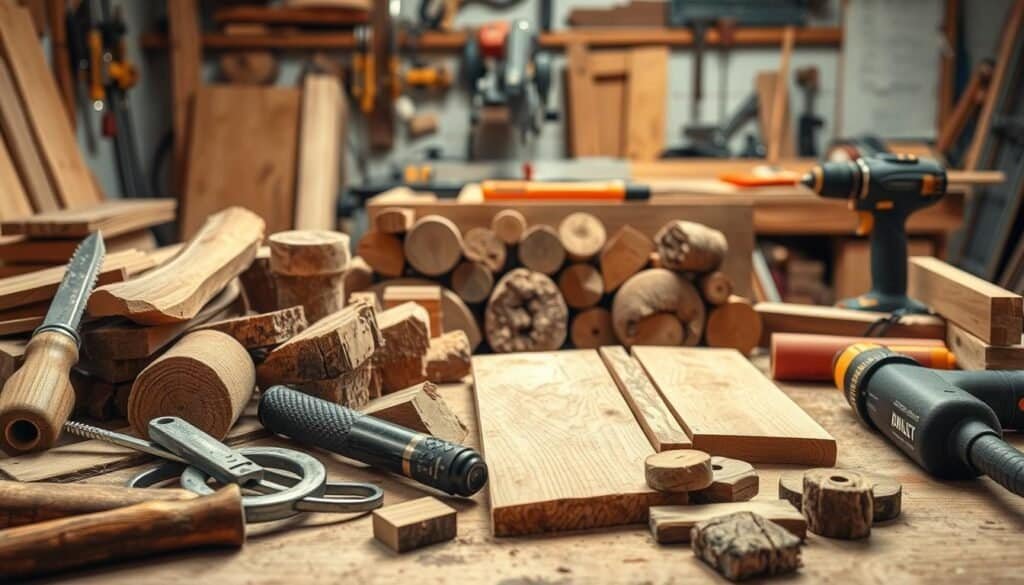
Choosing the right wood is critical for outdoor projects. Cedar, cypress, and redwood are good choices because they resist rot and insects well.
Woods to Avoid for Garden Projects
Not all woods are good for outdoor garden projects. Pine and softwoods can rot easily and don’t last well outside. Avoid untreated or non-resistant woods for outdoor projects.
Choosing the right tools and materials ensures your scrap wood garden decor is beautiful and lasts long.
Safety Tips When Working with Reclaimed Wood
When you work with reclaimed wood, safety is key. It helps you avoid accidents and finish your DIY project well. Reclaimed wood is not only beautiful but also good for the environment. Yet, it can be dangerous because of splinters, nails, and rot.
Wear the right protective gear to stay safe. This includes gloves, safety glasses, and a dust mask. They help protect you from flying debris and dust.
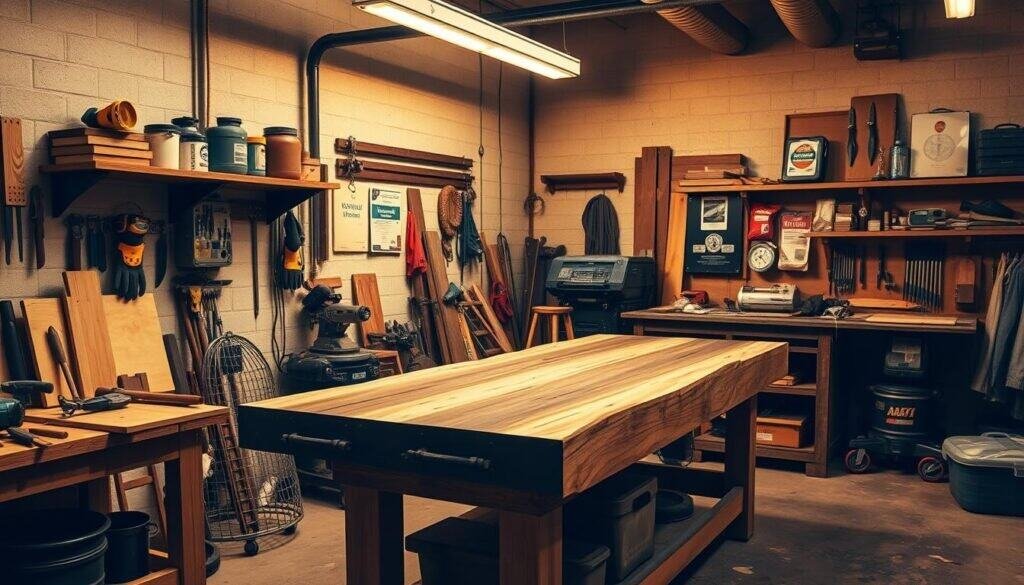
Check the reclaimed wood for damage or rot before starting. Take out any nails or metal pieces to prevent injuries and tool damage. Use the right tools and techniques when cutting or sanding to avoid accidents.
Also, keep your workspace tidy and organized. This prevents tripping and ensures you can see what you’re doing. By following these tips, you can work safely with reclaimed wood and protect your health.
Garden Decor Ideas with Scrap Wood Projects: Getting Started
Before you start building your scrap wood garden decor, it’s essential to prepare your materials properly. This step is key to making sure your project looks great and lasts long.
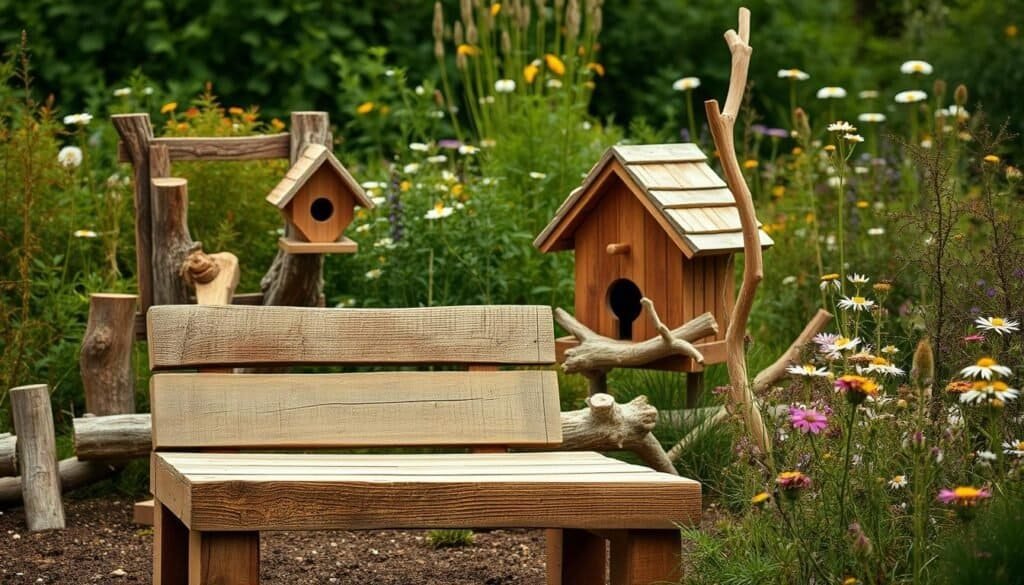
Preparing your scrap wood involves a few key steps. First, you’ll need to clean the wood to remove any dirt, grime, or debris that may have accumulated on its surface.
Cleaning and Sanding Techniques
Cleaning your scrap wood can be done using a simple brush or a damp cloth. For more stubborn dirt, a gentle scrub with soap and water may be necessary. After cleaning, sanding is the next step.
Sanding helps to smooth out the wood surface, removing any splinters or rough edges. Start with a coarse-grit sandpaper and work your way up to a finer grit for a smooth finish.
Weatherproofing Methods
Once your wood is clean and sanded, applying a weatherproofing treatment is vital. You can use a waterproof sealant or a wood finish that repels water. Apply the treatment according to the manufacturer’s instructions, ensuring that all surfaces are covered.
This step will help extend the life of your scrap wood garden decor.
By following these steps, you’ll be well on your way to creating beautiful and durable garden decor ideas with scrap wood projects.
Project 1: Rustic Garden Planter Boxes
Creating a rustic garden planter box is a great way to reuse scrap wood. It adds a personal touch to your garden decor. This DIY project also helps the environment by using materials that would be thrown away.
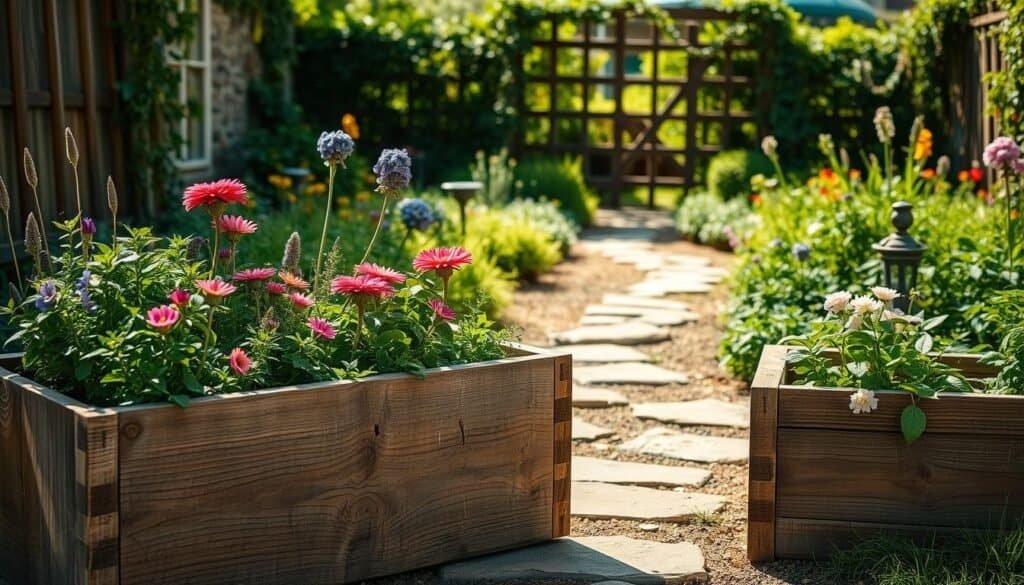
To begin, gather essential materials like reclaimed wood, a saw, a drill, and a hammer. The wood you pick greatly affects your planter box’s look. For a rustic feel, use weathered wood or old pallets.
Building the Base and Sides
First, build the base and sides of your planter box. Cut the reclaimed wood into the right sizes for the base and sides. Use a hammer and nails to put them together, making sure the corners are strong and the structure is solid.
Adding Drainage and Lining
After building, add drainage holes to stop the soil from getting too wet. Drill holes at the bottom of the planter. Also, line the inside with a waterproof membrane to protect the wood from rot and extend your planter box’s life.
With these steps done, your rustic garden planter box is ready for plants. It will add a charming look to your garden. This DIY project is a fun way to make your outdoor space unique and eco-friendly.
By following these easy steps, you can make beautiful rustic garden planters. They not only beautify your garden but also offer a special way to show off your plants. Whether you’re new to gardening or experienced, making your own planter boxes is a fulfilling DIY project.
Project 2: Decorative Garden Path Signs
Welcome guests to your outdoor oasis with a beautifully crafted garden sign made from reclaimed wood. Decorative garden path signs add personality and charm to your garden. They direct visitors or add whimsy.
To create your own decorative garden sign, start by selecting a piece of reclaimed wood that fits your garden’s aesthetic. Consider the size, texture, and any unique characteristics that will make your sign stand out.
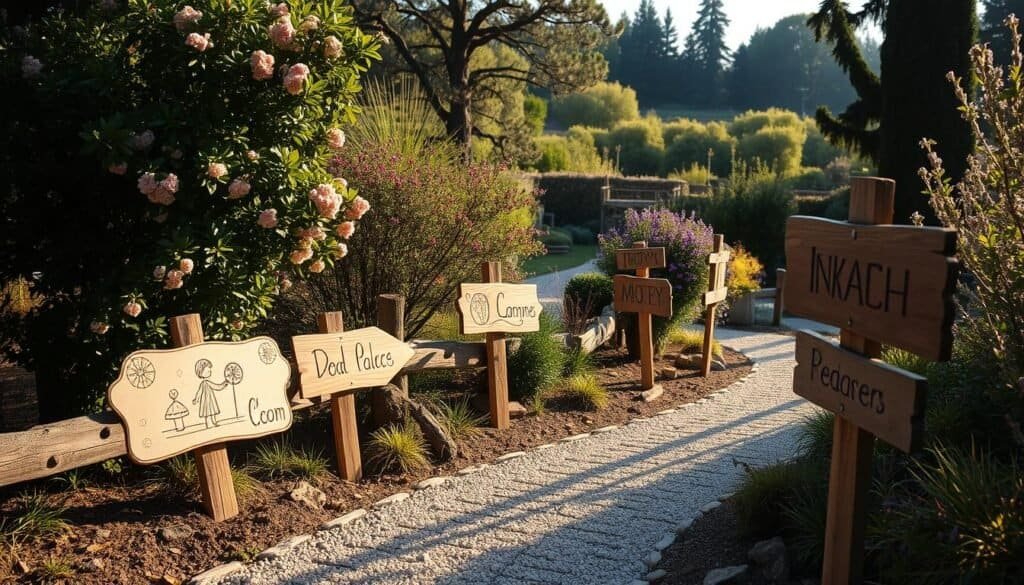
To add text or images to your sign, you can use various transfer techniques. One popular method is using a stencil and paint, allowing for precise and crisp lettering. You can also use a wood burning tool to create designs and text directly onto the wood.
Mounting Options
Once your sign is complete, you’ll need to decide on a mounting method. You can attach your sign to a wooden post or stake it into the ground using a metal rod. For a more rustic look, consider hanging your sign from a tree branch or a garden feature.
Ensure your sign is secure and level, no matter the mounting method. You can also add a protective finish to your sign to withstand the elements and prolong its lifespan.
By following these steps, you can create a beautiful and unique decorative garden path sign. It adds character to your garden. Whether directing visitors or adding a decorative element, your sign is sure to be a conversation starter.
Project 3: Vertical Herb Garden Wall
Make the most of your garden space with a vertical herb garden made from reclaimed wood. It’s great for adding greenery to small areas. This project is perfect for those who want to enhance their outdoor space.
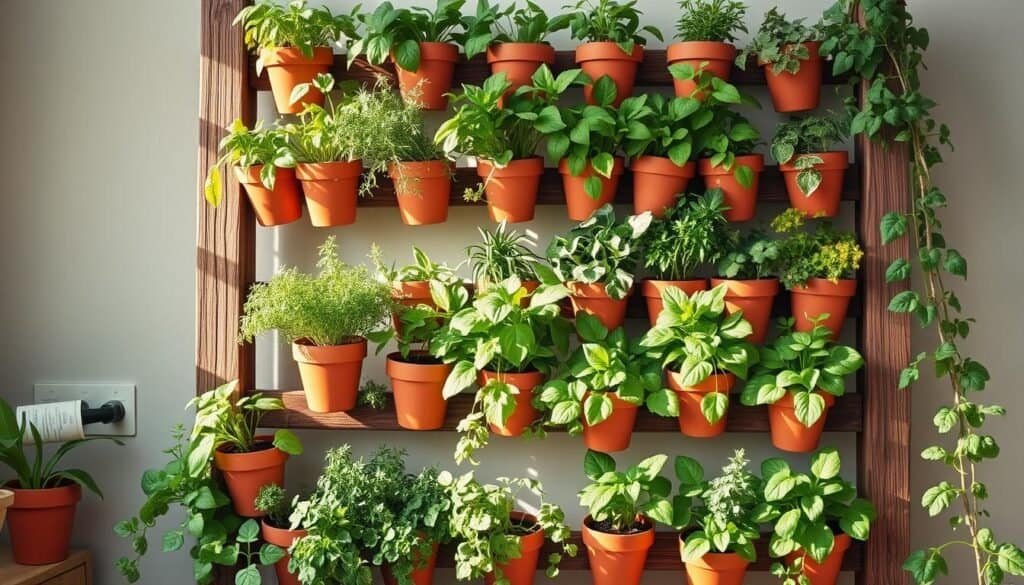
A vertical herb garden wall is not just beautiful. It also makes it easy to get fresh herbs for cooking. Using reclaimed wood, you can create a unique and eco-friendly garden feature.
Building the Frame
To begin, build the frame for your vertical herb garden wall using reclaimed wood. Make sure it’s sturdy to hold the soil and plants. Aim for a frame that’s 3 to 5 feet tall and 2 to 3 feet wide, based on your space.
Creating Planting Pockets
After building the frame, create pockets for your herbs. You can use small wooden containers or fabric pockets. Ensure the pockets are evenly spaced and have good drainage to avoid waterlogged soil.
To finish your vertical herb garden wall, fill the pockets with soil and compost. Then, plant your herbs. With the right care, your DIY herb garden will flourish and become a stunning garden feature.
Project 4: Charming Bird Houses and Feeders
Building bird houses and feeders from reclaimed wood is a great DIY project and fun to do.. It brings birds to your garden and adds charm to your yard.

When making bird houses, think about what birds need. The size, entrance hole, and where you place it matter a lot.
Essential Measurements for Different Bird Species
Each bird species has its own needs for homes. For example, bluebirds like houses with 1.5-inch holes and are 5 inches deep and 4.5 inches wide inside. Robins prefer open nests.
Here are some tips for a few common birds:
– Bluebirds: Entrance hole 1.5 inches, internal dimensions 5×4.5 inches.
– Robins: Open-fronted or platform nests, about 6-8 inches wide and 3-4 inches deep.
Assembly Techniques
Building bird houses and feeders needs basic carpentry skills. Use strong, weather-resistant materials. Make sure everything is well attached. For reclaimed wood, pre-drill screw holes to avoid splitting.
For feeders, add a roof to keep seeds dry and a tray or mesh for easy bird access. Hang it from a strong branch or metal hook to protect it from predators.
By following these tips and being creative, you can make bird houses and feeders that attract birds and look great in your garden.
Project 5: Whimsical Garden Benches
Building a garden bench from reclaimed wood is eco-friendly and looks great. It’s perfect for any outdoor area, making a cozy spot to relax.
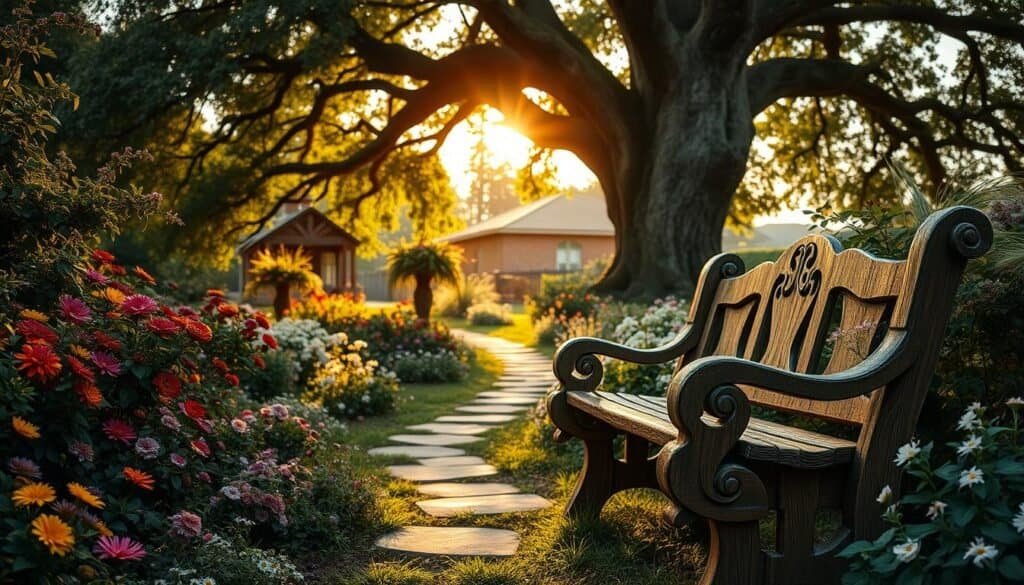
First, gather your materials and tools. Reclaimed wood is best for this project, adding character and history. Make sure you have enough for the frame, seat, and backrest.
Building a Sturdy Base
A strong base is key for your bench. Use solid reclaimed wood for the legs and frame. This ensures the seat and backrest are well-supported.
Creating the Seat and Backrest
The seat and backrest should be comfy and last long. Use smooth planks for these parts, attaching them firmly to the frame. Adding armrests can make it even more comfortable.
After building, add a finish to protect the wood and make it look better. Regular care will keep your bench beautiful for many years.
By following these steps, you can make a unique and useful bench for your outdoor space. It’s great for relaxing, reading, or just enjoying the view. A DIY bench from reclaimed wood is the perfect choice.
Project 6: Decorative Garden Trellises
Decorative garden trellises do more than just hold plants. They bring elegance to your outdoor area. Using reclaimed wood, you can make a trellis that’s both unique and good for the planet.
Reclaimed wood is perfect for trellises because it’s strong and has a rustic look. You can pick from many designs, from simple to complex.
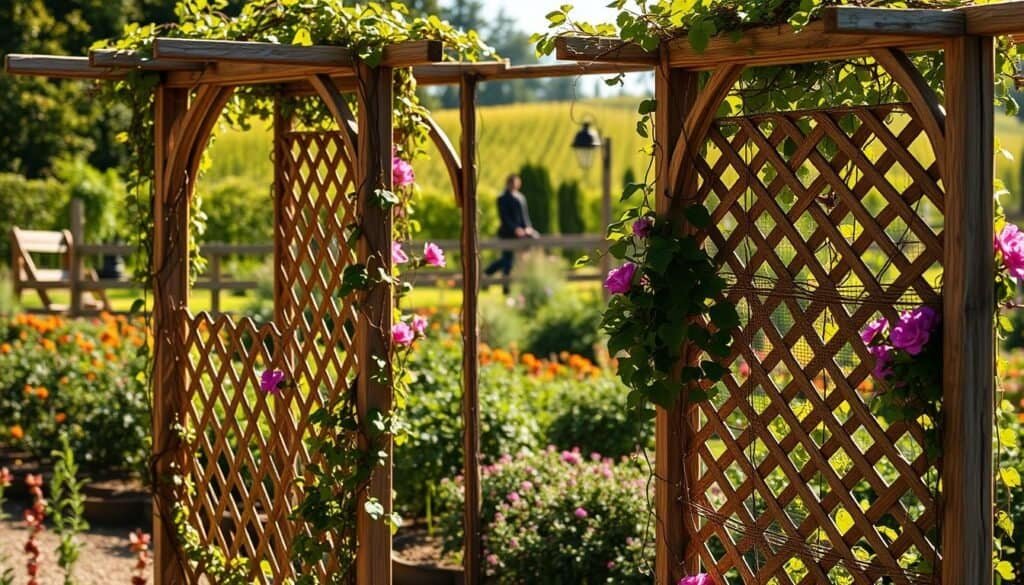
For beginners, simple grid patterns are a good choice. They’re easy to make and support plants well. Plants like roses or clematis look great on them.
Artistic Designs
More experienced DIYers can try artistic designs. These let you be creative and add a personal touch. You can mix wood types or add metal for extra flair.
Building a decorative trellis is a fun DIY project. It makes your garden look better and work better. With reclaimed wood and some creativity, you can make a beautiful trellis that stands out.
Project 7: Solar-Powered Scrap Wood Lanterns
Light up your outdoor area with DIY solar lanterns from reclaimed wood. This project is eco-friendly and adds a cozy glow to your garden or patio.

You’ll need reclaimed wood, a solar light kit, and basic tools to begin. Look for wood from old pallets, fencing, or other sources. Make sure the wood is clean and dry before starting.
Creating Light Patterns with Wood Cutouts
These lanterns can display unique light patterns through wood cutouts. Use a jigsaw or craft knife to cut out designs on the wood. This lets the light shine through, creating a stunning pattern.
For more complex designs, try using stencils or templates. Experiment with different sizes and shapes to get the look you want.
Weather-Resistant Assembly
It’s important to build these lanterns to last against the weather. Use waterproof glue and sealants to keep the wood and solar parts dry.
Also, apply a weather-resistant finish to the wood. This will protect it from rot and keep it looking good for years.
By following these steps, you can make beautiful, functional solar lanterns. They will bring warmth and charm to your outdoor space.
Project 8: Rustic Garden Borders and Edging
Using reclaimed wood for garden borders and edging is a fantastic DIY project. It adds a rustic charm to your outdoor space. These borders and edging help define different areas of your garden. They make your landscape more organized and visually appealing.
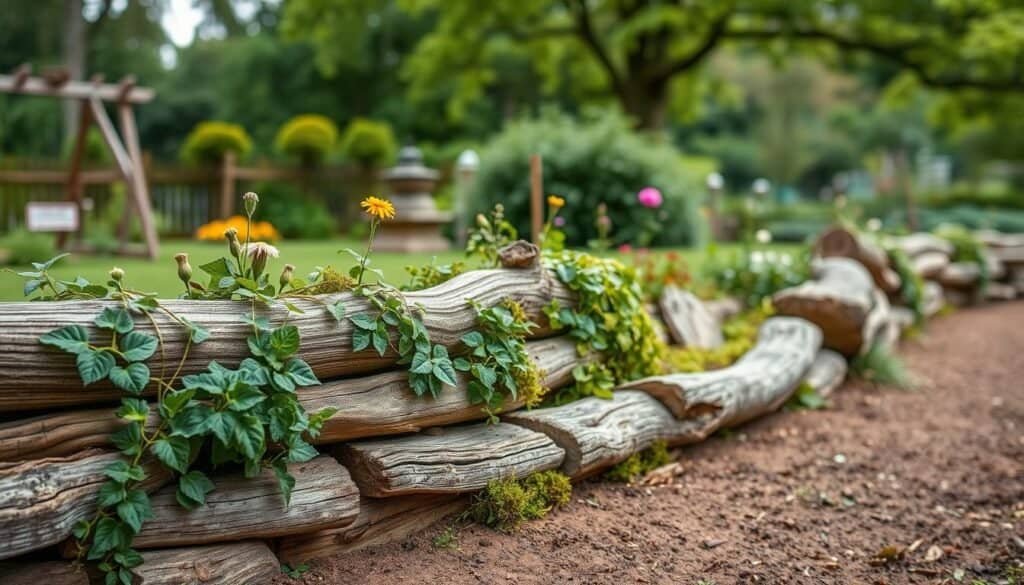
One easy way to create rustic garden borders is by using vertical plank borders. This method involves placing wooden planks vertically into the ground to create a border.
Vertical Plank Borders
Vertical plank borders are not only beautiful but also easy to install. First, choose the right reclaimed wood planks. Make sure they are durable and weather-resistant. Then, dig a trench along the desired border path.
Place the planks into the trench and secure them with soil or small rocks.
Log Slice Edging
Log slice edging is another unique way to border your garden paths or beds. Cut logs into slices and arrange them along the edge of your garden. This method adds a natural, rustic look. It’s perfect for woodland or cottage-style gardens.
Both vertical plank borders and log slice edging are charming ways to define your garden spaces. By using reclaimed wood, you add a rustic touch. You also support sustainable gardening practices.
Project 9: Decorative Garden Art Sculptures
Reclaimed wood lets you make unique garden sculptures that show off your style. These sculptures can make your garden truly special.

These sculptures can be simple shapes or detailed designs. It’s all about letting your creativity show through the wood’s natural look.
Working with Different Wood Shapes
Reclaimed wood comes in many shapes and sizes. This gives you lots of chances to get creative. You can use planks, branches, or even wooden crates for your sculptures.
Joining Techniques for Stability
It’s important to make sure your sculpture is stable and lasts long. Use strong joining methods like mortise and tenon, dovetail, and screw joints.
By mixing different wood shapes and using strong joins, you can make a sculpture that’s not just beautiful but also lasts. It will make your garden look great and stay strong through the weather.
With a bit of creativity and some basic woodworking skills, you can turn reclaimed wood into a beautiful sculpture. It will add a personal touch to your outdoor space.
Project 10: Pallet Wood Garden Table and Chairs
With simple tools and creativity, you can turn old pallets into a stunning garden table and chairs. This DIY project makes your outdoor space better and helps the environment by using recycled wood.
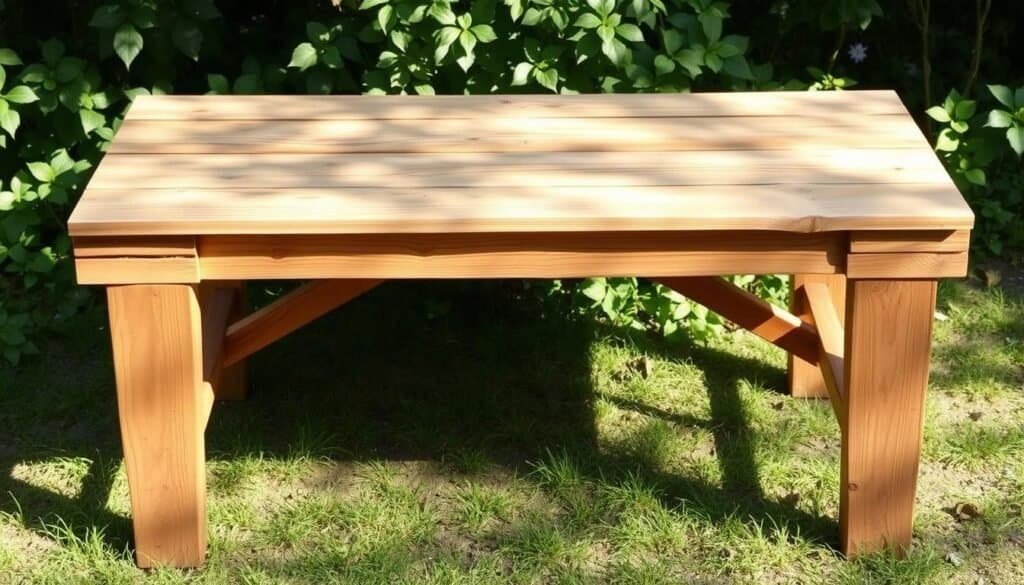
Creating a pallet wood garden table and chairs is a fun weekend project. You’ll disassemble pallets, clean the wood, and build the table and chairs as you like.
Table Construction
To start the table, make the frame with strong pallet wood planks. Make sure it can hold the weight of the table and what you’ll put on it. The tabletop is made by laying pallet wood planks side by side and securing them.
Simple Chair Design
Begin the chairs by building a sturdy frame. Then, make the seat and backrest with pallet wood planks. Sand the whole chair to make it smooth and safe.
By following these steps, you’ll have a beautiful pallet wood garden table and chairs. They’ll make your outdoor space look great and provide a place to relax and have fun.
Using pallet wood for your garden furniture adds a special touch to your outdoor decor. It’s also good for the planet because it reduces waste and supports sustainability.
Maintaining Your Scrap Wood Garden Decor
Keeping your scrap wood garden decor in top shape is key. Regular cleaning is a must. Use a soft-bristled brush or a dry cloth to wipe away dirt and debris.
For deeper cleaning, mix mild soap with water. Gently scrub the wood. But, stay away from harsh chemicals or abrasive cleaners that can harm the wood.

It’s also important to protect your decor from the weather. Apply a waterproof sealant or varnish to shield it from moisture and UV rays. Reapply every one to two years, based on your local weather.
Don’t wait to fix any damage. Check your decor often for signs of wear. Replace any rotten or damaged wood to stop further damage.
By following these tips, your scrap wood creations will last for many years. Regular upkeep keeps your garden looking great and welcoming.
Conclusion
Turning your garden into a charming oasis is now possible. By using scrap wood projects, you can make your outdoor space unique and welcoming. It will show off your personal style.
This article has given you a great start on decorating your garden. You can make everything from rustic planter boxes to pallet wood tables and chairs. The options are endless.
Remember to let your creativity flow as you work on your garden. Try out different scrap wood projects. Add your own special touches to make your outdoor area truly unique.
With these DIY garden decor ideas, you’re on your way to creating a beautiful outdoor space. It will be a place you’ll love for years. So, get creative and start building your dream garden today!

