Do you think DIY projects have to be hard? This quick build shows that simple can be beautiful — no need for a workshop. It’s perfect for beginners who want to start woodworking.
Starting a beginner woodworking project is a great way to learn new skills and be creative. With just a few tools, you can make something unique and useful. This easy woodworking tutorial will show you how to do it with minimal equipment. It’s perfect for anyone who wants to try a DIY wood project.
By following this simple guide, you’ll make something beautiful and reignite your love for woodworking. This project is fun and rewarding, no matter if you’re experienced or new to woodworking.
Why Simple Woodworking Projects Can Rekindle Your DIY Passion
Starting with simple woodworking projects can rekindle your love for DIY. These projects help build your confidence and skills. They are perfect for beginners.
Simple woodworking projects have many benefits. You can make useful and decorative items for your home. For example, building a small wooden box or a DIY home decor project can be done quickly. This gives you a sense of accomplishment and motivates you to try more.
Woodworking can seem scary for beginners, but simple projects make it easier. They help you get used to the tools and techniques. As you do more projects, you’ll get better and more confident.
Adding simple woodworking projects to your hobby routine is rewarding. You get to enjoy the calming effects of working with wood while making something beautiful and useful. Whether you want to make a unique DIY home decor item or just try woodworking, simple projects are a great starting point.
The 3-Tool Wood Project That’ll Make You Fall in Love with DIY Again
This 3-tool wood project can make you fall in love with DIY again. It’s simple yet fulfilling, great for beginners and experts alike. You’ll save money and appreciate the craft more with a minimal toolkit.
The project uses a Dremel rotary tool, a wood burning tool, and a whittling knife. These tools are versatile and can be used in many projects. They’re essential for any DIY enthusiast.

This project is all about simplicity and creativity. You can try different woods, designs, and techniques. It’s perfect for making a personalized gift or a unique home item.
Working on this project is therapeutic. You’ll feel a great sense of accomplishment when it’s done. So, get your tools ready, pick your wood, and enjoy DIY woodworking again.
Tool #1: The Versatile Dremel Rotary Tool
The Dremel rotary tool is a game-changer for DIY enthusiasts. It offers precision and flexibility in various woodworking projects. Its versatility comes from the wide array of attachments available, making it essential for woodworking enthusiasts.
The Dremel rotary tool is great for detailed work with the right attachments. You can carve, sand, and polish with specific accessories designed for these tasks.
Carving Bits
Carving bits are key for adding detailed designs to your woodwork. The Dremel rotary tool supports a variety of carving bits. This allows for complex patterns and details in your work.
Whether you’re making a decorative box or a custom sign, these bits give you precise control.
Sanding Attachments
Sanding is vital for preparing wood for finishing. The Dremel rotary tool’s sanding attachments make this easier. They help achieve smooth finishes on even the most detailed designs.
These attachments come in various grits, perfect for different sanding stages.
Polishing Accessories
After sanding, polishing accessories can give your woodwork a high-gloss finish. The Dremel’s polishing accessories work with different materials. This ensures your woodwork looks its best.
From buffing wheels to polishing compounds, these accessories help achieve professional-grade finishes.
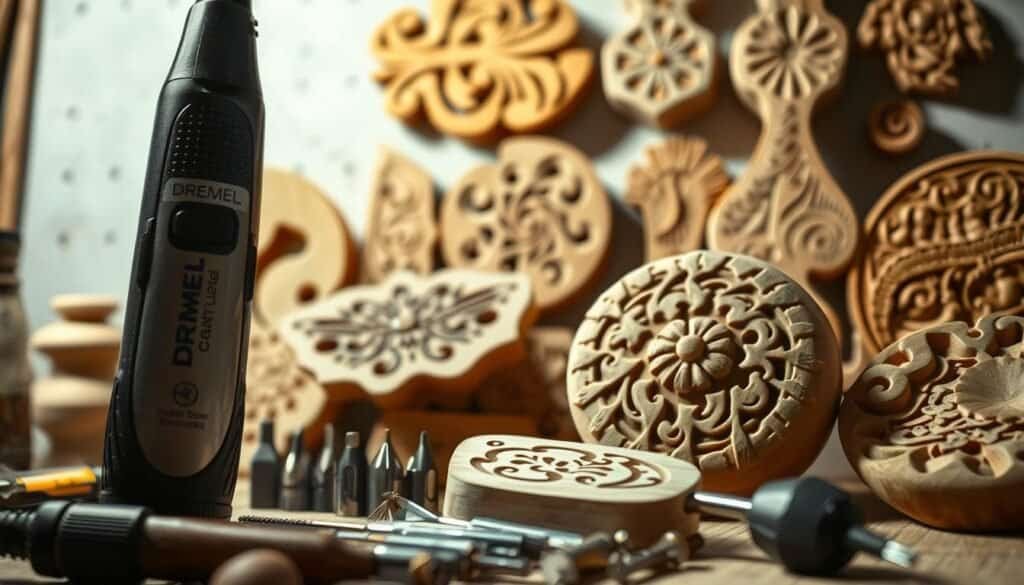
Using the Dremel rotary tool in your woodworking projects can greatly improve your work’s quality and detail. Its range of attachments, from carving bits to polishing accessories, makes it a valuable tool for DIYers.
Tool #2: The Expressive Wood Burning Tool
With the expressive wood burning tool, you can turn plain wood into art. It lets you create everything from simple designs to complex patterns. This makes it a key tool for your woodworking.
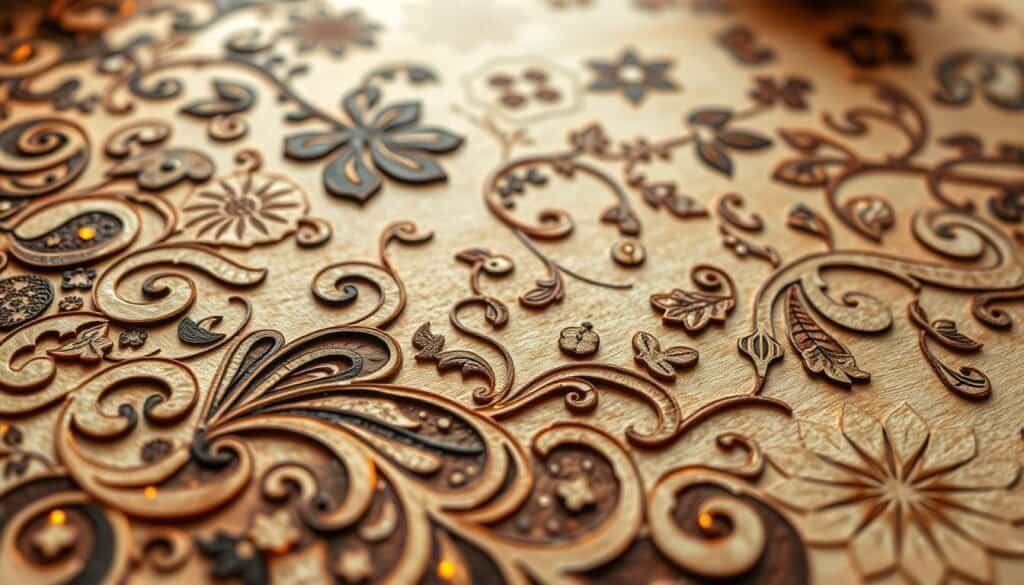
Line work is a basic technique in wood burning. It involves making different line widths and styles for your designs. By changing the tool’s temperature and tip, you can make fine details or bold strokes. This adds depth and character to your work.
Shading
Shading techniques can make your wood burning art look more realistic and engaging. By changing the burn time and temperature, you can get different shades. This can make your project look even better.
Texture Creation
Texture creation adds both tactile and visual interest to your projects. Trying out different patterns and techniques can lead to unique textures. This makes your woodworking projects truly stand out.
For beginners, looking at pyrography patterns free resources is a great start. These resources offer inspiration and guidance. They help you improve your skills and find your style.
Tool #3: The Classic Whittling Knife
The whittling knife is essential for anyone starting in wood carving. It’s simple yet powerful, loved by woodworkers for ages. It’s great for both beginners and experts, opening up many creative paths.
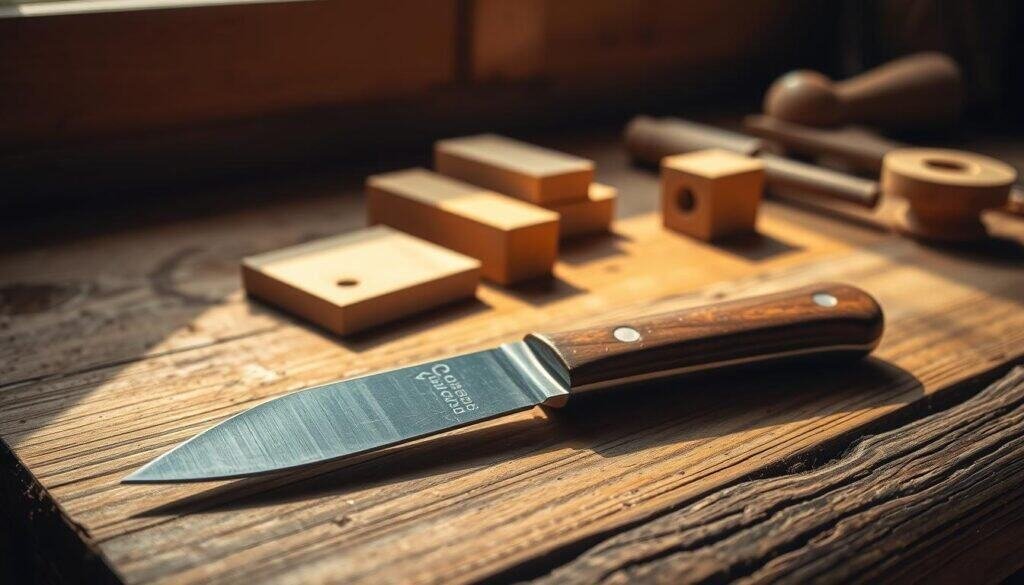
The push cut is a key technique in whittling. It involves pushing the knife away from you to shave off wood. This method helps create smooth surfaces and is often paired with other cuts for shaping.
The Pull Cut
The pull cut, on the other hand, draws the knife towards you. It’s perfect for precise cuts, great for small wood pieces or when you need to be exact.
The Stop Cut
The stop cut helps control the depth of a cut or makes sharp edges. By applying gentle pressure and stopping at a point, you can add fine details. It’s a vital skill for those starting with whittling patterns and wood carving.
Learning these basic cuts with a whittling knife unlocks a world of creativity. From simple projects to complex patterns, it’s both calming and fulfilling. As you get better, you’ll find whittling to be incredibly rewarding.
Selecting the Perfect Wood for Your Project
Choosing the right wood can be tough for beginners. But knowing the differences between types makes it easier. For simple woodworking projects, picking the right wood is key. Look for types that are easy to work with and forgiving.
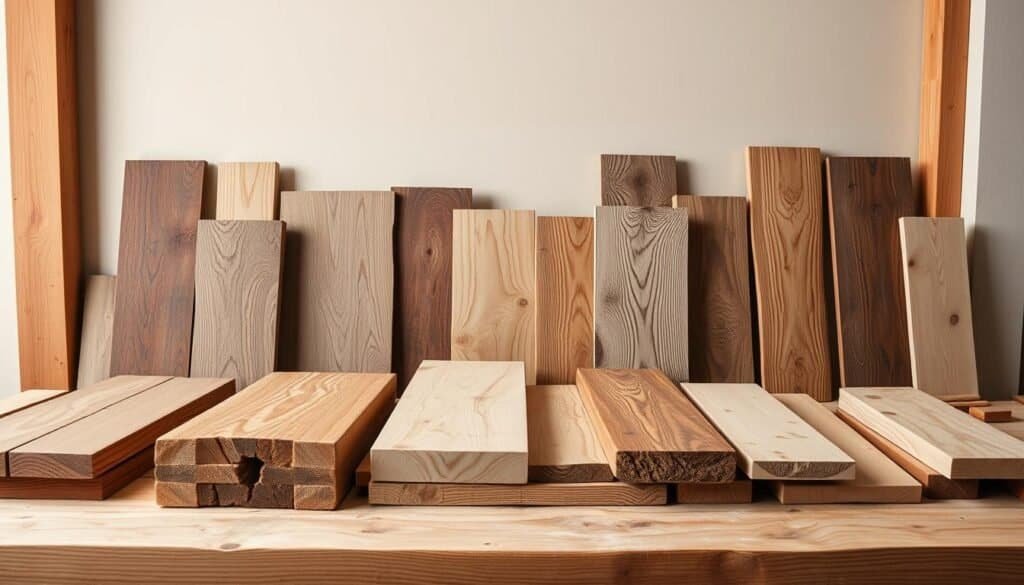
Basswood is a softwood great for beginners. It’s soft and easy to shape, perfect for simple projects. Plus, it’s cheap and easy to find.
Pine: Affordable and Accessible
Pine is another good choice for beginners. It’s a softwood that’s easy to get and won’t break the bank. You can use it for many projects, from decorations to useful items.
Cedar: Aromatic and Beautiful
Cedar is a durable wood with a nice smell. It’s a bit harder to work with than basswood or pine. But its beauty makes it worth the extra effort.
Knowing about these woods helps you choose the best one for your project. Whether it’s a simple or complex project, picking the right wood is the first step to success.
Project Idea #1: Personalized Wooden Coasters
Looking for a simple yet meaningful wood crafting project? Try making personalized wooden coasters. This DIY home decor project lets you create functional items. You can add names, dates, or special messages, making them unique gifts or home additions.
Cutting and Sanding
Begin by cutting your chosen wood into coaster-sized pieces. Hardwoods like oak or maple are good choices. After cutting, sand the coasters to smooth out any rough edges or surfaces. This step is key for comfort and looks.
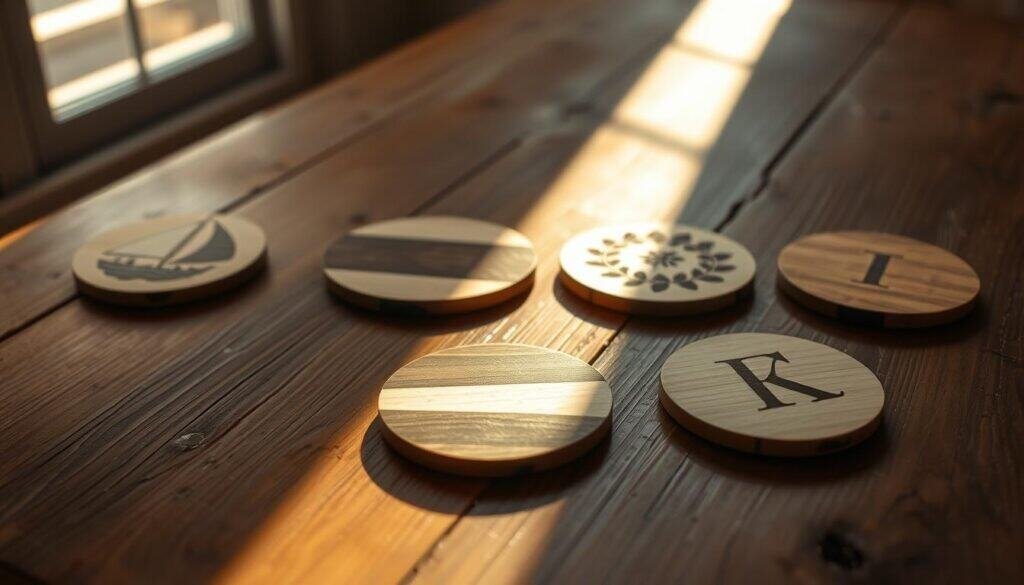
With your coasters sanded, use your Dremel rotary tool to add designs or text. You can make detailed patterns, monograms, or small images. The Dremel’s versatility makes it ideal for wood carving ideas. Try different bits and techniques to get the look you want.
Finishing with Wood Burning Accents
For extra personal touch, use a wood burning tool to add accents. Wood burning can give your coasters a rustic or vintage look. Just be careful and work in a well-ventilated area, as it releases fumes.
After designing and burning, apply a finish to protect the wood and enhance its look. Use a clear varnish or oil, depending on the sheen and protection you want. Your personalized wooden coasters are now ready to use or give as gifts, showing off your craftsmanship.
Project Idea #2: Rustic Wood Slice Wall Art
Rustic wood slice wall art is a unique DIY project. It combines the natural beauty of wood with your creativity. You can use wood burning and carving to make it truly yours.
Preparing Your Wood Slice
To start, pick a dry, crack-free wood slice. Sand it to smooth out any rough spots. This makes a clean base for your design.
If the wood is very rough, a Dremel rotary tool might be needed. Always wear safety glasses and a dust mask when sanding or grinding.
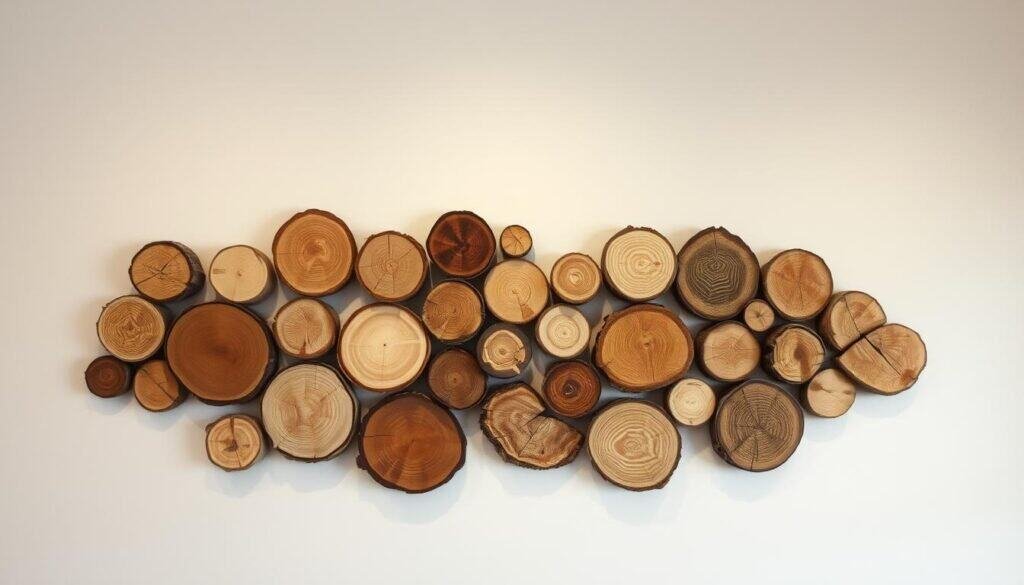
After preparing the wood, it’s time to add your design. You can draw it with a pencil or use a transfer method for complex designs. For detailed work, a wood burning tool with a fine tip is best.
Combining Carving and Burning Techniques
To add depth, mix carving and burning. Use a knife or Dremel for carving, then a wood burning tool for shading. This mix creates a striking piece that highlights the wood’s natural beauty.
Try different patterns and designs to find what you like. Adding elements like leaves or branches can make it feel more rustic.
Project Idea #3: Hand-Carved Wooden Spoons
Creating hand-carved wooden spoons is a rewarding project for beginners. It lets you express your creativity and make something useful and lovely.
These wooden spoons are not just a fun whittling project. They also make unique kitchen tools. The process includes several steps: shaping the wood, carving the bowl, and refining the handle.
Roughing Out the Shape
The first step is to shape the wood into a spoon. Choose wood that’s good for carving and strong for kitchen use. Use a whittling knife or a Dremel to sketch the spoon’s shape.

Next, carve the bowl of the spoon. Make precise cuts to get the right depth and shape. Use pushing and pulling strokes with your knife, keeping the wood thick to avoid breaking.
Refining the Handle
The last step is to smooth the handle. Sand it to remove any rough spots. You can also add designs or textures to make it more comfortable and pretty. This step improves the spoon’s use and adds a personal touch.
By following these steps, you can make beautiful wooden spoons. They’re great as gifts or for your kitchen. This project helps you improve your woodworking skills and try new ideas.
Project Idea #4: Small Decorative Wooden Box
Looking for a simple yet elegant woodworking project? Try making a small decorative wooden box. It’s great for beginners or those wanting a quick DIY project to enhance any room.
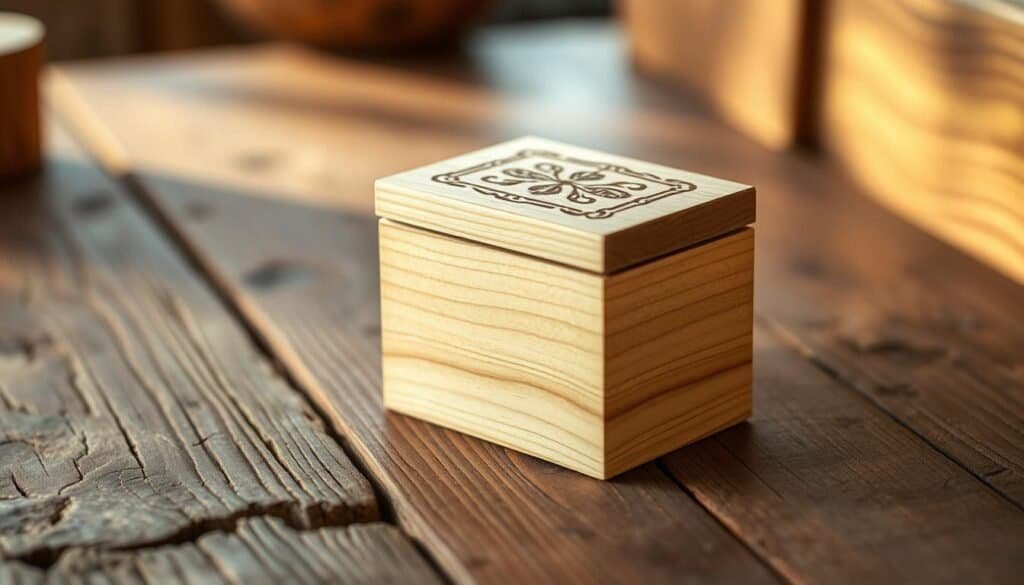
To start your small decorative wooden box, create the base. Choose a piece of wood that matches your desired size. Cut it into the needed pieces for the sides and bottom.
Use wood glue and small nails to assemble these pieces. Make sure the corners are tight and the base is strong.
Crafting a Simple Lid
For the lid, cut a piece of wood a bit larger than the box’s top. Attach hinges to one side of the lid and the box. This lets it open and close smoothly.
You can also add a small handle or knob for easier opening.
Adding Decorative Elements
To make your box look better, add some decorative touches. Use a wood burning tool to create patterns or designs on the lid and sides. Or, stain or paint the box to match your home decor.
Finish it with a coat of varnish for protection and a glossy look.
Making a small decorative wooden box is a fun and rewarding DIY project. It can be customized to fit your style. Whether it’s a gift or for yourself, this project brings satisfaction and a sense of accomplishment.
Project Idea #5: Wood-Burned Picture Frames
You can make stunning wood-burned picture frames with the right tools and skills. These frames are a creative way to show off your favorite memories.
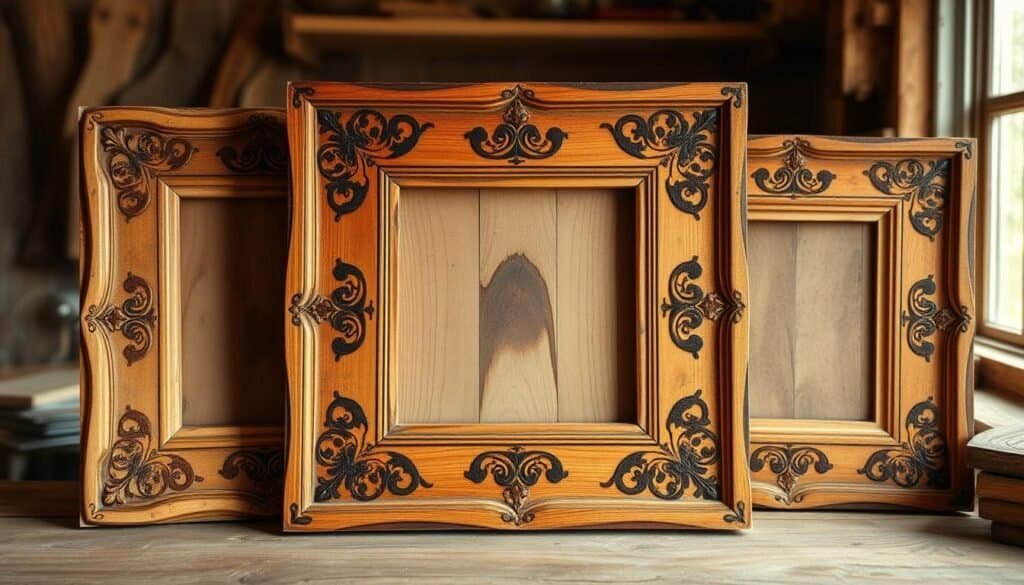
First, prepare your frame. Pick a frame from wood like basswood or birch. Sand it to make the surface smooth.
Transferring Patterns
To get detailed designs, transfer your pattern onto the wood. You can find free pyrography patterns online or make your own. Lightly draw the design with a pencil or use transfer paper for detailed patterns.
Burning Techniques for Different Effects
Try different burning techniques for various looks. Start with simple tutorials if you’re new to wood burning. Changing the tool’s temperature and tip can create different shades and textures.
By mixing these techniques with patterns, you can make unique frames. This project is great for both experienced crafters and beginners. It lets you express your creativity and make something beautiful for your home.
Troubleshooting Common Beginner Mistakes
Woodworking is not just about making something beautiful. It’s also about learning to fix mistakes. Troubleshooting is key for beginners, helping them overcome challenges and improve their work.
Preventing Wood Burn
Wood burn is a common problem for beginners. It can ruin a project’s finish. To avoid it, make sure your wood burning tool is at the right temperature. Always move it smoothly and steadily.
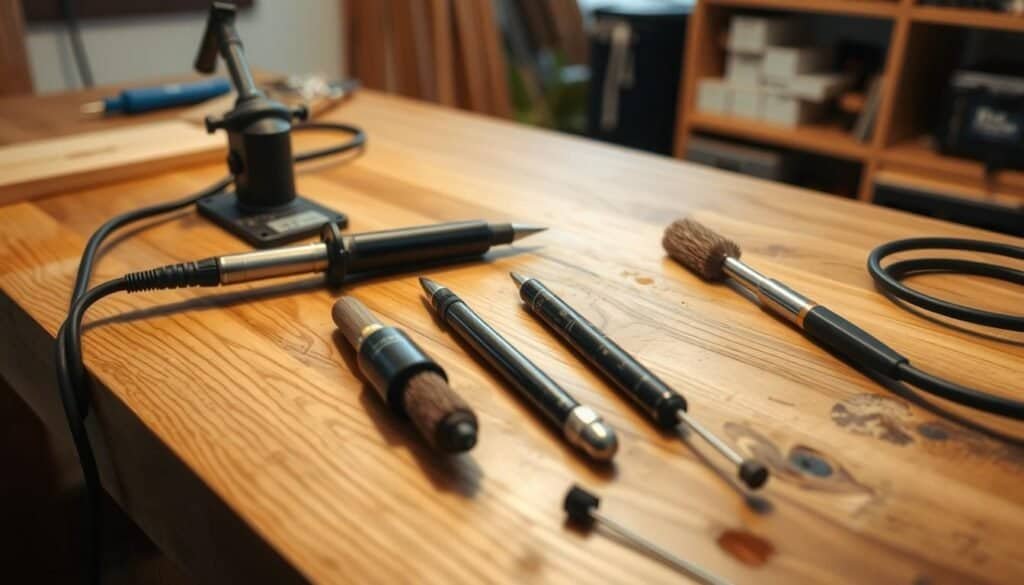
It’s important to control how deep your burn or cut goes. Practice with different pressures and speeds to see how your tools work.
Uneven Burns
Uneven burns happen when your speed or pressure is not steady. Keep your hand steady and practice on scrap wood before your real project.
Temperature Control
Keeping the right temperature is critical with wood burning tools. Too high, and the wood might burn too much or unevenly. Try different temperatures to find what works for your project.
Dealing with Grain Direction
Working with the grain direction is important to avoid mistakes. Always cut or burn in the grain direction to prevent splintering or tearing.
Preventing Splits and Cracks
Splits and cracks can happen if the wood dries out or is handled wrong. Make sure your wood is dry and stored right. Handle it gently to avoid stress.
Knowing these common mistakes and how to prevent them can help beginners improve their woodworking. This way, they can have a more successful crafting experience.
Taking Your Skills to the Next Level
Now that you have the basics down, it’s time to explore advanced woodworking techniques. This is where the real fun starts. You’ll tackle more complex projects and hone your skills.
One way to grow is by taking on projects for advanced woodworkers. These might include detailed joinery, complex designs, or various woods. By doing so, you’ll improve your technique and learn to solve problems.
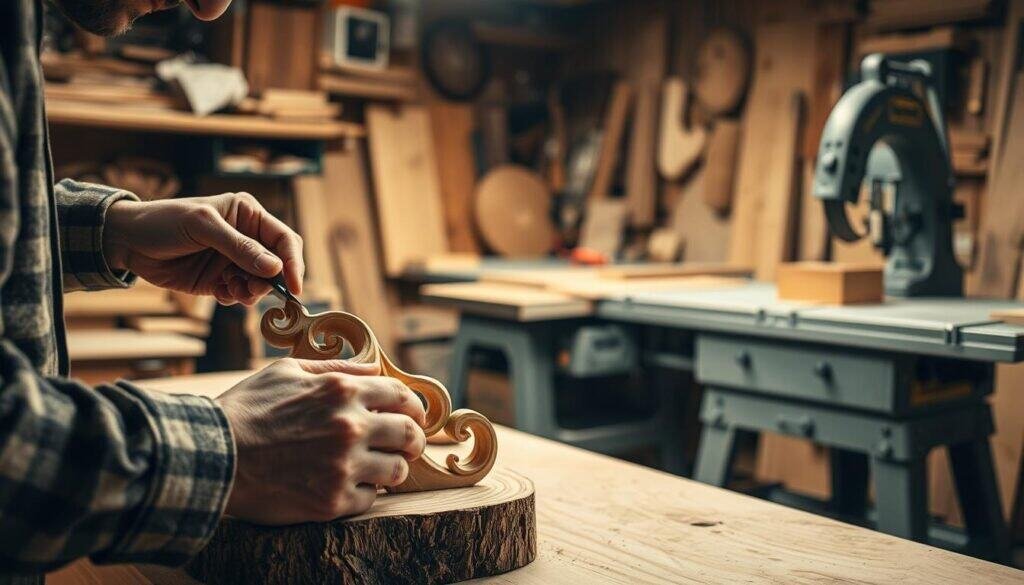
Improving also means trying new tools and methods. Think about using CNC machines or traditional hand carving. This will boost your skills and make your work more interesting.
Joining a woodworking community or taking advanced classes can also help. Learning from others and sharing your work can speed up your progress.
By facing these challenges and always looking to improve, you’ll not only get better at woodworking. You’ll also enjoy your craft more.
Turning Your Hobby Into a Side Business
With the right strategy, you can turn your love for woodworking into a successful side business. Many enthusiasts have already made the transition. With the growing demand for handmade products, now is a great time to start.
Craft Fairs and Local Markets
Participating in craft fairs and local markets is a great way to show off your handmade wood products. These events let you meet customers, get feedback, and build a local base. Make sure your products look good and have clear prices.
Online Platforms
Using online platforms is key to reaching more customers. Sites like Etsy, eBay, and Amazon Handmade are great for selling handmade crafts. You can also create a professional online store or use social media to show off your products.
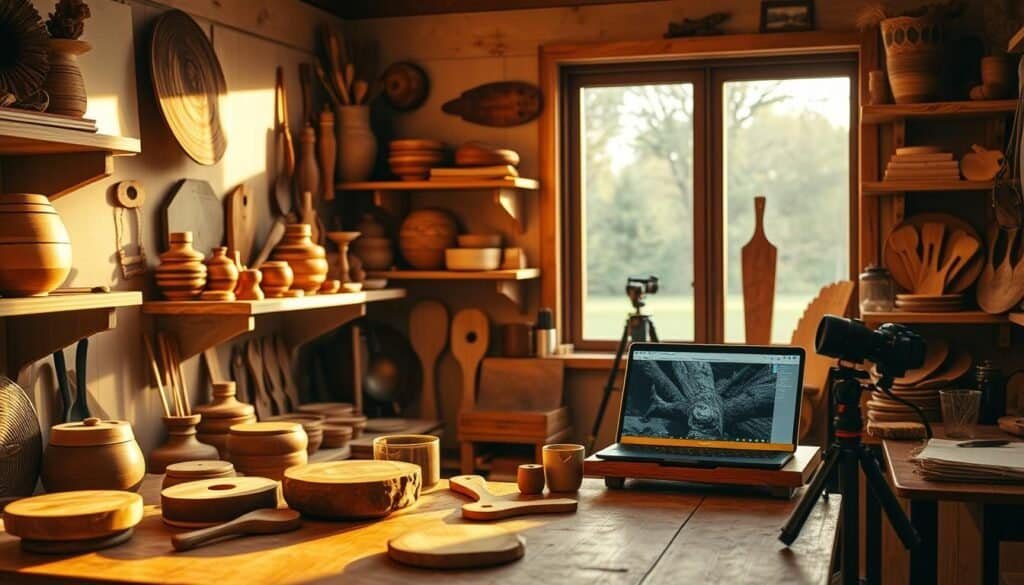
Social media like Instagram, Facebook, and Pinterest are great for marketing your woodworking. Share high-quality images, talk to your audience, and use hashtags to get noticed. Running ads on these platforms can also help you find customers looking for handmade items.
By using these strategies, you can make your woodworking hobby into a profitable side business. Focus on building a strong brand and providing great customer service for long-term success.
The Therapeutic Benefits of Woodworking
Woodworking is more than just making things with your hands. It’s a way to find peace and calm. Working on woodworking projects can greatly improve your mental and emotional health.
Woodworking is great for reducing stress. It requires your full attention, which can take your mind off daily problems. Plus, the physical act of working with wood can be as soothing as meditation or yoga.
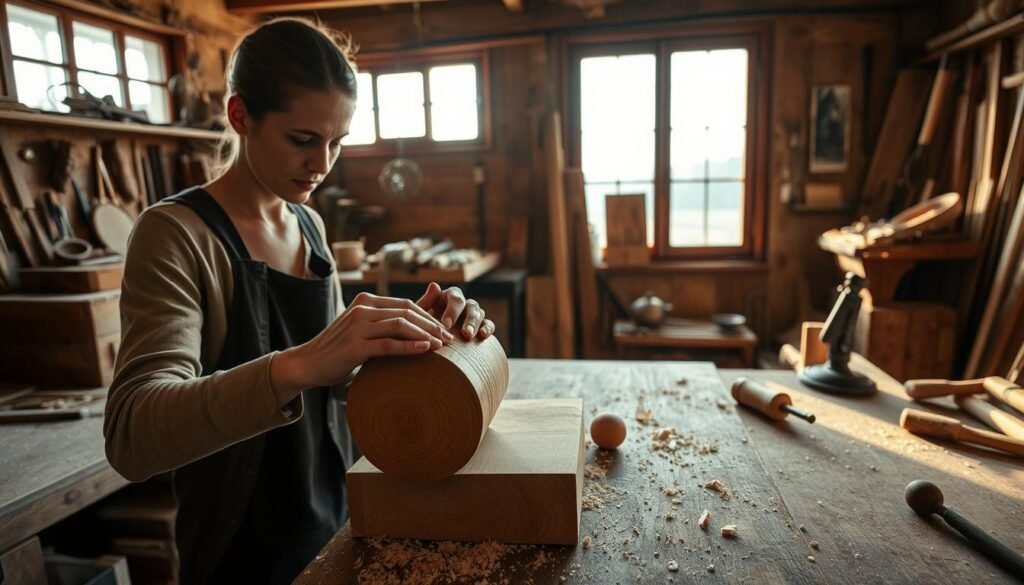
It also boosts your mental health by making you feel proud of what you’ve made. This is very helpful for people with anxiety or depression. It gives them something real to show for their hard work.
Adding woodworking to your daily life can make you healthier and more balanced. As you learn more about its benefits, you might find it’s essential for taking care of yourself.
Conclusion: Rediscovering the Joy of Working With Wood
Woodworking is a mix of creativity, relaxation, and personal satisfaction. With tools like the Dremel Rotary Tool, Wood Burning Tool, and Whittling Knife, you can find joy in woodworking. You’ll make beautiful pieces that show your personality.
DIY woodworking projects give you a sense of accomplishment and new skills. Start small and be patient, even if you’re a beginner. As you work with wood, you’ll find it’s good for your mind and boosts your creativity.
Woodworking lets you make both useful items and decorative pieces. It’s a chance to explore your creativity and enjoy DIY projects. So, grab your tools, pick a project, and let woodworking inspire you to make something amazing.

