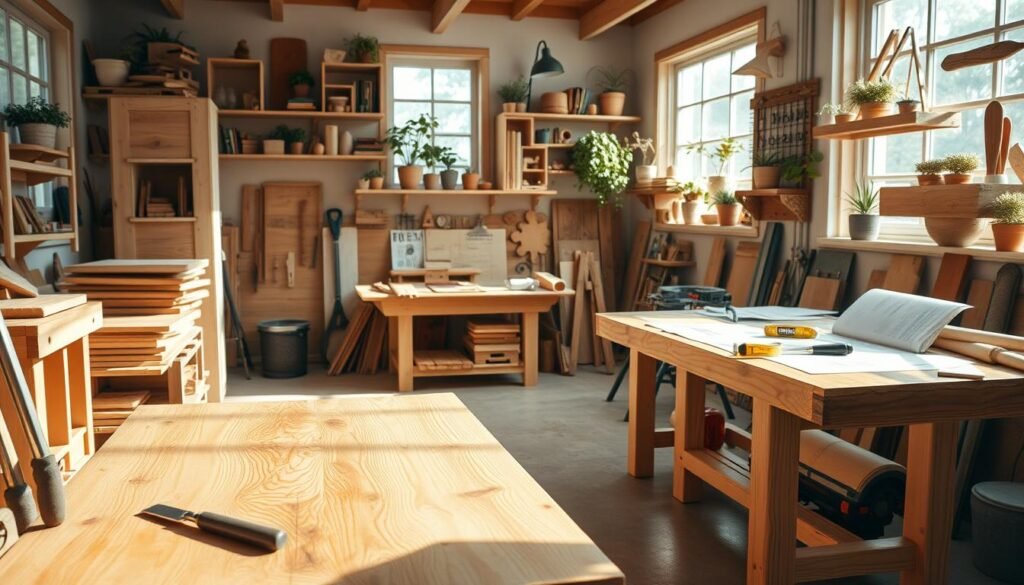
Getting a beautiful finish on wood projects is more than just stain and sealer. It takes knowing the right techniques and tips to make your work shine.
If you love DIY or are a pro woodworker, learning wood finishing is key. This guide covers the basics, like prep, stains, and sealers. You’ll learn how to make your projects stand out.
Follow these expert tips to create stunning pieces. Show off your skill and care in every detail.
Understanding Wood Finishing Fundamentals
Wood finishing is more than just stain or sealant. It’s about knowing the basics that really count. To get a pro finish, you need a solid plan, starting with prep work.
Prep is essential. Sand the wood smooth, fill gaps, and clean off dust. This makes sure the stain or sealant sticks well and looks right.
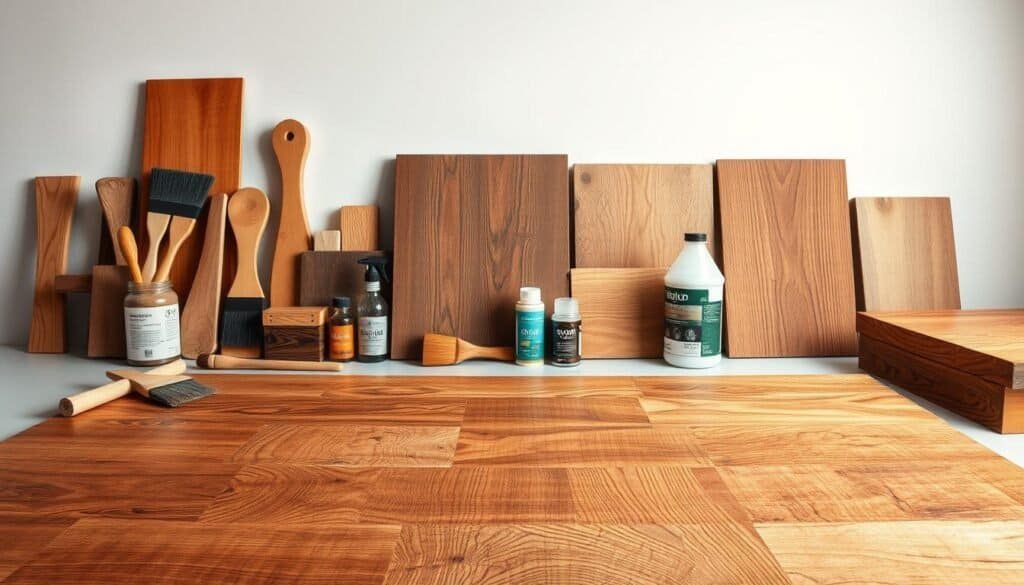
There are many finishes out there, like oil-based, water-based, and wax. Each has its own benefits and uses. For example, oil-based finishes are tough, while water-based ones are quicker to dry and easier to clean.
Knowing how to stain and seal wood is key. Staining brings out the wood’s color and grain. Sealing protects it from damage. A good tutorial can show you how to do it right.
With the right techniques and knowledge, you can make your woodwork look amazing. Whether you’re a DIY fan or a pro, the right tools and methods can make a huge difference.
Essential Preparation Steps Before Finishing
To get a smooth finish, you need to prepare your wood surface right. This means more than just sanding. It’s about paying attention to details and using the right methods.
Sanding is a key step. It makes the wood smooth and removes old finishes or blemishes. For a rustic look, you might want to keep some texture. But for most projects, a smooth finish is better.
Grit Progression for Perfect Surfaces
To get a perfect surface, use different grits of sandpaper. Start with a coarse grit (80-100) to remove old finishes or blemishes. Then, use a medium grit (120-150) for smoothing. Finish with a fine grit (220-240) for a silky finish.
Sanding With the Grain
Always sand with the wood grain, not against it. Sanding against the grain can leave scratches that are hard to remove. Always follow the wood grain direction for the best results.
Other steps include cleaning the surface to remove dust and debris. You also need to fill holes or gaps with wood filler. Let the filler dry, then sand it down to a smooth finish.
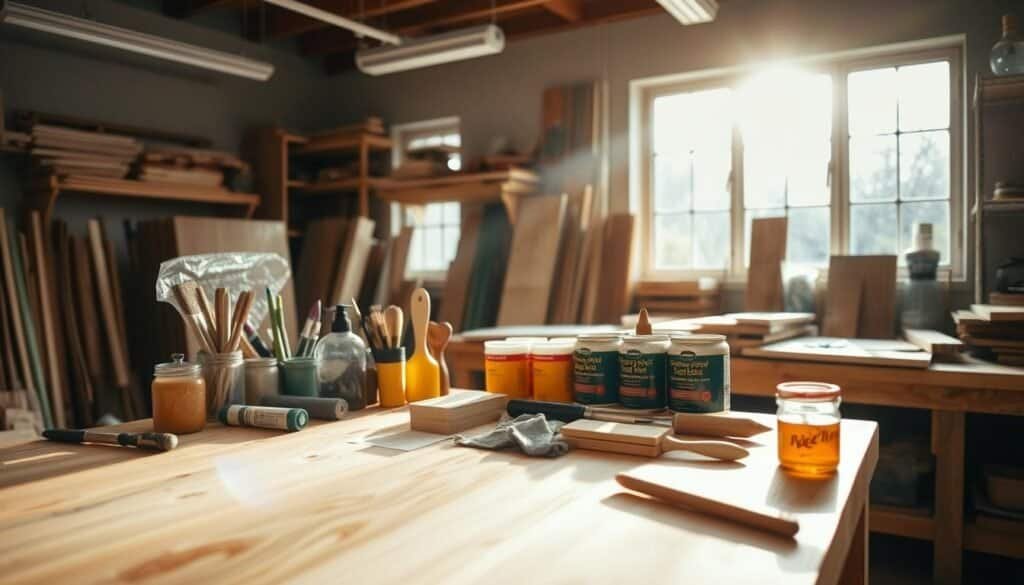
By following these steps, you’ll get a professional-looking finish on your wood project. Whether you want a rustic look or a polished finish, proper preparation is essential.
Top Finishing Techniques: Staining and Sealing Wood
Staining and sealing wood can greatly improve its look. Whether it’s a small DIY project or a big piece of furniture, knowing the best techniques is key. This knowledge helps you achieve a professional finish.
Using an HVLP (High Volume, Low Pressure) sprayer is a top choice for applying stain and sealant. It’s known for giving a smooth, even finish.
HVLP Sprayer Benefits
HVLP sprayers are great for several reasons. They cut down on overspray, making them cleaner and more efficient than old spray guns. They also work well on big surfaces, saving time and material.
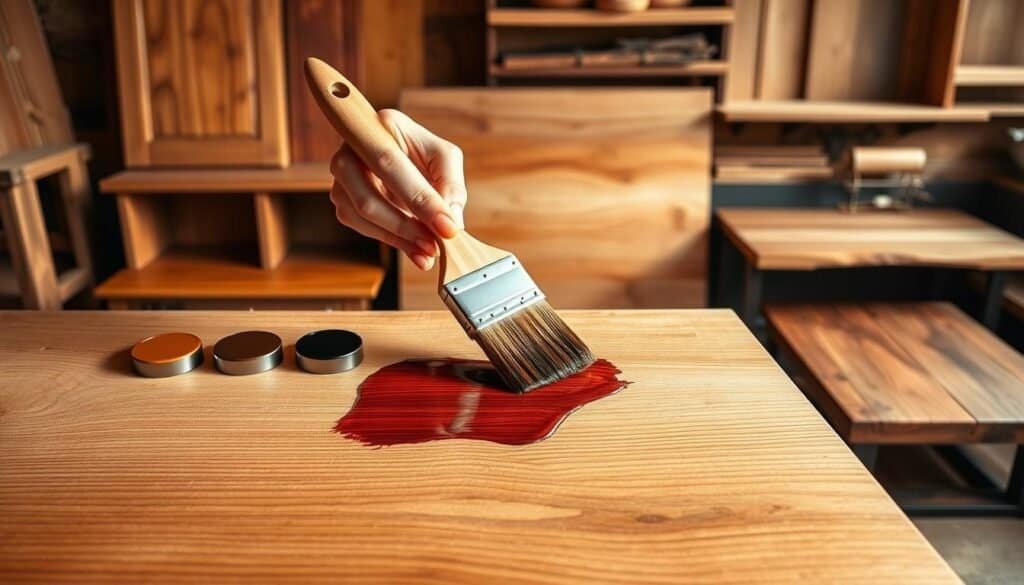
Aerosol cans are perfect for small projects. They’re easy to use and set up, ideal for small details or touch-ups. Aerosol cans also help get a uniform finish on small, detailed pieces.
In conclusion, mastering wood finishing techniques means picking the right tools for your job. Choose an HVLP sprayer for big projects or aerosol cans for small ones. The secret to a great finish is preparation and how you apply it. By knowing the benefits of each method and picking the best products, you can get a professional-looking wood finish.
Understanding Different Types of Wood Stains
It’s key to know the various wood stains to get the look you want for your woodwork. With many choices, picking the right stain can feel overwhelming. The stain you pick depends on the wood type, color you want, and the project’s use.
There are many wood stains, each with its own traits. Oil-based stains last long and bring out rich colors. Water-based stains are quicker to dry and easier to clean up. Gel stains are thick, giving a smooth finish, perfect for detailed woodwork.
Think about the wood type when choosing a stain. Different woods take stain differently, changing the color. For instance, pine wood soaks up more stain than oak, making it darker.
The color you want is also important. Wood stains range from natural tones to bold colors. For a natural look, pick a stain that brings out the wood’s natural color.
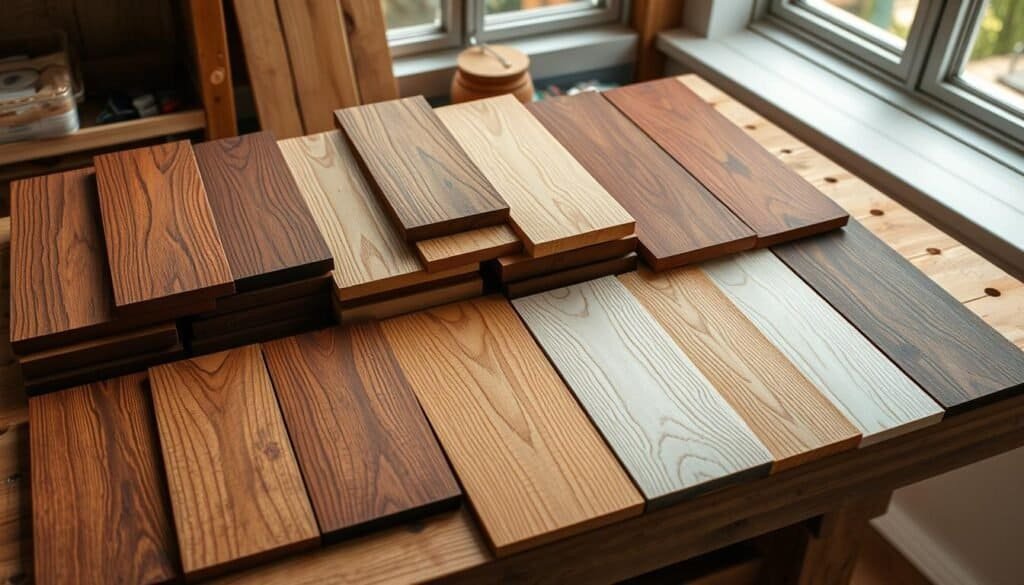
Also, consider how the project will be used. If it will face the outdoors, choose a stain that’s weather-resistant and UV-proof.
By considering these points and knowing the various wood stains, you can pick the best one for your project. This will help you achieve the look you desire.
Exploring Wood Sealer Options
There are many wood sealer options out there. It’s important to pick the right one for your needs. The right sealer can make your woodwork last longer and look better. We’ll look at the different types of sealers, what they offer, and how to use them.
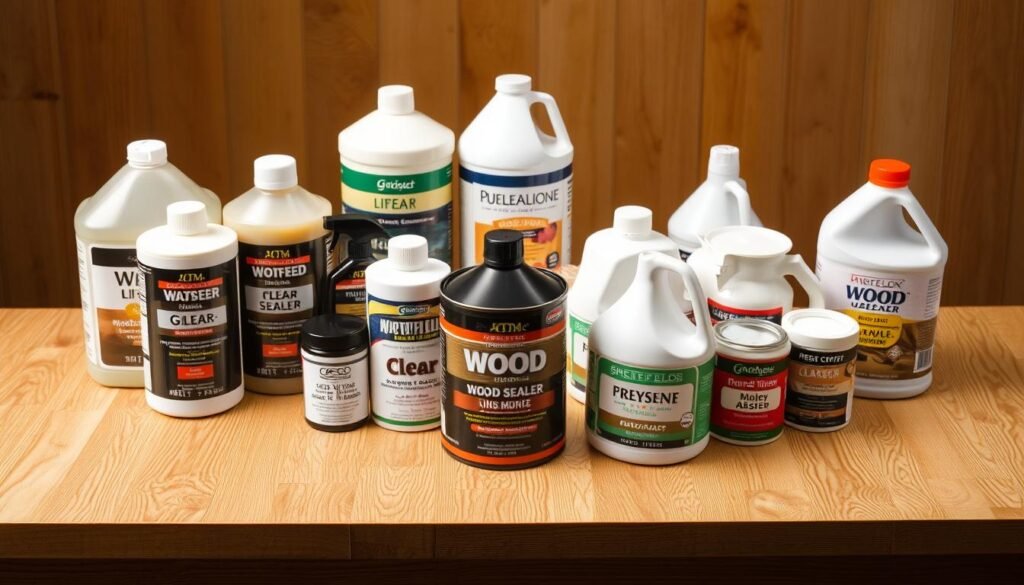
When choosing a sealer, you have to decide between water-based and oil-based polyurethane. Water-based polyurethane dries fast and has a low smell, perfect for indoor projects. Oil-based polyurethane gives a harder finish but takes longer to dry and has stronger fumes.
If you need a quick finish, water-based might be best. But for pieces that will get a lot of use, oil-based is better because it’s more durable.
Application Techniques for Smooth Results
To get a smooth finish, you need to apply the sealer right. First, make sure the surface is clean and dry. Then, apply thin coats, letting each dry before adding the next. Sanding between coats helps too.
For professional sealing, follow the maker’s instructions carefully. Take your time between coats. Using the best products and techniques will give you a beautiful, lasting finish.
Knowing about wood sealer options and how to apply them helps protect and enhance your woodwork. Whether it’s a DIY project or a professional job, picking the right sealer and method is key to success.
Achieving Natural Wood Stain Colors
The secret to getting natural wood stain colors is in the techniques. To make the wood look its best, you need to pick the right staining methods. Stains that match the wood’s color and grain are key.
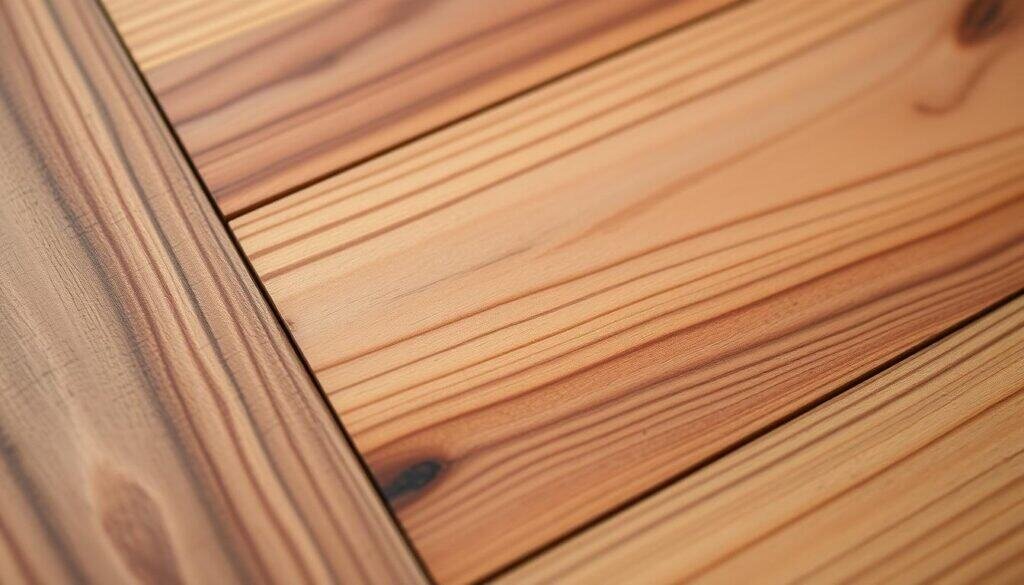
Testing and sampling are critical steps. Always test the stain on a small, hidden area first. This ensures the color looks right and doesn’t harm the wood.
There are many wood stains to choose from for natural colors. Oil-based stains go deep into the wood, making colors rich and vibrant. Water-based stains give a softer, more natural look. The right stain depends on the wood type and finish you want.
Knowing how to stain wood is important for the right color. You can use wiping, brushing, or spraying, each giving a different look. Wiping, for example, can make the wood look more rustic by showing off its natural texture.
With the right stain and technique, and careful testing, you can get stunning natural wood stain colors. These colors will bring out the beauty of the rustic wood.
Specialized Wood Finishing Techniques
Looking to add a unique touch to your woodwork? Exploring specialized finishing techniques is a must. These advanced methods can turn ordinary wood into extraordinary pieces. They offer a level of character and depth that’s hard to achieve with standard techniques.
One of the most striking techniques is the Traditional Japanese Shou Sugi Ban method. This ancient technique involves charring the wood to create a durable, beautiful finish.
Traditional Japanese Shou Sugi Ban Method
The Shou Sugi Ban method, also known as Yakisugi, burns the wood’s surface to create a carbonized layer. This layer is not only visually appealing but also provides natural resistance to rot, insects, and weathering. The process requires careful control of the flame to achieve the desired level of charring.
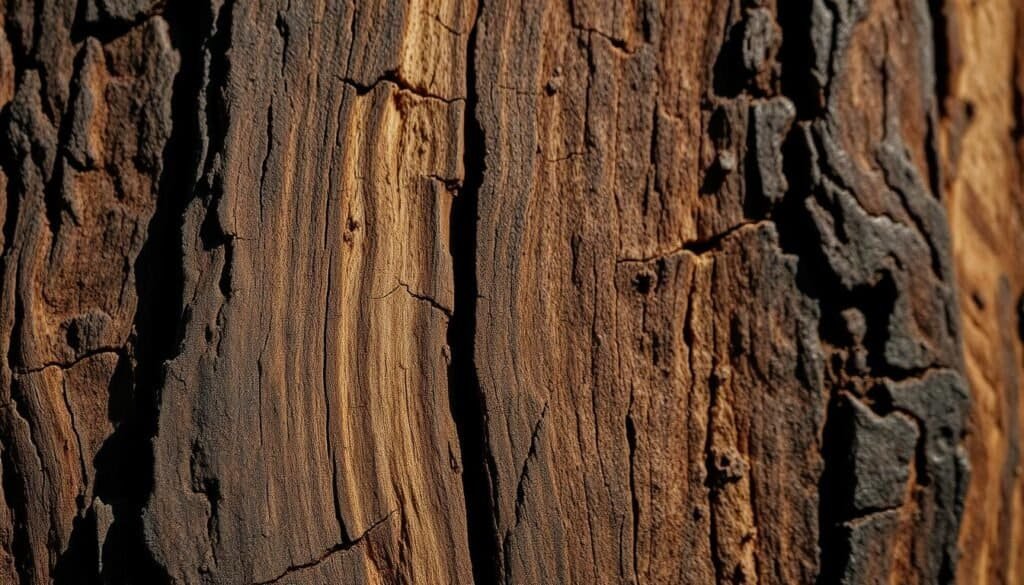
While the traditional Shou Sugi Ban method is captivating, modern adaptations make it more accessible for DIY projects. Using a torch or other controlled burning methods, craftsmen can achieve a similar burnt wood finish without extensive training. This technique can be combined with other finishes, like wood look paint, to create truly unique pieces.
By incorporating specialized wood finishing techniques like Shou Sugi Ban into your projects, you can achieve professional-looking results. Whether you’re working on a small decorative item or a large piece of furniture, these techniques offer endless possibilities for creativity and customization.
Farmhouse Stain Colors and Techniques
Rustic wood and distressed finishes are key in farmhouse style. The right stain colors and techniques can bring this look to life. Farmhouse stain colors often include earthy tones like weathered wood, vintage gray, and distressed whites.
To get these unique farmhouse stain colors, different wood staining techniques are used. A washcoat or whitewash finish can give wood a soft, muted look. Layering different stains can also create a distressed, multi-dimensional look.
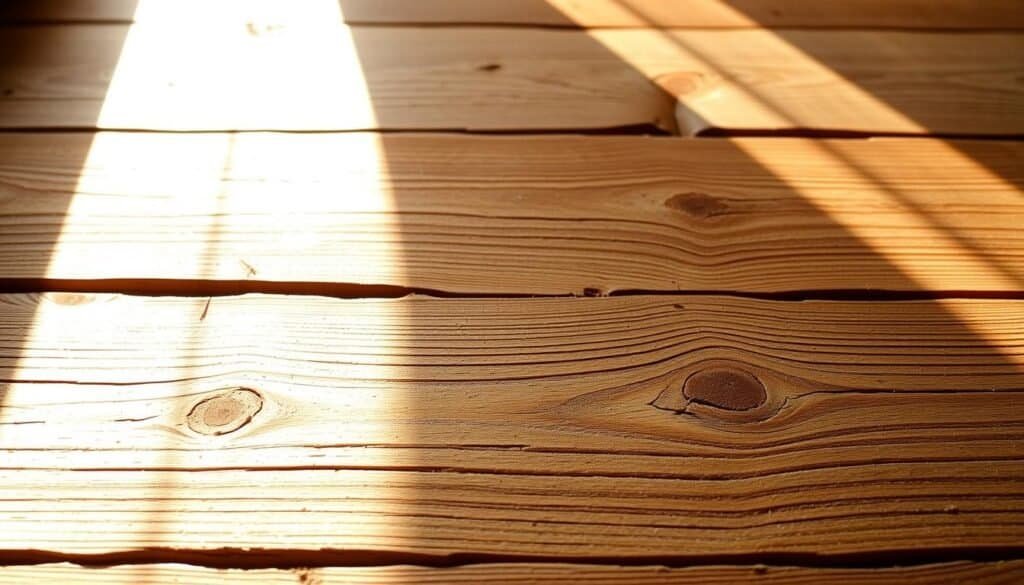
Mastering farmhouse stain colors and techniques means trying out different products and methods. Mixing a dark stain with a lighter topcoat can create a beautiful distressed finish on rustic wood. It’s also important to think about the wood type, as different woods react differently to stains and techniques.
Understanding and using these wood staining techniques can help you achieve a genuine farmhouse look. This look adds warmth and character to your projects. Whether it’s a rustic wooden table or a vintage-inspired cabinet, the right stain colors and techniques make a big difference.
Finishing Reclaimed Wood Projects
Finishing reclaimed wood is key to revealing its charm. Each piece has a story and character that can be highlighted or lost with the right techniques.
Start by cleaning and preparing the wood. Remove dirt, grime, or old finishes gently. Use a soft-bristled brush and a mild cleaning solution to protect the wood.

Choosing the right stain is also important. It should match the wood’s natural color and enhance its beauty. Opt for a stain made for reclaimed wood to get the best results.
After staining, apply a finish to protect and highlight the wood. You can use polyurethane or wax, depending on the look and protection you want. The goal is to show off the wood’s beauty without hiding it.
By using these techniques, DIY fans can make stunning and lasting projects. Whether it’s a table or a staining project, the right finish makes all the difference.
Early American Stain on Pine: A Classic Combination
Woodworkers have used Early American stain on pine for generations. This mix is loved for its warm tones that bring character to any project.
Early American stain works well with pine because it highlights the wood’s grain and adds a classic color. To get this look, sand the pine wood well. Make sure it’s smooth and free of dust.
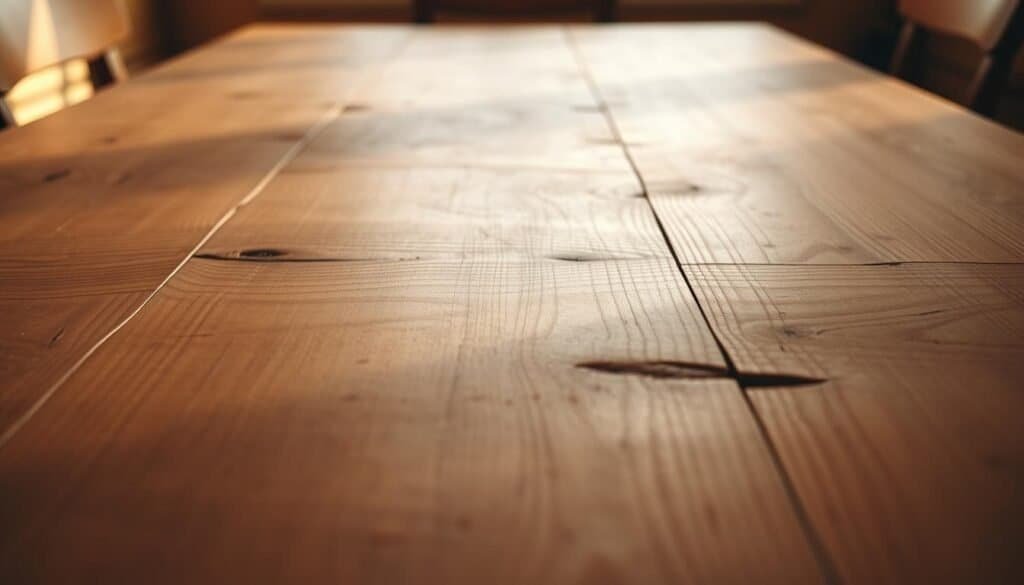
When you apply Early American stain, follow the instructions carefully. Test it on a small area first. This step ensures the right color and avoids any problems.
Using Early American stain on pine makes any room feel warm and welcoming. The right shade and application can create a beautiful finish. This finish suits many decorating styles.
In summary, Early American stain on pine is a great choice for woodworking. Knowing the right techniques and stain color helps woodworkers make pieces that are both useful and beautiful.
Indoor vs. Outdoor Wood Finishing
Indoor and outdoor wood finishing need different methods to last and look good. The main difference is in the finish type and protection needed against the weather.
Indoor wood projects focus on looks with stains and finishes that last. Outdoor projects need finishes that protect against weather, UV rays, and moisture.
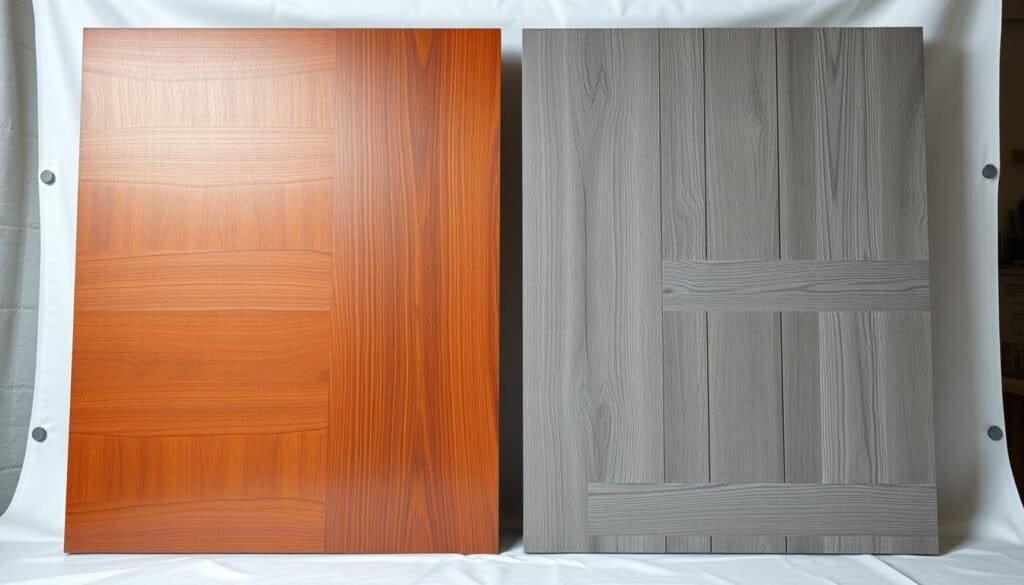
Outdoor wood finishing uses water-resistant and UV-stable finishes. This keeps the wood from breaking down. Choosing the right wood sealer is key for all weather conditions.
Seasonal Care for Outdoor Furniture
Outdoor furniture needs regular care. This includes cleaning and applying new finishes every season. It keeps the furniture looking and lasting well.
Refinishing Timelines for Different Exposures
How often to refinish outdoor wood depends on weather exposure. Sun-exposed or rainy areas need more frequent refinishing. Shaded spots may need less.
Knowing these differences and using professional wood sealing can make both indoor and outdoor wood last longer.
Professional Wood Sealing Techniques
To get a top-notch finish, you need to learn how to seal wood well. Woodworkers know sealing wood is more than just a protective layer. It’s also about bringing out the wood’s natural beauty.
There are many wood sealer options out there, each with its own perks. Professionals might pick between water-based and oil-based sealers, based on the project. Water-based ones are great for indoor use because they dry fast and are eco-friendly. Oil-based sealers, though, give a tough finish and are best for outdoor projects.
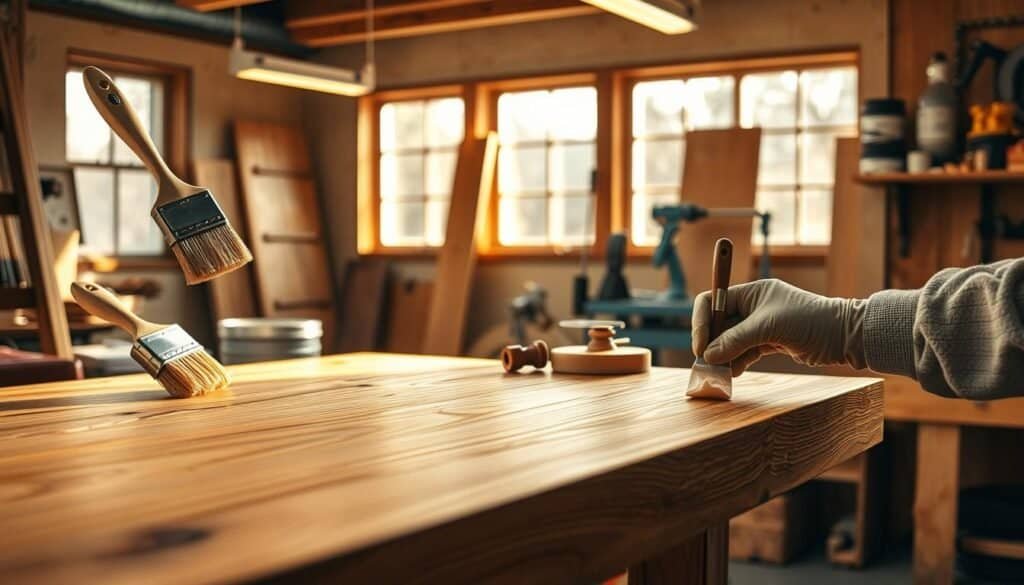
How you apply the sealer is key to a smooth finish. Pros use brushing, rolling, or spraying to spread it evenly. The method depends on the project’s size and how complex it is.
To keep the finish looking good for a long time, follow some best practices. Make sure the wood is ready, apply thin coats, and let the sealer dry as the maker says. By learning these techniques, you can keep your woodwork safe and looking great for years.
Choosing the right wood finishing products is important. Pros look at durability, how easy it is to apply, and if it’s good for the environment. Popular choices include polyurethane, varnish, and wax. By picking the right sealer and using the right techniques, you can get a finish that makes the wood look amazing.
Troubleshooting Common Wood Finishing Problems
Troubleshooting is key for anyone in wood finishing. Even with top techniques, problems can pop up. Issues like uneven finishes, stain blotches, and defects can mess up your woodwork’s look.
Knowing how to fix these problems is vital for a pro finish. Whether you’re doing a DIY stain job or a big wood finishing project, solving common issues saves time and materials.
For small damage, like scratches or uneven stain, spot repairs work well. Wood finishing experts recommend using fine-grit sandpaper to smooth the area. Then, apply a touch-up stain or finish coat.
Complete Refinishing Approaches
For bigger damage, you might need to refinish the whole piece. This means stripping the old finish, sanding the wood, and applying new stain and finish. It’s more time-consuming but can make the wood look new again.
Learning to troubleshoot and knowing when to do spot repairs or full refinishing helps you fix common problems. Wood finishing experts stress the need for patience and detail in this process.
For DIY fans and pros, knowing how to fix wood finishing issues is super valuable. It improves the quality of your work and makes woodworking less stressful.
Best Wood Finishing Products for DIY Projects
The world of wood finishing products is vast. Knowing the best options for DIY projects can make things easier. It’s important to understand the characteristics, advantages, and disadvantages of each product.
Choosing the right stain is key for DIY wood staining. Oil-based stains are durable, while water-based stains are easier to clean up and dry faster. Minwax’s oil-based stain is a favorite for its rich color and durability.
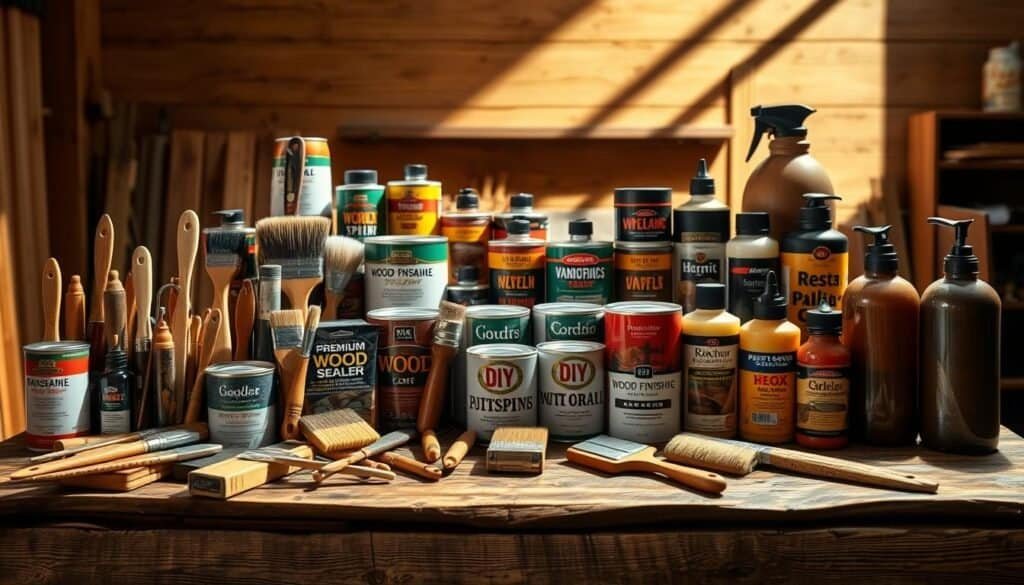
For sealing wood, polyurethane-based sealers are top choices for their protection. Water-based sealers are also popular for being eco-friendly and having low VOC emissions. Brands like Varathane and General Finishes offer quality sealers for DIY projects.
The finish you choose greatly affects your project’s look. Polyurethane finishes are durable, while wax finishes give a soft, natural look. Knowing techniques like applying thin coats or using a foam brush can improve your project’s finish.
The right wood finishing products depend on your project’s needs. Consider the wood type, desired finish, and your skill level. By choosing reputable brands, you can get a professional-looking finish that enhances your woodwork’s beauty and durability.
Conclusion
Learning the top finishing techniques for staining and sealing wood can make your projects look professional. Whether you’re new to DIY or have been woodworking for years, the right techniques matter a lot.
Expert tips can help you avoid mistakes and get a finish that lasts. Each step, from preparing the wood to the final coat, is important for a beautiful finish.
Now you have the knowledge to improve your wood finishing skills. Try out different techniques and don’t be afraid to experiment. This way, you can create amazing woodwork pieces that show off your talent.

