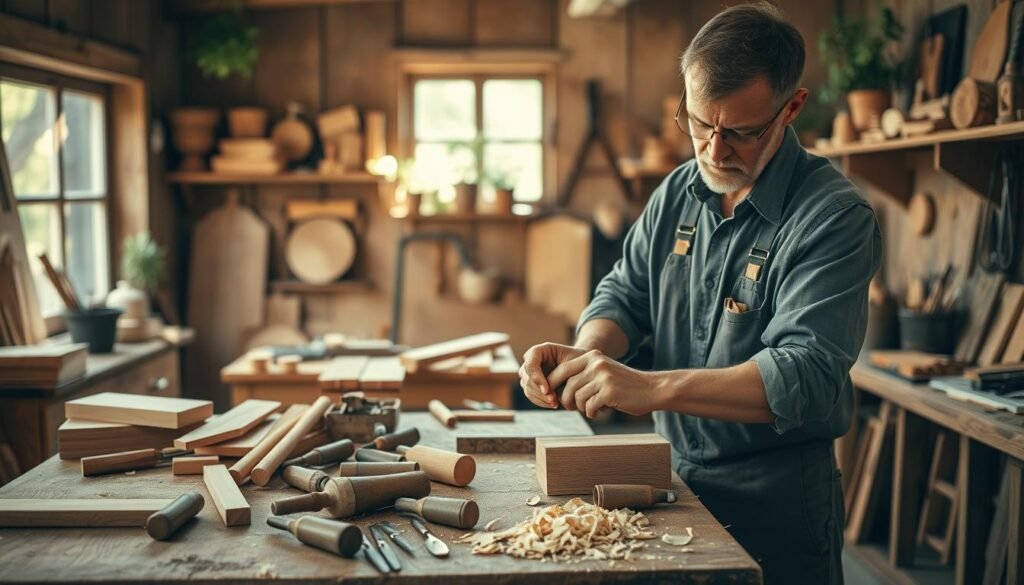
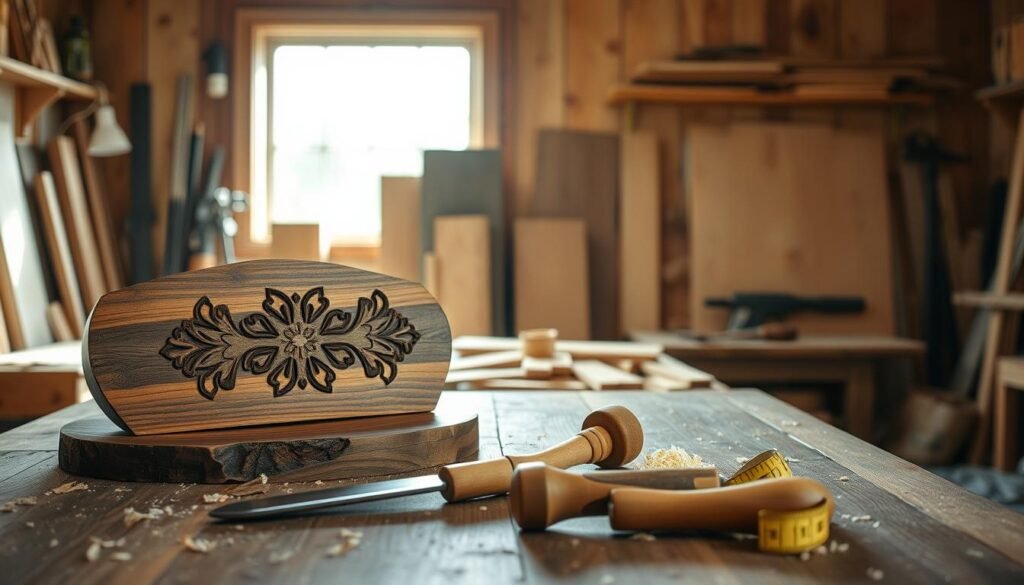
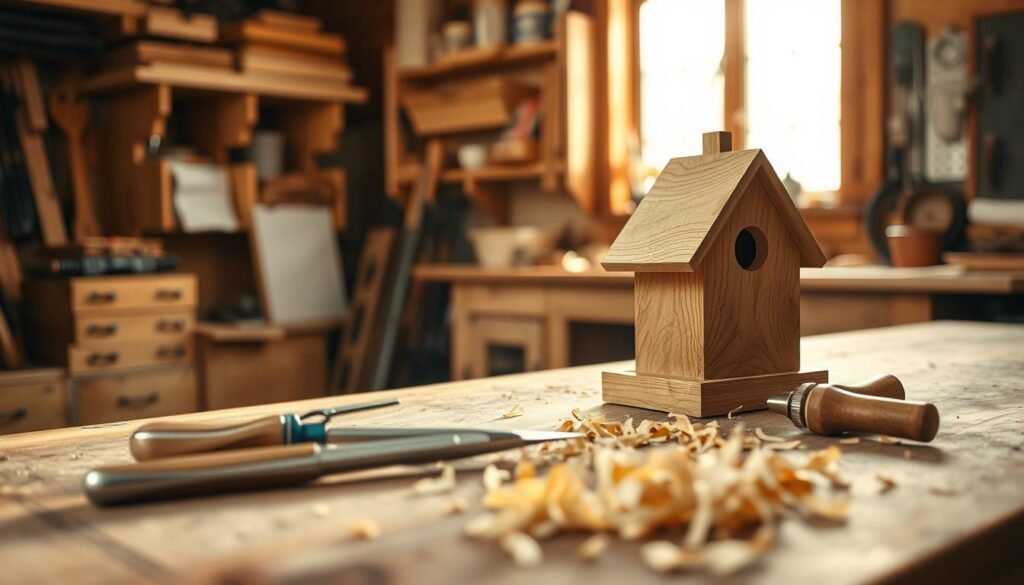
Turning leftover wood into decorative pieces is a great way to reduce waste. It also adds a personal touch to your home. With a little imagination, you can create beautiful items that elevate your living space.
Whether you’re looking to create rustic floating shelves or geometric wall art, there are many DIY wood projects to explore. These creative wood crafts not only help in reducing waste. They also provide an opportunity to showcase your craftsmanship.
By upcycling leftover wood, you can create unique pieces that reflect your style. These pieces add character to any room. Let’s dive into the world of leftover wood projects and discover how to make the most of these materials.
The Beauty of Upcycling: Why Leftover Wood Deserves a Second Life
Upcycling turns old wood into beautiful, useful items. It’s a creative way to reduce waste and give old materials a new purpose. You can make unique items for your home or as gifts.
Upcycling lets you create something truly unique. With a little imagination, you can make upcycled wood projects that are both useful and beautiful. You can make furniture or decorative items from recycled wood.
Essential Hand Tools for Beginners
To start upcycling, you need basic tools. You’ll need a tape measure, square, pencil, hammer, and hand saw. For detailed projects, get chisels, clamps, and sandpaper. These tools make simple wood projects easier.
As you get better, you might want power tools. A circular saw, drill press, and jigsaw make cutting and shaping wood easier. These tools are great for bigger or more complex projects, like small wood projects to sell.
With creativity and the right tools, you can make leftover wood into beautiful, useful items. Upcycling is rewarding for DIY fans and beginners alike. It gives old materials a new life.
From Scrap to Statement: Creative DIY Wood Projects Using Leftovers You Have
Leftover wood can be turned into stunning pieces with a bit of imagination. The secret is in the preparation and creativity.
Removing Nails and Hardware
Start by removing nails or hardware from the wood. Use a claw hammer or pry bar to gently pull out nails. For stubborn nails, a nail puller or pliers can help.
For screws or brackets, use a screwdriver or drill. Be careful not to harm the wood around them.
Sanding and Smoothing Techniques
After removing hardware, sanding is key. Begin with coarse-grit sandpaper (80-100 grit) to smooth out rough spots. Then, move to finer grits (120-150 grit) for a smoother finish.
For an even smoother surface, try a sanding block or orbital sander. Always sand with the wood grain to avoid scratches.
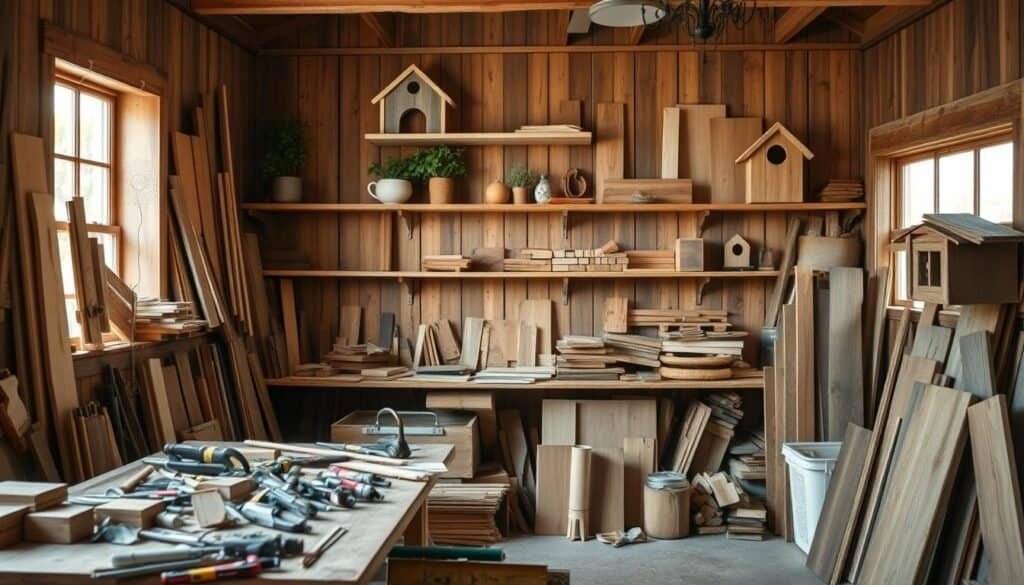
Now, you can start creating. Make wooden coasters, a wall clock, or geometric wall art. The possibilities are endless and fun.
Other projects include rustic shelves, reclaimed wood frames, and wooden candle holders. These not only reduce waste but also add a personal touch to your home.
Rustic Floating Shelves: Minimalist Storage Solutions
Rustic floating shelves are a simple yet effective way to add storage and style to any room. They can be used in various settings, from kitchens to living rooms, providing a clean and minimalist look. By utilizing leftover wood, you can create a unique piece that adds character to your home.
Creating the Hidden Mounting Bracket
To create a hidden mounting bracket, start by cutting two wooden brackets to the desired size. These brackets will be attached to the wall and will support the shelf. Use a level to ensure they are perfectly aligned.
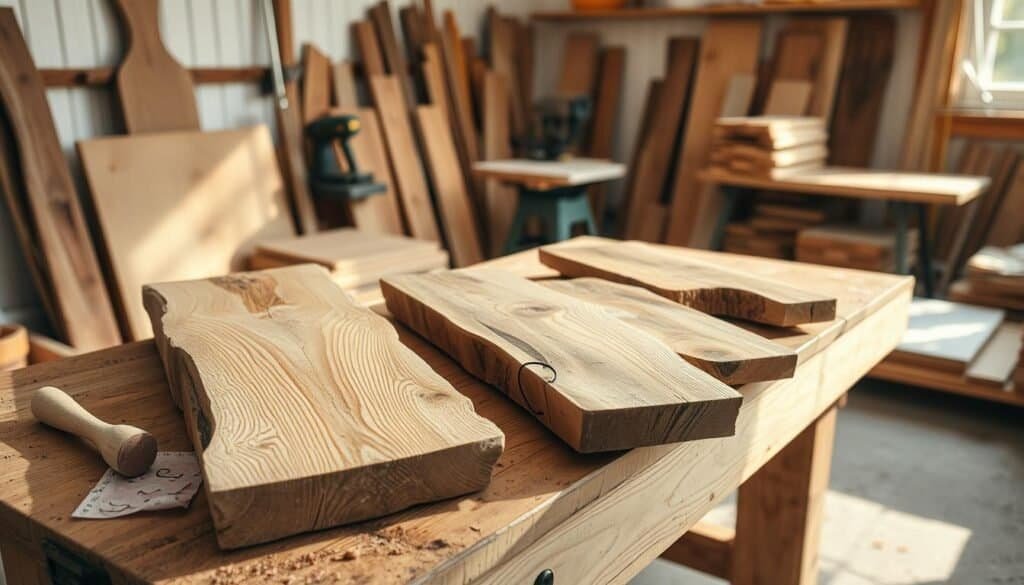
Once the brackets are securely attached to the wall, it’s time to attach the shelf face. Cut the shelf to the desired length and sand it to achieve a smooth finish. Attach the shelf to the brackets using screws, making sure it is level and secure.
To achieve a rustic look, consider using reclaimed or leftover wood for your shelf. You can also add a distressed finish or unique stain to enhance its character. This easy small wood project can be completed with basic woodworking tools and skills.
By following these steps, you can create beautiful rustic floating shelves that add a touch of elegance to your home. This small woodworking project is perfect for those looking to utilize 2×4 crafts or other leftover materials.
Geometric Wall Art: Modern Designs from Wood Offcuts
Creating geometric wall art from wood offcuts is a smart way to decorate your home. It’s a form of scrap wood art that’s both eco-friendly and stylish. It brings a modern flair to any room.
Geometric patterns can range from simple to complex, based on your taste. The secret to making amazing wood art diy projects is in the details. Mixing different shapes and sizes can result in a piece that shows off your style.
Creating Perfect Angles
Getting the angles right is key in geometric wall art. Use a miter saw or a protractor to cut your wood offcuts accurately. The care in cutting will make a big difference in how your art looks.
For a detailed design, try mixing shapes like triangles, hexagons, or chevrons. This adds depth and makes a statement in your room.
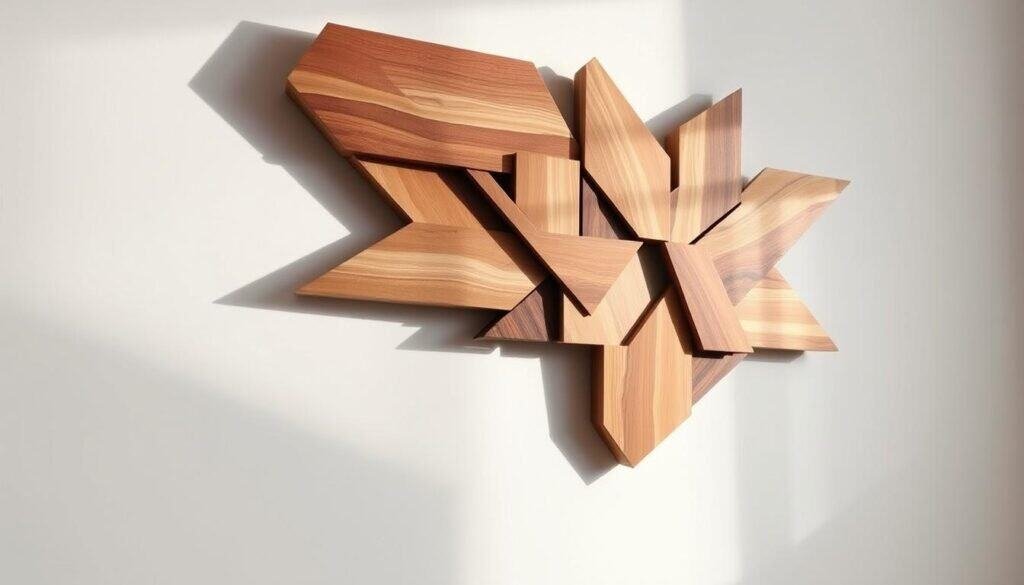
After putting your geometric wall art together, make sure it’s securely mounted. Use a strong backing board or attach it to the wall with the right hardware.
For bigger pieces, use wall anchors or French cleats. This keeps your creative wood crafts safe and looking great on your walls.
By following these tips, you can make a beautiful geometric wall art. It will not only improve your home’s look but also show off your creativity and resourcefulness with wood offcuts.
Mountain Range Wall Decor: Bringing Nature Indoors
Creating a mountain-inspired wall art piece using upcycled wood can add a touch of nature to any room. This unique decor not only enhances the aesthetic appeal of your home but also promotes sustainability by utilizing leftover wood.

To start, you’ll need a collection of leftover wood pieces in various sizes and textures. These can be arranged to form a mountain range silhouette, creating a visually appealing piece of wall decor. The key is to balance the composition by mixing different wood tones and shapes.
Adding Snow-Capped Peaks
To give your mountain range a realistic touch, you can add snow-capped peaks using white paint or whitewashed wood. This technique not only adds depth but also creates a striking contrast against the natural wood tones.
Incorporating Stains for Depth
Incorporating stains can enhance the depth and dimension of your mountain wood art. By using different stain colors, you can create a gradient effect that mimics the natural hues of a mountain range. This step adds character to your upcycled wood projects, making them truly unique.
Reclaimed wood projects like mountain range wall decor are not only beautiful but also tell a story. Each piece of wood has its history, and when transformed into art, it brings a sense of warmth and coziness to your home. Whether you’re looking to create a focal point in your living room or a thoughtful gift, this project is sure to impress.
Reclaimed Wood Picture Frames: Showcasing Memories with Character
Creating picture frames from reclaimed wood is a creative way to reuse scrap wood. It adds a personal touch to your home and tells a story through the wood’s character. Working on DIY wood projects like this can be very rewarding. It lets you make something beautiful from what would be thrown away.
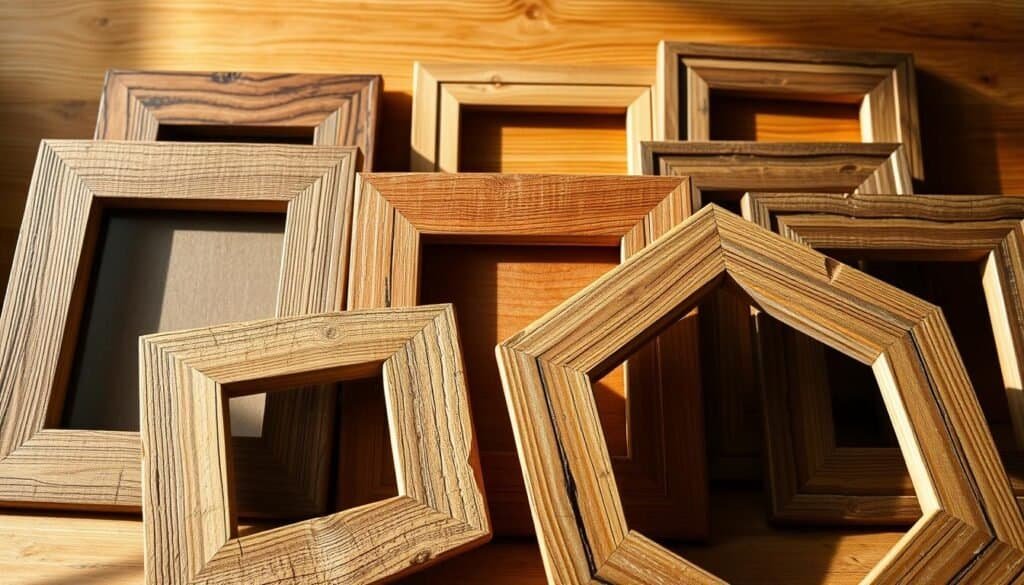
For a professional look, focus on the corners of your picture frame. Use a miter saw to cut 45-degree angles for a tight fit. This skill is key for wood art projects that need precision. It helps you get smooth joints that make your frame look great.
Installing Glass and Backing
After building your frame, it’s time to add glass and backing. Pick glass that protects your photos, like non-reflective or UV-protective. For the backing, choose something strong like plywood or MDF. Make sure it fits well in the frame. This step turns your scrap wood crafts into something you can use every day.
Reclaimed wood frames are great for gifts or adding to your decor. They can also lead to more wood projects that sell, showing off your skill. By turning scrap wood into frames, you’re making something valuable and reducing waste.
Wooden Coasters and Trivets: Functional Kitchen Accessories
Add warmth to your kitchen with DIY wooden coasters and trivets. They are made from leftover wood. These items protect your tables from water marks and spills. They also add a natural, rustic charm to your dining table.
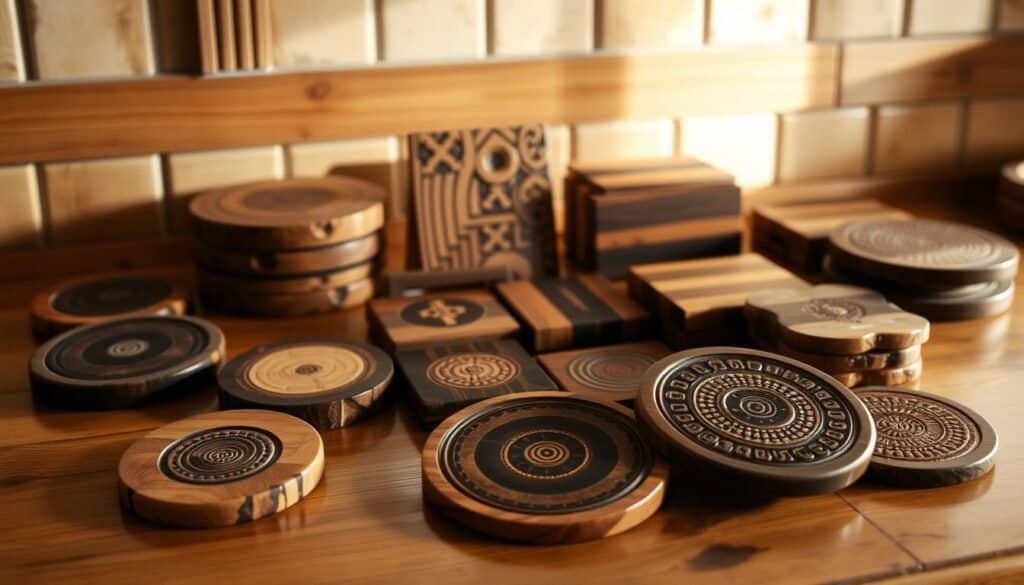
To create a cohesive look, keep your coasters and trivets the same size. Measure and cut your wood into uniform sizes. Coasters should be 4-5 inches in diameter, while trivets are 6-8 inches in diameter or square. Using a template helps achieve uniformity.
Adding Decorative Elements
Make your wooden coasters and trivets stand out by adding decorative elements. Engrave simple patterns or your initials for a personal touch. You can also apply a wood finish or stain to highlight the wood grain. For a rustic look, leave the wood natural or add a clear coat to protect it.
These projects are great for both beginners and experienced woodworkers. They allow you to create something useful and beautiful from scrap wood. By adding wooden coasters and trivets to your kitchen, you bring warmth and embrace creative wood crafts and small woodworking projects.
Scrap Wood Planters: Indoor Greenery with Rustic Charm
Turning wood scraps into planters is a great way to cut down on waste. It also brings a natural beauty to your home. Scrap wood planters are perfect for adding greenery indoors and a rustic touch.
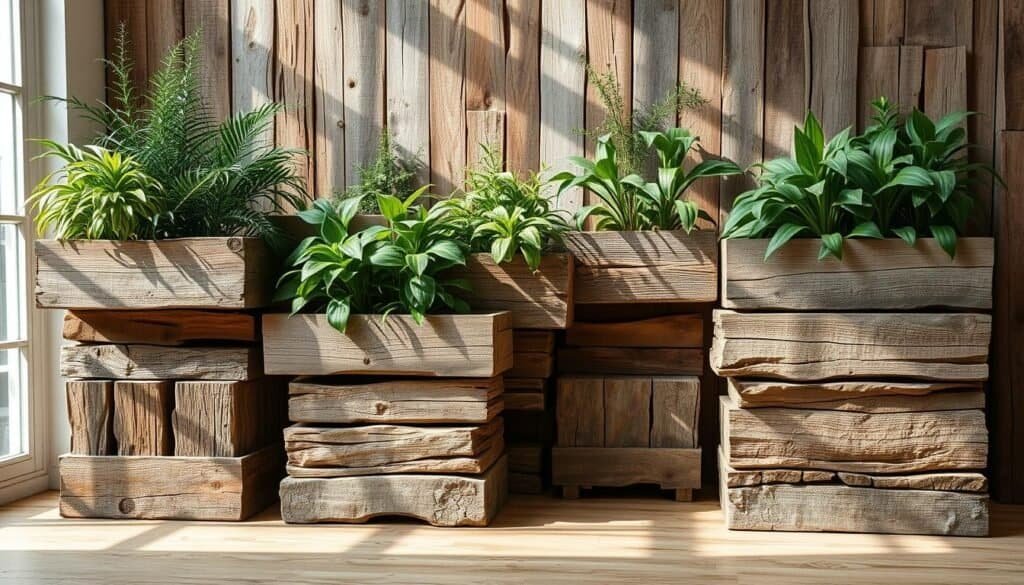
Making hanging planters from reclaimed wood is easy and fun. First, pick the right wood, clean it, and remove nails or debris. Then, cut it into shapes and sizes for your planters. Add a rope or chain to hang them, and you’re set to display your favorite plants.
This project breathes new life into old wood. It also makes your home decor more eco-friendly and unique.
Tiered Planter Systems
Tiered planter systems are great for showing off many plants in a small space. You’ll need different-sized wooden planks or boxes. Stack them in a staggered way for a cool look. Use brackets or screws to keep them stable.
Choose plants that do well indoors, like succulents or ferns. Make sure to water them right and give them enough sunlight. This will keep your plants healthy and your planters looking good.
By upcycling wood into planters, you’re doing good for the planet. You’re also creating something beautiful and useful that shows off your creativity and care for the environment.
Wooden Candle Holders: Ambient Lighting from 2×4 Leftovers
Turning scrap wood into candle holders is a fun and rewarding project. It’s easy to make beautiful holders from leftover 2x4s. This project also helps reduce waste and adds warmth to your home.
Creating Tea Light Holders
Tea light holders are perfect for beginners. Cut a small piece of scrap wood into a square or circle. Sand the edges to make them smooth. Then, drill a small hole for the tea light.
You can leave the wood natural or add a finish like varnish or paint. This matches your home decor. For a rustic look, use reclaimed or distressed wood. Its natural texture and imperfections add character.

Pillar candle stands are great for 2×4 leftovers. Cut four pieces to the same height and assemble them into a square base. Attach a circular or square top to the base, ensuring it can hold the candle’s weight. Sand the whole piece to smooth out any edges.
To make it personal, stain or paint the stand to match your home. You can also add metal straps or carved designs for a unique look. This project is both functional and beautiful, perfect for dining or coffee tables.
By making wooden candle holders from 2×4 leftovers, you’re being eco-friendly and creative. These projects are great for both seasoned DIYers and beginners. They inspire your creativity and enhance your home’s ambiance.
Upcycled Wooden Spool Projects: From Industrial to Artisanal
Upcycled wooden spool projects mix industrial charm with artisanal skill. They turn old wooden spools into beautiful, useful items for your home.
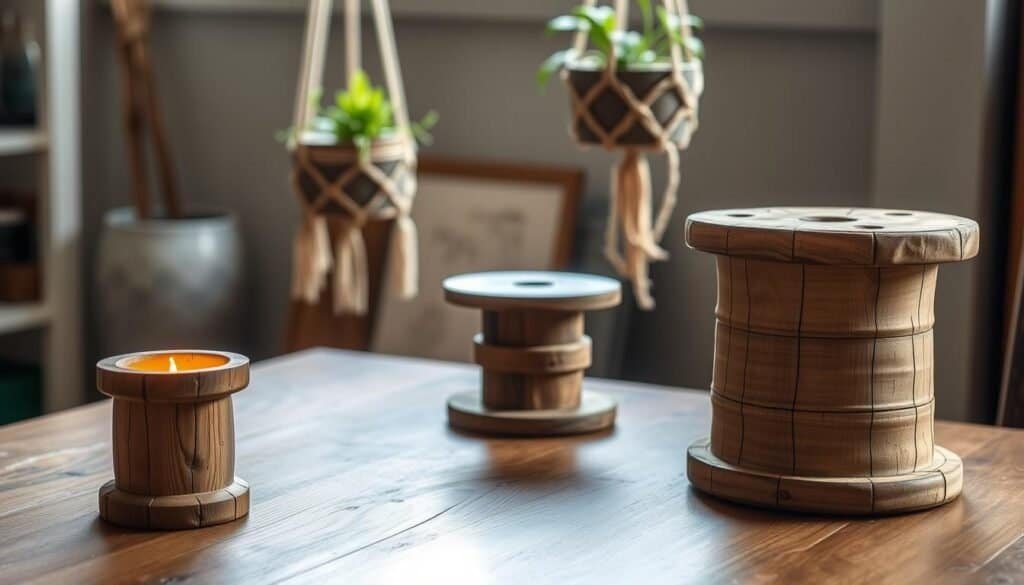
One creative way to reuse wooden spools is by adding a glass top. This not only keeps the wood safe but also makes the piece look more elegant.
Adding a Glass Top
To add a glass top, first measure the spool’s diameter. Then, cut a piece of glass to match. Use a strong adhesive to attach the glass, making sure it’s safe and lasts long.
Finishing and Sealing the Base
Finishing and sealing the spool’s base is key to making it look good and last longer. Choose a wood finish you like and seal it with a clear coat. This protects it from moisture and wear.
Upcycling wooden spools lets you make unique decorations and helps the environment by reducing waste. These projects are great for those who love working with reclaimed wood and scrap wood.
Driftwood Statement Pieces: Beach-Inspired Home Decor
Driftwood is perfect for making rustic, beach-inspired decor for your home. Its unique textures and shapes can be turned into stunning pieces that show off your style. Whether you want to bring the ocean feel to your living room or backyard, driftwood projects are a great way to express yourself.

Wall-mounted driftwood art is a great way to show off your creativity and add something special to your decor. Begin by gathering driftwood pieces of different sizes and shapes.
Then, arrange them in a way that looks good and secure them to a wooden backing or the wall. You can leave the driftwood as is or varnish it to protect it and highlight its natural colors.
Freestanding Driftwood Sculptures
Freestanding driftwood sculptures can be a centerpiece in any room, bringing the beach feel indoors or outdoors. To make a sculpture, pick driftwood pieces that match in shape, size, and texture.
Try out different setups until you find one that looks great. Once you’re happy with your design, use strong glue or wire to hold the pieces together.
Small Wooden Boxes and Containers: Organization with Style
With just a few tools and leftover wood, you can make beautiful small wooden boxes. They add warmth to your home and help organize your space. Plus, they bring a rustic charm to any room.
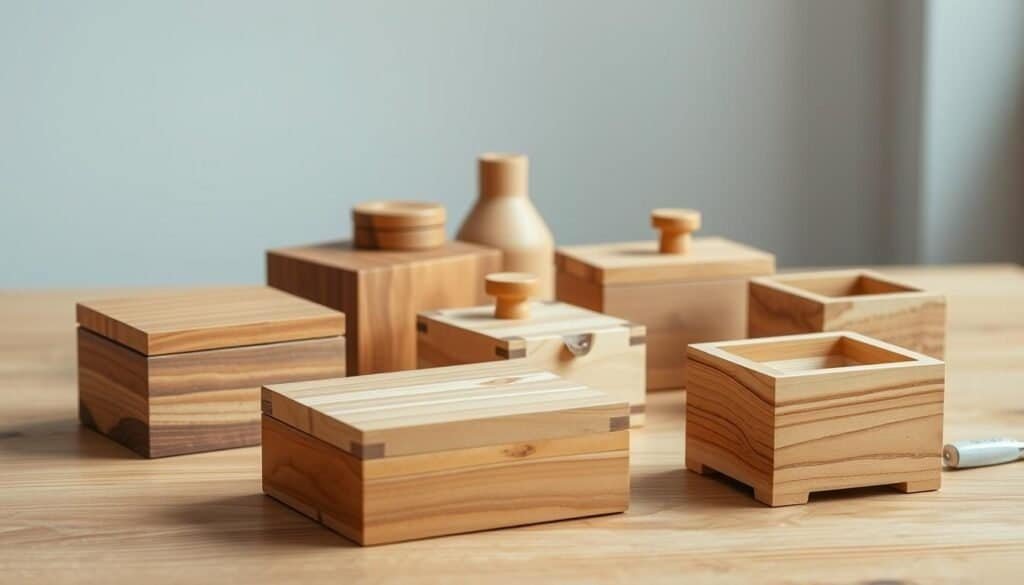
These boxes are great for storing jewelry, spices, or office supplies. They’re versatile and can fit in any room. First, pick the wood and design that fits your needs.
Simple Butt Joints for Beginners
Beginners should start with simple butt joints. This method cuts two pieces of wood at a 90-degree angle and attaches them. It’s a beginner-friendly project that’s easy to do.
Advanced Joinery Methods
For those with more experience, try advanced joinery like dovetail or mortise and tenon joints. These techniques need more skill and patience but make your projects durable and beautiful.
Adding a personal touch to your wooden boxes makes them unique. You can stain or paint them, or add decorative hardware. This gives your projects a personalized look.
Wooden Wall Clocks: Timeless Decor from Scrap Wood
Scrap wood can be transformed into a beautiful wooden wall clock. These clocks are not just useful but also add a unique touch to any room. They can match any decor style perfectly.
Creating a wooden wall clock from scrap wood requires some planning. First, pick the right clock kit. This kit should have everything you need, like the clock mechanism, hands, and dial.
Choosing the Right Clock Kit
Choosing the right clock kit is key to a successful project. Look for kits made for DIY woodworking. These kits come with instructions and all the parts you need.
Decide between a quartz or mechanical movement. Quartz ones need batteries, while mechanical ones need winding. Think about what fits your style best.
Precise Drilling for Hands Alignment
Drilling accurately is vital for your clock to work right. The holes for the hands must line up with the mechanism. Use a drill press or a hand drill for precise work.
Once your clock is built, add a finish to protect the wood. A wooden wall clock made from scrap wood brings a personal touch to your home. It also tells a story of creativity and sustainability.
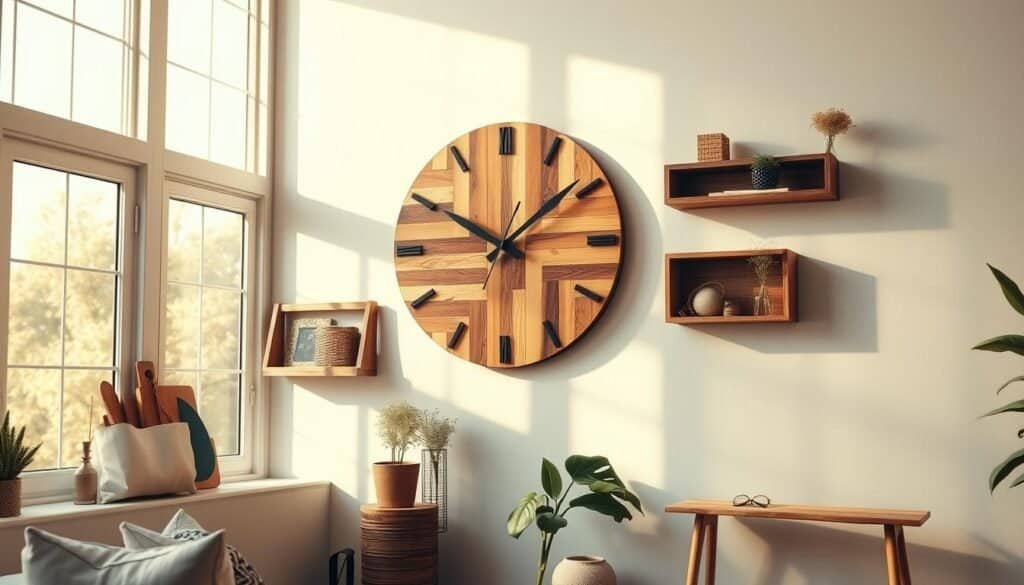
By turning scrap wood into a clock, you’re making something useful and eco-friendly. So, get creative and make a statement with your own wooden wall clock.
Profitable Wood Projects: Turning Leftovers into Income
Creating profitable wood projects from leftovers not only reduces waste but also boosts your income. With a bit of creativity and the right strategy, you can turn your DIY wood projects into a lucrative venture.
One of the most effective ways to monetize your woodworking skills is by participating in craft fairs and selling your creations. Here, we’ll explore some strategies to make your wood projects stand out in these events.
Craft Fair Strategies
To succeed in craft fairs, it’s key to create visually appealing displays and offer competitive pricing. Consider the following tips:
- Display your projects in an attractive and well-organized manner.
- Price your items competitively based on material costs, time, and other expenses.
- Engage with possible customers and share the story behind your projects.
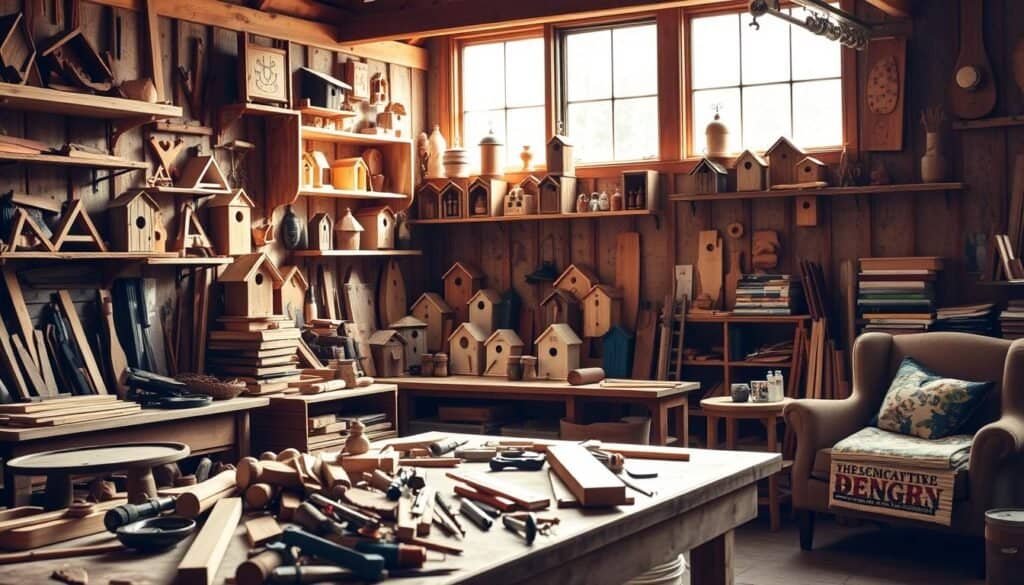
Selling your wood projects online can also expand your customer base. To succeed online, focus on high-quality product images, detailed descriptions, and competitive pricing.
- Use good lighting and photography techniques to showcase your projects.
- Write detailed and SEO-friendly descriptions for your products.
- Utilize customer reviews and feedback to improve your products and services.
By implementing these strategies, you can effectively turn your leftover wood into profitable DIY projects. Whether you’re selling at craft fairs or through online marketplaces, this approach helps in reducing waste. It also creates a sustainable income stream from your woodworking skills.
Conclusion: Embracing Creativity and Sustainability in DIY Woodworking
DIY woodworking lets you be creative and help the planet. It turns old materials into something new and useful. This way, you can make something special and reduce waste.
Projects like rustic shelves and geometric art add a personal touch to your home. They also help the environment. Wooden candle holders and picture frames show off the beauty of reused materials. This hobby is fun and lets you make things that are both useful and beautiful.
We encourage you to keep trying new things in DIY woodworking. It’s a great way to be creative and make your space unique. By using upcycled and reclaimed wood, you can make your home more sustainable and personal.

