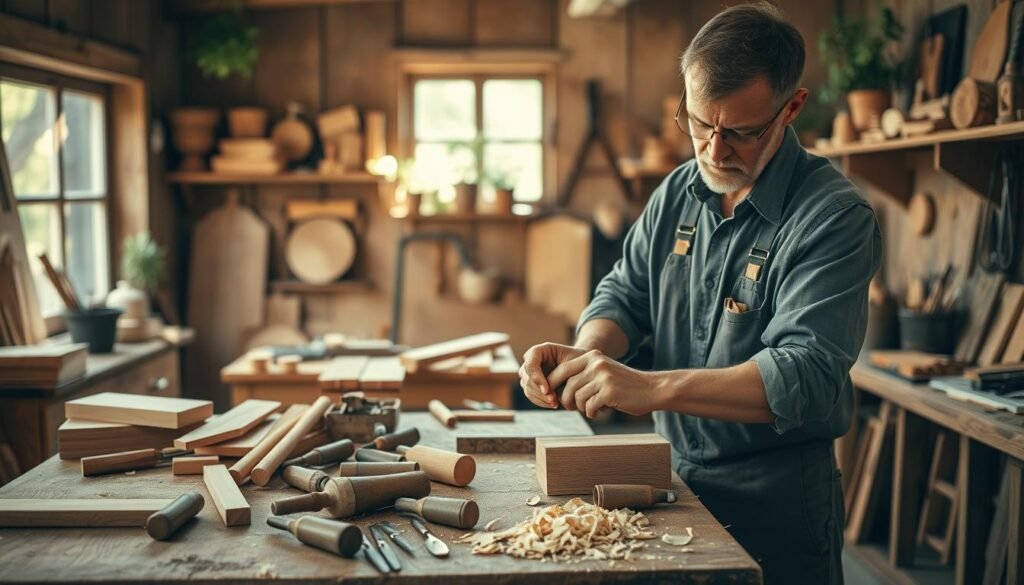
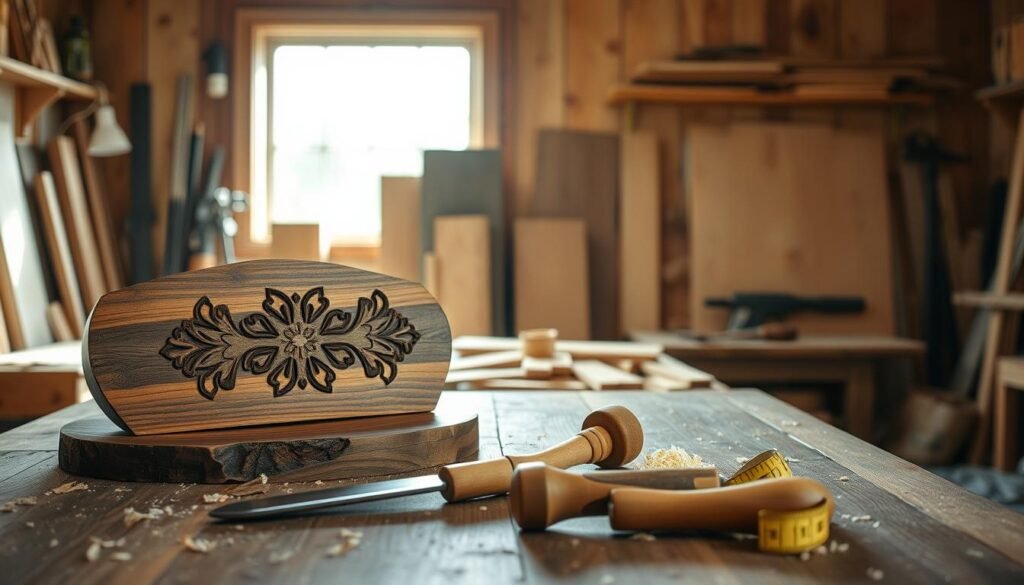
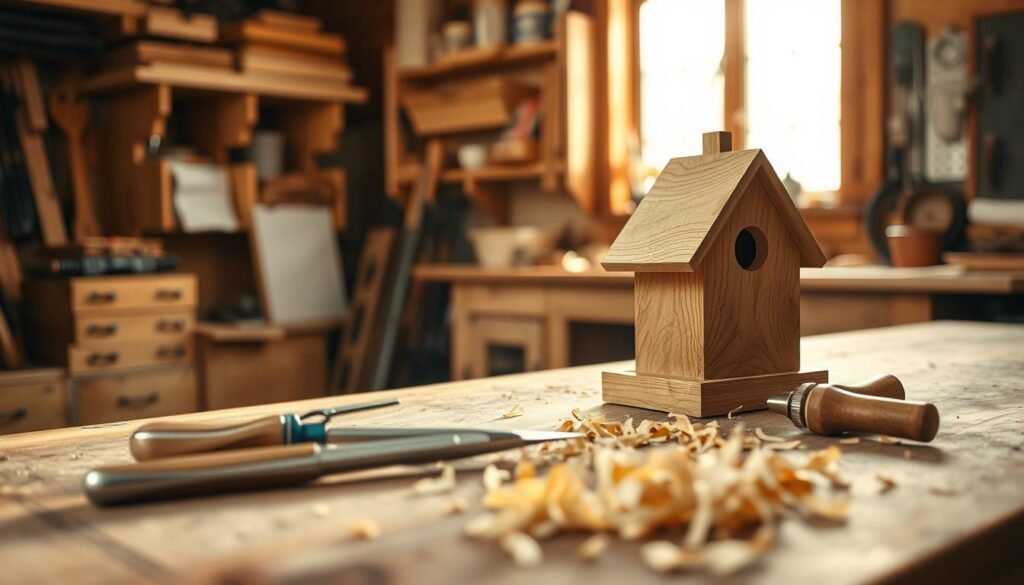
Discover the joy of creating something with your own hands through DIY woodworking projects. Whether you’re looking to enhance your home or create personalized gifts, woodworking is a rewarding hobby. It can be enjoyed by anyone.
Easy woodworking projects are perfect for those just starting out. With simple tools and materials, you can create beautiful and functional pieces. This article will guide you through some exciting weekend woodworking projects that are ideal for beginners.
By exploring these woodworking for beginners projects, you’ll not only learn new skills. You’ll also enjoy the process of creating something unique and personalized.
Getting Started with Woodworking: What Every Beginner Should Know
Safety and knowledge are key for beginners in woodworking. Knowing the basics of safety, types of wood, and where to find materials is important. It sets you up for success.
Essential Safety Gear
Getting the right safety gear is the first step. You’ll need safety glasses, hearing protection, and a dust mask. These protect you from debris, loud noises, and dust.

Keeping your workshop safe is critical. Make sure it’s clean and organized. Avoid loose clothes and always follow tool instructions.
Softwoods vs. Hardwoods
It’s important to know the difference between softwoods and hardwoods. Softwoods, like pine, are softer and cheaper. Hardwoods, such as oak, are denser and more durable.
Where to Source Affordable Materials
Finding affordable materials is easy. Try local hardware stores, online marketplaces, or reclaimed wood. Choose materials based on your project’s needs for the best value.
By focusing on safety, understanding your materials, and finding affordable supplies, you’ll enjoy woodworking as a beginner.
Essential Tools for Weekend Projects for the Beginner Woodworker
As a beginner woodworker, having the right tools is key for your weekend projects. Starting your journey in woodworking means learning about the basics of tools.
Measuring and Marking Tools
Accuracy is vital in woodworking. You’ll need tools like a tape measure, combination square, and marking gauge. These ensure your projects are precise and avoid mistakes.
Cutting and Shaping Tools
Cutting and shaping wood are basic steps. Beginners should get to know hand saws, utility knives, and power tools like circular saws and jigsaws. These tools help you cut and shape wood as needed.
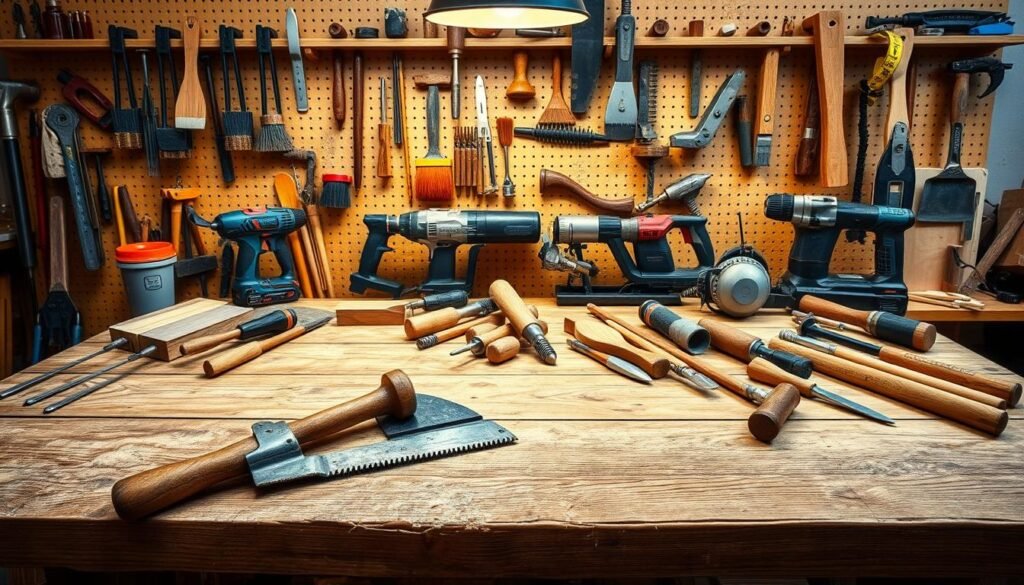
Knowing when to use hand tools versus power tools is important. Hand tools give you precision and control, perfect for detailed work. Power tools are better for bigger tasks, making them faster and more efficient. Using both wisely will make your woodworking better.
Small Workshop Organization Tips
A tidy workshop is key for being productive and safe. Keep tools labeled and organized, clean your workspace, and arrange tools for easy reach. This setup will help you focus on your projects and enjoy woodworking more.
With the right tools and knowledge, you’re ready to tackle weekend woodworking projects. Remember, getting better takes practice and patience.
Project 1: Simple Wooden Coasters
Creating simple wooden coasters is a great way for beginners to start woodworking. It helps you learn basic skills like measuring, cutting, and sanding. Plus, you get to make something useful and pretty for your home.
Wood Selection for Durability
Choosing the right wood is key for durable coasters. Hardwoods like oak, maple, or walnut are great. They’re dense and can handle water spills well.
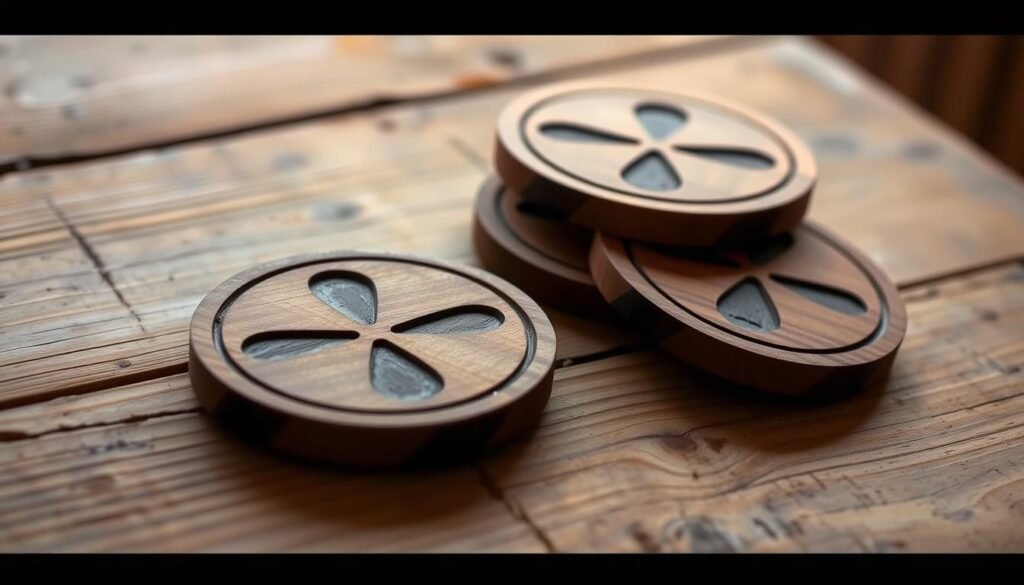
To cut your wood, use a precise saw like a table saw or miter saw. Then, sand the pieces well to smooth out any rough spots. Start with coarse-grit sandpaper and move to finer grits for a shiny finish.
Adding Decorative Elements
You can make your coasters special by adding designs. Use a wood burning tool for patterns or stains to highlight the wood’s color. These details make your coasters stand out.
Water-Resistant Finishes
It’s important to use a water-resistant finish to protect your coasters. You can use varnish, polyurethane, or a waterproof sealant. Follow the instructions for applying the finish, and let it dry completely before using your coasters.
Project 2: Rustic Floating Shelves
Building rustic floating shelves is a great way to start woodworking. It lets you try out different woods and learn about measuring. You can even use reclaimed wood for a unique look.
Using Reclaimed Wood Options
Reclaimed wood gives your shelves a special touch. It’s good for the environment and adds history to your home. Make sure to check the wood for any damage or nails before starting.
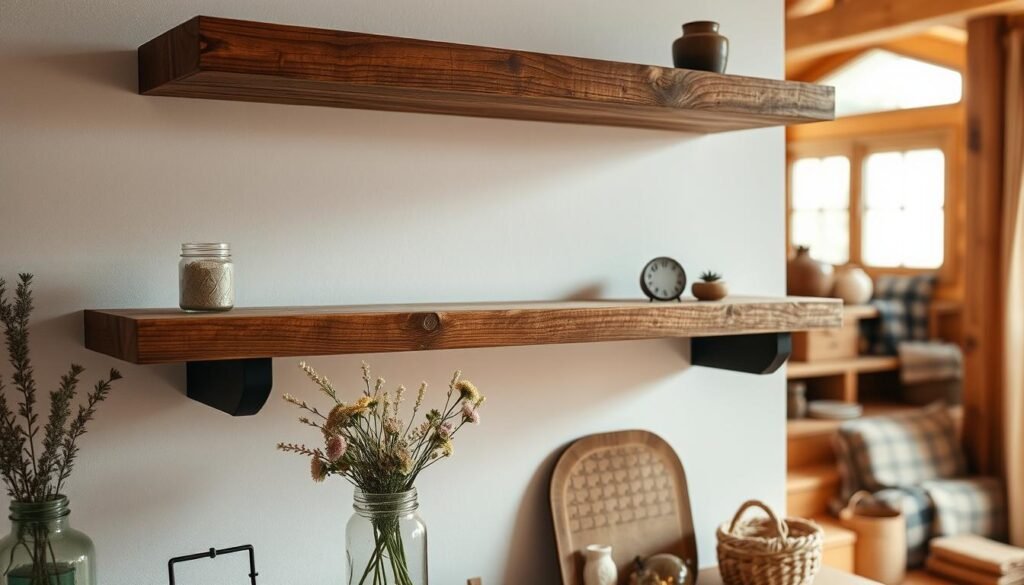
Hidden brackets are key for the “floating” look. They support the shelves without being seen. To make them, measure well and attach to wall studs for strength.
Ensuring Level Installation
Installing shelves level is important for looks and function. Use a level tool to make sure they’re straight. This is even more critical if you’re doing multiple shelves.
Weight Capacity Considerations
Knowing the weight limit of your shelves is key for safety. The type of anchor and the shelf’s weight decide how much it can hold. Always follow the manufacturer’s weight guidelines.
By following these tips, you can make beautiful and useful rustic floating shelves. They’re perfect for adding a personal touch to any room. This project is great for both beginners and experienced woodworkers.
Project 3: Beginner-Friendly Cutting Board
Working on a cutting board project is a great way to improve your woodworking skills. It’s something you’ll use a lot and can also be a nice gift.
Food-Safe Wood Selection
Choosing the right wood for your cutting board is key. Hardwoods like maple, walnut, and cherry are good because they’re tough and won’t scratch easily.
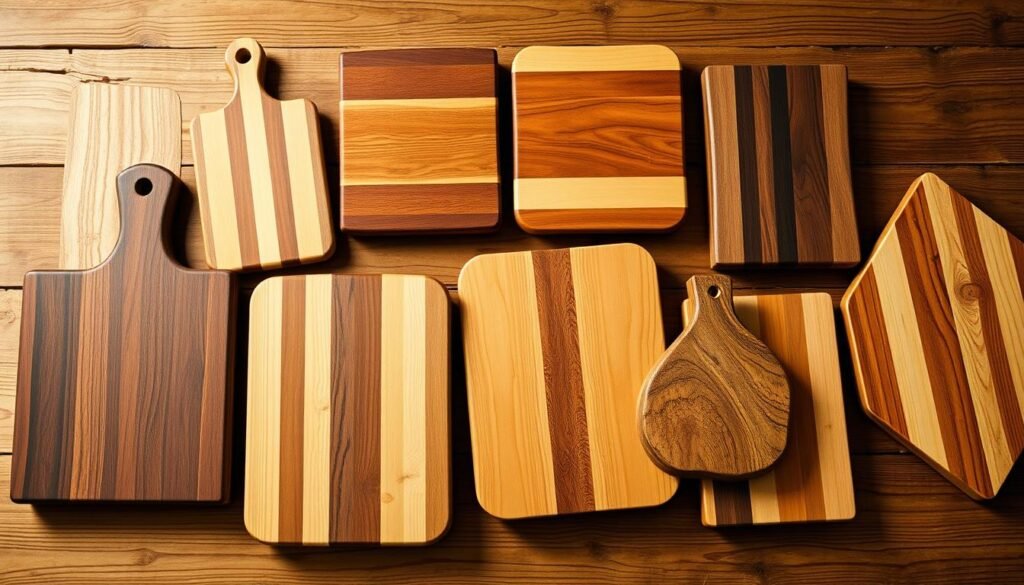
There are two main types of cutting boards: edge-grain and end-grain. Edge-grain boards are made by stacking wood strips edge to edge. End-grain boards have wood pieces with the end grain facing up.
Gluing and Clamping Techniques
Gluing and clamping right is vital for a strong cutting board. Make sure to apply even pressure and use clamps to hold the wood together tightly.
Maintenance and Care Instructions
To keep your cutting board in top shape, oil it regularly with food-safe mineral oil. Also, avoid putting it in extreme temperatures or too much moisture.
Project 4: DIY Wooden Picture Frame
A DIY wooden picture frame is great for beginners. It’s easy to make and helps you learn important woodworking skills. You’ll get better at measuring, cutting, and putting things together.
Creating Perfect 45-Degree Angles
To make your picture frame corners fit just right, you need to create 45-degree angles. You can use a miter saw or a miter box for this. Getting the angles right is key for a top-notch finish.
Joining Corners Securely
First, apply wood glue to the mitered edges. Then, use nails or strong adhesive to hold the corners together. Clamps will keep everything in place while the glue dries. Make sure the corners are lined up right before the glue hardens.
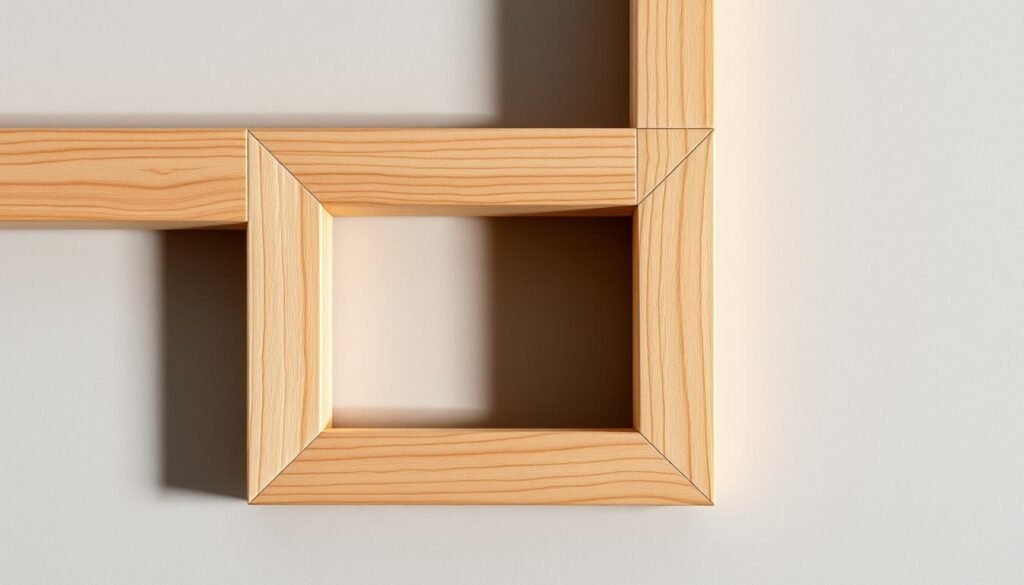
After you’ve put the frame together, add glass or acrylic to protect the picture. Then, attach a backing board to keep everything in place. This step is important for making your picture frame last longer.
Decorative Edge Techniques
To make your picture frame stand out, add decorative edges. You can use a router for fancy designs or just sand the edges for a smooth look. Decorative edges can really make your DIY picture frame look better.
Project 5: Small Wooden Planter Box
Building a small wooden planter box is a great way to start woodworking. It lets you make something beautiful and useful for your home or garden.
Weather-Resistant Wood Options
Choosing the right wood for your planter box is key. Cedar, redwood, or cypress are good choices because they resist rot and bugs. These woods keep your planter box strong outdoors.
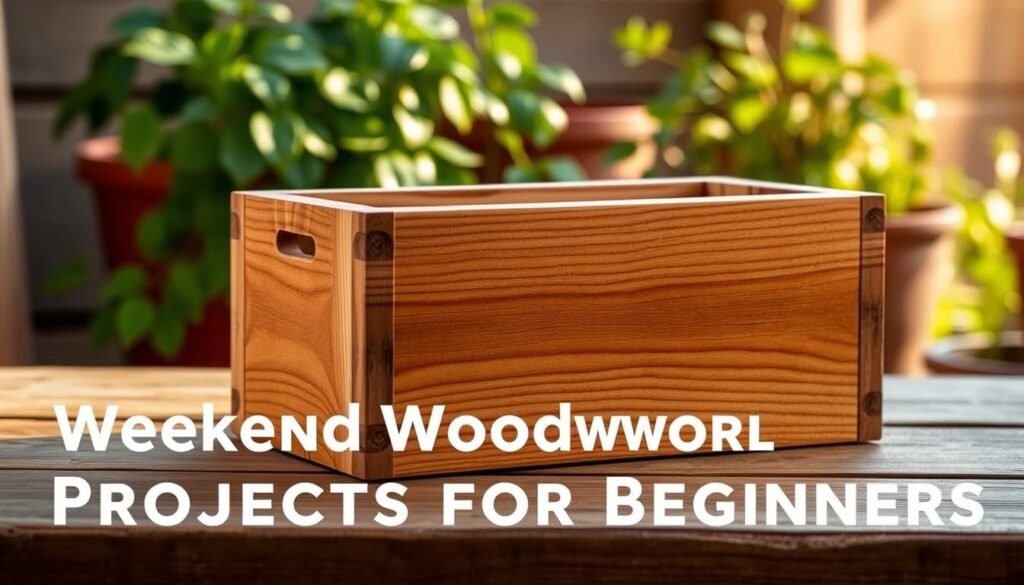
Drainage is important in a planter box. Water can cause root rot if it stays. Drill holes in the bottom and add gravel or broken pottery to help water drain.
Assembly Techniques
Assembling your planter box needs careful planning. Use screws or nails that won’t rust. Pre-drill holes to avoid splitting the wood and make it sturdy.
Indoor vs. Outdoor Finishing Methods
The finish depends on where your planter box will go. For outdoors, use varnish or sealant to protect it. Indoors, you can paint or stain it to match your decor.
By following these tips, you can make a lovely and useful small wooden planter box. This project improves your woodworking skills and adds a personal touch to your space.
Project 6: Simple Wooden Bench
Woodworking fans can enjoy making a simple wooden bench. It’s a great way to learn new skills and make something useful. This project is perfect for beginners because it teaches basic woodworking techniques.
Selecting Lumber for Strength
Choosing the right lumber is key for a wooden bench. Pick wood that’s strong and high-quality. Oak and maple are great because they’re both strong and last long.
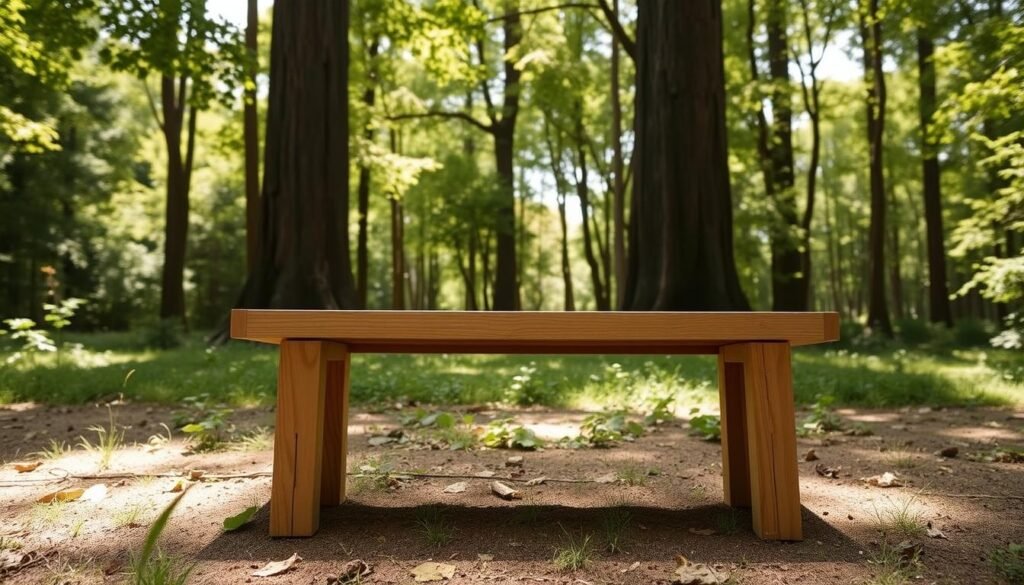
Stable legs are vital for a solid bench. Make sure the legs are evenly spaced and well-attached to the seat. A sturdy leg design, like a tapered leg, adds to the bench’s stability.
Seat Construction Techniques
Building the seat involves putting the frame together and adding the slats. Use strong joinery like mortise and tenon or screws. This makes sure the bench is well-built.
Weight-Bearing Considerations
Think about how much weight your bench will hold. Make sure it’s designed and built to handle that weight. Adding extra support to the frame and using the right fasteners makes it even stronger.
By following these tips, you can make a simple yet strong wooden bench. It will be a valuable piece for many years.
Project 7: Wooden Tablet or Phone Stand
A wooden tablet or phone stand is both useful and a great beginner project. It can be finished in just a weekend. You’ll get to practice skills like precision cutting and making adjustable angles.
Small-Scale Precision Cutting
First, cut the wood into precise pieces for the stand’s base and holder. Use a miter saw or a coping saw for accurate cuts. Making sure your cuts are smooth is key for the stand’s stability.
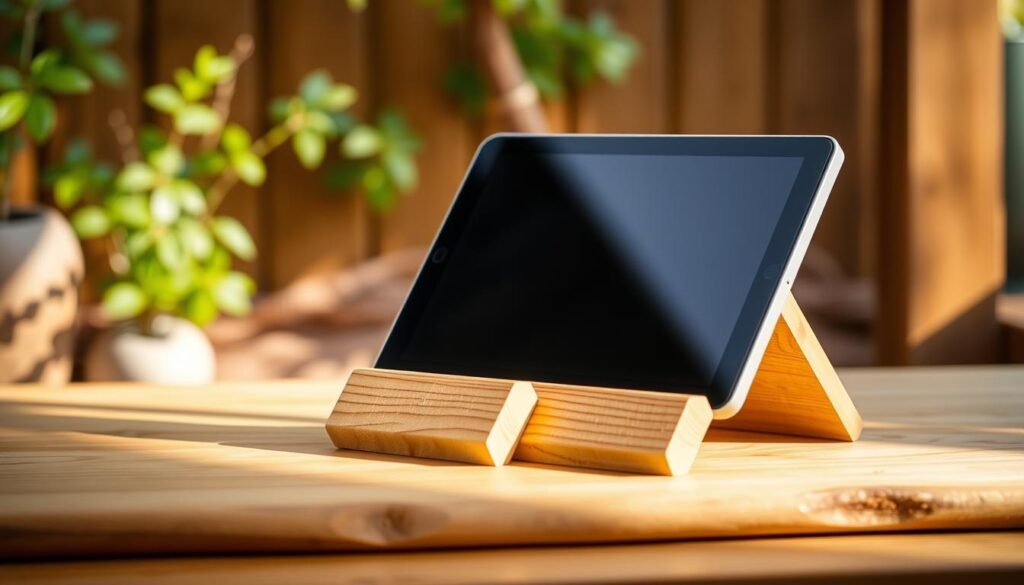
A versatile stand can adjust to different viewing angles. Adding a hinge lets users change the angle to their liking.
Adding Non-Slip Features
To keep the stand from slipping, add non-slip pads or rubber feet to the base. This makes the stand more stable and safe.
Customizing for Different Devices
When making the stand, make sure it fits your device well. Measure your device carefully for a snug fit.
By following these steps, you can make a useful and personalized stand. It will enhance your workspace or entertainment area.
Project 8: Beginner-Friendly Wooden Toolbox
Building a wooden toolbox is a great way for beginners to improve their woodworking skills. It helps you keep your tools organized and adds a useful item to your workshop.
Selecting Appropriate Fasteners
Choosing the right fasteners is key when making a wooden toolbox. You can pick nails, screws, or a mix, based on your design and wood type. Make sure your fasteners resist rust to extend your toolbox’s life.
Building the Base and Sides
Begin by building the base and sides of your toolbox. Use strong wood that can handle the weight of your tools. Assemble it with your chosen fasteners, ensuring the corners are square and the structure is solid.
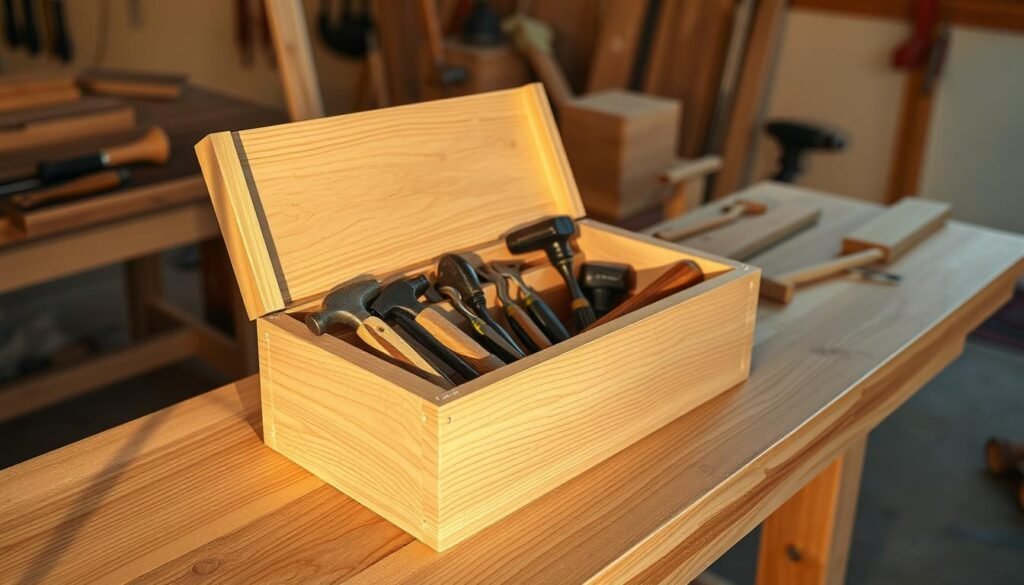
A good handle makes your toolbox easier to carry. You can use a pre-made handle or make one from wood or metal. Attach it securely to the top, making sure it’s centered and sturdy.
Compartment Design Options
Organizing your tools is the main goal of a toolbox. Think about adding compartments or dividers to keep things tidy. You can tailor the layout to fit your most-used tools, making your wooden toolbox both useful and personal.
Project 9: Wooden Wall Art
Making wooden wall art is a great way to make your home more personal. It lets you show off your creativity and make any room look better.
Template Creation Techniques
The first thing to do is create a template. You can use software or draw it by hand. Make sure your design looks good and is the right size.
Pattern Layout and Transfer
After you have your template, it’s time to put it on the wood. Use a pencil to draw the design on the wood. Press hard enough to mark it well, but not too hard to smudge it.
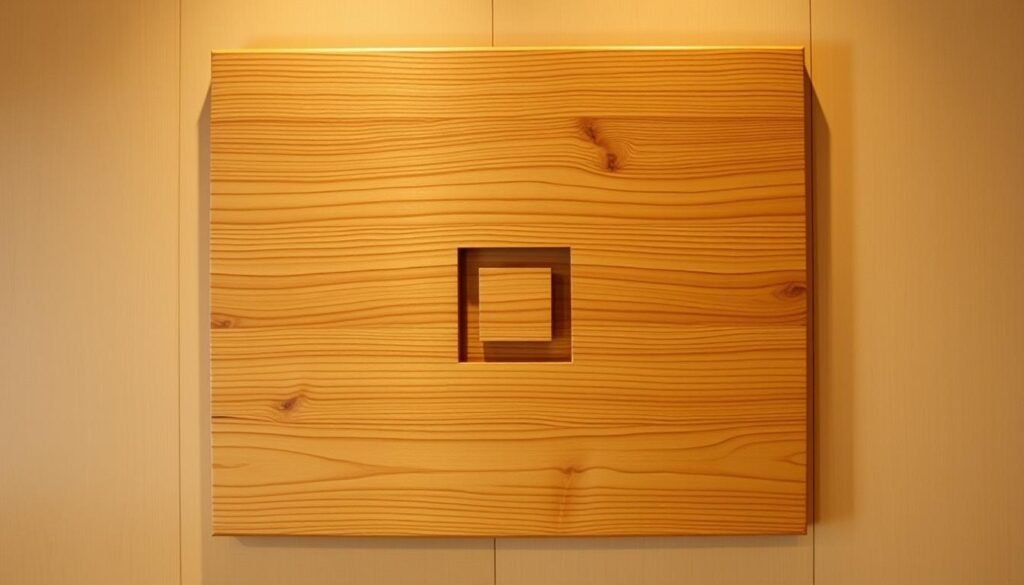
Cutting out designs needs careful attention and patience. Use a jigsaw or scroll saw for detailed cuts. Always wear safety gear to protect yourself.
Color and Texture Techniques
To make your art stand out, try different colors and textures. Staining, painting, or adding textures can really make your art pop.
By following these steps, you can make beautiful, unique DIY wall art. It will show off your personal style.
Project 10: Simple Wooden Bookends
Creating simple wooden bookends is a great weekend project for beginners. It lets you practice many woodworking skills. Plus, you get to make something useful and pretty for your home or as a gift.
Adding Weight for Stability
It’s important to make your bookends stable and able to hold books. You can do this by filling them with sand or using metal washers. This keeps them from falling over.
Creating Non-Slip Surfaces
To stop books from slipping off, you need a non-slip surface. You can add a thin layer of rubber or felt to the touching surface. This makes your bookends much more useful.
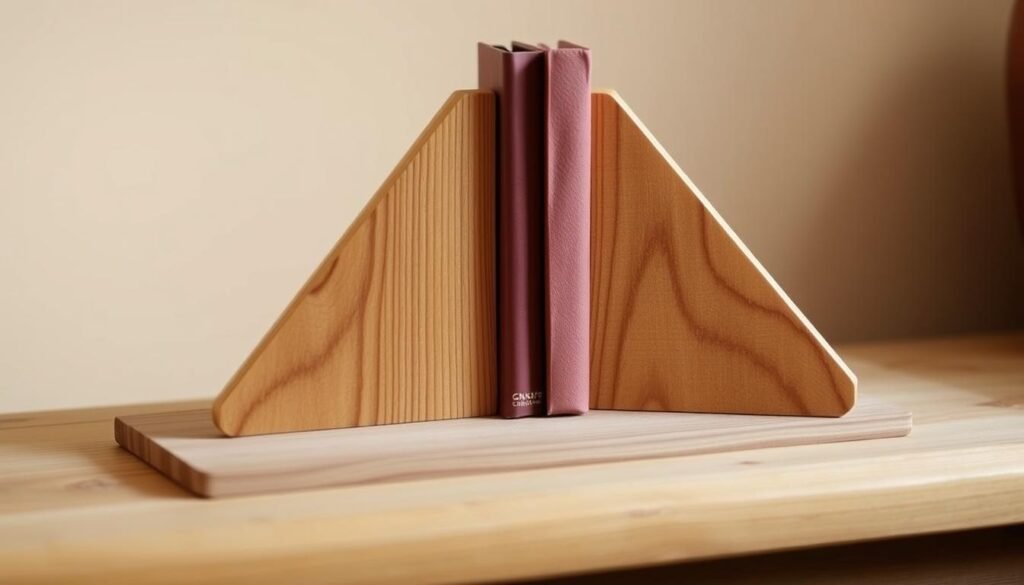
Wooden bookends can also be made special with decorations. You could add metal brackets, engrave a design, or use a unique finish. These touches make your bookends stand out in your home.
Themed Bookend Inspiration
Try making themed bookends that show off your interests or hobbies. You could make animal-shaped ones, use old wood for a rustic look, or match your home’s style. Themed bookends make your bookshelves more personal.
Troubleshooting Common Beginner Woodworking Mistakes
Woodworking has its own learning curve. Knowing how to fix common mistakes is key. Beginners often face issues like wood defects, weak joints, or uneven finishes. Fixing these problems is essential for professional-looking results.
Using Wood Fillers and Patches
Dealing with wood defects like holes or cracks is common. Wood fillers and patches are a simple fix. Apply the filler, let it dry, and sand it down for a smooth finish. This can greatly improve your project’s look.
Weak joints or areas can weaken your project. Reinforcing with screws or wood glue can help. For bigger projects, metal brackets or extra wood can be used.
Fixing Blotchy Finishes
A blotchy finish can spoil a good project. Make sure the surface is sanded well before finishing. If blotches remain, try a wood conditioner or the right stain for your wood. Thin, even coats and enough drying time between them can also help.
Mastering these fixes helps beginners improve their projects. With time, these solutions become easy. This lets woodworkers focus on making beautiful and useful pieces.
Conclusion: Your Journey into Woodworking Begins Here
Starting your woodworking journey can be very rewarding, even for beginners. This article offers projects and tips to help you begin. It’s all about getting into DIY woodworking projects.
Begin with simple projects like wooden coasters or a wooden toolbox. Each one is a step forward in your journey. As you finish these, you’ll learn important skills and feel more confident in your abilities.
Woodworking is more than making useful or pretty things. It’s about the joy of making something from scratch. As you keep going, you’ll find happiness in bringing your ideas to life.
So, start now, choose a project that interests you, and begin making. With time, effort, and patience, you’ll enjoy the many benefits of DIY woodworking projects.

